Dynamic Range in Photography: What It Means and How to Use It
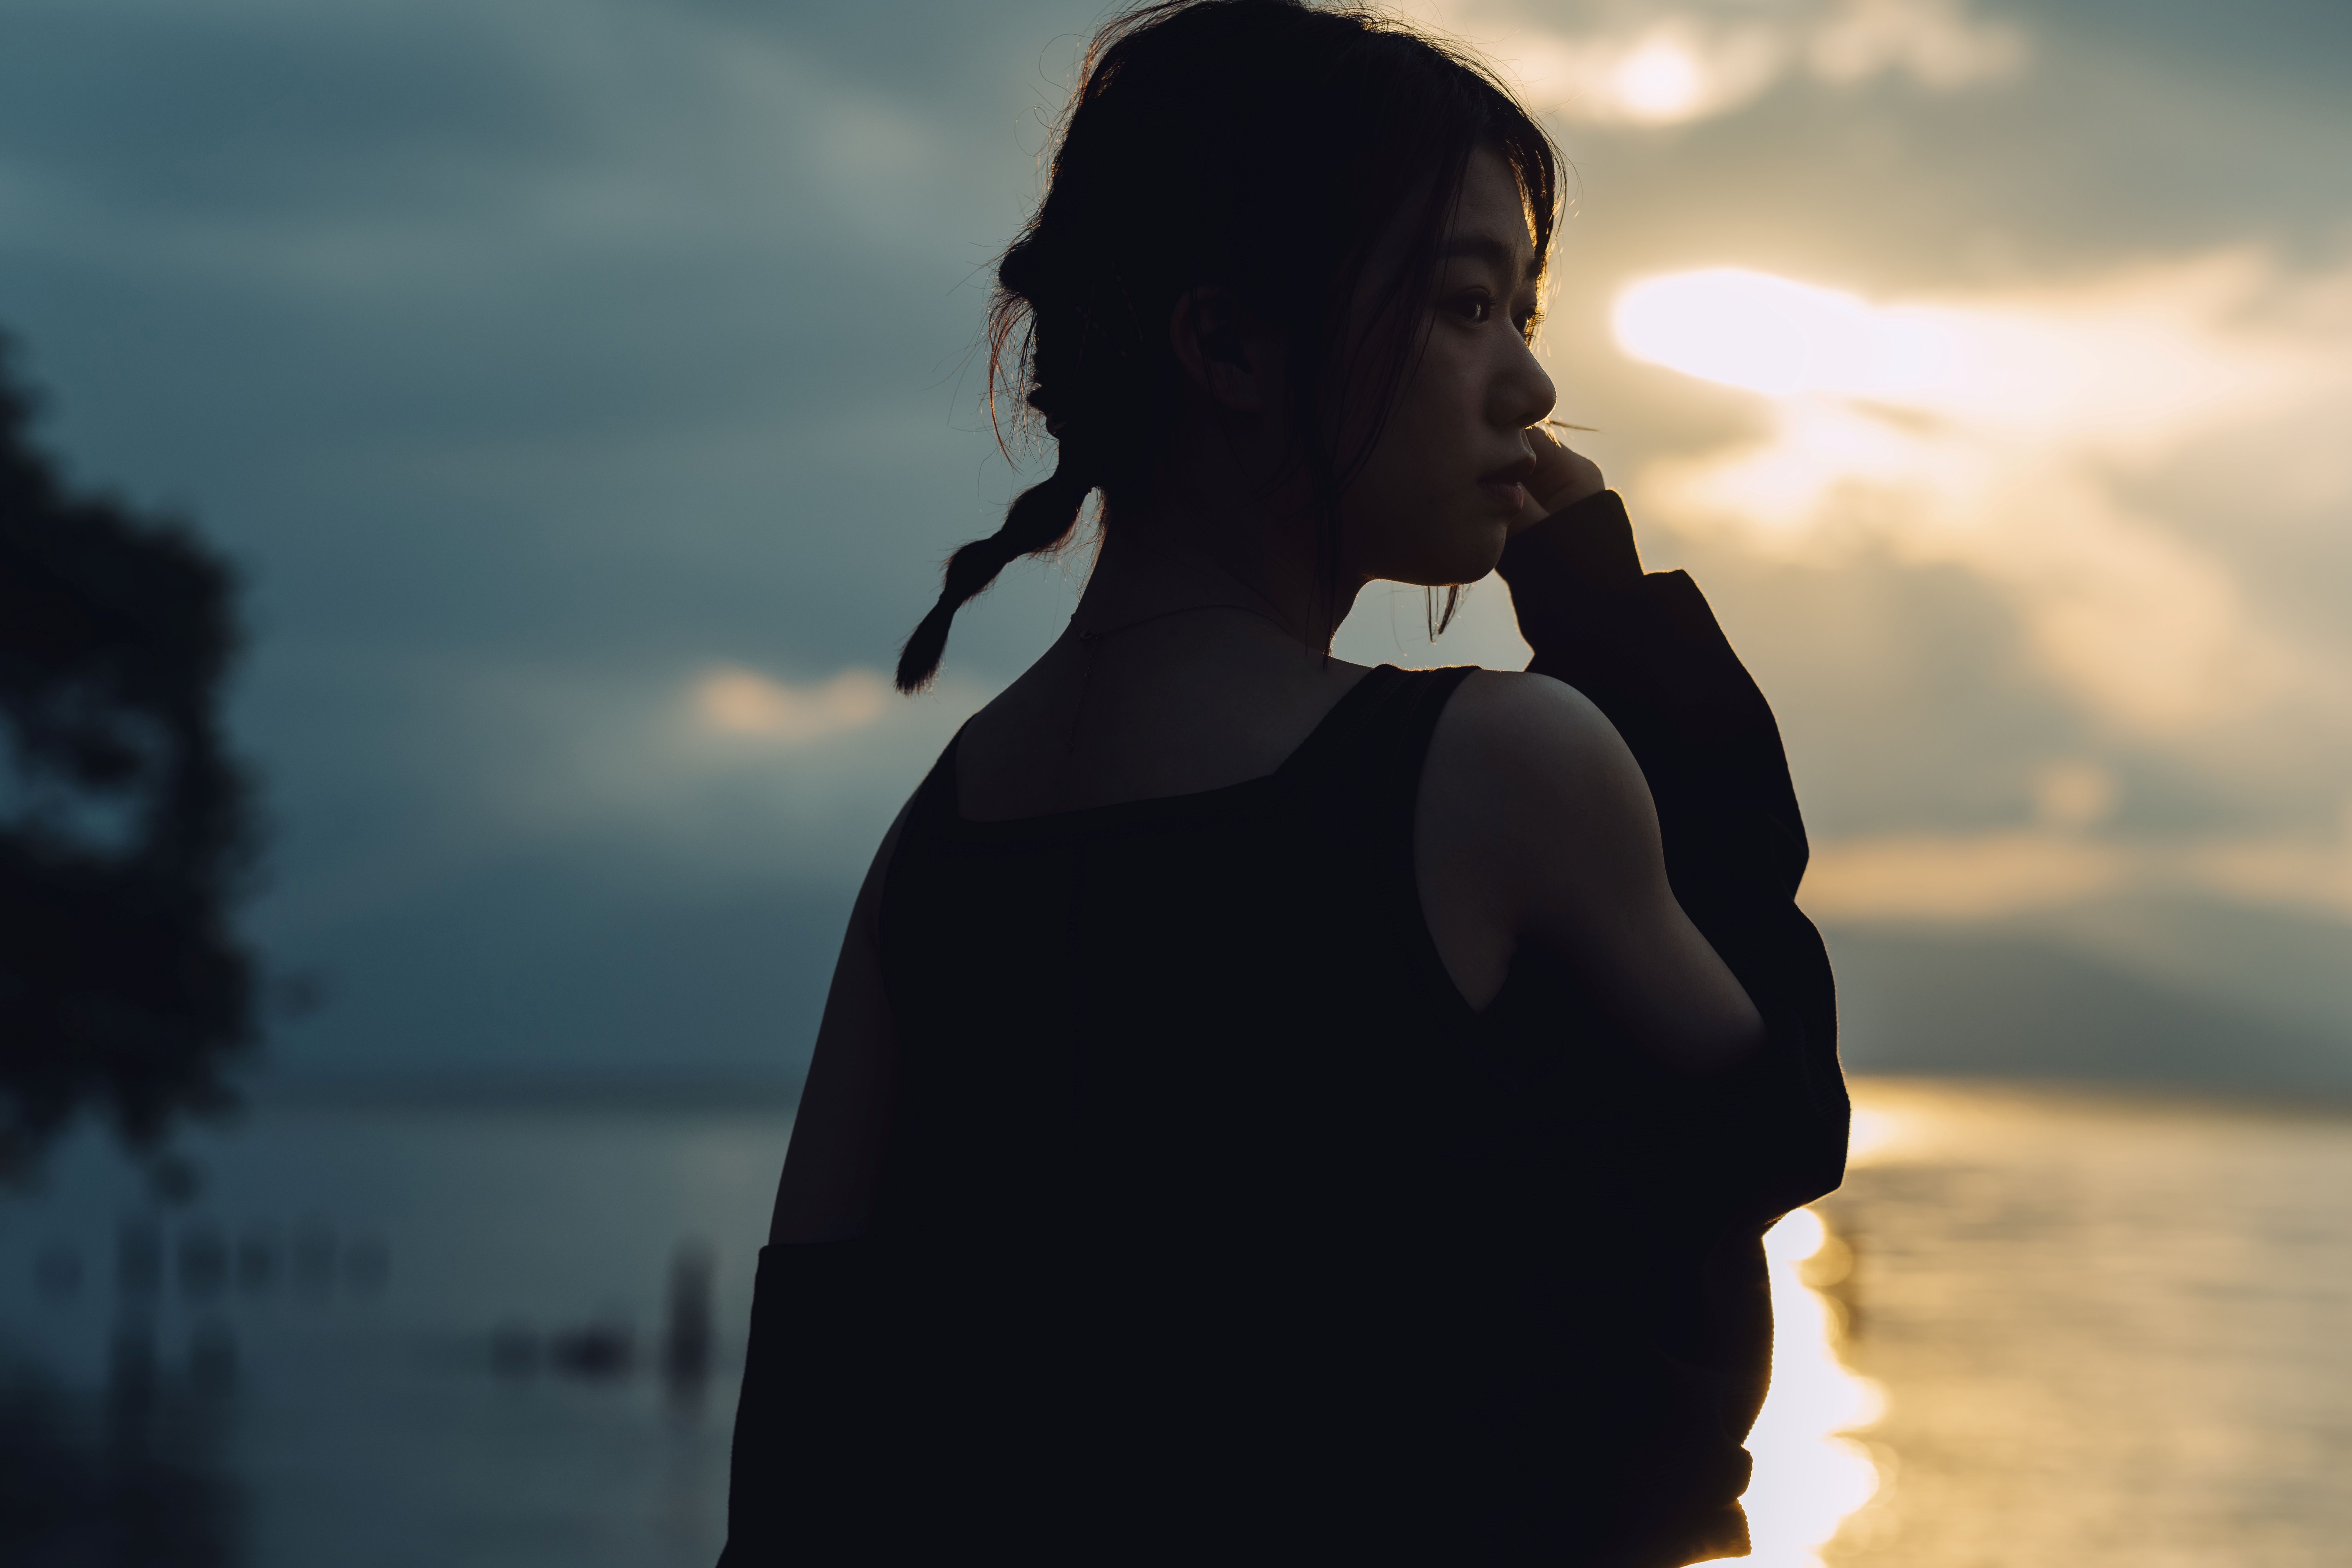
Light in South Africa is unforgiving. At altitude on the Highveld, under a clear summer sky at midday, the gap between the brightest and darkest parts of a scene can be enormous, far wider than what a camera records in a single frame. The result is familiar: a sky that goes white, a subject that goes black, or both at once. Understanding dynamic range is what separates a photographer who works around those conditions from one who is defeated by them. This article explains what dynamic range is, how it is measured, and how to get the most out of yours.
What is dynamic range in a camera?
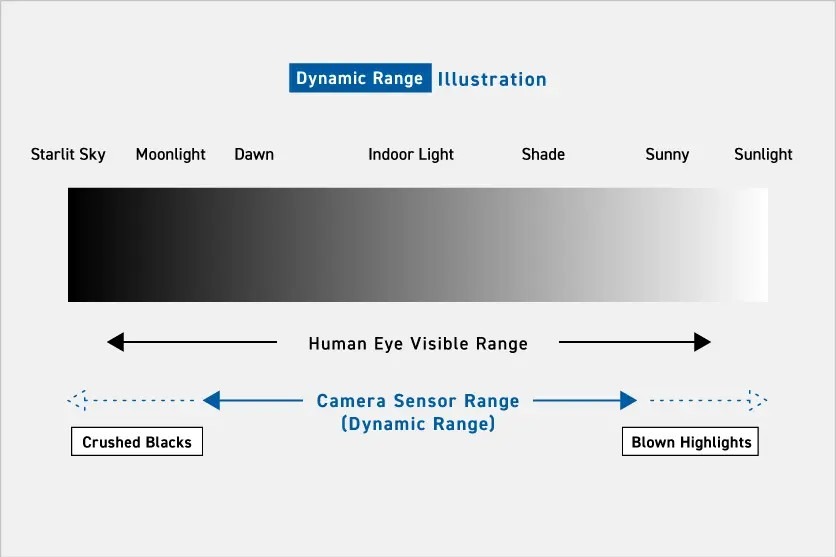
Dynamic range is the span of brightness a camera can record in one exposure, from the darkest tone that still holds detail through to the brightest tone that has not turned to pure white.
Your eyes are far better at this than any sensor. Human vision adapts continuously, the iris adjusting while the brain merges information gathered across those adjustments, so you can stand on a shaded stoep and read detail both in the dark interior behind you and in the bright street in front. A camera gets one reading. Everything beyond the ends of its dynamic range is discarded, and no amount of editing brings it back.
The consequences show up fastest in high-contrast scenes. Photograph a row of Bo-Kaap street frontages with the sun behind them and you will typically get one of two outcomes: expose for the facades and the sky above turns to blank white; expose for the sky and the facades collapse into shadow. A camera with a wider dynamic range holds more of that span at once, giving you graduated tone from the shadowed wall through to the bright sky rather than an abrupt cut-off at either end.
How sensor size shapes dynamic range
Sensor size influences dynamic range, though not quite in the way it is usually described. Larger sensors tend to perform better, but the mechanism is light-gathering area per photosite rather than sensor area alone. A high-resolution full-frame sensor and a lower-resolution APS-C sensor can therefore sit closer together than the format difference suggests.
In practice, a full-frame sensor will generally hold roughly one stop more usable range than an APS-C sensor of comparable generation, and the advantage shows most clearly in the shadows, where noise rather than clipping is the limiting factor. That gap matters less than it used to. Processing has narrowed it considerably, and an APS-C camera shooting RAW at base ISO handles a Karoo farm road at last light perfectly well.
The format difference also changes your framing. A 500mm focal length on full frame gives an equivalent field of view of roughly 750mm on APS-C, which is worth accounting for when you are choosing a lens for distant high-contrast subjects.
How dynamic range is measured: stops, bit depth and tonal gradation
Dynamic range is measured in stops. One stop is a doubling or halving of light, so a sensor with 12 stops of dynamic range records a brightest tone approximately 4,096 times brighter than its darkest usable tone. That is the calculation in full: 2 to the power of n, where n is the number of stops.
There is a distinction worth knowing. Engineering dynamic range is the figure at which signal exceeds noise by any measurable margin, and it is the number that appears on specification sheets. Usable photographic dynamic range is lower, because the deepest stop or two carries enough noise that you would not want to lift it. Expect two to three stops less in practice than the headline figure suggests.
Bit depth is a separate property, and the two are frequently confused. Dynamic range is the width of the span; bit depth is how finely that span is subdivided. A 14-bit RAW file records 16,384 levels per colour channel, which governs how smoothly one tone steps into the next. Width and smoothness both contribute to the sense of depth in a photograph. A gradient across a Durban beachfront sunrise depends on bit depth to avoid banding, and on dynamic range to hold the sun and the wet sand in the same frame. The same underlying concept is called wide dynamic range, or WDR, in security and automotive imaging, where only the terminology differs.
Exceeding dynamic range: blown highlights and blocked shadows
Push past either end of the dynamic range and the camera stops distinguishing between brightness values. Overexpose and the highlights clip, replacing colour, texture and tone with flat white, which is why a blown sky cannot be rescued afterwards. Underexpose and the shadows block up, leaving areas where fine detail simply is not present in the file.
The histogram is your check. Watch for the graph stacking hard against either edge while you shoot, and adjust exposure so neither end is pressed flat. When the two problems compete, protect the highlights. Clipped highlights are gone permanently, while shadows retain at least some recoverable information, particularly in RAW.
How ISO settings affect dynamic range
ISO and dynamic range are linked, though the common explanation of why is wrong. Raising ISO does not make the sensor more sensitive to light, because the sensor's response to photons is fixed. What changes is amplification: the recorded signal is boosted, along with the noise already in it, which is why the usable range narrows as ISO climbs.
Base ISO, generally 100 on most cameras, gives the widest dynamic range, and the figure falls by roughly a stop for every stop of ISO increase. If the scene allows it, open the aperture or slow the shutter before reaching for higher sensitivity.
When you have no choice, as with a Highveld summer thunderstorm at the end of the day, watch the highlights particularly closely and consider pulling exposure down slightly to protect them.
Getting more dynamic range out of RAW files
A RAW file holds the sensor's data with minimal processing and carries substantially more information than a JPEG. That surplus is what gives you room to move in editing.
The latitude is not symmetrical, and this is where the usual advice about two stops in either direction misleads. Shadows can often be lifted by three stops or more before noise becomes objectionable, while highlights that have genuinely clipped cannot be recovered at all, since recovery only works where at least one channel still holds data. Expose to keep the highlights intact, let the shadows sit dark, and lift them later.
Tonal adjustments in RAW work from the original data rather than from an already-compressed rendering, so gradients survive heavy editing far better than they do in JPEG. RAW files are larger and add work at the desk. For anything you cannot reshoot, shoot RAW+JPEG and accept the storage cost.
High dynamic range: what the HDR function actually does
High dynamic range techniques extend beyond what one exposure can hold. The HDR function on your camera captures several frames at different exposures and merges them, so shadow detail comes from the brighter frames and highlight detail from the darker ones.
A standard HDR dynamic range sequence is three frames, one underexposed, one metered and one overexposed, though five or seven frames give more headroom in extreme conditions. It suits scenes where the brightness gap genuinely exceeds the sensor: strong backlighting, a Johannesburg CBD interior with bright windows, and the blue hour along a coastal promenade.
In-camera HDR is convenient, but it hands you a finished JPEG and makes the blending decisions on your behalf. Shooting the sequence in RAW and merging it yourself gives you control over how the transition between exposures is handled. Any HDR technique requires the frames to align, which means a stationary subject and, ideally, a tripod.
Photographing high-contrast scenes at the edge of your dynamic range
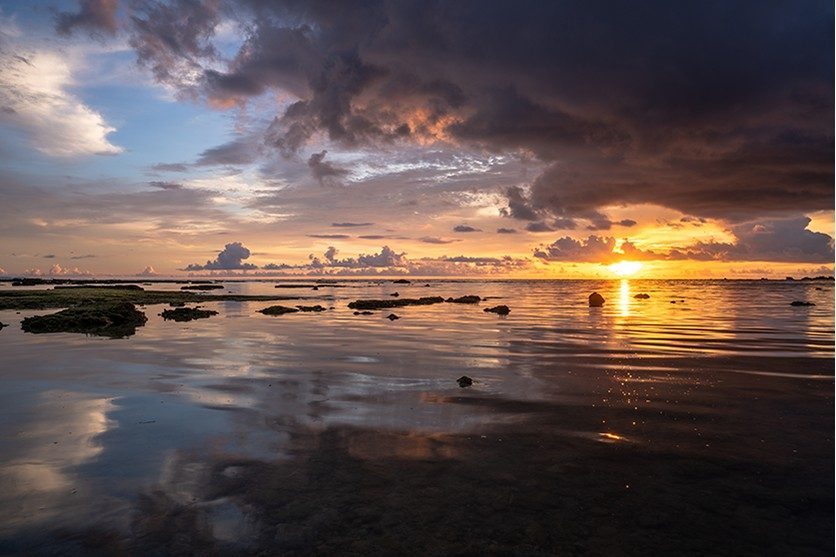
Some scenes are simply beyond a single frame. An Atlantic seaboard sunset, a backlit portrait in late afternoon, the Drakensberg escarpment as the light drops behind the ridge: all present a brightness range that no sensor holds in one exposure.
Photographing a high-contrast scene at the edge of the camera's dynamic range
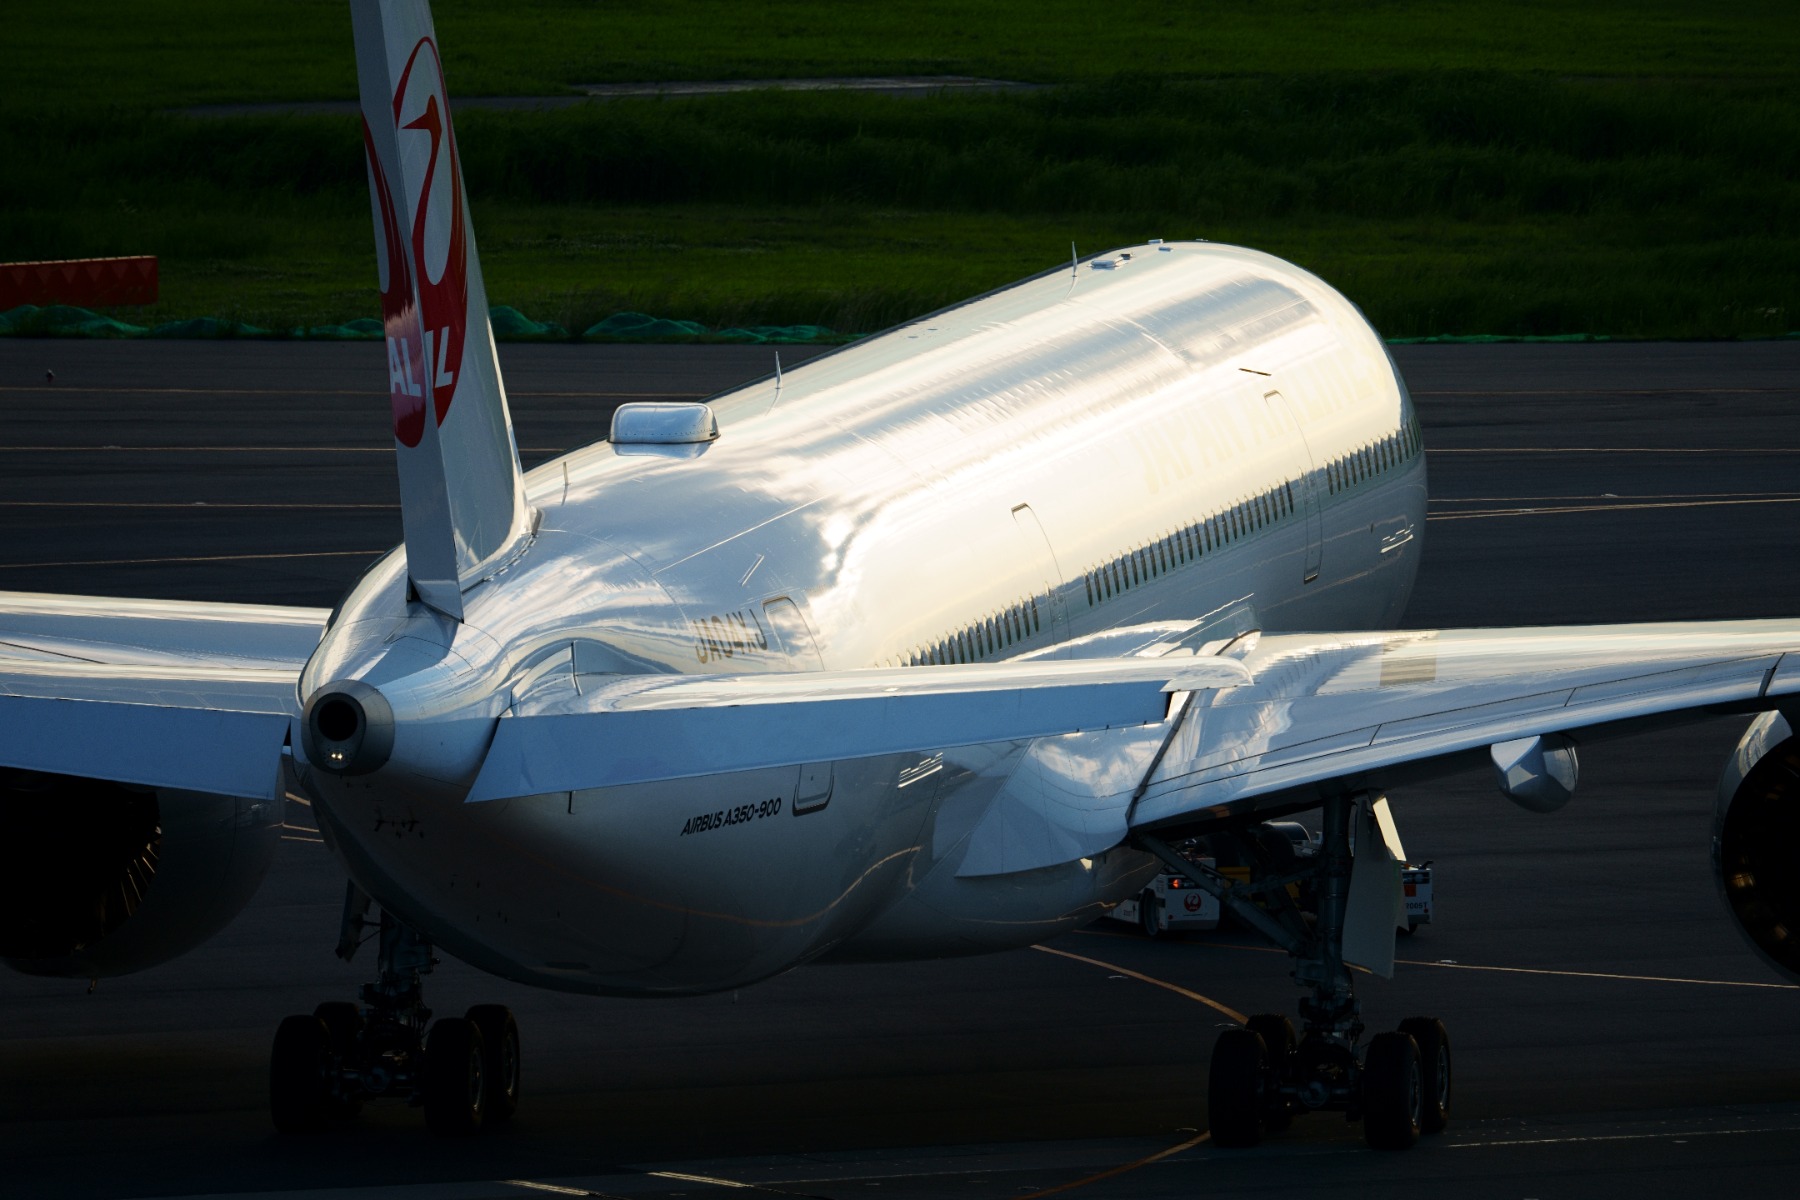
TAMRON 150-500mm F5-6.7 (Model A057) Focal length: 500mm Exposure: F7.1 Shutter Speed: 1/500sec ISO: 200
Bracketing is the standard answer. You shoot the same composition several times at different exposures, then combine them afterwards. Work in RAW, keep the composition fixed, and vary exposure by shutter speed rather than aperture so depth of field stays consistent across the sequence. An aperture change between frames produces a merge with mismatched focus falloff.
For a single-frame approach, metering choice does much of the work. Spot metering sets exposure from a small area of the frame rather than averaging the whole scene, which is what you want when a bright background would otherwise drag your subject into silhouette. Meter from the subject's face, accept that the background will sit brighter than ideal, and you have a usable frame without any merging at all.
A graduated neutral density filter is the other option, and it remains the most elegant one for landscape work. The filter is dark across the top and clear across the bottom with a transition between, so it holds back a bright sky by two or three stops while leaving the foreground untouched. It brings the scene inside the camera's dynamic range at the point of capture rather than in editing. It works best with a straight horizon: a Cape Peninsula shoreline suits it, a jagged ridge line less so.
Timing is worth planning around. South Africa has no daylight saving, so the light behaves predictably across the year on SAST, and the hour after sunrise and before sunset consistently gives you a narrower brightness range to work with. Pretoria's jacaranda-lined streets in late October photograph far better early in the day, when the canopy is not fighting overhead sun.
Not every scene needs help. Winter mist across the KwaZulu-Natal Midlands compresses the brightness range to a few stops, which gives you a file with room to spare and the freedom to push contrast in editing rather than rescue it. The same applies to overcast conditions over West Coast fynbos.
Once the technical side is settled, contrast becomes a creative choice rather than a constraint. High-key work deliberately pushes tones towards the bright end, while low-key work holds everything down except a small bright area. Coals against a dark yard at a braai is a natural low-key subject. Both approaches use dynamic range intentionally rather than simply trying to fill it.
Putting dynamic range to work in your photography
Dynamic range is the brightness span your camera records in a single frame, and in South African light you will run out of it regularly. Knowing that is half the solution. Shoot RAW so you keep the editing latitude, protect the highlights when exposure has to compromise, watch the histogram rather than the rear screen, and reach for bracketing, the HDR function or a graduated filter when a scene demands more range than one frame can provide. These are not advanced techniques. They are the ordinary working habits that let you photograph the country's brightest conditions without losing either end of the picture.