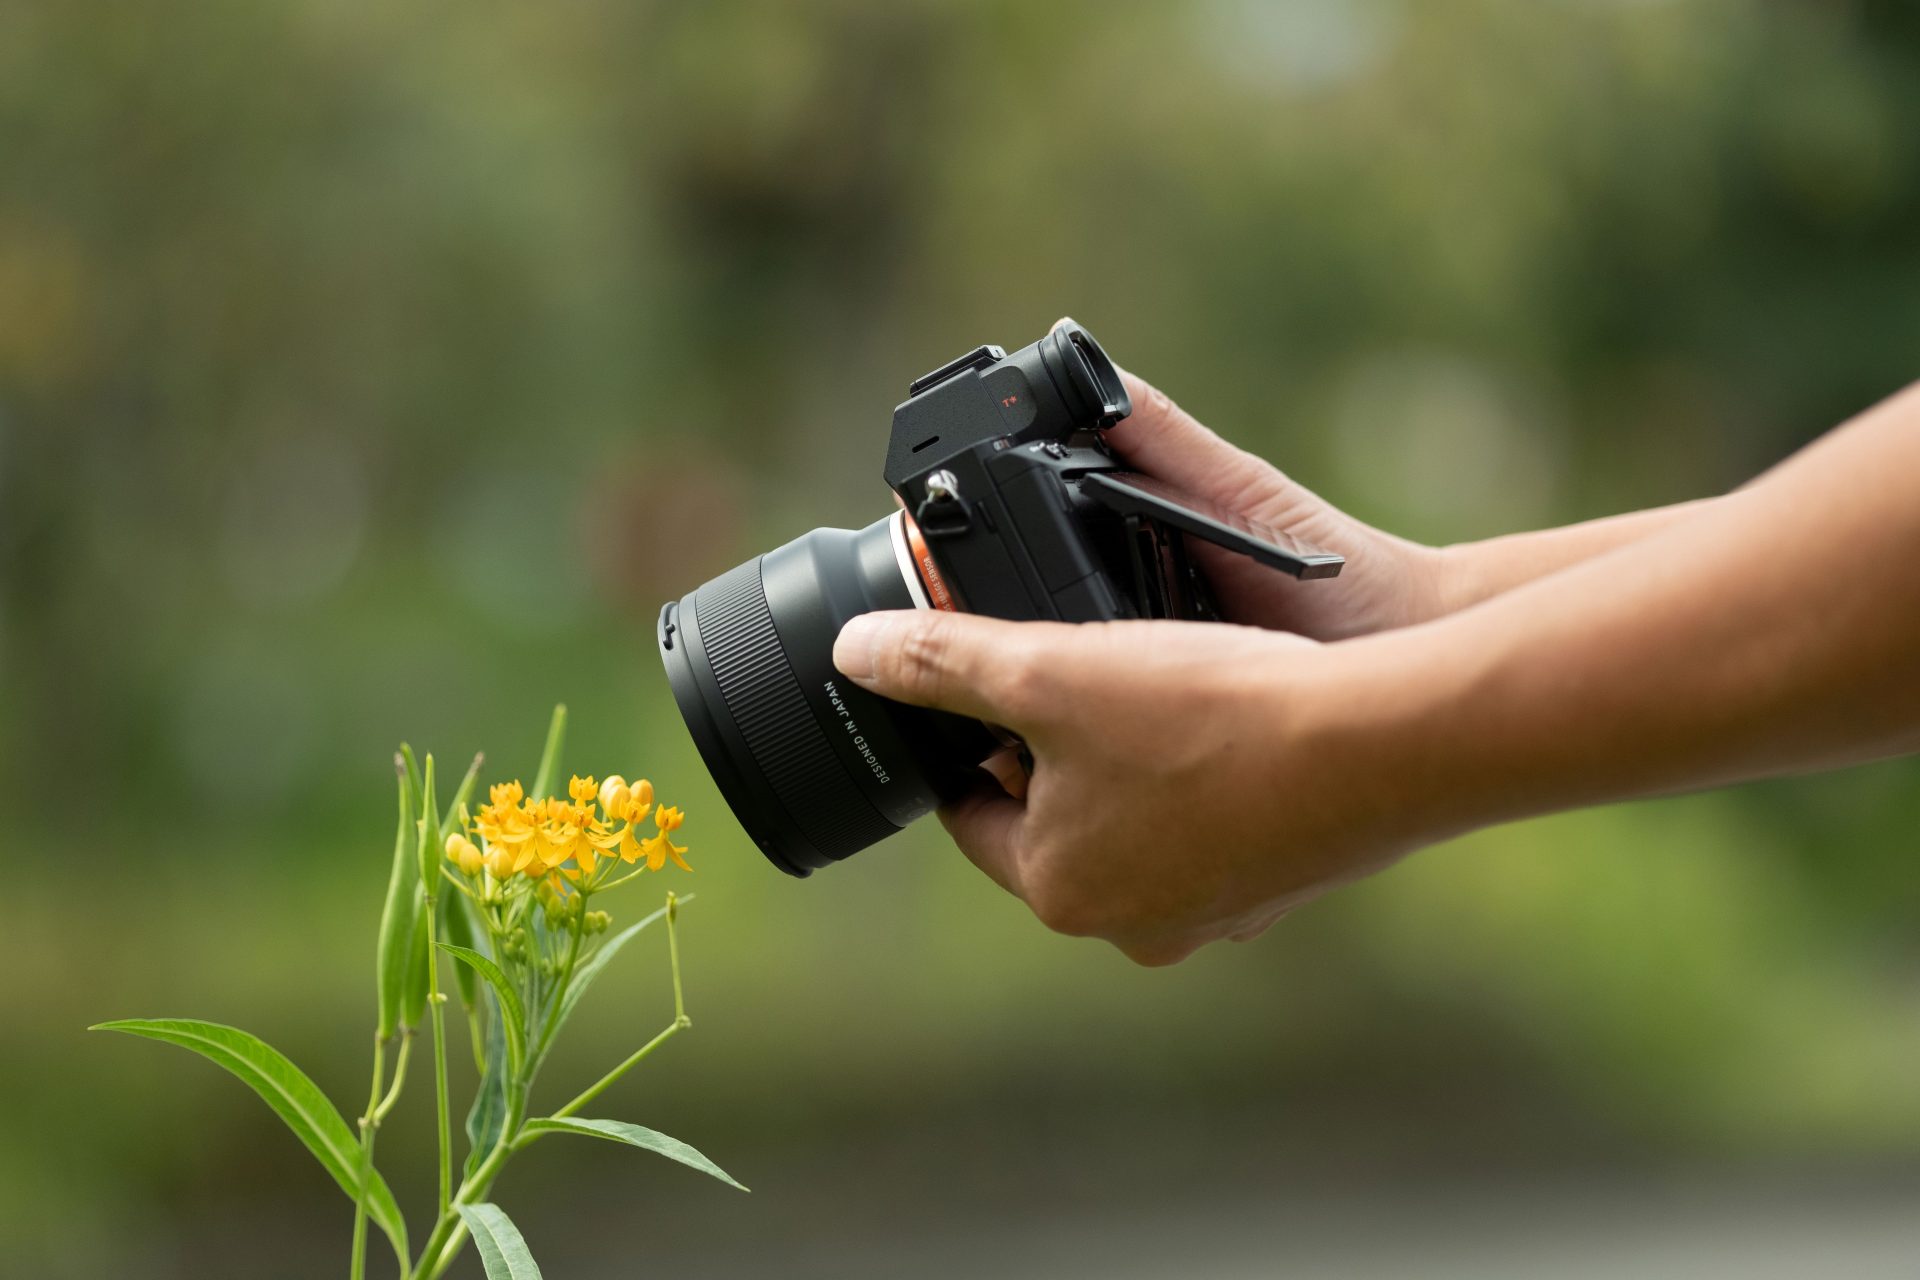
What Is Half Macro? The 1:2 Lens Explained, and How to Use It
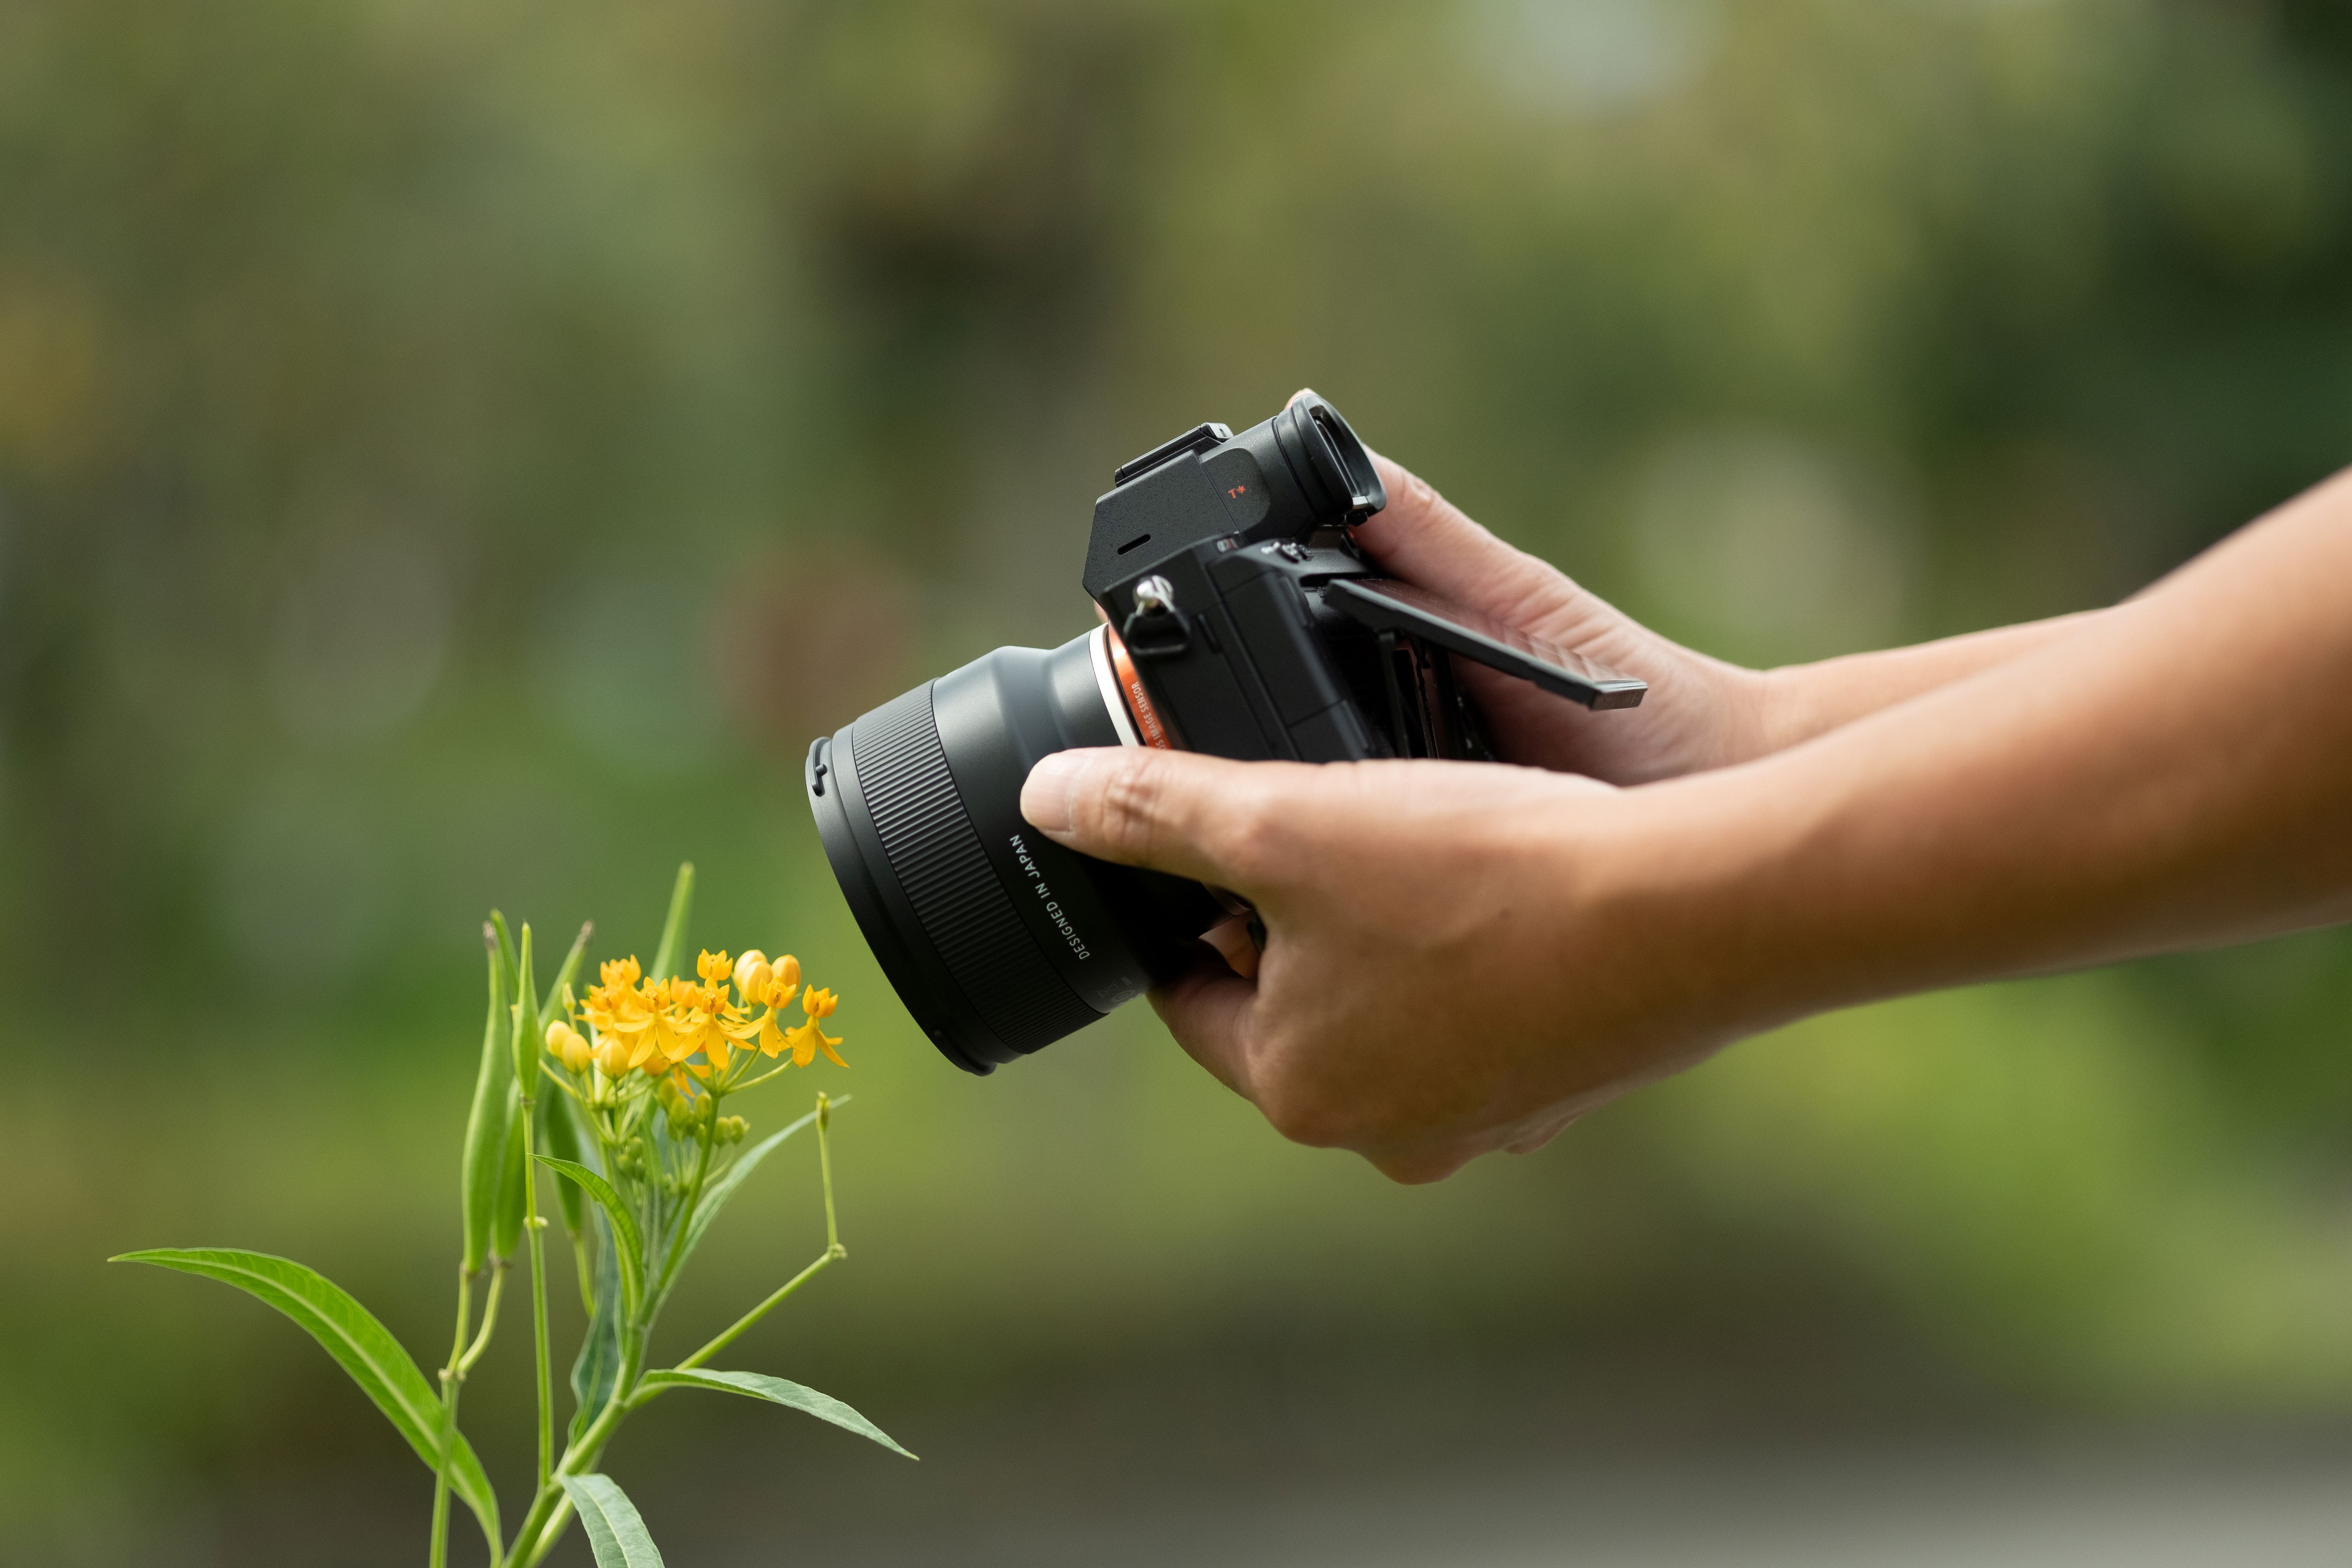
A half macro lens focuses close enough to fill the frame with a protea bract, a beetle's back or the stitching on a leather bag, without asking for the working distance and focusing precision that a full 1:1 macro lens demands. Its maximum magnification is 1:2, meaning the subject is recorded at half life size on the sensor. That halfway point turns out to be a useful place to stand: close enough for real detail, far enough back to keep some of the setting in frame, and forgiving enough that you come away with the shot rather than a sequence of near misses. This article covers what half macro is, how it differs from full macro, what it suits, and what to check when choosing one.
What is a macro lens, and where does half macro fit?
A macro lens is built to focus far closer than an ordinary lens, so small subjects are rendered large on the sensor. Two figures describe that ability, and both appear on every spec sheet.
Maximum magnification is the ratio between a subject's real size and the size of its projected image on the sensor. At 1:1 the subject is recorded at life size, so a 20mm beetle occupies 20mm of sensor. At 1:2 it is recorded at half life size, and that same beetle occupies 10mm.
Minimum object distance is measured from the sensor plane to the subject at closest focus. It is the number that gets quoted, but it is not the one you feel in use. Working distance, the gap between the front of the lens and the subject, determines whether you can get light onto what you are photographing and whether an insect tolerates your presence. Subtract the length of the lens and the depth of the camera body from the minimum object distance and you have a rough working distance. On a short lens that can leave only a few centimetres.
Strictly speaking, a true macro lens reaches 1:1 or greater, and lenses that stop at 1:2 are called half macro by convention. The convention is well enough established to be worth knowing, because both terms describe something measurable. Plenty of ordinary lenses advertise "macro" while managing only 1:4 or 1:5, which is not close-up photography in any meaningful sense.
Half macro vs full macro: what 1:2 gives you that 1:1 doesn't
Full macro at 1:1 records a subject at life size, which is further than most photographers ever need to go. It resolves the compound eyes of a dragonfly, the individual scales on a butterfly's wing, the grain in a cut stone.
Half macro records at half that scale, and in exchange you keep more of the surroundings in frame. This is the real argument for it. A 1:1 frame of a protea shows texture; a 1:2 frame shows the flower and enough of the fynbos around it to say where you were standing. For anyone who wants close-up detail without abandoning context entirely, 1:2 is often the better proportion.
The half vs full macro question is usually framed as one of difficulty, and that framing is only half right. Depth of field is governed by magnification, not by which lens produced it, so a 1:1 lens shooting at 1:2 has exactly the same depth of field as a half macro lens at the same magnification. The real point is that a 1:1 lens invites you to work at magnifications where depth of field narrows to a couple of millimetres, focus shifts as you breathe, and camera shake is amplified along with everything else in the frame. Half macro keeps you at magnifications where the tolerances stay manageable. That is why it is the sensible starting point.
Half macro samples: five subjects worth shooting at 1:2
The subjects below are the ones a half macro lens handles particularly well: close enough to reward the magnification, and better for having some setting around them.
Flowers and plants
A plant subject at 1:2, with the surrounding planting left legible in the frame
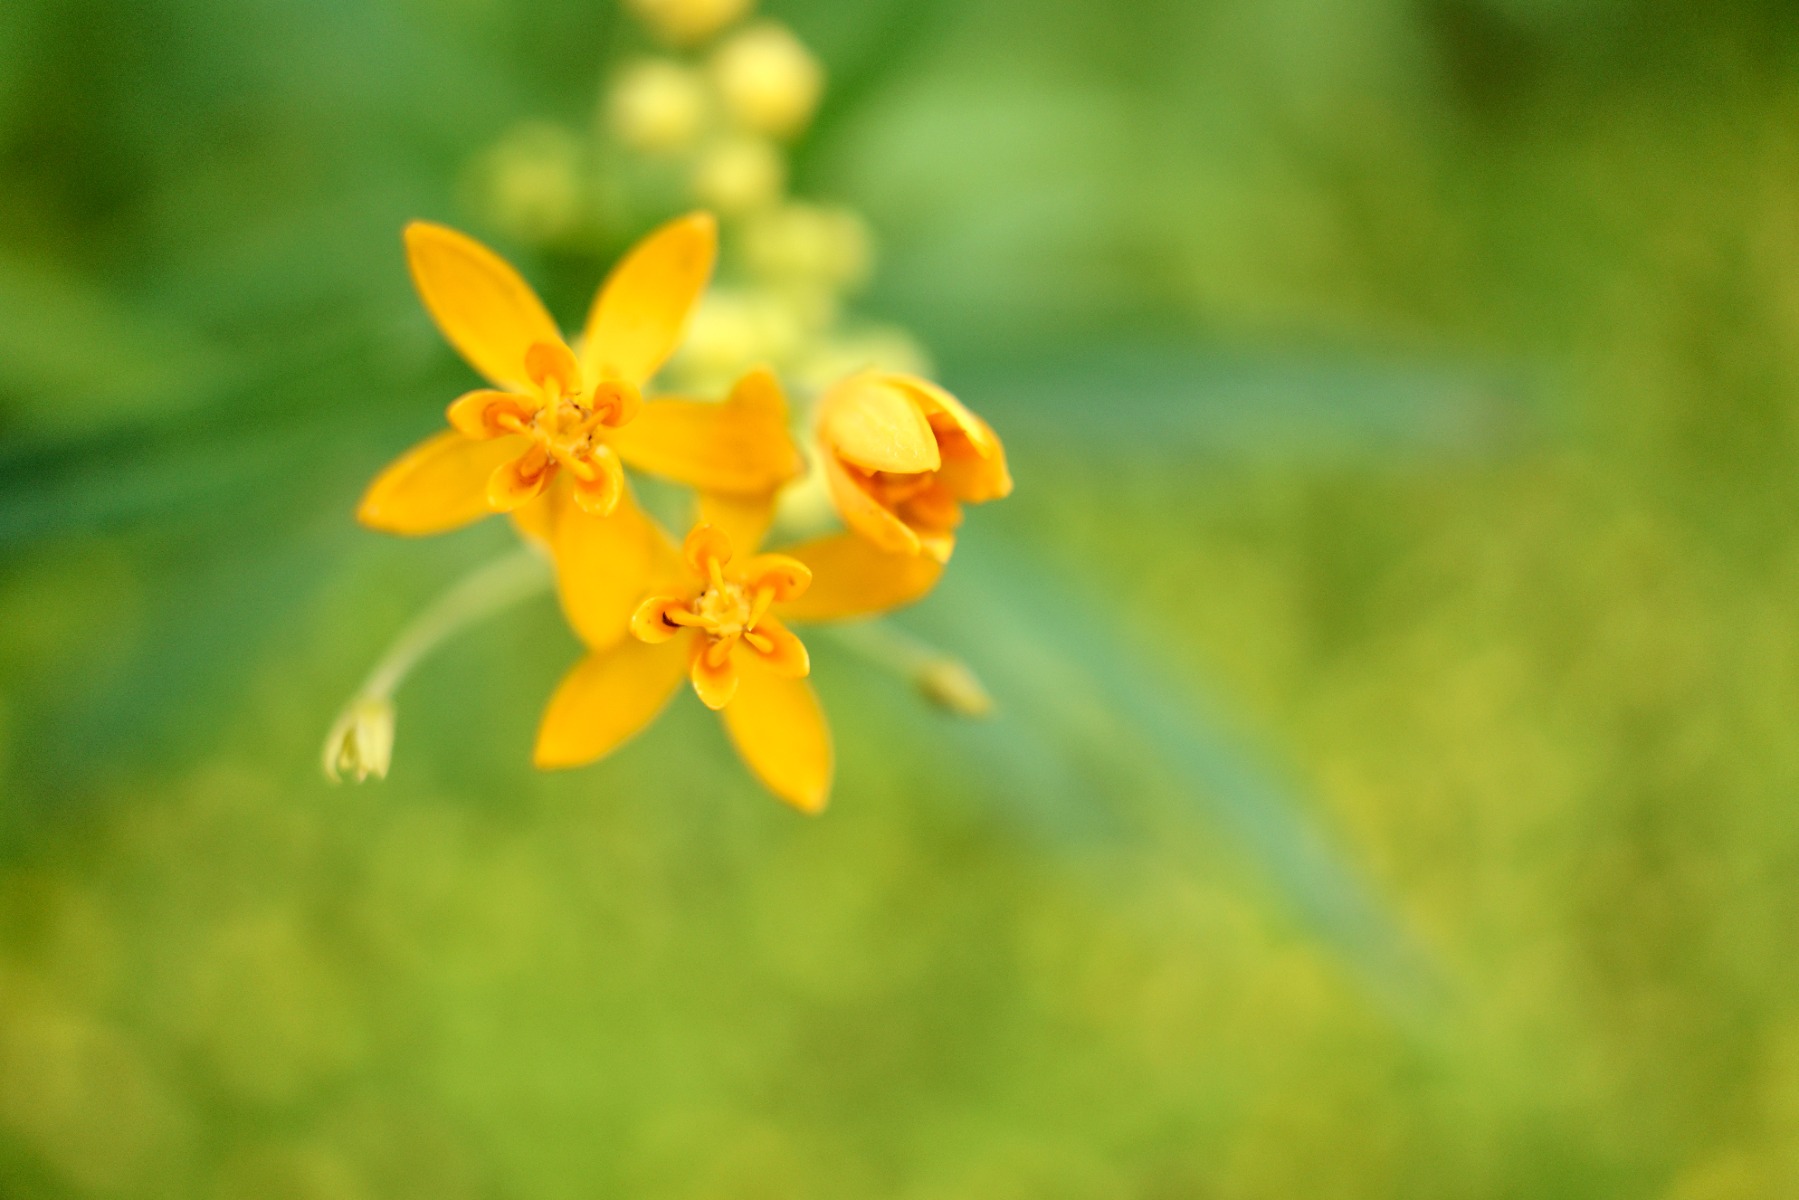
TAMRON 24mm F2.8 (Model F051) Focal length: 24mm Exposure: F2.8 Shutter Speed: 1/4000sec ISO: 640
Plants are the obvious starting subject, and South Africa supplies unusually good ones. The bracts of a king protea carry a fine, almost furred texture that only shows at close range. Fynbos ericas hold droplets along the whole stem after Cape winter rain. Aloes flower in mid-winter when little else does, which makes them the most reliable macro subject on the calendar across most of the country. Clivias in deep shade give saturated colour without any harsh light to manage. West Coast spring annuals offer mass colour that reads well as a background even when a single bloom is the subject.
At 24mm, equivalent to roughly 36mm on an APS-C camera, the field of view is wide enough to place one bloom against the planting behind it. That relationship between subject and background is precisely what a 1:1 lens tends to lose.
Jacaranda blossom on a Pretoria pavement in late October is worth planning for, because it exists for only a couple of weeks. The flowers bruise quickly once they have fallen, and the colour shift as they go over is itself the picture.
Insects
An insect will let you approach only so far. The longer working distance of half macro is a real advantage here, since you can frame tightly without casting a shadow across the subject or startling it into flight.
A citrus swallowtail on a garden shrub, a carpenter bee working a vygie on a Cape Peninsula verge, a garden orb-web spider with its web still beaded from overnight condensation, the iridescence on a Christmas beetle: all are available in ordinary gardens and on roadside verges, and none of it requires travel. Early morning is best, when insects are cool and slow to move. A Highveld garden the morning after a summer storm will usually offer more activity than a fortnight of dry weather, and the KwaZulu-Natal coast stays productive through most of the year.
Shooting at 1:2 also lets you include a branch, a leaf edge or the flower head being worked, which turns a specimen record into a photograph with a setting.
Small objects and everyday detail
A 35mm half macro lens on small objects, where surface texture carries the image
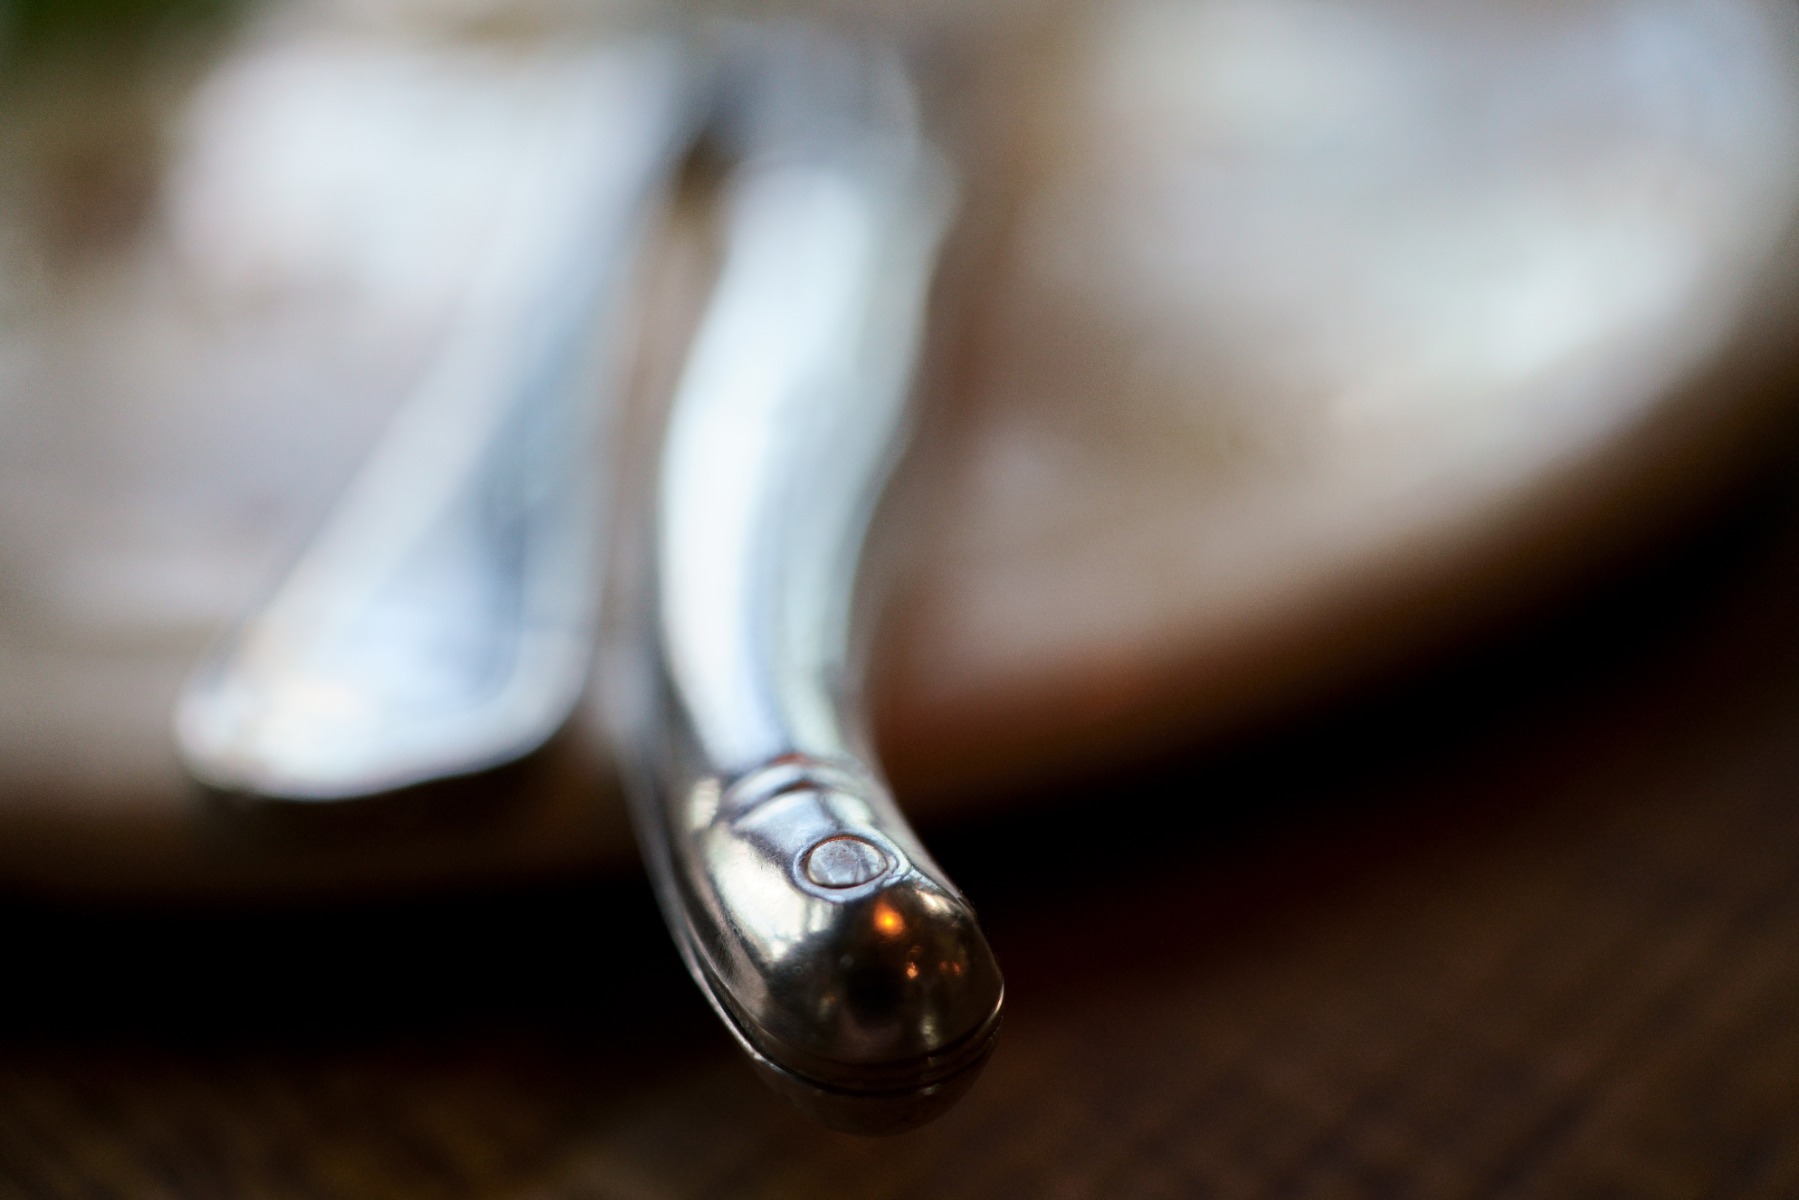
TAMRON 35mm F2.8 (Model F053) Focal length: 35mm Exposure: F2.8 Shutter Speed: 1/200sec ISO: 800
A 35mm half macro is the most versatile of the group for object work. On full frame it gives roughly a natural field of view; on APS-C the equivalent is about 52mm, which is tighter and often better suited to tabletop subjects.
Objects reward close attention because their detail is genuinely overlooked. The crazing in the glaze on a hand-thrown bowl. The stitch line and burnished edge on a leather bag. Oxidation sitting in the recesses of a silver ring. The wear on a spanner or a pair of secateurs that has been in use for thirty years, where the handle has polished itself smooth exactly where a hand sits. Guitar strings where they cross the fret.
These subjects hold still, they can be lit at leisure, and they are the best way to learn what a half macro lens does before taking it outside.
Tabletop and food photography
Food at close focus, where surface sheen does most of the work
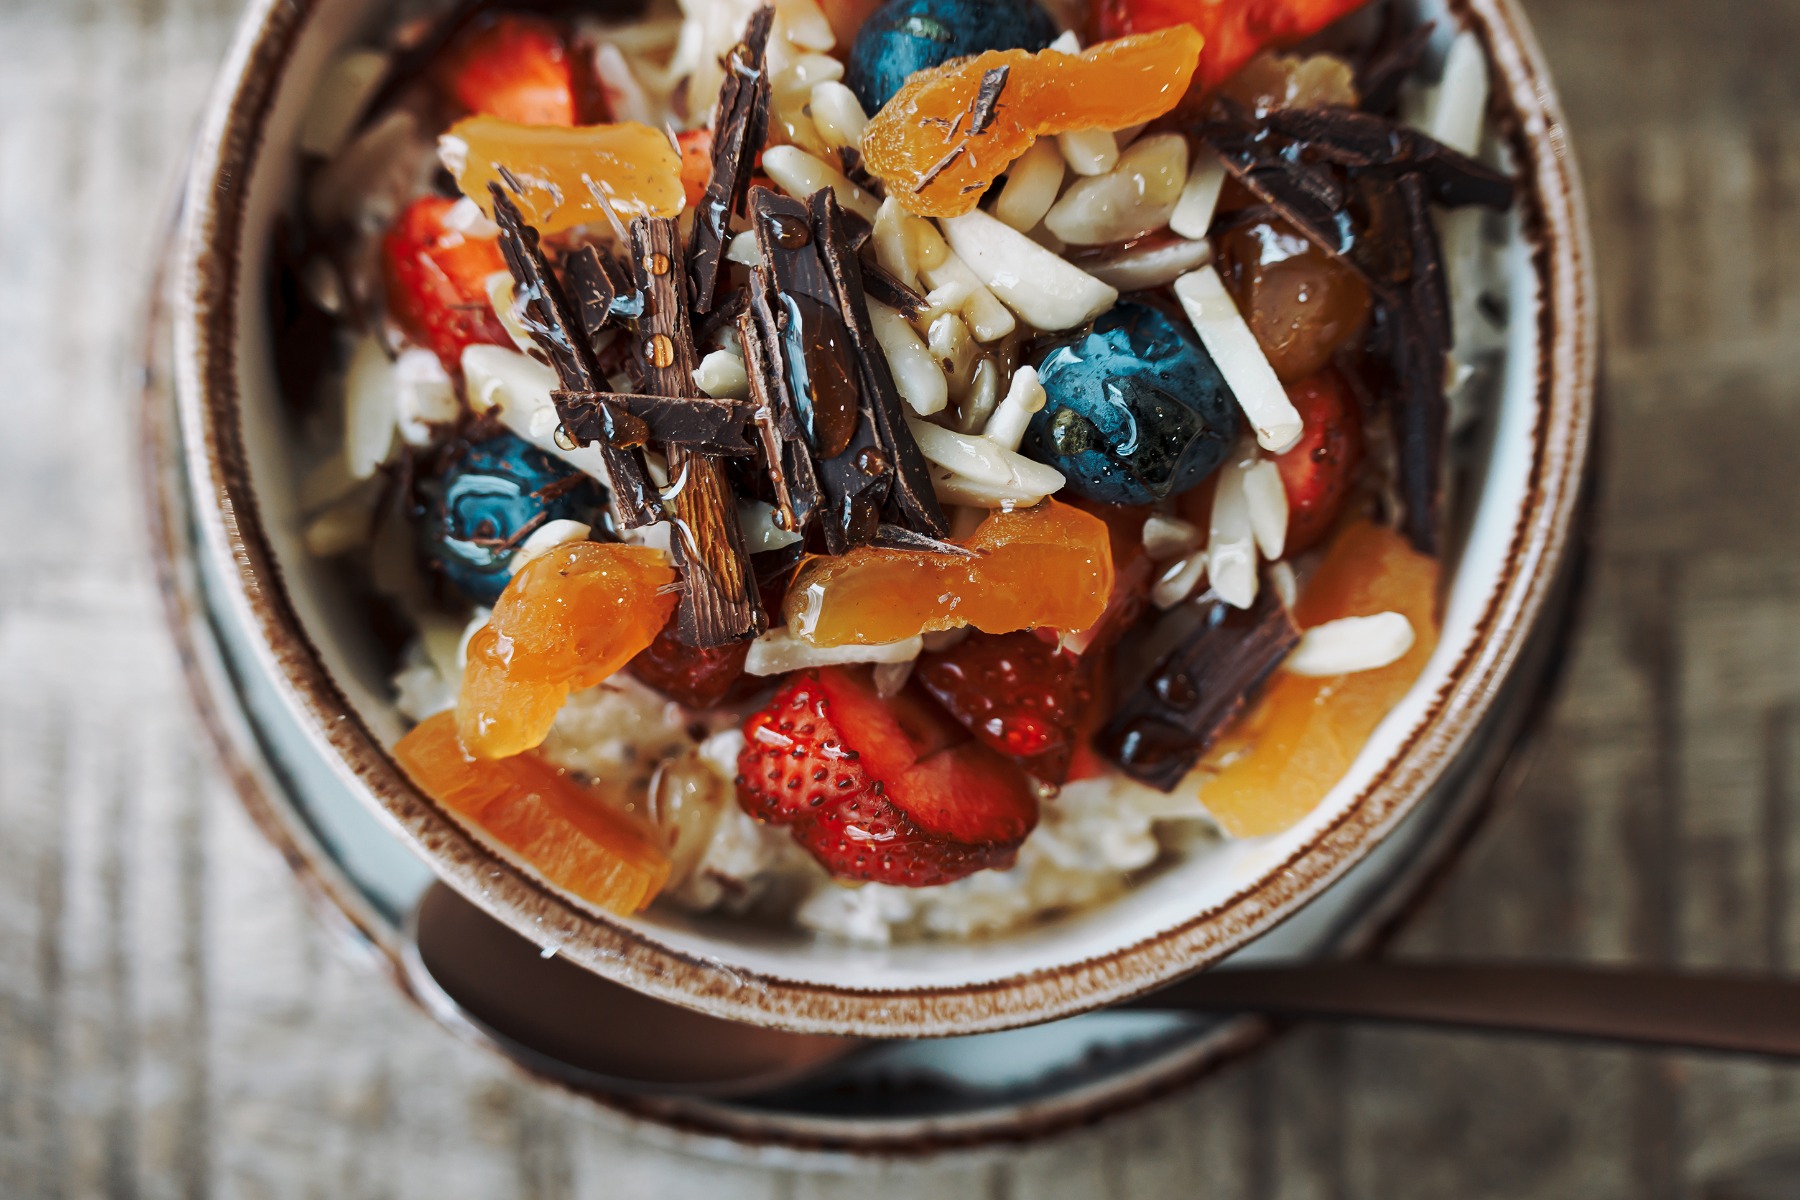
TAMRON 50-300mm F4.5-6.3 (Model A069) Focal length: 50mm Exposure: F4.5 Shutter Speed: 1/80sec ISO: 250
Food photography at 1:2 lives on surface. The syrup gloss on a koeksister catching a side light. Cinnamon dusted unevenly across a melktert. Condensation on a naartjie segment. The sheen on meat coming off the braai, which is at its best in the minute or two before it settles.
Shallow depth of field does the compositional work for you. Hold focus on the nearest edge of the subject and let the crockery, the cloth and the rest of the table fall away, and you get a sense of depth without having to arrange much at all.
At 50mm, about 75mm equivalent on APS-C, you can work from a comfortable distance across a table without leaning into your own light. That is the most common problem with close-up food work, and focal length solves it.
Street and detail photography
Street detail at 1:2, where a small area of a larger scene carries the frame
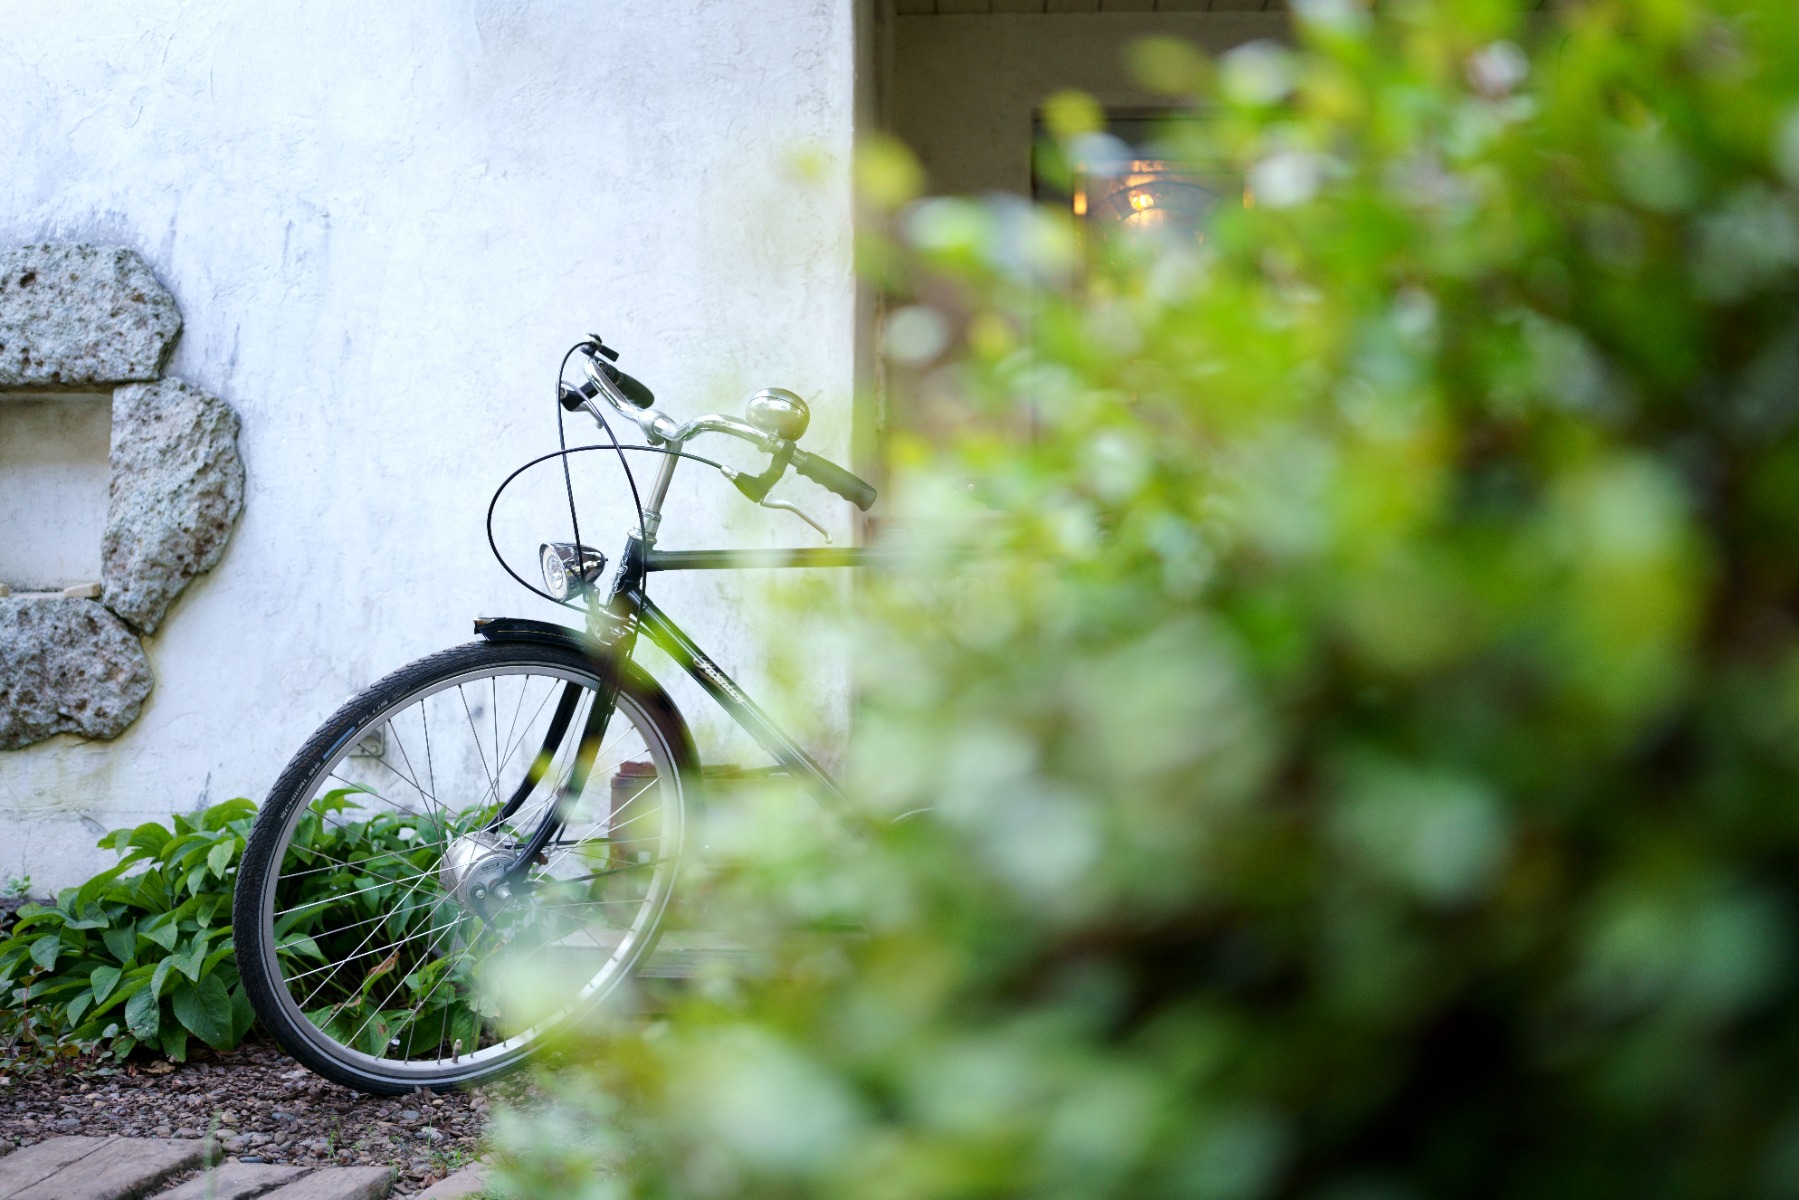
TAMRON 35mm F2.8 (Model F053) Focal length: 35mm Exposure: F2.8 Shutter Speed: 1/200sec ISO: 400
Street work with a half macro lens is not about the wide scene. It is about isolating a small part of one: hand-painted lettering on a shopfront, the enamel of an old advertising sign, the stacked geometry of produce on a Cape Town market stall, salt corrosion on promenade railings, paint layered and lifting on a door frame.
The same lens handles the wider frame whenever you want it, because a half macro prime focuses to infinity like any other lens. That flexibility is why 35mm is such a common choice for photographers who want one lens on the camera for a day out.
How to use a macro lens: half macro technique that works
The techniques below matter more as magnification rises. At 1:2 they stay manageable, which is the point of starting there.
Getting focus right
Decide before you shoot which part of the subject has to be sharp, because at close focus you will not get all of it. On a flower it is usually the nearest petal edge or the stamens. On an insect it is the eyes. On an object it is whichever surface carries the texture.
Autofocus struggles at close range, hunting back and forth across a shallow focus band. Manual focus is more reliable, and the most effective technique is to set the focus ring at your chosen magnification and then move the camera, rocking gently forward and back until the subject snaps into focus and firing as it does. Focus by moving, not by turning the ring.
Aperture priority is the useful mode here. You choose how much depth of field you want and the camera handles the exposure. At 1:2, f/5.6 to f/8 usually gives enough depth to hold the subject while still separating it from its background.
Keeping the composition simple
A close-focus frame with a smooth background is not automatically a good photograph. Because so much of the frame is out of focus, whatever remains legible carries disproportionate weight.
Check the background before you check the subject. A bright patch behind a dark flower will pull the eye straight to it, however well focused the flower is. Move a step to one side, drop lower, or change the camera angle until the background is even. Shooting from a low or diagonal angle rather than straight down adds depth and usually simplifies what sits behind the subject at the same time.
Using the background for colour and context
The background is a compositional element, not merely a blur. Placed deliberately, it supplies colour and tells the viewer where the subject lives.
For plants, other flowers of a related hue behind the subject build a coherent palette. A single erica against a mass of the same species reads far better than the same flower against bare ground. Durban's subtropical foliage gives dense green backgrounds that suit almost any subject, and a strelitzia photographed against the leaves behind it does more than the flower alone would.
For insects, including a fragment of habitat, whether a branch, a leaf or the flower head being worked, turns an identification shot into a photograph.
Controlling camera shake at close focus
Camera shake is magnified along with the subject. The familiar rule of matching shutter speed to focal length does not hold at close focus, because it takes no account of magnification. At 1:2, a movement of half a millimetre shifts the frame visibly.
Handheld at 1:2, treat 1/250 second as a practical floor and go faster when the light allows. Brace against something solid, tuck your elbows in, and shoot short bursts, since the middle frame of three is often the sharpest.
A tripod removes the problem entirely and is worth setting up for static subjects: objects, food, plants on a still day. Add a cable release or the two-second timer, so that pressing the shutter does not undo the benefit.
Working with the light
Light direction changes a close-up subject more than almost any other variable. Side light and backlight rake across a surface, revealing texture and edges and giving a three-dimensional result. Front light records colour accurately but flattens the subject.
South African light needs managing. Clear-sky midday sun, particularly at altitude on the Highveld, is too hard for most close-up work. It blows the highlights on any glossy surface and leaves shadows with nothing in them. Work in the first two hours after sunrise or the last two before sunset, or move the subject into open shade.
Overcast conditions are close to ideal, and the Cape supplies them through winter while the KwaZulu-Natal Midlands produces mist most mornings in the cooler months. The light is soft, even, and still directional enough to keep some modelling in the subject.
A plain white card held opposite the light source lifts the shadows without any equipment at all.
Using a half macro as an everyday prime
A half macro prime is a good ordinary lens that happens to focus close. It is not a specialist tool you take out for one purpose and put away again.
For portraits, the resolution and smooth out-of-focus rendering suit tight framing of expression and gesture. For landscape, the sharpness holds across the frame, and the close focus lets you build a foreground from something small, such as grass heads, a rock surface or dry Highveld winter growth, set against a distant background.
Leaving one on the camera is a reasonable way to work. Anything you walk past becomes a possible subject, which is a different way of seeing a place.
Choosing a half macro lens: what to check
Half macro lenses differ in ways that show up in use rather than on paper. The points below are worth checking against how you actually shoot.
Maximum magnification
The 1:1 versus 1:2 decision comes down to how much of the setting you want to keep. Choose higher magnification for pure detail, and 1:2 for detail with context. Look at sample images shot at the stated magnification rather than trusting the ratio on its own.
One point is worth clearing up, because it is widely misunderstood. Sensor size does not change magnification. A 1:2 lens projects the subject at half life size onto whatever sensor sits behind it. What changes is how much of that projection you keep. An APS-C sensor is smaller, so the subject occupies a larger proportion of the frame, and the same 1:2 lens therefore gives tighter framing on APS-C than on full frame at identical working distance. In practical terms, an APS-C camera makes a half macro lens frame roughly as a 1:1.3 lens would on full frame, with no change in optical magnification whatsoever. If you shoot APS-C, 1:2 goes further than the number suggests.
Minimum object distance and working distance
A shorter minimum object distance lets you get closer, which allows bolder framing and helps in confined spaces.
Check the working distance as well, because that is the figure which determines whether a lens is usable for a given subject. A wide half macro lens may focus to 10cm from the sensor, which after the barrel leaves only two or three centimetres in front of the glass. That is fine for a static object on a table and useless for an insect, and it makes lighting awkward because the lens shades its own subject. Longer focal lengths give more room at the same magnification.
Macro lens focal length: wide, standard and telephoto half macro
Focal length sets both the field of view and the way the background renders.
Wide lenses of 35mm or less, which is roughly 23mm or less on APS-C for the same view, take in subject and surroundings together and exaggerate perspective. They suit plants in a landscape and environmental detail. The 35mm half macro is the most popular of these, general enough to stay on the camera all day.
Standard lengths around 50mm, about 35mm on APS-C, give balanced framing with the least distortion, which is why they suit objects and food so well.
A telephoto half macro at 85mm or longer, roughly 56mm and up on APS-C, compresses the background into a smoother wash and keeps you further from the subject at any given magnification. That extra working distance is decisive for insects and for anything else that will move the moment you close in.
Maximum aperture
A wide maximum aperture such as f/2.8 helps in low light, allowing faster shutter speeds and reducing shake. It also gives shallower depth of field for stronger subject separation.
Bear in mind that you will rarely shoot a half macro wide open at close focus, because depth of field at 1:2 and f/2.8 is measured in millimetres. The wide aperture earns its place in the lens's other job, as a general-purpose prime.
Weight and size
A lighter lens is easier to hold steady, which directly affects sharpness at close focus, and easier to carry through a long day. Compact lenses are also less conspicuous, which helps for street and interior work where a large lens changes how people behave around you.
Autofocus performance
Autofocus matters less for macro than for most disciplines, since manual focus is the better technique at close range. It matters a great deal for everything else the lens does.
If you photograph moving subjects, such as butterflies in flight or a bee working between flowers, look for fast and decisive focus with a focus limiter switch, which stops the lens hunting through its full range. Quiet operation matters for wary subjects and for video.
Image stabilisation
Stabilisation is useful at close focus because small movements have outsized effects. Tamron's implementation is branded VC, or Vibration Compensation, and other systems work on the same principle.
Note that image stabilisation corrects angular shake rather than the forward and backward movement that shifts focus at close range, so it helps less at high magnification than at normal distances. It earns its place across the lens's wider use: handheld work in low light, video, and the general shooting a half macro prime does when it is not focused close. A lens that lets you adjust or switch off stabilisation is more flexible, since it should be off on a tripod.
Getting more out of a half macro lens
A half macro lens reaches 1:2 maximum magnification, recording subjects at half life size while leaving enough working distance and depth of field to stay practical. That combination makes it the most useful close-focus lens for most photographers, and a capable ordinary prime the rest of the time.
The subjects are already around you. Fynbos through winter, aloes when nothing else is in flower, insects in a garden after rain, the surfaces of objects you handle every day, food on a table. None of it requires a trip anywhere. Start with static subjects on a tripod to learn what 1:2 actually looks like, move on to plants, then to insects once the focusing technique has become automatic. The point of macro photography is not the equipment but the noticing: small things become worth photographing once you are carrying a lens that can record them.