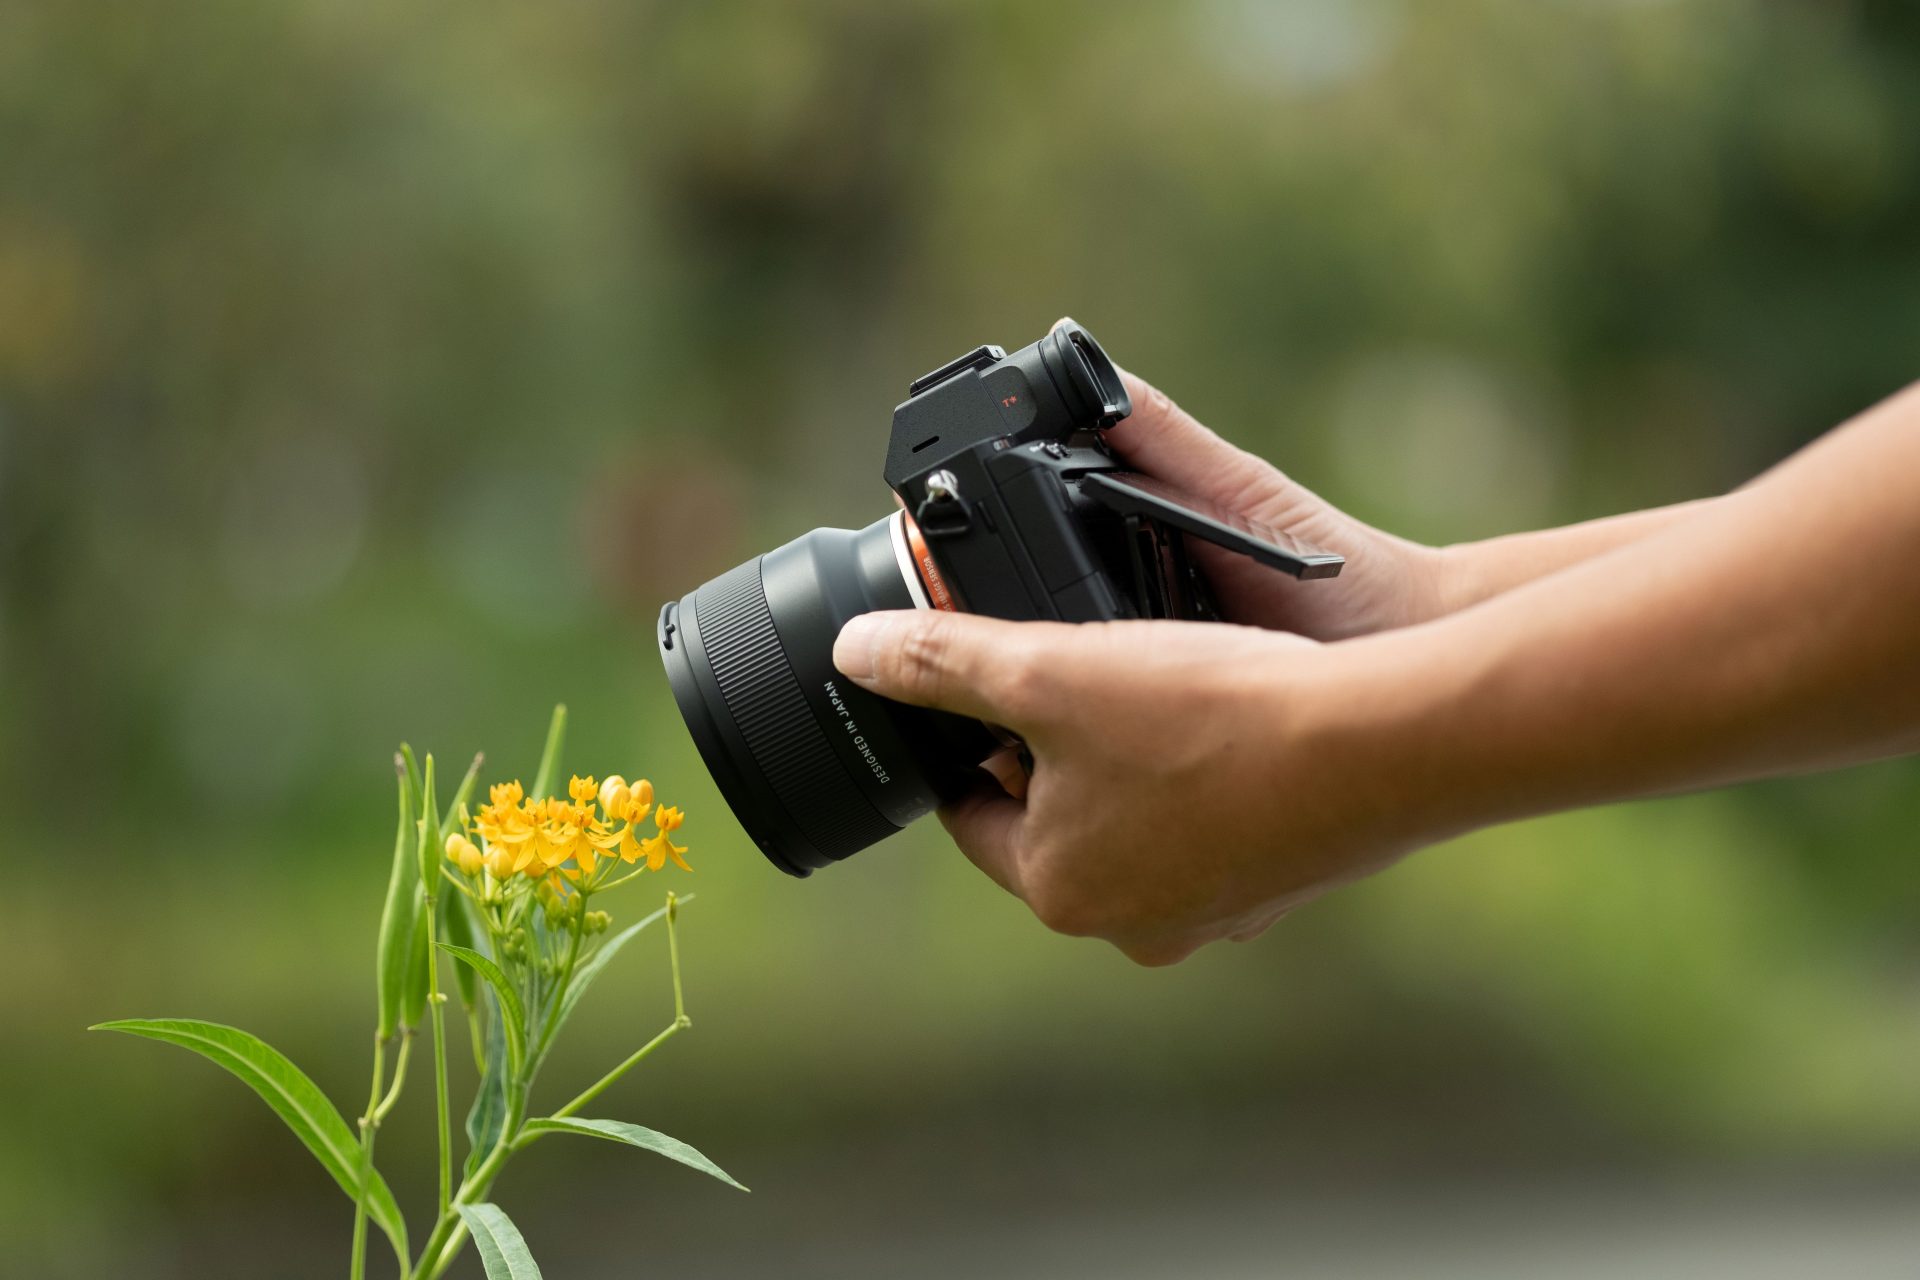
What is backlight photography? Characteristics, camera settings and creative techniques
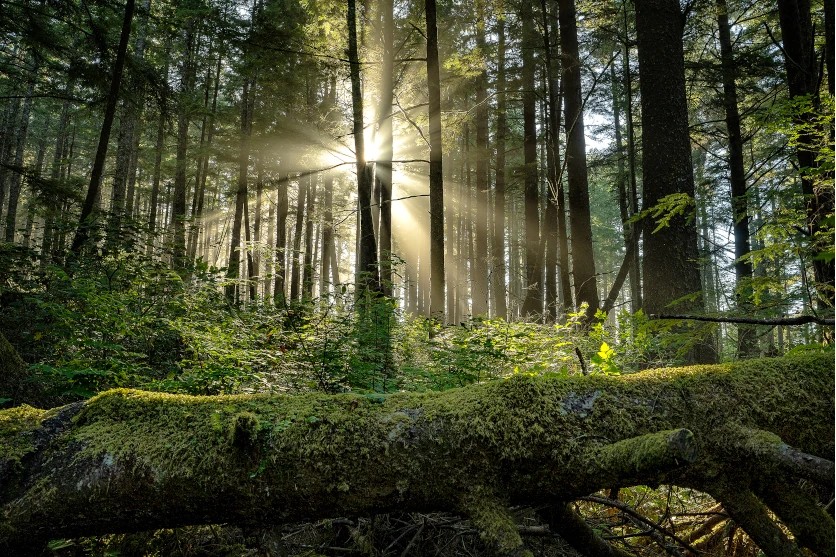
Step outside on a Highveld winter morning, turn towards the rising sun, and you will quickly see why backlight photography has such a devoted following. Low light filtering through dry, faintly dusty air outlines everything in its path, from grass stems to a passer-by’s hair. Pointing your lens towards the light can feel counter-intuitive at first, but once you understand the direction of light in photography and how your camera responds to it, backlight becomes one of the most rewarding tools available. This guide explains how backlight behaves, the two signature looks it produces, the camera settings that control it and how to apply it across five common subjects.
Backlight photography and the direction of light: front light vs backlight
Backlight photography and the direction of light
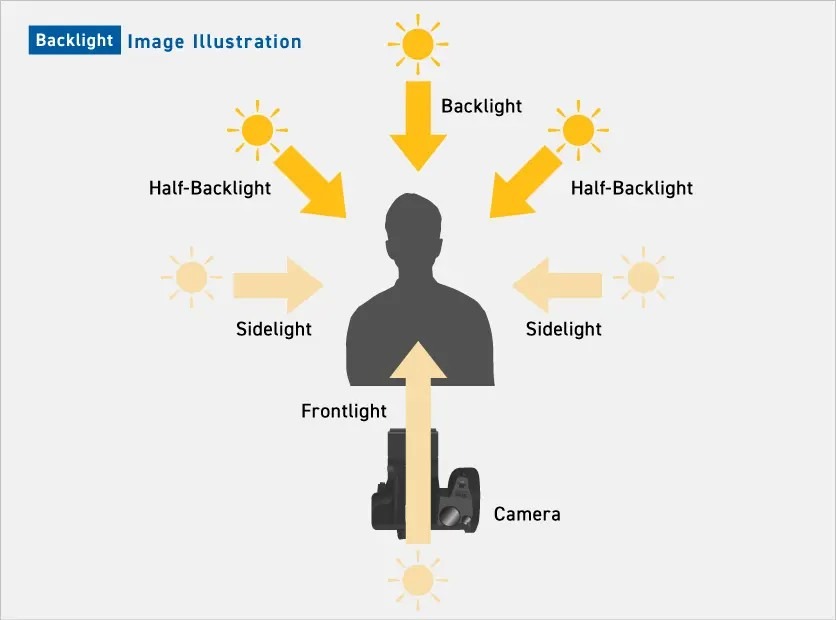
Photographers usually describe light by where it comes from relative to the camera. Front light falls on the subject from behind the photographer, giving even, shadow-free illumination but little sense of depth. Side light strikes from the left or right, carving out texture and form. Backlight arrives from behind the subject and points towards the lens, and this is where the front light vs backlight difference becomes most obvious: instead of revealing surfaces, backlight reveals edges. Between side light and full backlight sits three-quarter backlight (sometimes called half backlight in photography guides), where the light source is behind and slightly to one side, tracing the outline while still touching part of the subject’s face or form.
Timing matters as much as direction. Backlight photography is at its most forgiving within roughly an hour of sunrise and sunset, when the sun is low and its light is softer and warmer. In South Africa the midday sun sits to the north, so on a low-sun shoot you will generally face east in the early morning and west in the late afternoon to place the light behind your subject. As a guide, winter sunset in Gauteng falls at around 17:30 SAST, while in December the sun sets over Cape Town close to 19:55 SAST, giving long summer evenings on the coast.
What makes backlight photography distinctive
The defining quality of backlight is the way it traces outlines. As light wraps around the edges of a subject, it forms a bright rim that lifts the subject away from the background and gives the image a luminous, three-dimensional feel. In portraits, hair takes on a glowing halo; in plant photography, thin leaves and petals turn translucent, revealing veins and structure that front light would flatten.
The same light that creates this rim also leaves the side facing the camera in shadow. A person’s expression can disappear into darkness, and in a landscape the foreground may lose detail against a bright sky. You have two ways to respond: brighten the exposure to recover the shaded side, or darken it deliberately and let the subject fall into silhouette. Both are valid, and choosing between them is the first creative decision in any backlit scene.
Two creative looks unique to backlight photography
Backlight gives you one light source but two very different pictures, depending on which way you push the exposure. Understanding both lets you choose the result you want before you press the shutter.
Emphasising the silhouette in sunset backlight photography
Emphasising the silhouette
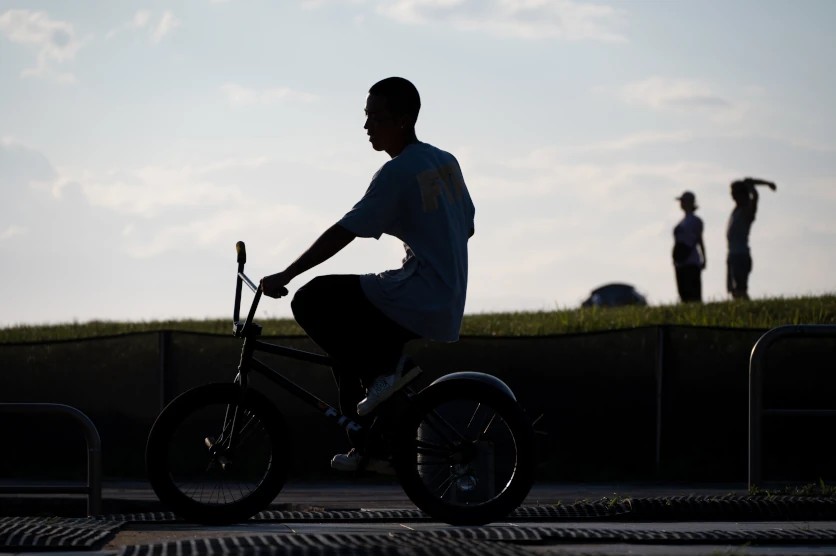
TAMRON 70-300mm F4.5-6.3 (Model A047) Focal length: 173mm Exposure: F6.3 Shutter Speed: 1/1000sec ISO: 100
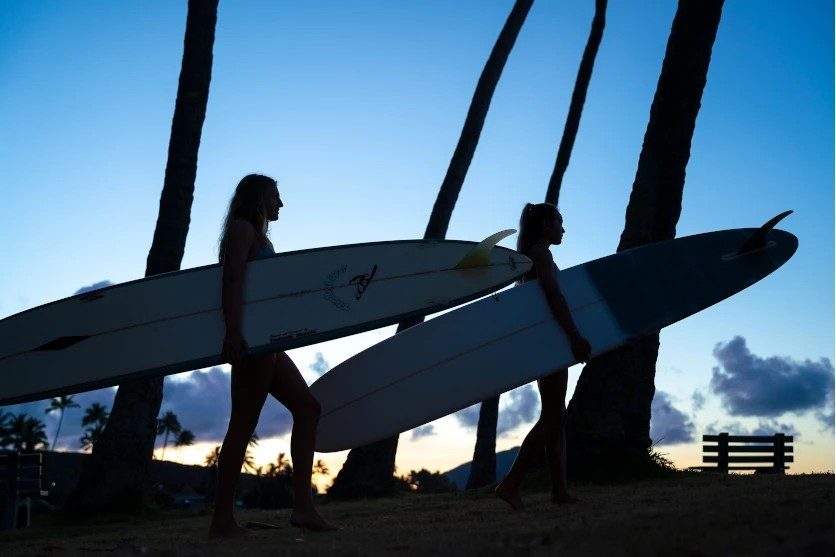
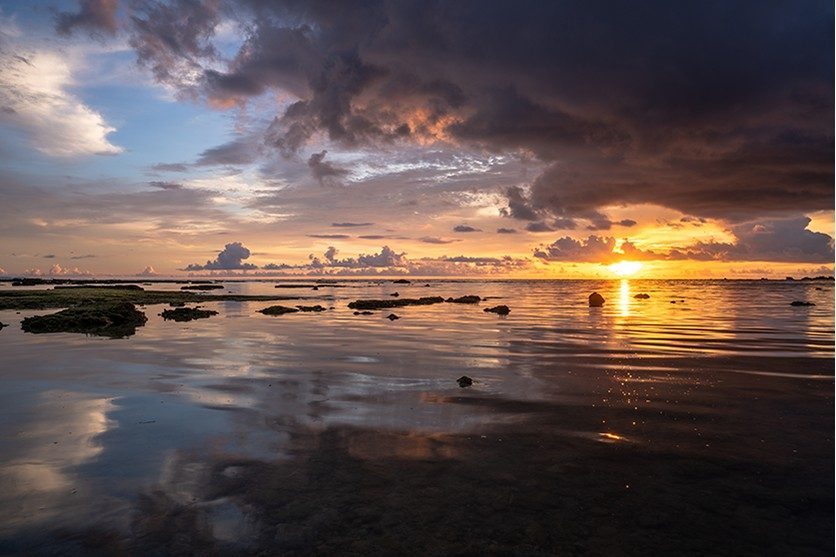
Underexpose a backlit scene and the subject becomes a solid dark shape against a glowing sky. This approach suits anything with a clear, recognisable outline: a person mid-stride, a row of buildings, a lone tree on a ridge. The Johannesburg skyline at dusk is a natural candidate for sunset backlight photography, with towers stacked in crisp black against an orange horizon. Club cricket offers another option, as a batter shaping up to play during a late-afternoon match makes a striking silhouette when photographed with the sun beyond them. The example here was captured at 173mm (around 260mm equivalent on an APS-C body); a longer focal length compresses the scene and makes the sun appear larger behind the subject. Keep outlines well separated, because overlapping shapes merge into an unreadable mass once detail disappears.
Creating warm, soft light around the subject
Creating warm, soft light

TAMRON 90mm F2.8 MACRO (Model F072) Focal length: 90mm Exposure: F16 Shutter Speed: 1/1000sec ISO: 800
Push the exposure brighter instead, and the same backlight surrounds the subject with a soft, luminous glow. Shadows lift, highlights bloom gently and the whole frame takes on an airy warmth. This is the look behind many stylish backlight photos, and it works particularly well with translucent subjects such as petals, leaves and fine hair. Late-afternoon light filtering between vineyard rows in the Winelands creates exactly this effect, with each leaf glowing gold at its edges. In backlight portrait photography, try it with a subject photographed in profile or from behind, where the rim of light defines the figure without needing a fully lit face. The example was shot at F16 on a 90mm macro lens (about 135mm equivalent on APS-C): stopping down keeps the backlit petals sharp from front to back, while the brighter exposure preserves the soft mood.
Key points for successful backlight photography
Strong backlit images rarely happen by accident. Settling three things before you shoot, namely the result you want, the exposure that will deliver it and the composition that will showcase it, makes the difference between a washed-out frame and a memorable one.
Decide on the image before you shoot
Decide on the image
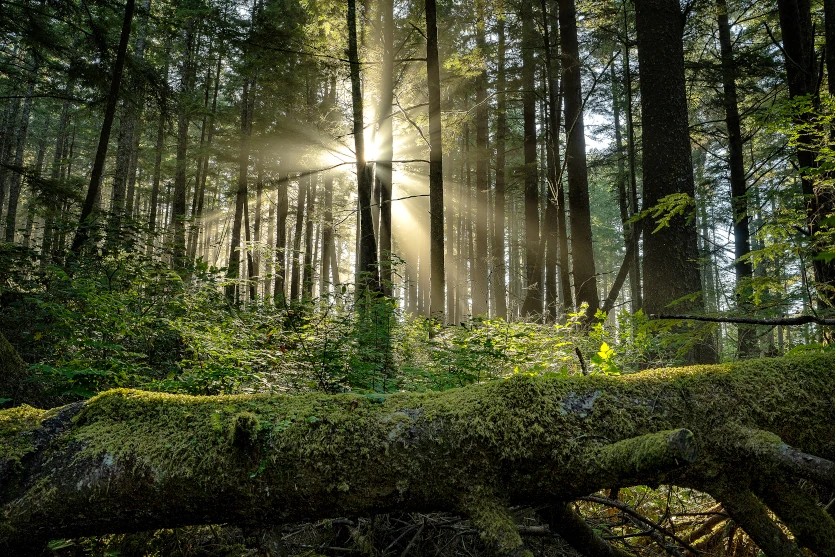
TAMRON 17-50mm F4 (Model A068) Focal length: 23mm Exposure: F11 Shutter Speed: 1/20sec ISO: 200
Start by picturing the finished photograph. Should the subject become a silhouette, be wrapped in a soft glow, or keep a clearly visible face framed by a bright rim? Each outcome calls for different settings, a different angle and sometimes a different time of day, so deciding early saves a great deal of trial and error. The example here, taken at 23mm (roughly 35mm equivalent on APS-C) with a slow 1/20sec shutter speed, shows how a clear plan lets you commit to settings with confidence.
Light quality also shifts through the year. Between December and February the midday sun is high and harsh, so backlit work is best kept to early mornings and evenings. From June to August, dry Highveld air produces crisp, clean light, with a faint dust haze near the horizon that turns the low sun a deep amber. In the Western Cape, winter brings rain, and the light immediately after a front clears is exceptionally clean and saturated. Morning light also tends to feel cooler and more neutral, while evening light is warmer and more dramatic, so factor these differences into your planning.
Backlight camera settings: exposure guidelines
Exposure decisions shape a backlit image more than almost anything else. The guidelines below cover the core backlight camera settings, but no single combination suits every scene. Whatever backlight settings you choose, check the histogram after each test shot to confirm that highlights are not clipping and shadows are not blocking up.
Aperture: choosing the F-number
Let the look you are after guide your aperture. For a silhouette, F8 to F11 gives crisp outlines and enough depth of field to keep the whole shape sharp. Stopping down this far also turns the sun into a starburst when it is partly hidden behind an edge. For a soft, glowing effect with a blurred background, open up to around F2.8 to F4 so that the subject and its rim light stand clear of their surroundings. Soft light is not limited to wide apertures, though: as the F16 example above shows, a smaller aperture can keep a close subject fully sharp while the brighter exposure creates the glow.
Shutter speed: balancing sharpness and brightness
A faster shutter speed freezes movement, which helps with drifting hair, swaying grass or a moving subject, but it also lets in less light. In manual mode, you balance that loss by opening the aperture or raising ISO. In aperture-priority or shutter-priority mode, the camera compensates automatically, and exposure compensation becomes your tool for fine-tuning brightness. Slower speeds suit static scenes and give you more room to keep ISO low.
ISO sensitivity: keeping noise under control
For the cleanest results, keep ISO between 100 and 400 wherever the light allows. Low ISO values minimise noise and hold fine detail in the rim light. If you need a brighter exposure to show a shaded face or foreground and cannot slow the shutter or open the aperture any further, raising ISO is a reasonable choice. Bear in mind that it brightens the whole frame rather than just the shadows, and adds noise with each step.
Exposure compensation for backlit subjects
Camera meters are easily fooled by a bright background, and in backlit scenes they tend to underexpose the subject. Some cameras include a dedicated backlight scene mode for this situation, but the most dependable form of camera backlight compensation is standard exposure compensation. Dial in +1 to +2 EV to reveal a person’s expression in a portrait, or –1 to –2 EV to deepen a silhouette and hold detail in a bright sky. Adjust in small steps and review each result, as the ideal value depends on how much of the frame the light source occupies.
Shift the mood with white balance
White balance controls the colour temperature of your image, and adjusting it is one of the simplest ways to change how a backlit photograph feels. Auto white balance is a sensible starting point, but it often neutralises the very warmth that makes low-sun light so appealing.
Switching to the Cloudy or Shade preset adds warmer, amber tones that suit a Cape coastline sunset or a gentle evening portrait. For a Highveld winter dawn, the Daylight preset or a slightly cooler custom value preserves the crisp, clean mood of the morning. If you shoot in RAW, you can refine white balance afterwards without any loss of quality.
Find a composition that lets the subject stand out
Direction, angle and background all influence how a backlit subject reads. Familiar techniques such as the rule of thirds and diagonal lines help you place the subject where the rim light has the greatest impact. Move around before you commit: a small step to the left or right changes where the light strikes and how the background falls behind the subject. On Durban’s beachfront at sunrise, for example, the Indian Ocean faces east, so the rising sun sits directly behind anything at the water’s edge.
When the light source is as strong as the sun, it is usually easier to keep it just outside the frame. As your confidence grows, try including it, either partly hidden behind an edge or sitting low on the horizon. A lens hood cuts stray light when the sun is just beyond the frame, and it pays to watch for flare and ghosting whenever the sun enters the composition.
Backlight photography techniques for different scenes
Backlight adapts to almost any subject. The approaches below show how to make the most of it in five common situations.
Food: bringing out texture and sheen
Food photographers rely heavily on backlight and side light, because both reveal texture and surface sheen. Light passing through transparent or translucent items is especially effective: a glass of iced rooibos glows amber, naartjie segments light up from within, and the syrup coating on a koeksister catches bright highlights.
Placing the main light behind and slightly to one side of the plate also builds depth. Highlights along the rims of dishes and the edges of ingredients separate them from the background, making the food look fresher and more appetising. A small white card in front of the dish lifts the shadows on the camera side without losing the backlit sparkle.
Backlit portraits
Backlit portraits

TAMRON 70-300mm F4.5-6.3 (Model A047) Focal length: 300mm Exposure: F6.3 Shutter Speed: 1/320sec ISO: 800
Backlight gives portraits an instant sense of atmosphere. Light running along hair, shoulders and clothing creates a bright outline that separates the subject from the background and adds emotional depth to the frame. The Atlantic-facing beaches of the Cape coastline are ideal for backlight portrait photography, with the sun setting over the sea behind your subject. Because the face falls into shadow, apply positive exposure compensation or use a reflector to keep expressions visible.
Lightweight fabrics and loose hair respond beautifully to backlight, catching the light as they move. Ask your subject to turn slowly, walk towards you or let a breeze lift their hair, and shoot a sequence to capture the moment when the light is at its best. This example was shot at 300mm (around 450mm equivalent on APS-C), where the long focal length compresses the background into a smooth wash of warm colour.
Landscapes: sunrays and depth
Landscapes
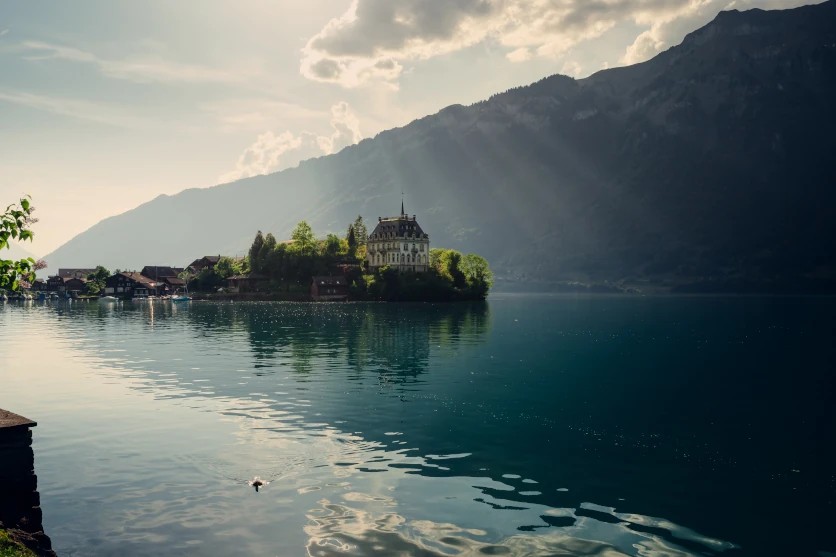
TAMRON 20-40mm F2.8 (Model A062) Focal length: 32mm Exposure: F11 Shutter Speed: 1/320sec ISO: 100
In landscape work, backlight emphasises outlines, layers and depth. A wide-angle or wide standard zoom lets you build compositions that lead from foreground to horizon, with each ridge and tree line picked out by the light. The example was taken at 32mm (about 48mm equivalent on APS-C) and F11 for front-to-back sharpness.
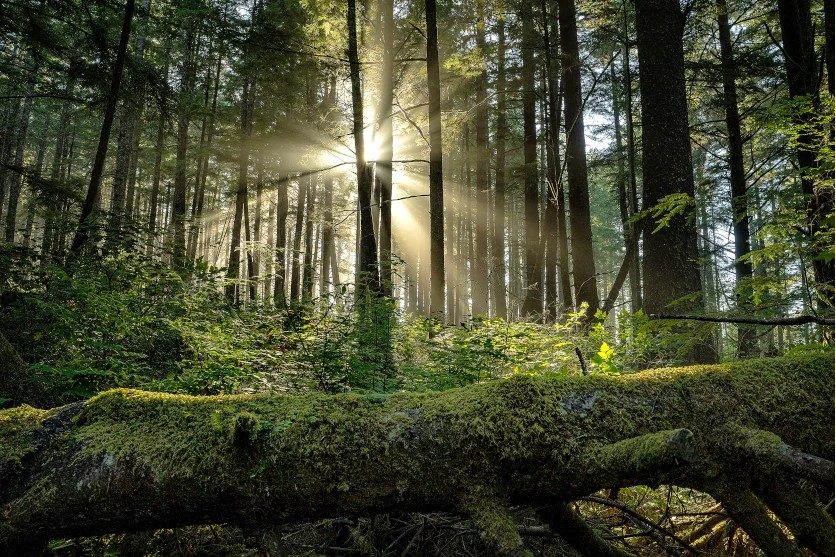
At sunrise and sunset, sunlight scatters off moisture and dust in the air to form visible sunrays. A Drakensberg sunrise, with mist lying in the valleys, is a prime setting, as the low sun pushes shafts of light between the peaks. The same principle applies to sunset backlight photography on the Highveld in winter, when dust in the dry air makes rays especially pronounced. Look for smaller details too: light glinting on water or catching dew on grass can add sparkle to a wider scene.
Plants and flowers: lighting veins and petals from behind
Plants and flowers
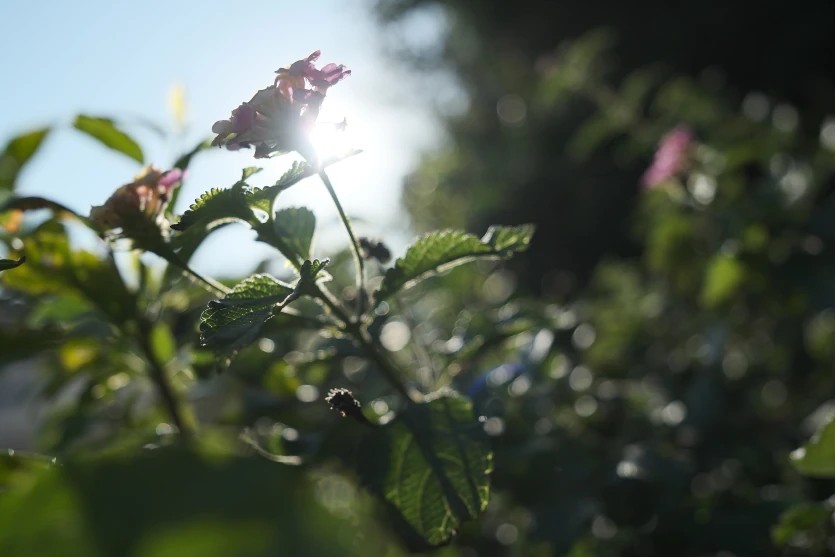
TAMRON 11-20mm F2.8 (Model B060) Focal length: 20mm Exposure: F2.8 Shutter Speed: 1/6000sec ISO: 500
Backlight brings plants to life. Light shining through leaves and petals exposes fine veins and textures, giving the subject a fresh, vibrant quality. The papery bracts of a protea glow when lit from behind, fynbos stems gain a fine bright outline, and in October the jacaranda blooms of Pretoria turn a luminous violet against the sky.
There are two effective ways to work close. A wide-angle lens with good close-focus ability, as used here at 20mm on an APS-C lens (around 30mm equivalent in full-frame terms, or 32mm on Canon RF), lets you fill the foreground with a backlit flower while still showing its surroundings. A macro lens takes you closer still, isolating a single petal or leaf. In both cases, a wide aperture blurs the background and makes the lit contours stand out.
Architecture: shape against the sky
Architecture
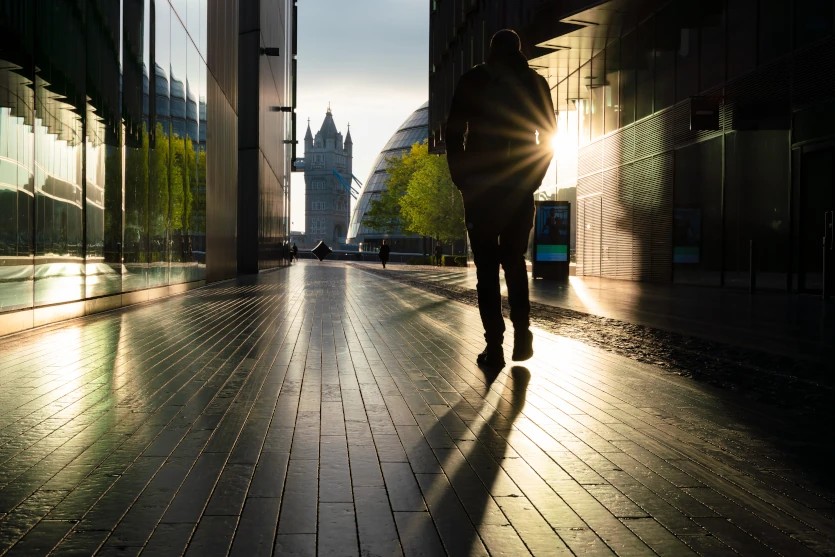
TAMRON 20-40mm F2.8 (Model A062) Focal length: 40mm Exposure: F13 Shutter Speed: 1/100sec ISO: 100
Photographing buildings against the light draws attention to their form and outline. Placing a structure in front of the rising or setting sun creates strong contrast between the bright sky and the darkened façade. The curved gables of Cape Dutch buildings in the Winelands make elegant silhouettes, while Durban’s beachfront towers at sunrise offer a bold, modern skyline. This frame was shot at 40mm (around 60mm equivalent on APS-C) and F13 to keep every edge sharp.
Make the most of architectural geometry by building diagonals and triangular arrangements into the frame. Rooflines, stairways and window grids interact with backlight to create patterns of light and shadow that give the image structure.
Lens technology that controls ghosting and flare in backlight photography
Shooting towards a bright light source increases the risk of flare and ghosting, both caused by light reflecting between lens elements. Flare appears as a veil of haze that lowers contrast across the image, while ghosting shows up as distinct coloured shapes, often echoing the shape of the lens aperture. Used deliberately, either can add atmosphere, but when they appear by accident they can undermine an otherwise strong photograph.
TAMRON lenses use advanced coating technology, including BBAR-G2 (Broad-Band Anti-Reflection Generation 2), to greatly reduce reflections on lens surfaces. Combined with optical designs that limit internal reflections, this helps maintain contrast and clarity even with the sun in or near the frame. A lens hood, as mentioned earlier, adds a further layer of protection against stray light.
Recommended TAMRON lenses for backlight photography
Thanks to their optical design and coating technology, TAMRON lenses keep ghosting and flare in check and deliver sharp, clear rendering when shooting into the light. Whether you are photographing food, portraits, landscapes, plants or architecture, they help you capture backlit scenes with confidence.
Mastering backlight photography: letting light lift your images
Backlight photography rewards a little planning. Decide on the look you want, set the exposure to match (darker for silhouettes, brighter for a soft glow) and time your shoot for the light that best suits your subject. From winter dawns on the Highveld to summer evenings on the Cape coast and misty sunrises in the Drakensberg, the changing seasons offer endless variations to explore. Head out, turn towards the light and discover how it shapes each scene.