What is a RAW photo? RAW shooting explained: advantages, drawbacks and RAW vs JPEG
Picture a summer thunderstorm rolling across the Highveld at sunset, the sky shifting from deep purple to copper within minutes. Capture it as a JPEG and those subtle colours can band or burn out; capture it as a RAW photo and you keep far more information to work with later. Choosing between the two is one of the first decisions in RAW shooting. This guide explains how the two differ, the strengths and weaknesses of each, how processing works and the scenes where RAW makes the biggest difference.
What is a RAW photo, and what is RAW shooting?
A RAW photo is a file containing the data recorded by the camera’s image sensor before it has been turned into a finished image. Each photosite on the sensor sits beneath a red, green or blue filter and records a single brightness value; the full-colour picture is only created later, when software combines those values in a step known as demosaicing. Because nothing has yet been fixed in place, a RAW file is often compared to a film negative: it holds the potential of the image rather than the final result.
RAW shooting simply means setting the camera to record in this format, and its value lies in the freedom it gives you afterwards. Exposure and colour can be adjusted far more extensively than with a JPEG, bringing the result closer to what you actually saw. The glowing gradations of a storm-lit sky, or the shadowed face of a subject backlit against the sea on the Cape coast, are exactly the kind of tones RAW holds on to.
RAW vs JPEG: how a RAW photo differs
A useful way to think about RAW vs JPEG is to compare a plated meal with a basket of ingredients. A JPEG has already been prepared by the camera’s processor, with sharpening, colour and contrast applied, while a RAW file is the raw material waiting for you to decide how it should be finished. Three differences matter most in practice.
File size and storage
Because a RAW file keeps all of the sensor’s data, it is considerably larger than a JPEG. On a 24-megapixel camera, a high-quality JPEG is typically around 8MB to 12MB, while a RAW file usually falls between 20MB and 30MB, and sometimes more. Most cameras let you fine-tune this in their RAW settings, offering uncompressed, lossless-compressed or compressed RAW. Lossless compression saves space with no loss of quality, while compressed RAW trims file size further with a minimal, rarely visible trade-off. Whichever you choose, allow for larger memory cards and plan how you will back up your files.
RAW editing flexibility and bit depth
The biggest practical gain from RAW editing is the amount of tonal and colour information available. A JPEG stores 8 bits per colour channel, equal to 256 levels of brightness, and has already had a tone curve applied in-camera. A RAW file typically holds 12-bit or 14-bit data, giving 4,096 or 16,384 levels per channel. That extra depth keeps gradations smooth and lets adjustments go much further before banding or noise appear.
In practice, an underexposed RAW file can often be brightened by a stop or more without falling apart, and white balance can be set freely after the event. You can leave the camera on auto white balance during a shoot and choose the exact colour temperature later.
Most RAW editing software also works non-destructively, storing your adjustments separately so the original file is never altered. JPEGs, by contrast, lose a little quality each time they are edited and re-saved, because the file is recompressed with every save.
Speed and convenience
The trade-off for all that flexibility is time. A RAW file can be previewed on the camera and on most computers, but it cannot be shared, uploaded or printed as a standard image until it has been processed and exported.
JPEG’s great strength is immediacy. Straight after shooting, you can send a JPEG to your phone, post it to social media or hand it to a print service without any further work.
Advantages of RAW: what a RAW photo lets you recover
The main advantages of RAW all come back to control after the shot. Exposure is the most obvious: if a frame looks slightly too dark on screen, a RAW photo gives you considerable room to brighten it while keeping detail in both highlights and shadows. Bright skies can likewise be pulled back rather than left flat white.
Colour is the second major benefit. If the white balance was wrong on the day, or you simply want a different mood, RAW lets you change it without penalty. This is invaluable under mixed lighting, such as a braai at dusk, where the warm glow of the fire meets the cool blue of the evening sky. RAW lets you balance the two yourself.
Disadvantages of the RAW photo format
The drawbacks are practical rather than creative. At several tens of megabytes per file, a busy day of RAW shooting fills storage quickly.
Every RAW photo also needs processing in RAW development software before it can be shared, which makes the format less suited to situations where images are needed straight away.
Larger files can also affect continuous shooting. The frame rate usually stays the same, but the camera’s buffer fills sooner, so it may slow down after a shorter burst while it writes data to the card. For fast action, such as a rugby line-out, a bowler’s delivery stride or a pied kingfisher hovering over a KwaZulu-Natal estuary, check how many RAW frames your camera can capture before the buffer fills.
What is RAW development? Processing a RAW photo step by step
RAW development is the process of converting sensor data into a viewable, shareable image. It takes place in dedicated software, including the free converters supplied by many camera manufacturers, and ranges from basic corrections to exposure and white balance through to advanced controls such as noise reduction and sharpening.
A reliable workflow starts with the fundamentals. Set exposure and white balance first, since every later decision depends on them. Next, refine highlights and shadows to shape the tonal range, then finish with colour adjustments and detail work. Once you find settings you like, save them as a preset. Applying the same preset to a full day’s shoot along the Garden Route, for example, gives the whole series a consistent look in a fraction of the time.
A JPEG goes through similar processing, but the camera does it automatically at the moment of capture, leaving far less room for fine-tuning later.
RAW shooting tips: scenes where a RAW photo pays off
For everyday snapshots, JPEG is usually perfectly adequate. When a shot really matters, or conditions leave little margin for error, set your camera to RAW+JPEG. You get a JPEG for quick sharing and a RAW file for the final edit. The scenes below benefit most.
Landscapes: holding sky and ground together
Landscapes
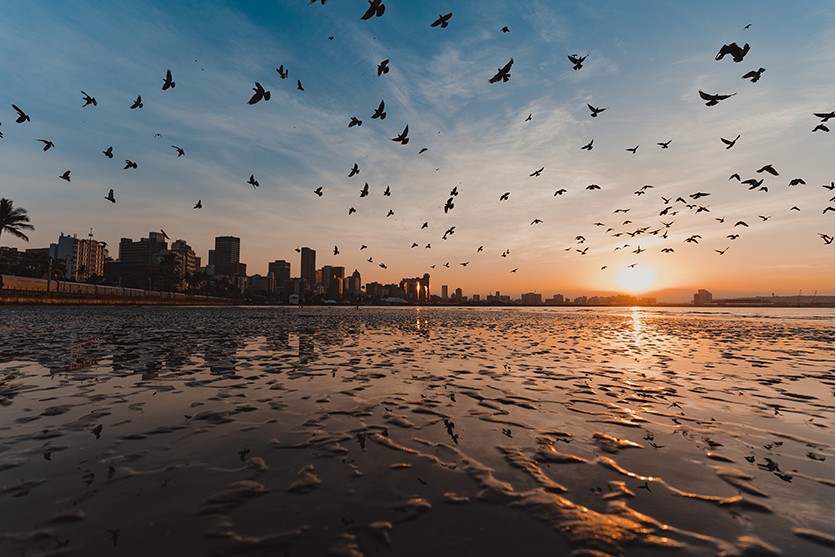
TAMRON 11-20mm F2.8 (Model B060) Focal length: 11mm Exposure: F2.8 Shutter Speed: 1/1000sec ISO: 80
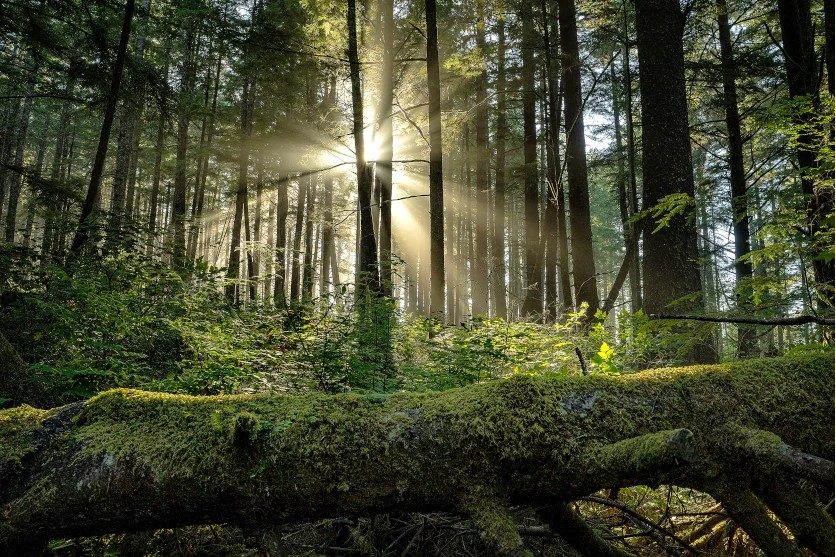
Landscapes are among the strongest arguments for RAW. At sunrise or sunset, the brightness gap between sky and land can be too wide for a JPEG to hold. During a Drakensberg sunrise, for instance, you can expose to protect the glowing sky, then lift the shadowed foothills in processing while keeping the sky’s colour intact. This example was captured at 11mm on an APS-C lens, equivalent to around 16.5mm in full-frame terms (17.6mm on Canon RF).
RAW also excels with subtle gradations. The colours of the sky mirrored in a Garden Route estuary, or the rounded shading of clouds, transition smoothly without banding. Dappled sun falling through Magaliesberg woodland is another high-contrast scene where RAW keeps both bright patches and deep shade under control.
Portraits: natural skin tones and backlit faces
Portraits
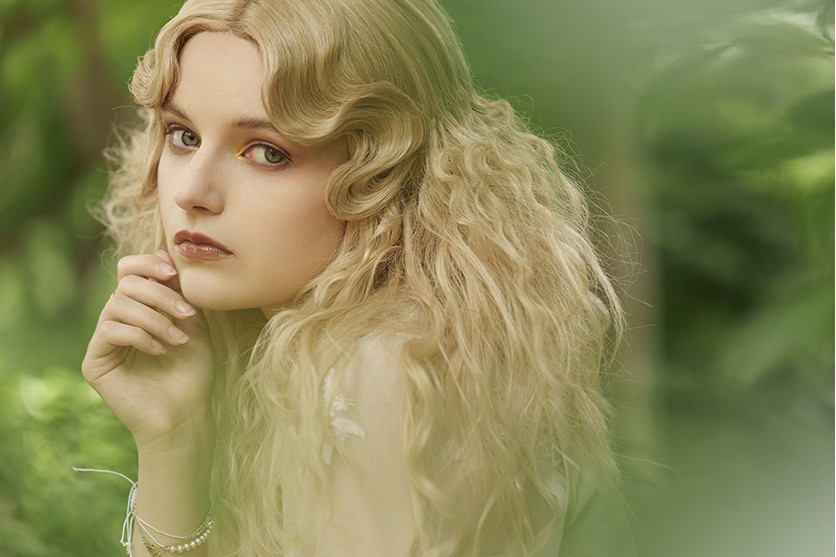
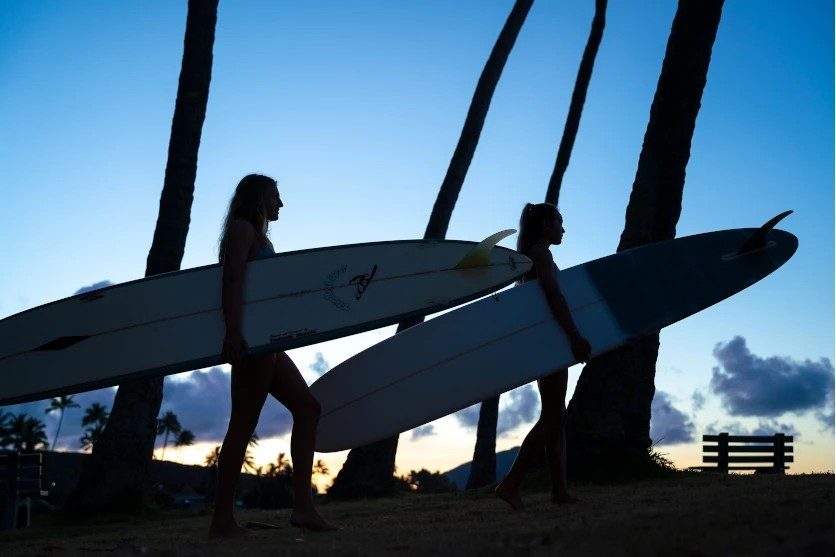
TAMRON 70-180mm F2.8 G2 (Model A065) Focal length: 116mm Exposure: F2.8 Shutter Speed: 1/250sec ISO: 200
Skin tones and texture are central to portraiture, and RAW gives you the precision to render them naturally. Shooting beneath Pretoria’s jacarandas in October is a good test: the violet canopy casts a tint across the subject’s skin, which a RAW file lets you neutralise without dulling the blooms. RAW is equally valuable for backlit portraits, where you can recover the subject’s face while keeping control of a bright background. The example was shot at 116mm (about 174mm equivalent on APS-C).
Fine details such as catchlights in the eyes also benefit. The resolution is the same as a JPEG, but the greater tonal depth keeps highlights crisp and gradations smooth, strengthening the subject’s presence in the frame.
Low-light and high-contrast scenes
Low-light and high-contrast scenes
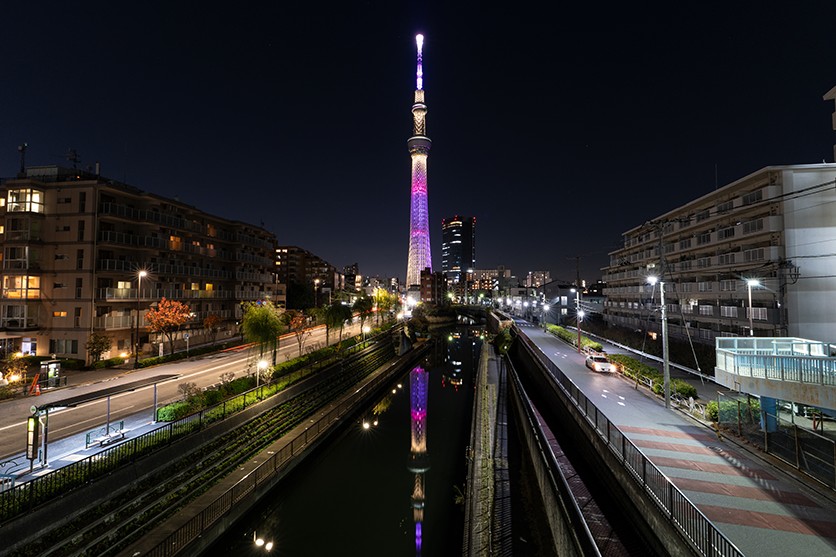
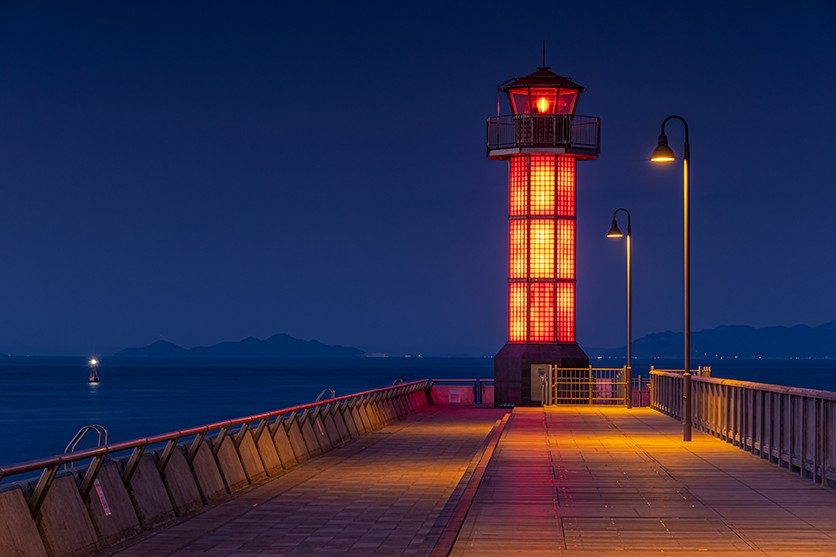
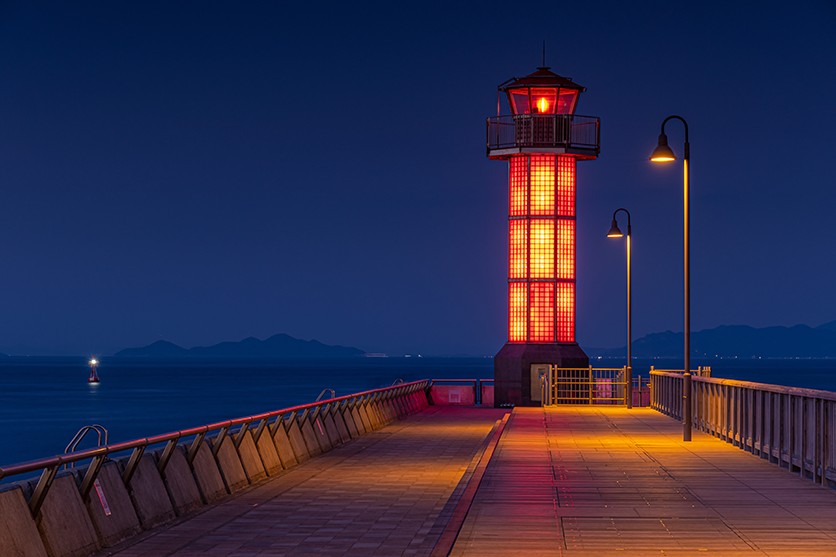
TAMRON 17-50mm F4 (Model A068) Focal length: 17mm Exposure: F11 Shutter Speed: 6sec ISO: 400
RAW comes into its own in dim or contrasty conditions. For night scenes, such as Johannesburg’s city lights after dusk, it lets you protect bright light sources while retaining detail in darker areas. RAW does not reduce noise by itself, but it gives you much finer control over noise reduction during processing. This frame used a 6-second exposure at 17mm (around 25.5mm equivalent on APS-C).
Strong interior contrast, such as sunlight streaming through a window into a dim room, is another case where RAW keeps both light and shadow looking natural.
When mistakes are costly and conditions are difficult, RAW provides a valuable safety margin. Floodlit rugby in Durban, indoor netball under hall lighting and a Winelands wedding reception all combine low light with mixed colour temperatures, and a RAW file lets you correct both afterwards.
Fine-tuning for your final look
Fine-tuning for your final look
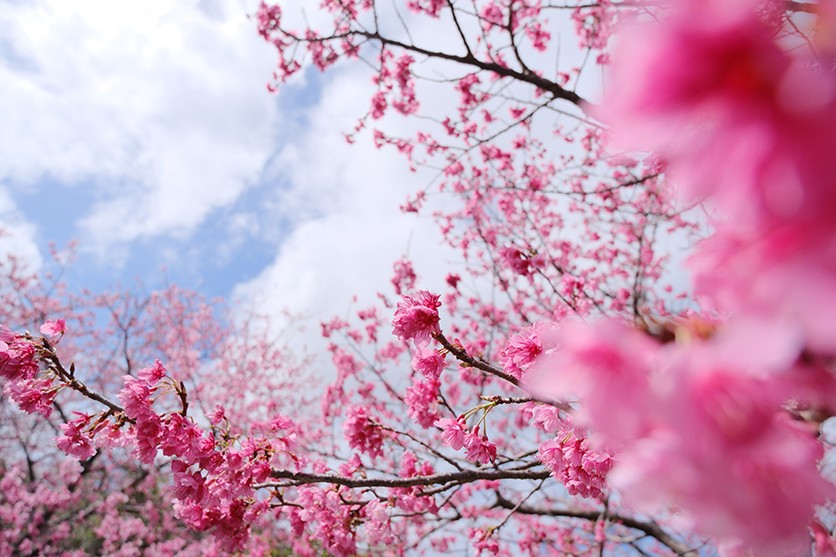
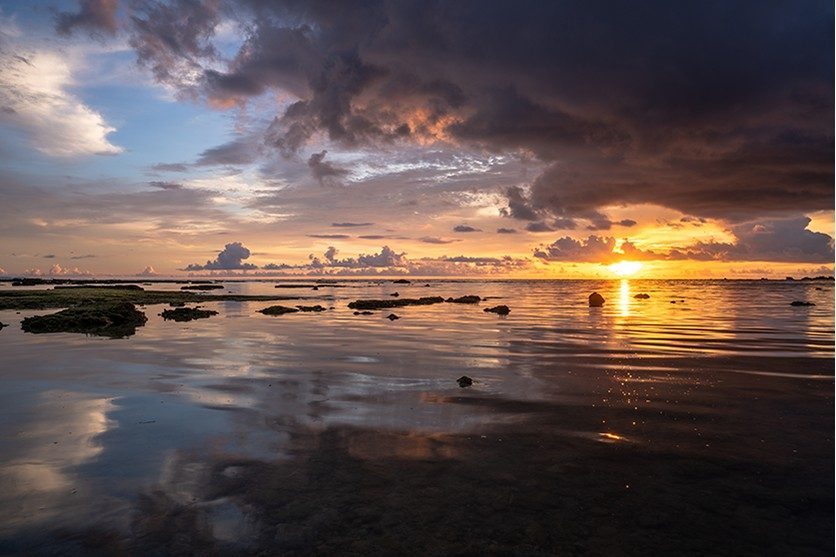
TAMRON 11-20mm F2.8 (Model B060) Focal length: 11mm Exposure: F2.8 Shutter Speed: 1/6400sec ISO: 640
RAW lets you shape the final image to suit its purpose. An Atlantic seaboard sunset could be given punchy contrast for social media, or processed with careful sharpening for a large print. Black-and-white conversion benefits too: the full colour information in a RAW file lets you control how each colour translates into grey, adding depth to the sculpted rock formations of the Cederberg. This example was shot at 11mm on an APS-C lens (around 16.5mm full-frame equivalent).
Because the original file is never altered, you can try several edits of the same image and compare them side by side.
Getting the best from every RAW photo
A RAW photo records everything your sensor captures, giving you the freedom to fine-tune exposure, white balance and colour long after you press the shutter. It asks more of your storage and your time, but for landscapes, portraits and difficult light, the extra control is well worth it. Start by switching to RAW+JPEG for your next important shoot, process one image using the steps above, and compare it with the camera’s own JPEG.