| September 25, 2026
 South Africa's #1 Mobile Protection Brand
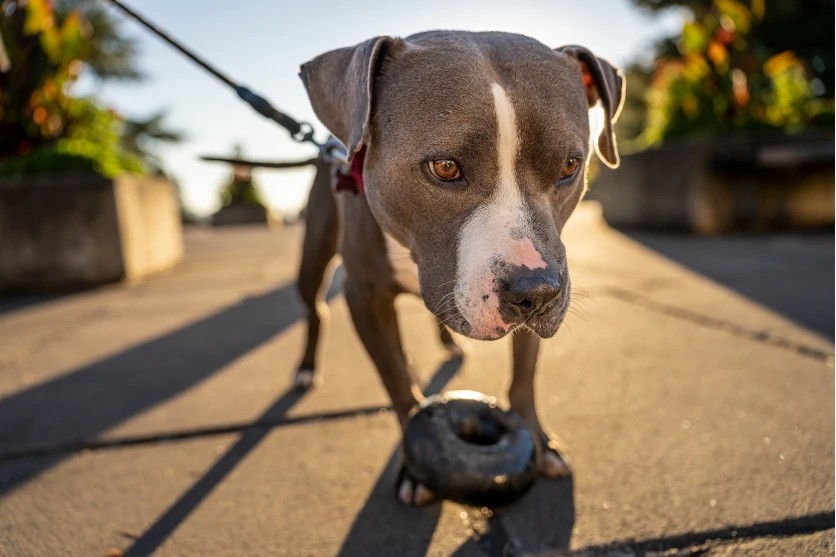
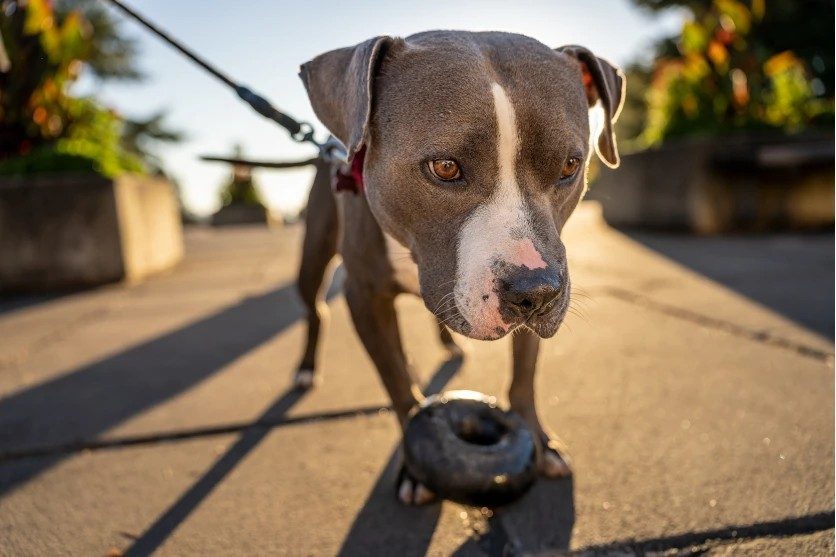
Photograph the same protea three times: once from above, once at eye level and once from the ground looking up. You will end up with three quite different images, each with its own sense of depth, scale and energy. Camera angles and positions cost nothing, yet they change the story a picture tells. This guide explains the main angles and positions, how they differ from a lens’s field of view, how to combine them with composition and how to apply them to popular subjects.
What are camera angles?
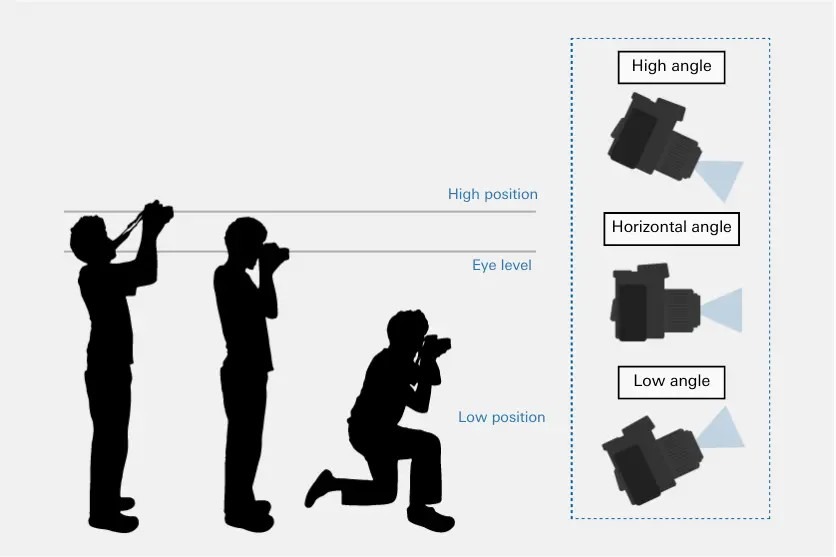
A camera angle is the direction in which the lens is tilted when you take a picture. Pointing it down, holding it level or tilting it up can change the impression of the same subject dramatically. There are several types of angles, but most photography builds on three: high, horizontal and low.
High-angle photography means shooting from above with the camera tilted downwards, and it is ideal for showing scale and layout. From a high vantage point over Johannesburg, the city spreads out towards the horizon, while a Drakensberg escarpment viewpoint reveals valleys and ridges stretching into the distance. Closer to the ground, a high angle shows a small flower or insect in relation to its surroundings. It is also effective for repeating patterns, such as carpets of vygies flowering along the West Coast in spring.
With a horizontal angle, the camera is held level, parallel to the ground. The result looks natural and honest, which suits portraits and snapshots where you want an unembellished feel. A level camera also keeps horizontal and vertical lines true, making it the best choice for a flat Karoo horizon or the clean edges of a building.
A low angle, sometimes called an upward angle, places the camera below the subject and tilts it up. Tall buildings and large structures gain presence and power this way, towering over the viewer. In portraits, a low angle gives the subject a strong, confident look. Shooting a protea from just below its flower head, with sky behind, turns a modest subject into something bold.
Camera positions
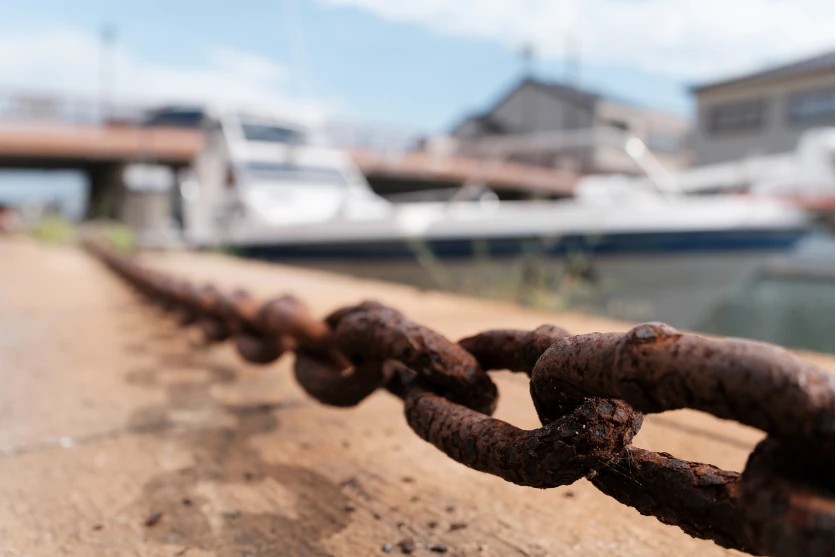
TAMRON 18-300mm F3.5-6.3 (Model B061) Focal length: 18mm Exposure: F3.5 Shutter Speed: 1/1400sec ISO: 160
Where angle describes tilt, position describes the height of the camera. The two work together, and changing position can transform a photo as much as changing the angle. The three key positions are high position, eye level and low position. The example here was captured at 18mm on an APS-C lens, equivalent to around 27mm in full-frame terms.
A high position places the camera above your own eye level, whether you are holding it overhead, standing on steps or shooting from an elevated spot. It shows how elements in the frame relate to one another and is especially useful in crowded places, such as a busy craft market, where it lets you see over people’s heads. A tilting rear screen makes this much easier.
At eye level, the camera is aligned with the subject’s eyes. This is the most natural and relatable viewpoint, and for most photographers it is the default portrait angle, creating a sense of intimacy and connection. In landscapes, standing eye level mirrors how we see the world, placing viewers in the scene.
A low position brings the camera down close to the ground. It is the natural choice for children, pets and small flowers, because it meets them on their own level and reveals details you would never notice from standing height. A dog running along the beach, for example, looks far more engaging photographed at its own eye level. In landscapes, a low position enlarges foreground detail and adds a strong sense of depth and space.
Angle and field of view both involve angles, so they are easily confused, but they describe different things. A camera angle is the direction in which you tilt the camera. Field of view is how much of a scene the lens and sensor capture, while angle of view expresses that same coverage in degrees.
Field of view depends on two factors: focal length and sensor size. A wide-angle lens takes in a broad sweep, while a telephoto lens captures a narrow slice. The same lens also covers less of the scene on an APS-C camera than on a full-frame one, which is why APS-C focal lengths are often quoted with a full-frame equivalent. Keeping angle vs field of view clear in your mind helps you decide whether to change your viewpoint or your lens.
Camera angles are most effective when combined with established composition techniques. Here is how photo composition by angle works with five well-known layouts.
Diagonal composition
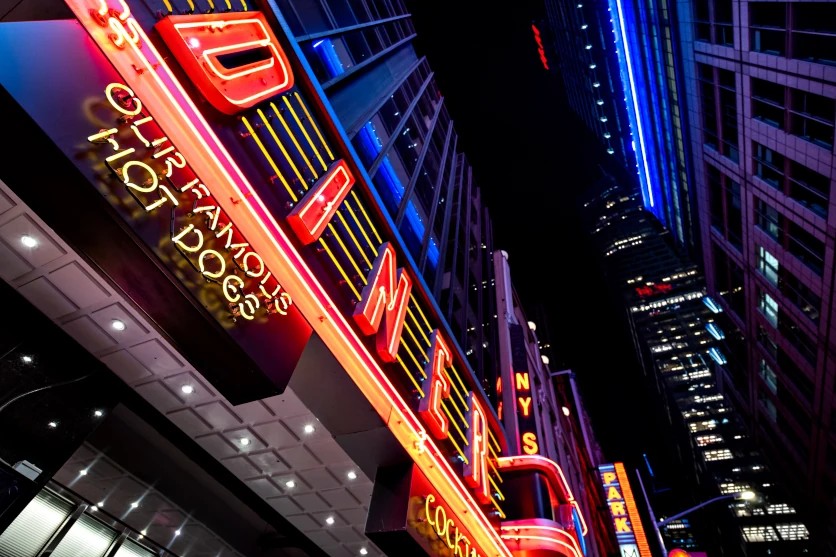
TAMRON 11-20mm F2.8 (Model B060) Focal length: 11mm Exposure: F2.8 Shutter Speed: 1/45sec ISO: 500
Diagonal composition places the subject or key lines along a diagonal of the frame, adding depth and a sense of movement. The steep streets on the slopes above Cape Town’s city centre are ideal, with roads and rooftops cutting across the frame. Choosing a diagonal angle and combining it with a low angle emphasises the height and impact of the surrounding buildings. This example was taken at 11mm on an APS-C lens, around 16.5mm in full-frame terms.
The rule of thirds divides the frame into a nine-part grid using two horizontal and two vertical lines, with key elements placed along the lines or where they cross. It suits almost any angle or position and works equally well for landscapes and portraits. When photographing Durban’s coastline from a high vantage point, for example, you can place the beach, the city and the sea in separate thirds of the frame for a balanced result.
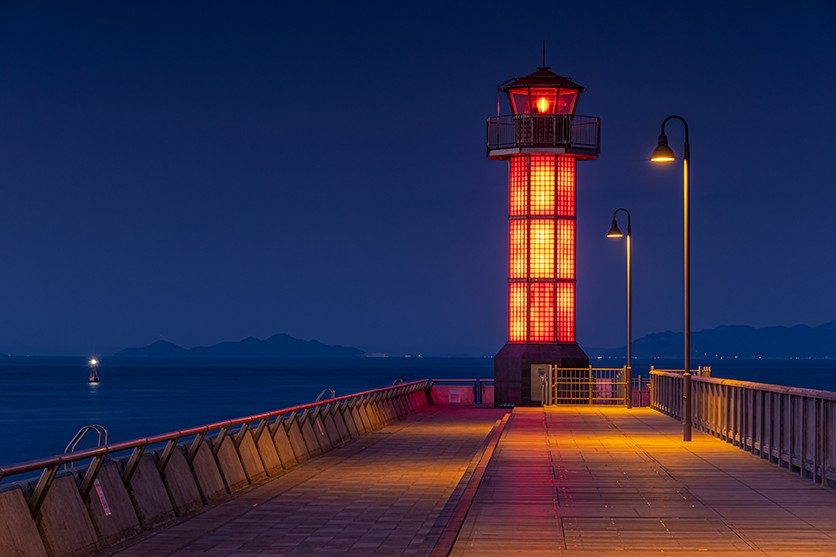
Central composition places the subject in the middle of the frame for a simple but powerful result. It works best with symmetrical or geometric subjects. A coastal lighthouse photographed straight on, a symmetrical building façade or a full moon in a clear sky all suit this approach, especially when paired with a level horizontal angle.
Triangular composition arranges elements into a triangle within the frame, creating stability and harmony. Mountains and waterfalls lend themselves naturally to this shape, and the peaks of the Drakensberg are a classic example. Combining the triangle with a low angle strengthens its impact, making a peak appear to rise out of the frame. Rooflines and staircases can form triangles too.
Radiating composition
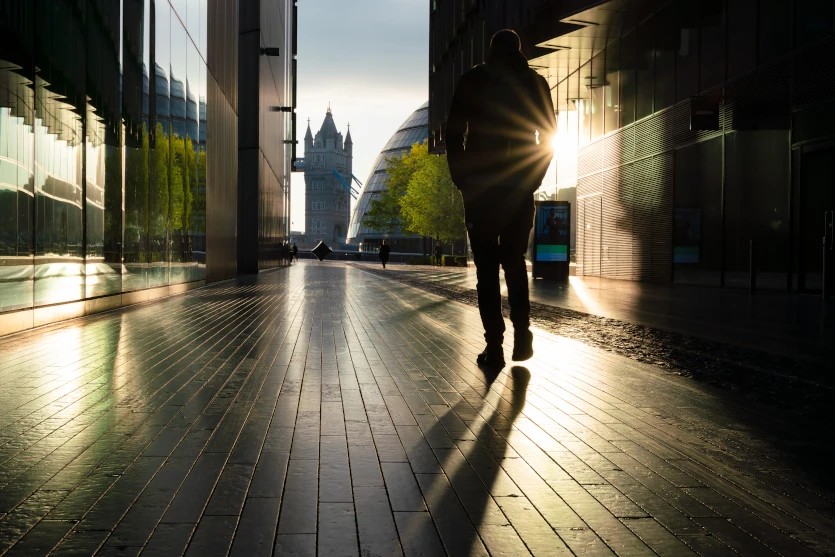
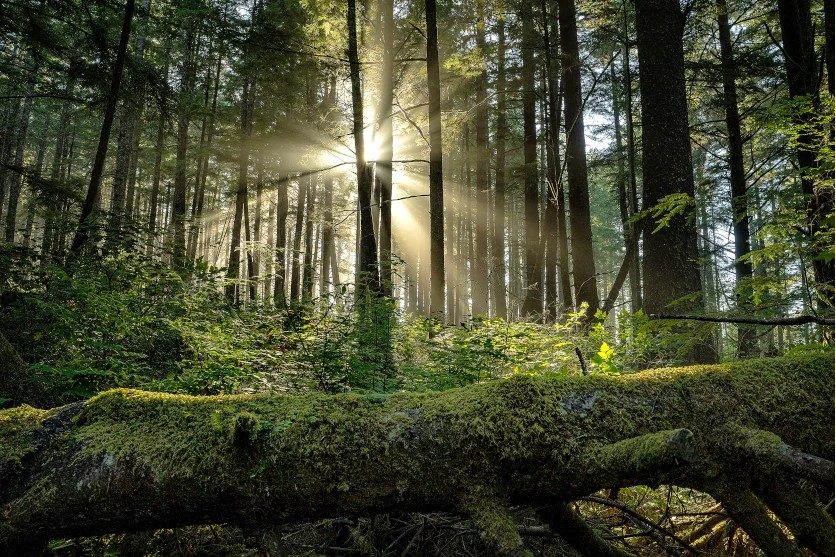
TAMRON 20-40mm F2.8 (Model A062) Focal length: 40mm Exposure: F13 Shutter Speed: 1/100sec ISO: 100
Radiating composition uses lines that spread out from a vanishing point, drawing the eye deep into the image. Tree-lined roads are a perfect subject, from the oak avenues of the Winelands to Pretoria’s jacaranda-lined streets in October. Tunnels, corridors and spiral staircases work well too. Combining this layout with a low angle exaggerates perspective and creates a dynamic sense of depth. This frame was captured at 40mm (around 60mm equivalent on APS-C).
With the basics in place, here is how to use angles and positions for five popular subjects.
Children and pets
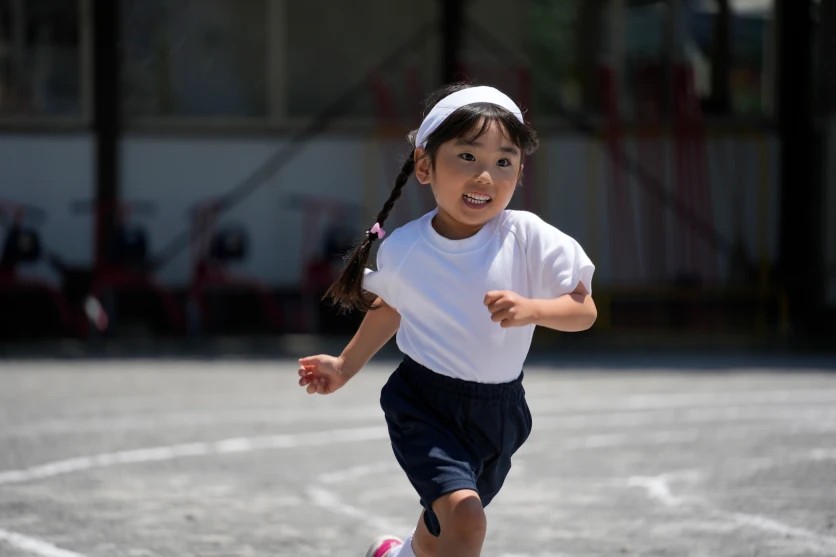
TAMRON 50-300mm F4.5-6.3 (Model A069) Focal length: 300mm Exposure: F6.3 Shutter Speed: 1/800sec ISO: 200
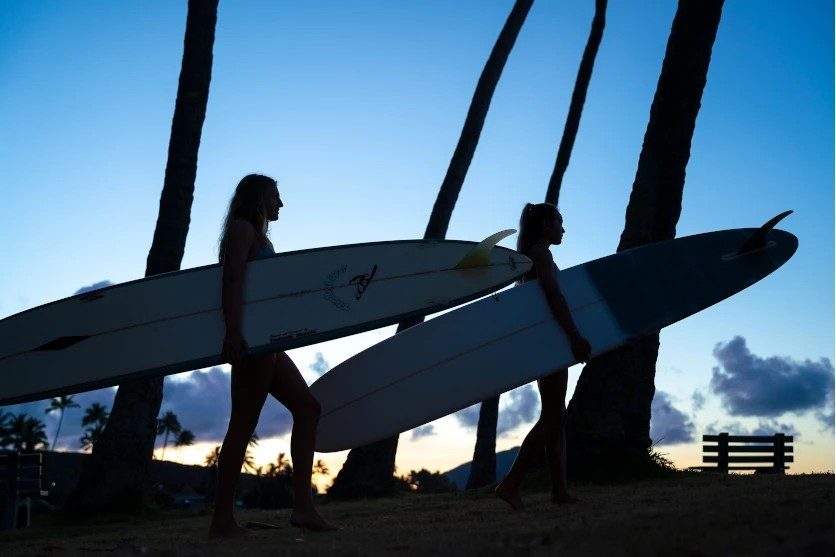
For children and pets, lower the camera to their eye level rather than shooting down from standing height. A low position at their level makes expressions look natural and draws viewers into their world, while a slight upward tilt adds energy to action shots. Children running and playing outdoors look especially lively photographed from close to the ground.
A telephoto zoom lets you keep your distance so your subjects stay relaxed, as with this 300mm example (around 450mm equivalent on APS-C). When photographing other people’s children, always ask a parent or guardian for permission first.
Landscapes
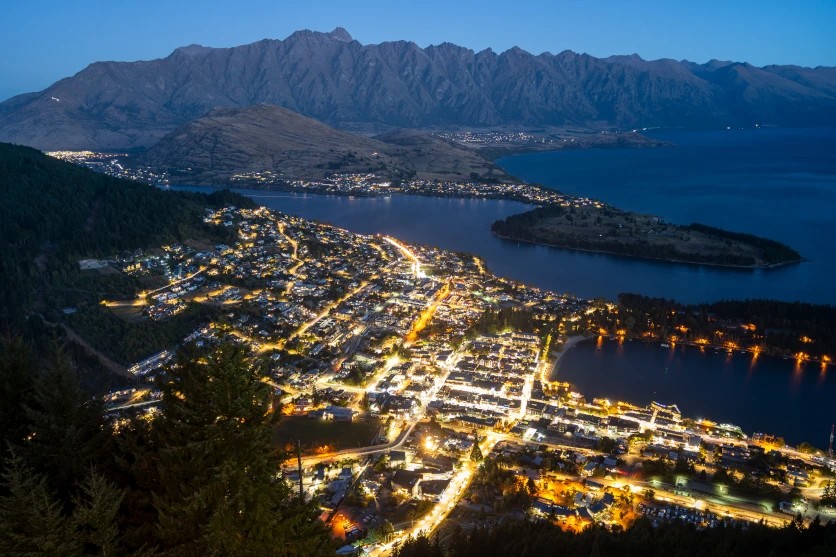
TAMRON 28-300mm F4-7.1 (Model A074) Focal length: 28mm Exposure: F4 Shutter Speed: 30sec ISO: 100
In landscape photography, vary your angle to suit the scene. A high angle captures the breadth of a wide view, while a low position with a low angle emphasises foreground detail and adds depth. On the beaches north of Cape Town, for example, you can use the sand and waterline as the foreground, with the sea in the middle distance and the city lights across the bay behind.
This example used a 30-second exposure at 28mm (around 42mm equivalent on APS-C), so a tripod is essential. The long exposure smooths the sea into a soft blur.
Tabletop photography
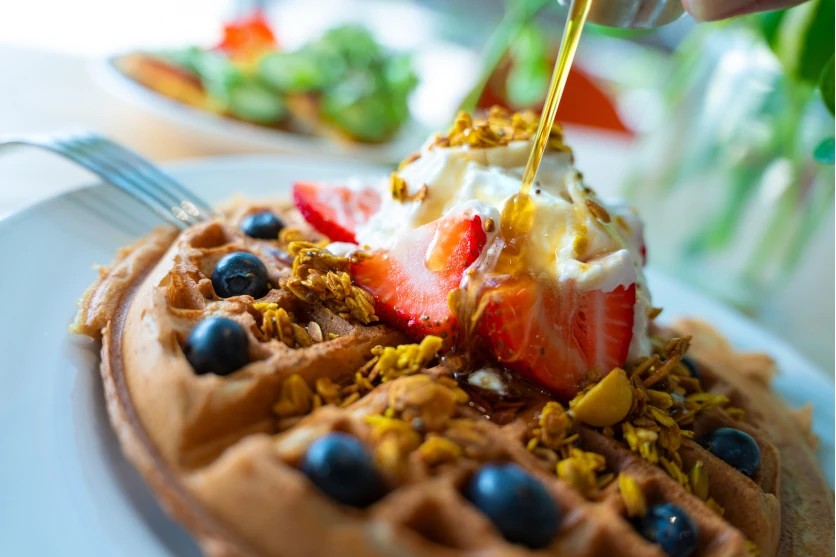
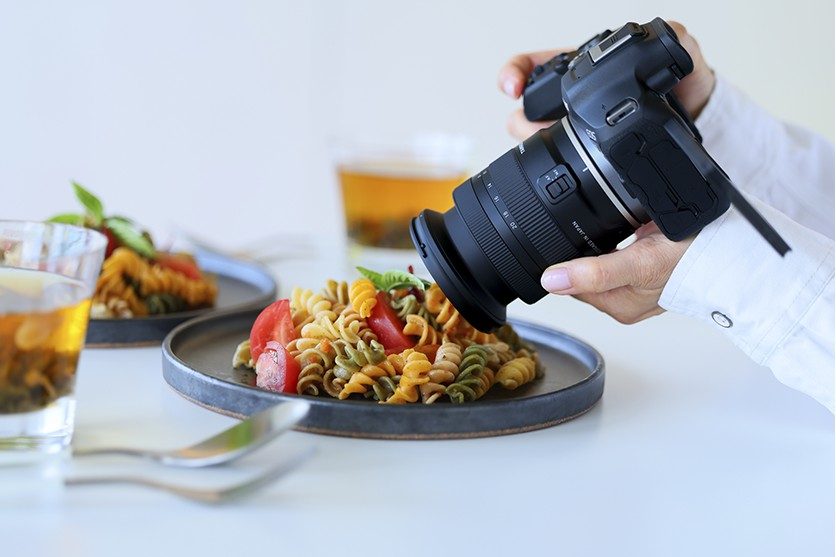
TAMRON 28-75mm F2.8 G2 (Model A063) Focal length: 28mm Exposure: F2.8 Shutter Speed: 1/100sec ISO: 100
For food and tableware, two angles do most of the work. An overhead shot shows the layout of a spread and the patterns on the plates, and suits a braai platter or a table set for sharing. A 45-degree angle, close to the view of someone seated at the table, emphasises volume and depth, making it ideal for a potjie with steam rising from the pot. This example was shot at 28mm (around 42mm equivalent on APS-C).
Architecture
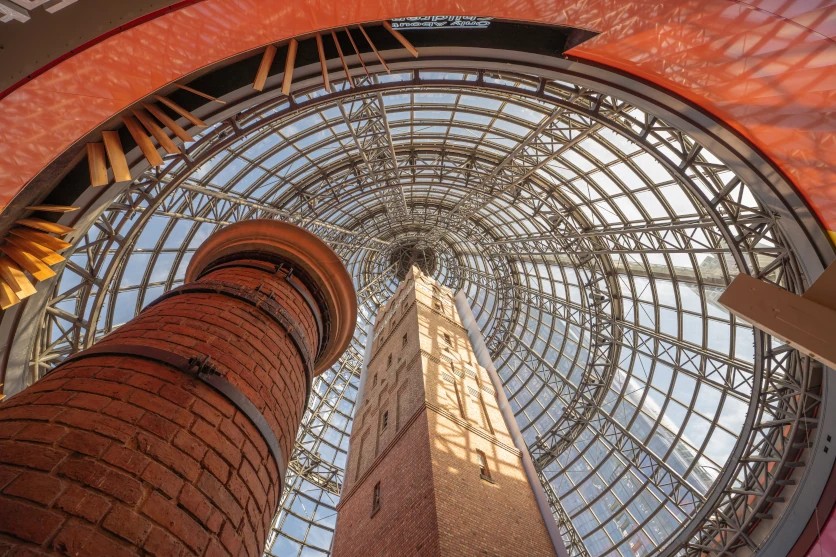
TAMRON 17-50mm F4 (Model A068) Focal length: 17mm Exposure: F6.3 Shutter Speed: 1/25sec ISO: 100
To capture the scale and design of buildings, look for angles that emphasise both. For tall towers, such as those in Johannesburg’s CBD, a low angle conveys their imposing presence. A wide-angle lens strengthens the effect, because it lets you stand close to the building so its lines converge steeply towards the sky. This frame was taken at 17mm (around 25.5mm equivalent on APS-C).
From a high vantage point, a high angle reveals how buildings are arranged. Johannesburg’s grid of city blocks, seen from above, forms geometric patterns and rhythms that make a striking image.
Vehicles

TAMRON 150-500mm F5-6.7 (Model A057) Focal length: 500mm Exposure: F19 Shutter Speed: 1/15sec ISO: 32
The most effective car photo angles are horizontal or low, as both express power and speed. A low angle at a racing circuit in Gauteng makes cars look fast even when they are standing still, and a slight diagonal angle, showing the front and one side of the vehicle, emphasises its lines. The same principles apply to motorcycle photo angles: a low, three-quarter view of a rider leaning into a bend on a Western Cape mountain pass captures both speed and skill.
When a vehicle is part of a wider landscape, a horizontal angle blends it naturally into its surroundings, while a high angle gives a bird’s-eye view, such as a long freight train crossing the open Karoo. This example was shot at 500mm (around 750mm equivalent on APS-C) using panning: following the subject with a slow 1/15sec shutter speed keeps it sharp while the background blurs into streaks of motion.
Your choice of lens influences how well you can make use of different camera angles and positions. These are the main points to consider.
Different focal lengths give different fields of view. Wide-angle lenses take in a broad scene, and because they let you work close to your subject, they exaggerate perspective. Combined with a low angle, they create a strong sense of space in architecture and landscapes.
Standard lenses offer a natural view that suits portraits and everyday snapshots. Telephoto lenses bring distant subjects closer and, because you shoot from further away, make the background appear compressed behind the subject.
A lens with a short minimum object distance lets you move in closer to your subject. Lenses with strong close-up or macro capability allow you to fill the frame with small subjects, such as flowers photographed from a low position, while blurring the background.
A lighter, more compact lens is easier to handle when you are constantly changing angles and positions. It makes holding the camera overhead or crouching at ground level far less tiring over a long shoot.
Lenses with a wide maximum aperture, such as F2.8, offer two separate advantages. They let in more light, which helps in dim conditions, and they produce a shallower depth of field for stronger background blur, useful for isolating the subject and giving it a three-dimensional feel.
Fast, accurate autofocus is valuable when shooting from unusual angles, where you cannot always see the screen clearly, and in low light or busy scenes.
When shooting handheld at extreme angles or with a telephoto lens, camera shake becomes more likely. Many TAMRON lenses include VC (Vibration Compensation), TAMRON’s image stabilisation system, which reduces shake and makes it easier to capture sharp images from awkward positions.
Camera angles and positions are essential tools for shaping how a subject is seen. A low angle adds drama and power, a high angle reveals scale and layout, and eye level brings intimacy. For a simple starting exercise, choose one subject and photograph it from three heights, from above, at eye level and from the ground, then compare the results. It is one of the most useful angle photography tips of all, showing how much a small change of viewpoint can achieve.