| September 18, 2026
 South Africa's #1 Mobile Protection Brand
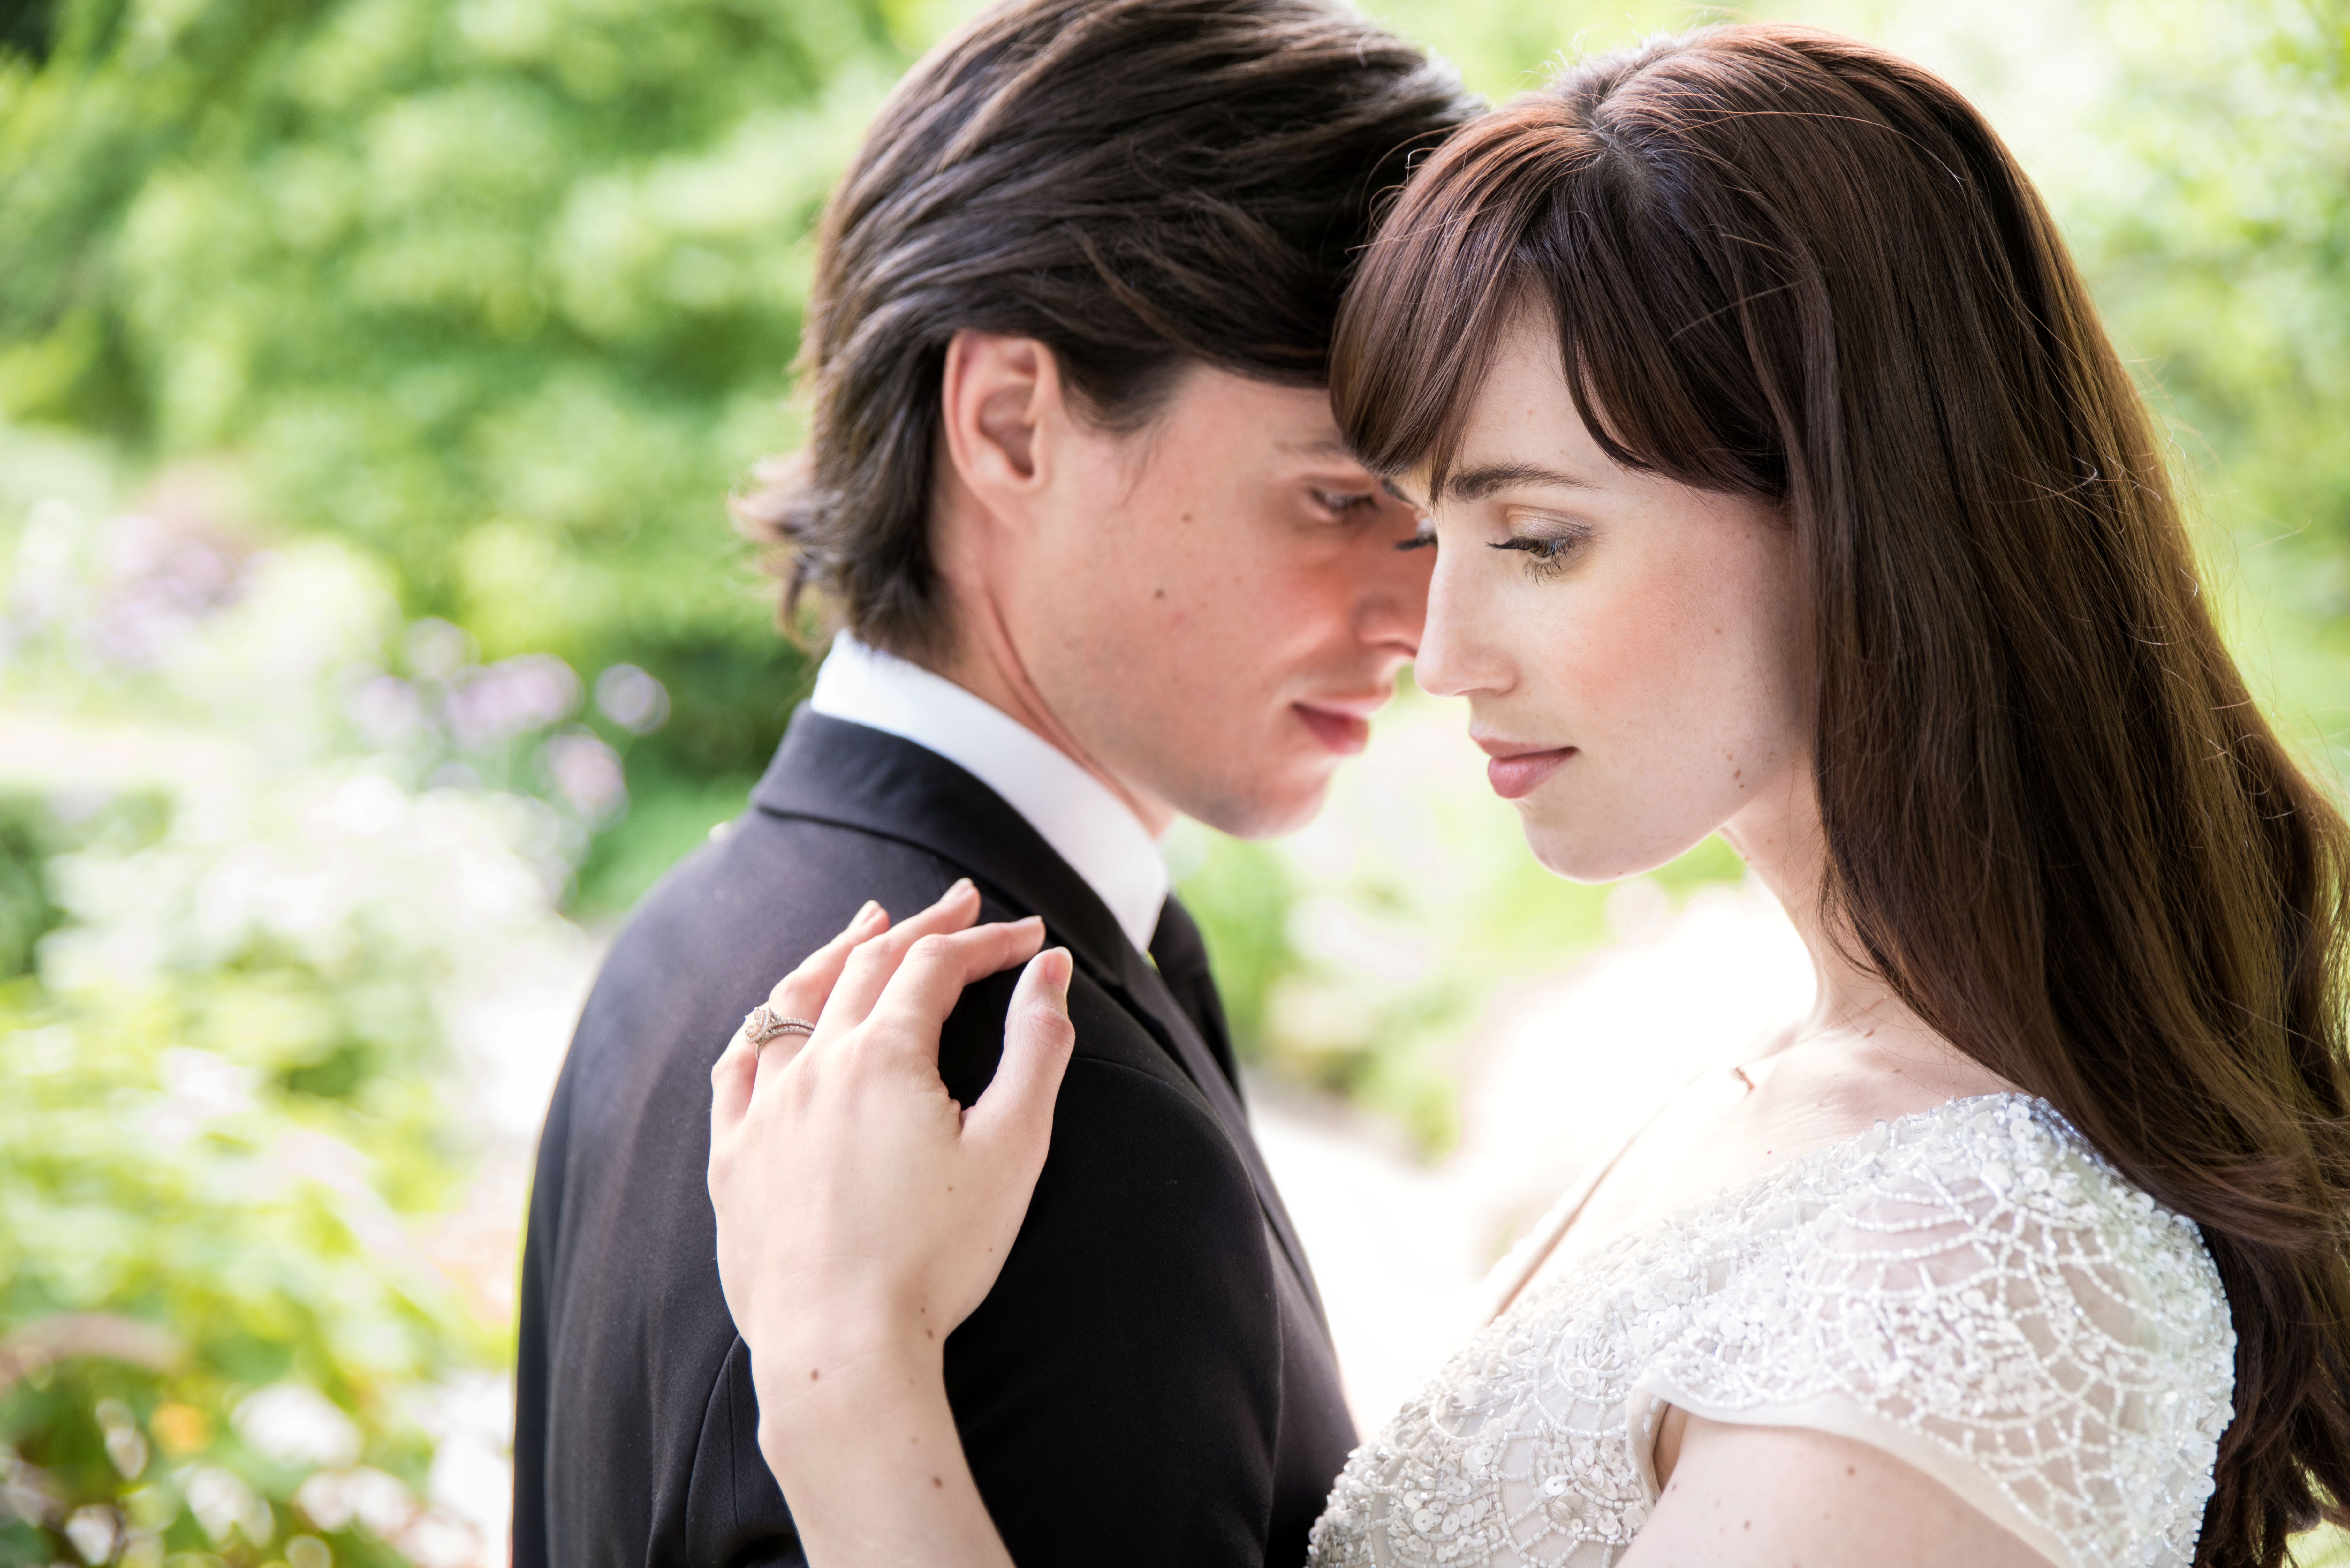
You have been invited to a wedding, you own a camera, and you would like to come back with something better than the pictures everyone else took on their phones. That is a different job from the one the hired photographer is doing. They are working to a shot list and they have access to positions you do not; you are sitting where you were seated, you know half the people in the room, and you can photograph them in a way a stranger cannot.
Wedding photo shooting is not one skill but several, and this guide covers guest photography at weddings in four parts: the scenes that come up on the day, the wedding photo tips and settings behind them, the etiquette that keeps you out of the professional’s way, and how to choose a lens for it. It assumes a South African wedding, which often means part of the day outdoors and part of it in a barn, a marquee or a cellar, with the light changing completely between the two.
A wedding runs to a rough script, and knowing what is coming is most of the preparation. Each of the moments below asks for a slightly different setting, and once you recognise which one you are in, the camera work becomes straightforward.
Before any of it, set the camera to record JPEG and RAW together. The JPEG is what you will share that evening; the RAW is what saves a frame where the exposure or the colour went wrong under mixed lighting, which at a wedding is a matter of when rather than if. It is the single most useful piece of insurance in this entire guide and it costs nothing but card space.
The entrance is the first moment worth having and it happens once, at walking pace, with no second take. Decide before it starts whether you are shooting the faces or the atmosphere, because you will not get both from one position.
Backlight is your friend here. Shooting into light coming from behind the aisle rims the figures and gives you a silhouette with real atmosphere, particularly if you shoot from further back rather than from the front. If you want expressions instead, position yourself so the faces are lit and lean towards a longer focal length, since as a guest you are shooting from your seat and cannot move up the aisle.
Outdoor ceremonies, which are common at Winelands estates and at Highveld garden venues around Johannesburg and Pretoria, bring a problem the indoor version does not have. Hard overhead sun puts eyes in shadow and blows out anything pale. If there is a choice, shoot from the shaded side rather than with the sun behind you, and be ready to add exposure compensation for faces under hat brims.
Try to catch the reactions as well as the walk. The faces of the people watching are often a better photograph than the entrance itself, and nobody else is pointing a camera at them.
These are the two frames from the ceremony that everyone wants and they are seconds apart. An aperture near maximum, around F2.8, softens whatever is behind the couple and isolates them, which matters because ceremony backgrounds are rarely tidy.
If the front is blocked, and it usually is, a side or three-quarter angle is not a compromise. It often reads better than a straight-on frame, and it lets you catch the rings and the expressions in the same shot rather than choosing between them.
The important thing is to work out your position before the ceremony begins. Ceremony spaces vary enormously, from a lawn to a barn to a hall, and some have areas guests are asked to stay out of. Ask, or watch where the hired photographer sets up, and take your position from that. Moving during the quiet part of the ceremony draws attention you do not want, and you will not be forgiven for standing up in the middle of it.
Anything airborne needs burst mode and a fast shutter. Set 1/250 second or faster and hold the shutter down through the throw rather than trying to time the peak, because you will not time it. The frame you want is usually the one either side of the one you were aiming for.
Confetti or petals as the couple leave the ceremony is the same problem with more moving parts. Wind decides where it actually goes, and at coastal and Cape venues there is usually wind, so stand downwind of the couple rather than beside them and let the confetti come towards your lens.
Widen out occasionally. The guests throwing are as much of the picture as the couple walking through it, and a frame with arms and colour on both sides carries the noise of the moment better than a tight shot of two people.
Formal groups are the hired photographer’s job and you should not compete for them. Your opportunity is the two minutes before or after, while everyone is still arranged and considerably more relaxed than they were for the official version.
When you do shoot a group, use a wide enough focal length to hold the whole line without stretching the faces at the edges, and close the aperture to somewhere between F8 and F11 so the back row is as sharp as the front. Ask the back row to stagger rather than stand directly behind someone. The larger the group, the higher the chance that somebody has their eyes shut, so take more frames than feels necessary and check the faces at the edges, not just the middle.
The couple coming into the reception is a different photograph from the ceremony entrance: louder, faster, and lit by whatever the venue has installed rather than by daylight.
Lighting is the whole challenge. Uplighting, festoon strings and DJ lighting all read as far brighter to the eye than they are to the sensor, and coloured lighting will do strange things to skin tones. If the couple are lit from one side and their faces are falling into shadow, add around +1EV of exposure compensation rather than trusting the meter. Take a wide frame of the room as well as a close one; the decorated space is part of what people will want to remember.
As with the ceremony, the guests are worth as much as the couple. The faces of the people watching them come in are the frames the couple will not otherwise have.
Speeches are a telephoto scene. You want the speaker’s expression and the couple’s reaction to it, and those are in two different places, so settle somewhere you can swing between the two without standing up.
Reception lighting is usually low, so ISO 800 to ISO 1600 is a reasonable working range, with a shutter speed of 1/125 second or faster to keep things sharp. Marquees, which do much of the work at Gauteng garden weddings, are darker than they look, because a dark timber roof or a canvas ceiling absorbs light rather than bouncing it around the way a white ceiling does. Check your shutter speed rather than assuming the room is as bright as it feels.
Use continuous shooting and start before the knife touches the cake. The moment worth having is rarely the cut itself; it is the look between the two of them immediately before or after, and that lasts about a second.
Stay back far enough that you are not in the hired photographer’s frame, and keep shooting once the formal part is over. The informal moment straight afterwards, when everyone crowds in, is usually where the better picture is.
This is the section that matters most, because it is the one thing you can do that the hired photographer largely cannot. They are working to a schedule and they do not know these people. You are sitting at a table with them.
Look for conversation, laughter, someone quietly wiping their eyes during a speech, two people who have not seen each other in years. Moments of genuine feeling make better photographs than posed ones, and nobody performs for a camera they have not noticed. A standard focal length of around 50mm to 80mm gives you a natural perspective from a seated position without having to lean into anyone.
Use flash sparingly, or not at all. Direct flash flattens a room, kills the atmosphere the venue has spent money creating, and announces to everyone that they are being photographed. If you need light, bounce it, which is covered further down.
The decorated room, the table settings, the flowers and the food are all part of the record, and the couple will have spent months on them. Photograph the room before the guests are seated, because that is the only time it will look the way it was planned. It is a shot with a deadline.
Use the venue’s own lighting for food rather than adding your own; a little shadow makes a plate look better than flat light does. Cape barn interiors, Winelands cellars, Midlands country venues and coastal marquees in KwaZulu-Natal all have distinctive light worth using rather than overriding. For flowers and table settings, focus on one element and let the background go soft, and try arranging the shot on a diagonal rather than square to the table.
A wide-angle lens is what captures a room. Get a corner into the frame so the space reads as a space rather than a wall.
Beyond knowing what to point the camera at, a handful of technical decisions separate a usable set of wedding photographs from a folder of dark, soft ones. None of it is difficult, but wedding photo shooting gives you no opportunity to work it out on the day.
A wedding moves quickly and rarely gives you a moment to change lenses. By the time you have swapped, the thing you wanted to photograph has finished happening. For that reason the most practical wedding camera lens is a single zoom covering everything from a semi-wide view of the room to a comfortable telephoto reach across it.
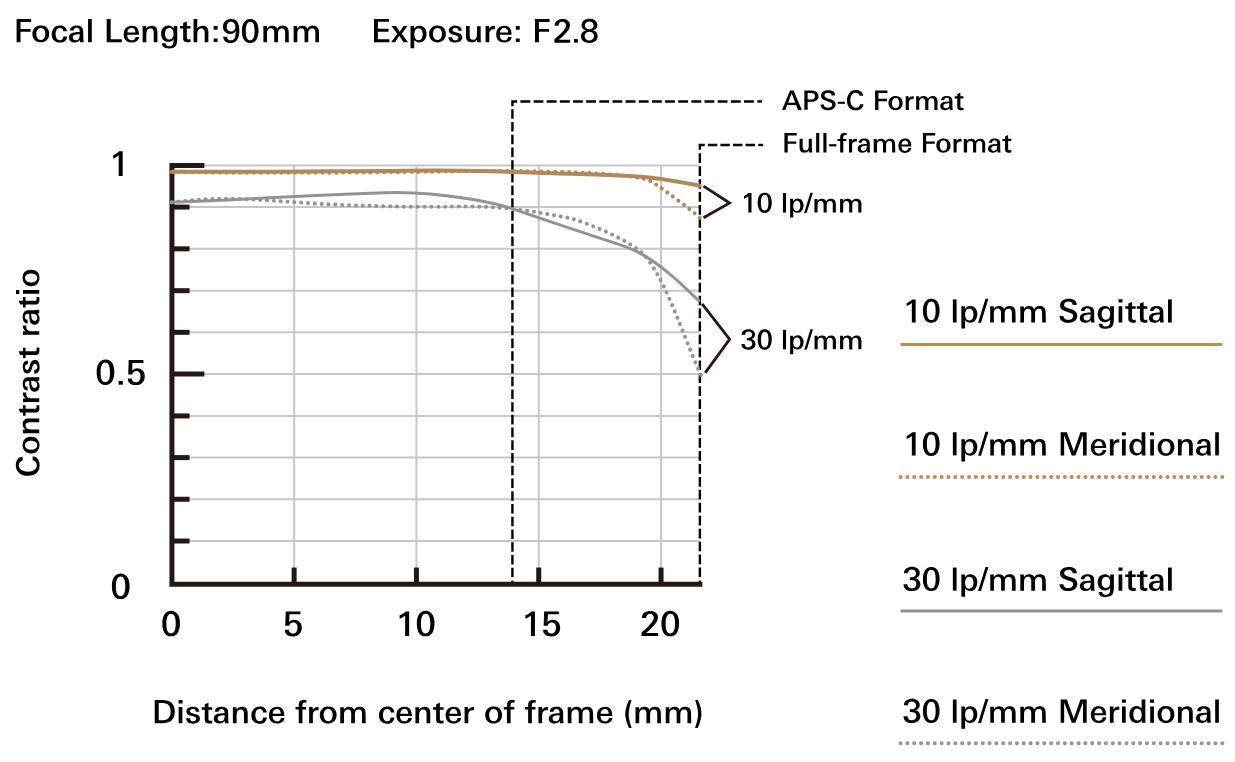
If you want a specific recommendation, the TAMRON 35-150mm F/2-2.8 Di III VXD (Model A058) suits this job unusually well. It spans semi-wide to telephoto in one barrel, so a group shot and a face across the room are both available without touching anything, and its fast F2-2.8 maximum aperture handles dim interiors while giving the smooth background separation that makes portraits work.
There is a limit to what you should attempt, though, and recognising it makes for better pictures. Anything requiring a lens change, floor access or standing in front of people is the hired photographer’s work, and trying to duplicate it produces worse versions of shots that already exist. Concentrate instead on the people you know and the moments between the scheduled ones. That is the set the couple will not otherwise have, and it is usually the one their family appreciates most.
Most wedding photography advice assumes a dark room, and for the reception that is correct. Getting enough light to the sensor without ruining the picture is the central problem, and the brightness will change from one end of the venue to the other, so the settings below are starting points rather than fixed values.
South African weddings complicate this by frequently being half outdoors. A ceremony on a lawn at two in the afternoon is not a low-light problem at all; it is a harsh-light one. Full midday sun puts hard shadows across faces and blows out pale fabric, and dappled shade under trees is worse, scattering bright patches unevenly across a face so no single exposure works. Open shade, or the shaded side of a building, is where you want people if you have any influence over it. At a Gauteng venue in summer there is also a decent chance of a Highveld thunderstorm arriving mid-afternoon, which will drop the light by several stops in minutes, so be ready to move your ISO a long way in a hurry.
Match the mode to the movement. For the entrance, the bouquet toss and the confetti, use shutter priority so you control the speed that freezes the action and let the camera work out the rest.
For anything stationary, which is most of the day, aperture priority is better. Table conversation, group photographs, the room, the flowers: set the F-number for the depth of field you want and let the shutter speed follow.
For people, an aperture near maximum, around F2.8 to F4, gives you enough light in a dim room and enough background separation to lift a face away from a cluttered venue behind it.
For groups you need the opposite. Close down to around F8 to F11 so everyone from the front row to the back is acceptably sharp. For the room and its decorations, close down slightly as well so the detail and the patterns hold up.
For anything with movement in it, the cake being cut, a bouquet in the air, confetti coming down, use 1/125 to 1/250 second or faster. Below that you are relying on luck.
Where there is good natural light, such as an indoor ceremony with large windows, you can deliberately drop to around 1/60 second to soften the light and let more of it in. Watch for camera shake if you are hand-holding, which as a guest you always will be.
ISO 400 to ISO 800 is a sensible place to start indoors. Push it higher as the light drops through the evening rather than letting your shutter speed fall, since noise is far easier to live with than blur. If the venue is genuinely dark, an external flash used carefully will do more than raising ISO further.
Backlit and spotlit scenes fool the meter. The camera sees a bright background, decides the frame is well exposed, and leaves the faces dark. Around +1EV of compensation fixes it and is worth applying the moment you notice it happening.
Wedding attire makes this harder. A large area of white or pale fabric pulls the meter down and underexposes everything, while dark suiting in the same frame pulls it the other way. When both are present, and at a wedding they almost always are, expose for the faces and accept that one or the other will sit slightly outside its ideal range. This is exactly the situation the RAW file exists for.
Weddings mix light sources more than almost any other situation. Warm festoon lighting against late daylight through an open barn door, or tungsten uplighting inside a marquee lit partly by diffused daylight through the canvas, or the warm late light of a KwaZulu-Natal coastal evening against the venue’s own lamps, will confuse any automatic setting.
Auto white balance is still the right default; adjust it if you see it going obviously wrong on the back of the camera. Shooting RAW means colour temperature can be corrected properly afterwards, but do not use that as licence to ignore it on the day. A frame that is badly off is still harder to rescue than one that is close.
Direct flash is the fastest way to make a wedding photograph look like a snapshot. Bounce flash for weddings solves most of that: instead of pointing the flashgun at the subject, you point it at the ceiling or a wall and let the reflected light fall on them. The light arrives from above and to the side, spread over a much larger area, so it looks like room light rather than a flash.
The technique depends entirely on what you are bouncing off, and this is where the standard advice fails in South African venues. A low white ceiling in a function room is ideal. A high pitched barn roof is too far away and returns almost nothing. Dark exposed timber absorbs the light and throws back a brown cast. Marquee canvas transmits light rather than reflecting it. Stone cellar ceilings are usually both too high and too coloured.
So check the surface before you rely on it. If the ceiling is out of reach or the wrong colour, bounce off a side wall instead, or accept that this is a high-ISO situation and put the flash away. A coloured cast across every face is worse than a slightly noisy frame.
The rule of thirds will carry most of your framing. Place the couple off-centre, leave some space around them, and resist filling every corner; a frame with room to breathe is easier to look at than a crowded one.
Watch the background as carefully as the subject. Venues are full of things you stop seeing after an hour, such as speaker stands, extension leads, catering trolleys and people crossing behind. Either move so they are out of frame, or open the aperture until they dissolve.
Change your height occasionally. Everything shot from standing eye level looks the same by the fiftieth frame. Dropping low gives a subject presence and shows the line of formal attire properly; shooting from higher up is useful for tables and for showing how full a room is.
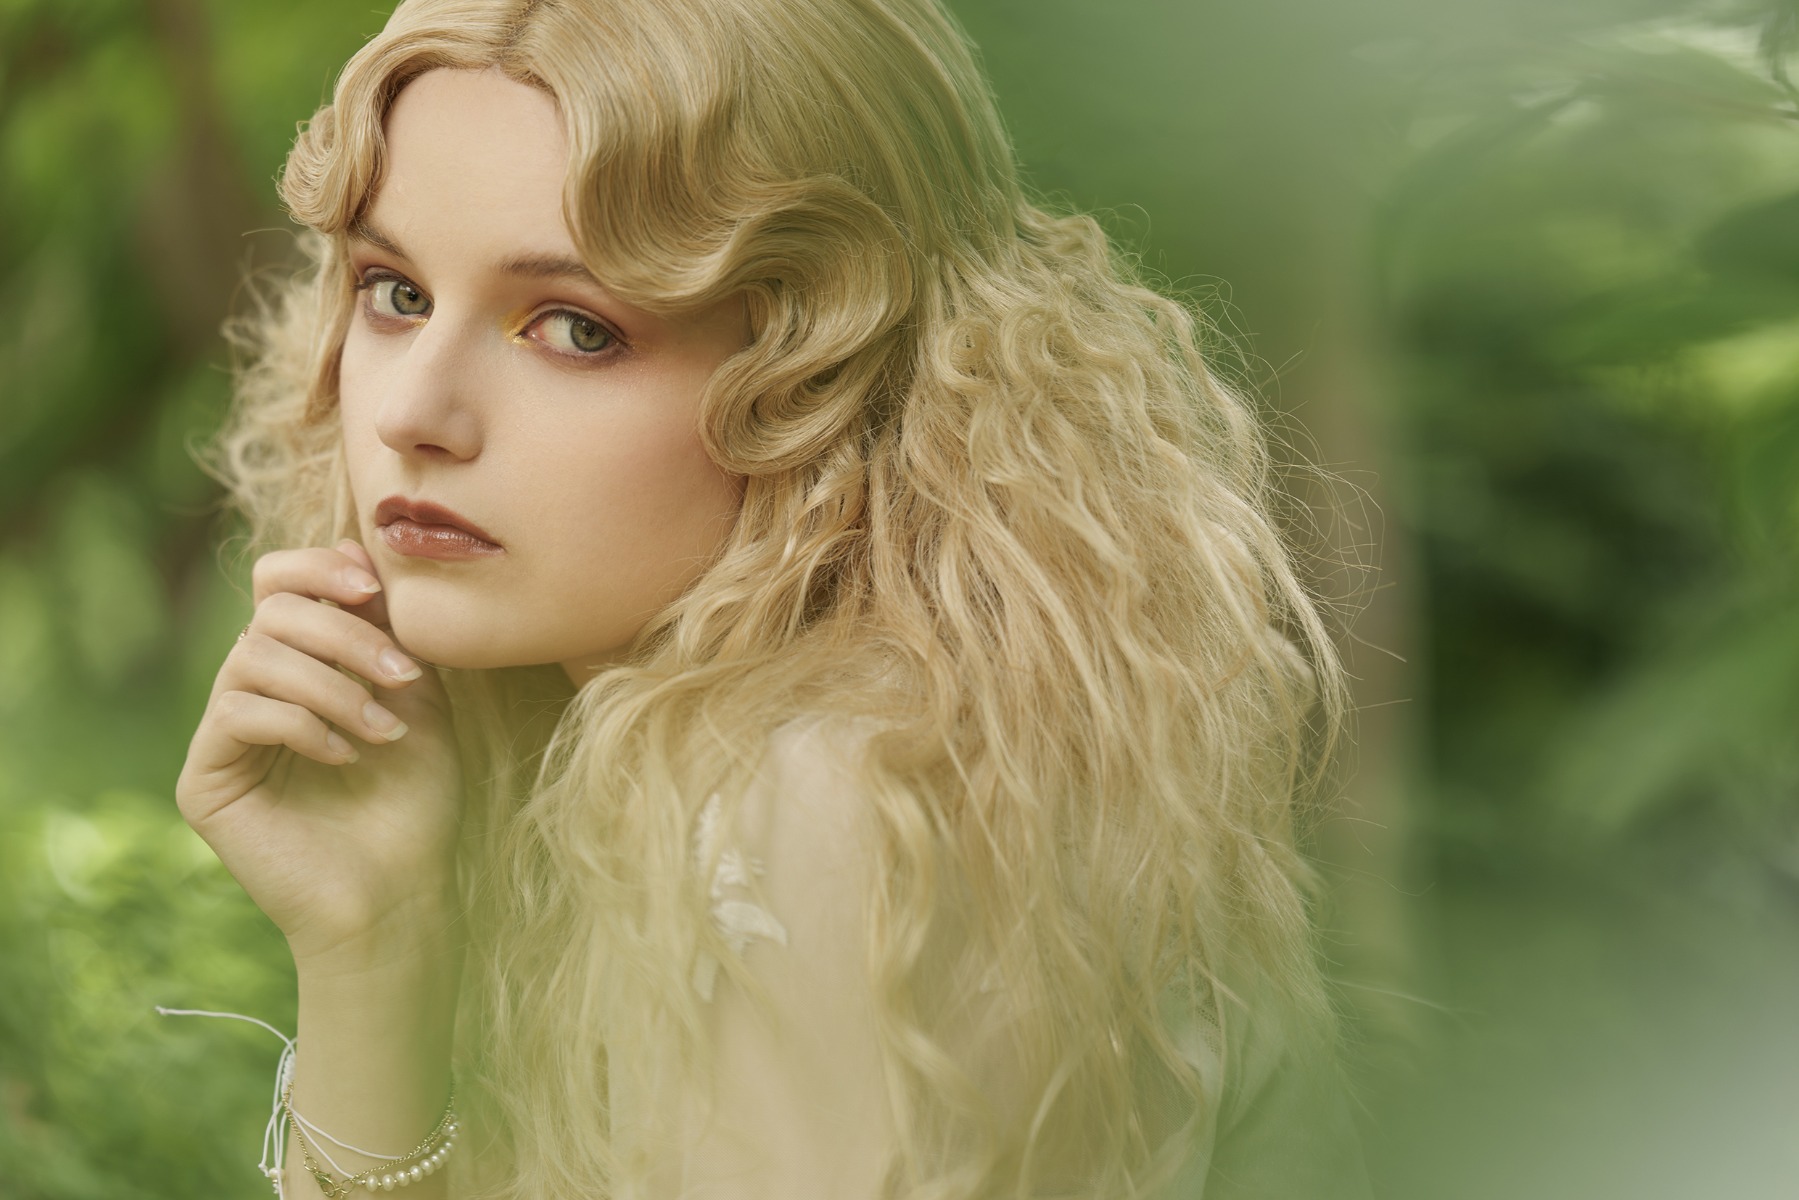
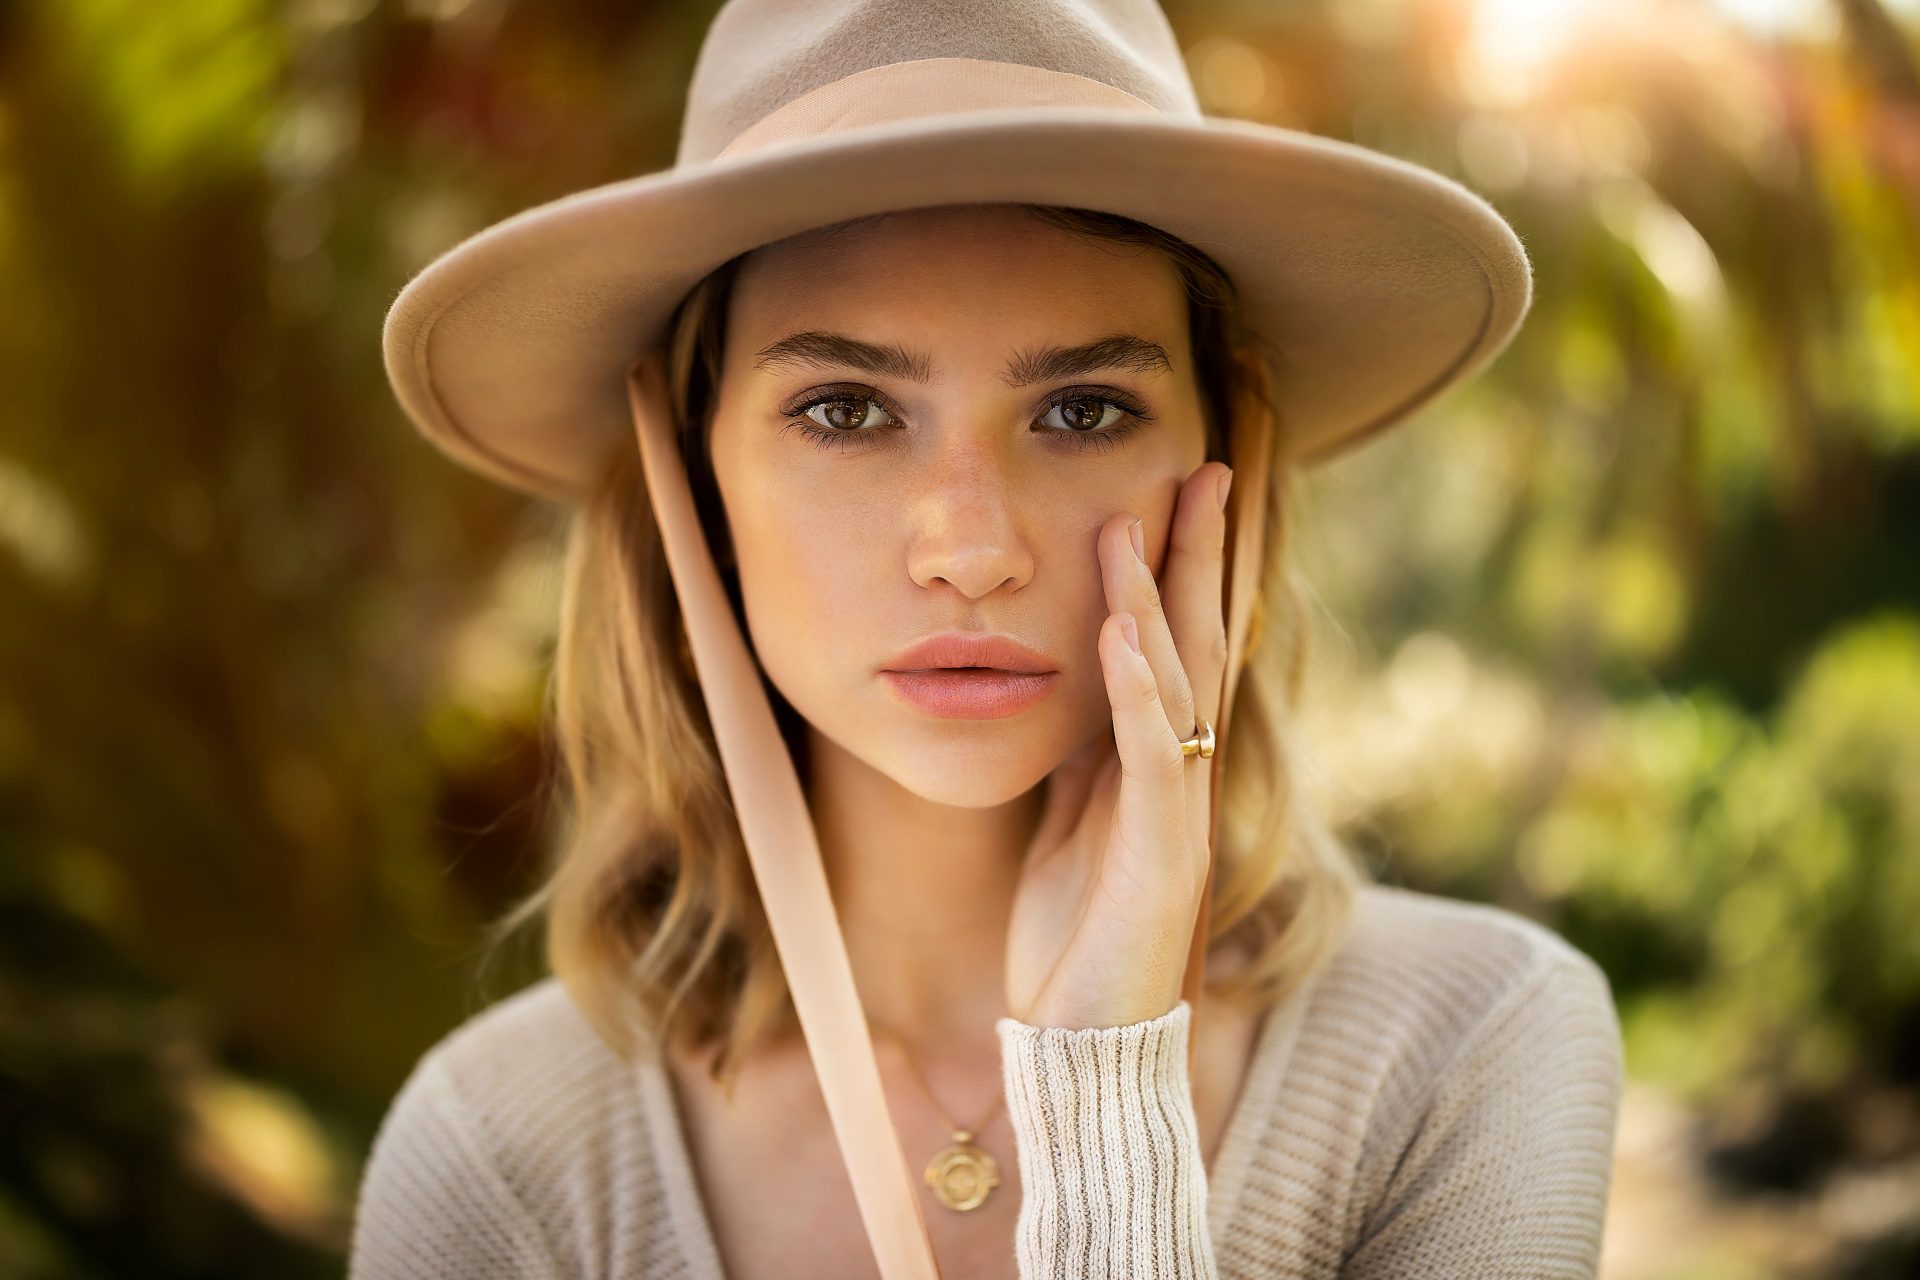
TAMRON 70-180mm F2.8 G2 (Model A065) Focal length: 116mm Exposure: F2.8 Shutter Speed: 1/250sec ISO: 200
With people, focus on the eyes, and where a face is turned, on the eye nearer the camera. At the wide apertures this article keeps recommending, depth of field is thin enough that focusing on the nose or the ear is a visible error rather than a technicality.
For anything moving, switch to continuous autofocus so the camera tracks rather than locking once and holding. Entrances, the bouquet toss and children running between tables all need it. Most cameras will also detect and hold onto eyes automatically, and at a wedding it is worth having that switched on before the day rather than discovering the setting halfway through the speeches.
Weddings are long. From an afternoon ceremony to the end of the evening is easily eight hours of intermittent shooting, and a single battery will not cover it. Carry at least two fully charged, and more if you are shooting a lot of bursts, since continuous shooting drains a battery considerably faster than single frames.
Take at least two large cards and keep one unused as a spare against a card failing, whether you are shooting on the Highveld or at the coast. If your camera has two slots, set it to write to both simultaneously, which is the only genuine protection against losing the day’s photographs to a fault. Shooting RAW and JPEG together fills space quickly, so budget 64GB as a minimum across the set.
One more item that catches people out on the KwaZulu-Natal and Cape coasts: moving a cool camera from an air-conditioned room into warm, humid air outside will fog the front element, sometimes for several minutes. If you know you will be moving between the two, let the camera acclimatise in a bag rather than pulling it straight out, and carry a cloth.
Getting the photographs matters. Not spoiling the day for anyone else matters more, and guest photography at weddings goes wrong far more often through etiquette than through technique. Five things cover almost all of it.
Check the rules before the ceremony starts. Some venues and some couples ask for no photographs during part or all of the ceremony, and some ask that flash is not used. There may be areas guests are asked to stay out of. Ask someone rather than finding out afterwards.
Give the hired photographer priority, always. They have been paid to produce the record of this day and they cannot do it with a guest standing in their frame. Watch where they position themselves and stay out of that line. If you are in doubt about whether you are in the way, you probably are.
Do not force a shot. If getting the picture requires standing up during the quiet part of the ceremony, leaning into an aisle, or interrupting a moment, let it go. No photograph is worth being the person everyone noticed.
Ask before posting anything. The couple may have views about which photographs go online and when, and other guests certainly have views about photographs of themselves. Check with the couple about what is acceptable and how soon, and do not post pictures of other people’s children without asking their parents.
Share the opportunities. Other guests want photographs too, and standing in the best position for the whole reception is inconsiderate. Take your frames, then move and let someone else in.
The lens matters more than the body for this job, because a wedding asks for reach, speed in low light and no time to change anything. Five things are worth checking before the day.
Coverage is what stops you missing things. A lens reaching from around 35mm at the wide end to 100mm or beyond at the long end will handle the great majority of a wedding, from a group in a room to a face across it. Below 35mm you have the room shots covered; past 100mm you can work comfortably from your seat.
That reach matters more for a guest than for a professional. The hired photographer can walk up the aisle and stand where they need to. You are shooting from wherever you were seated, often behind several rows of people, so focal length is doing the work that mobility would otherwise do.
Reception venues are dark, and a fast lens with a low maximum F-number is what makes them workable. Around F2.8 or faster lets you keep the shutter speed high enough to avoid blur without pushing ISO to the point where the image falls apart.
A fast lens also gives you shallow depth of field on demand, which is how you separate a face from a busy background. In a stone cellar, a barn interior or a Gauteng function room where the light is low and the background is cluttered, that one specification solves both problems at once.
You will be carrying this for a long time. South African weddings frequently run from an afternoon ceremony through to late in the evening, often moving across two or three locations on the same property, whether that is a Midlands farm or a Winelands estate, and a lens that felt reasonable at the start will not by the speeches.
Size matters as much as weight. Much of the day is spent in confined space, at a table or in a row of seats, and a large lens is awkward to raise without disturbing the person next to you. It also makes you more conspicuous, which works directly against the candid photography that is your main advantage as a guest.
When shooting with autofocus, what matters at a wedding is that it works in poor light and does not hunt. A lens that focuses confidently at ISO 1600 in a dim room is worth considerably more than one that is marginally sharper in daylight.
Noise is the other consideration. During the quiet parts of the ceremony, an audibly focusing lens carries further than you would expect, and a near-silent focusing mechanism lets you keep shooting without anyone noticing.
Tripods are not an option for a guest, so every frame you take will be hand-held. Stabilisation buys you several stops of usable shutter speed, which is the difference between a sharp photograph and a soft one once the evening light goes.
It matters most exactly where weddings are hardest: at the long end of a zoom, during speeches, in a dark reception space. If you are choosing between two otherwise similar lenses, this is a reasonable tie-breaker.
Good wedding photographs come from knowing roughly what is coming, setting the camera for the light you are actually in rather than the light you expected, and staying out of the professional’s way while you do it. The wedding photo tips in this guide will cover the great majority of what a wedding throws at you, and the rest is attention.
Remember what your actual advantage is. The hired photographer will produce a better record of the ceremony than you will, and they should. What they cannot produce is the table you were sitting at, the friend you have known for twenty years laughing at something off-camera, or the quiet moment between two people who did not know anyone was looking. Photograph those, put the camera down for the parts that matter, and enjoy the wedding you were invited to.