| September 18, 2026
 South Africa's #1 Mobile Protection Brand
A long weekend in the Winelands, a road trip up the West Coast, a few days on the KwaZulu-Natal coast: the places we travel to within South Africa are as worth photographing properly as anywhere further afield. The trouble is that holiday pictures often come back flatter than the trip felt. The light was better than that, the view was wider, the food looked more appetising than the photograph suggests.
This guide sets out practical travel photo tips in three parts: the scenes you are most likely to shoot, the exposure and composition behind them, and how to choose a lens you will actually enjoy carrying for a week. Most of it applies whether you are travelling with company or heading off on your own.
Most travel pictures are taken on a phone, and for a quick record of where you were that is perfectly sensible. If you want more from the images than a record, an interchangeable-lens camera changes what is available to you.
The first difference is the quality of the out-of-focus areas. A larger sensor and a fast lens produce a smooth, natural fall-off behind the subject rather than an outline cut out by software. A face, a glass on a table, a hand reaching for something in a market stall: the subject separates from its surroundings and the picture reads immediately. This is most of what people mean when they talk about stylish travel photography, and it is far easier to achieve optically than in post-production.
The second is reach in both directions. Being able to change lenses means one camera covers everything from a wide view of an escarpment to a tightly framed detail on a building across the valley. A wide-angle lens takes in the whole scene in front of you; a telephoto pulls a distant subject up until it fills the frame. No single fixed lens covers that span, and on a trip you rarely get to choose which one the day calls for.
The third is simply image quality. Better glass and a larger sensor hold detail in shadows and highlights, which matters more in South African conditions than most people expect. Midday light on the Highveld is hard and contrasty, and a phone will usually protect the sky at the expense of everything beneath it.
Almost everything you photograph on a trip falls into one of six situations. Each one has a setting that works as a starting point and a habit worth building.
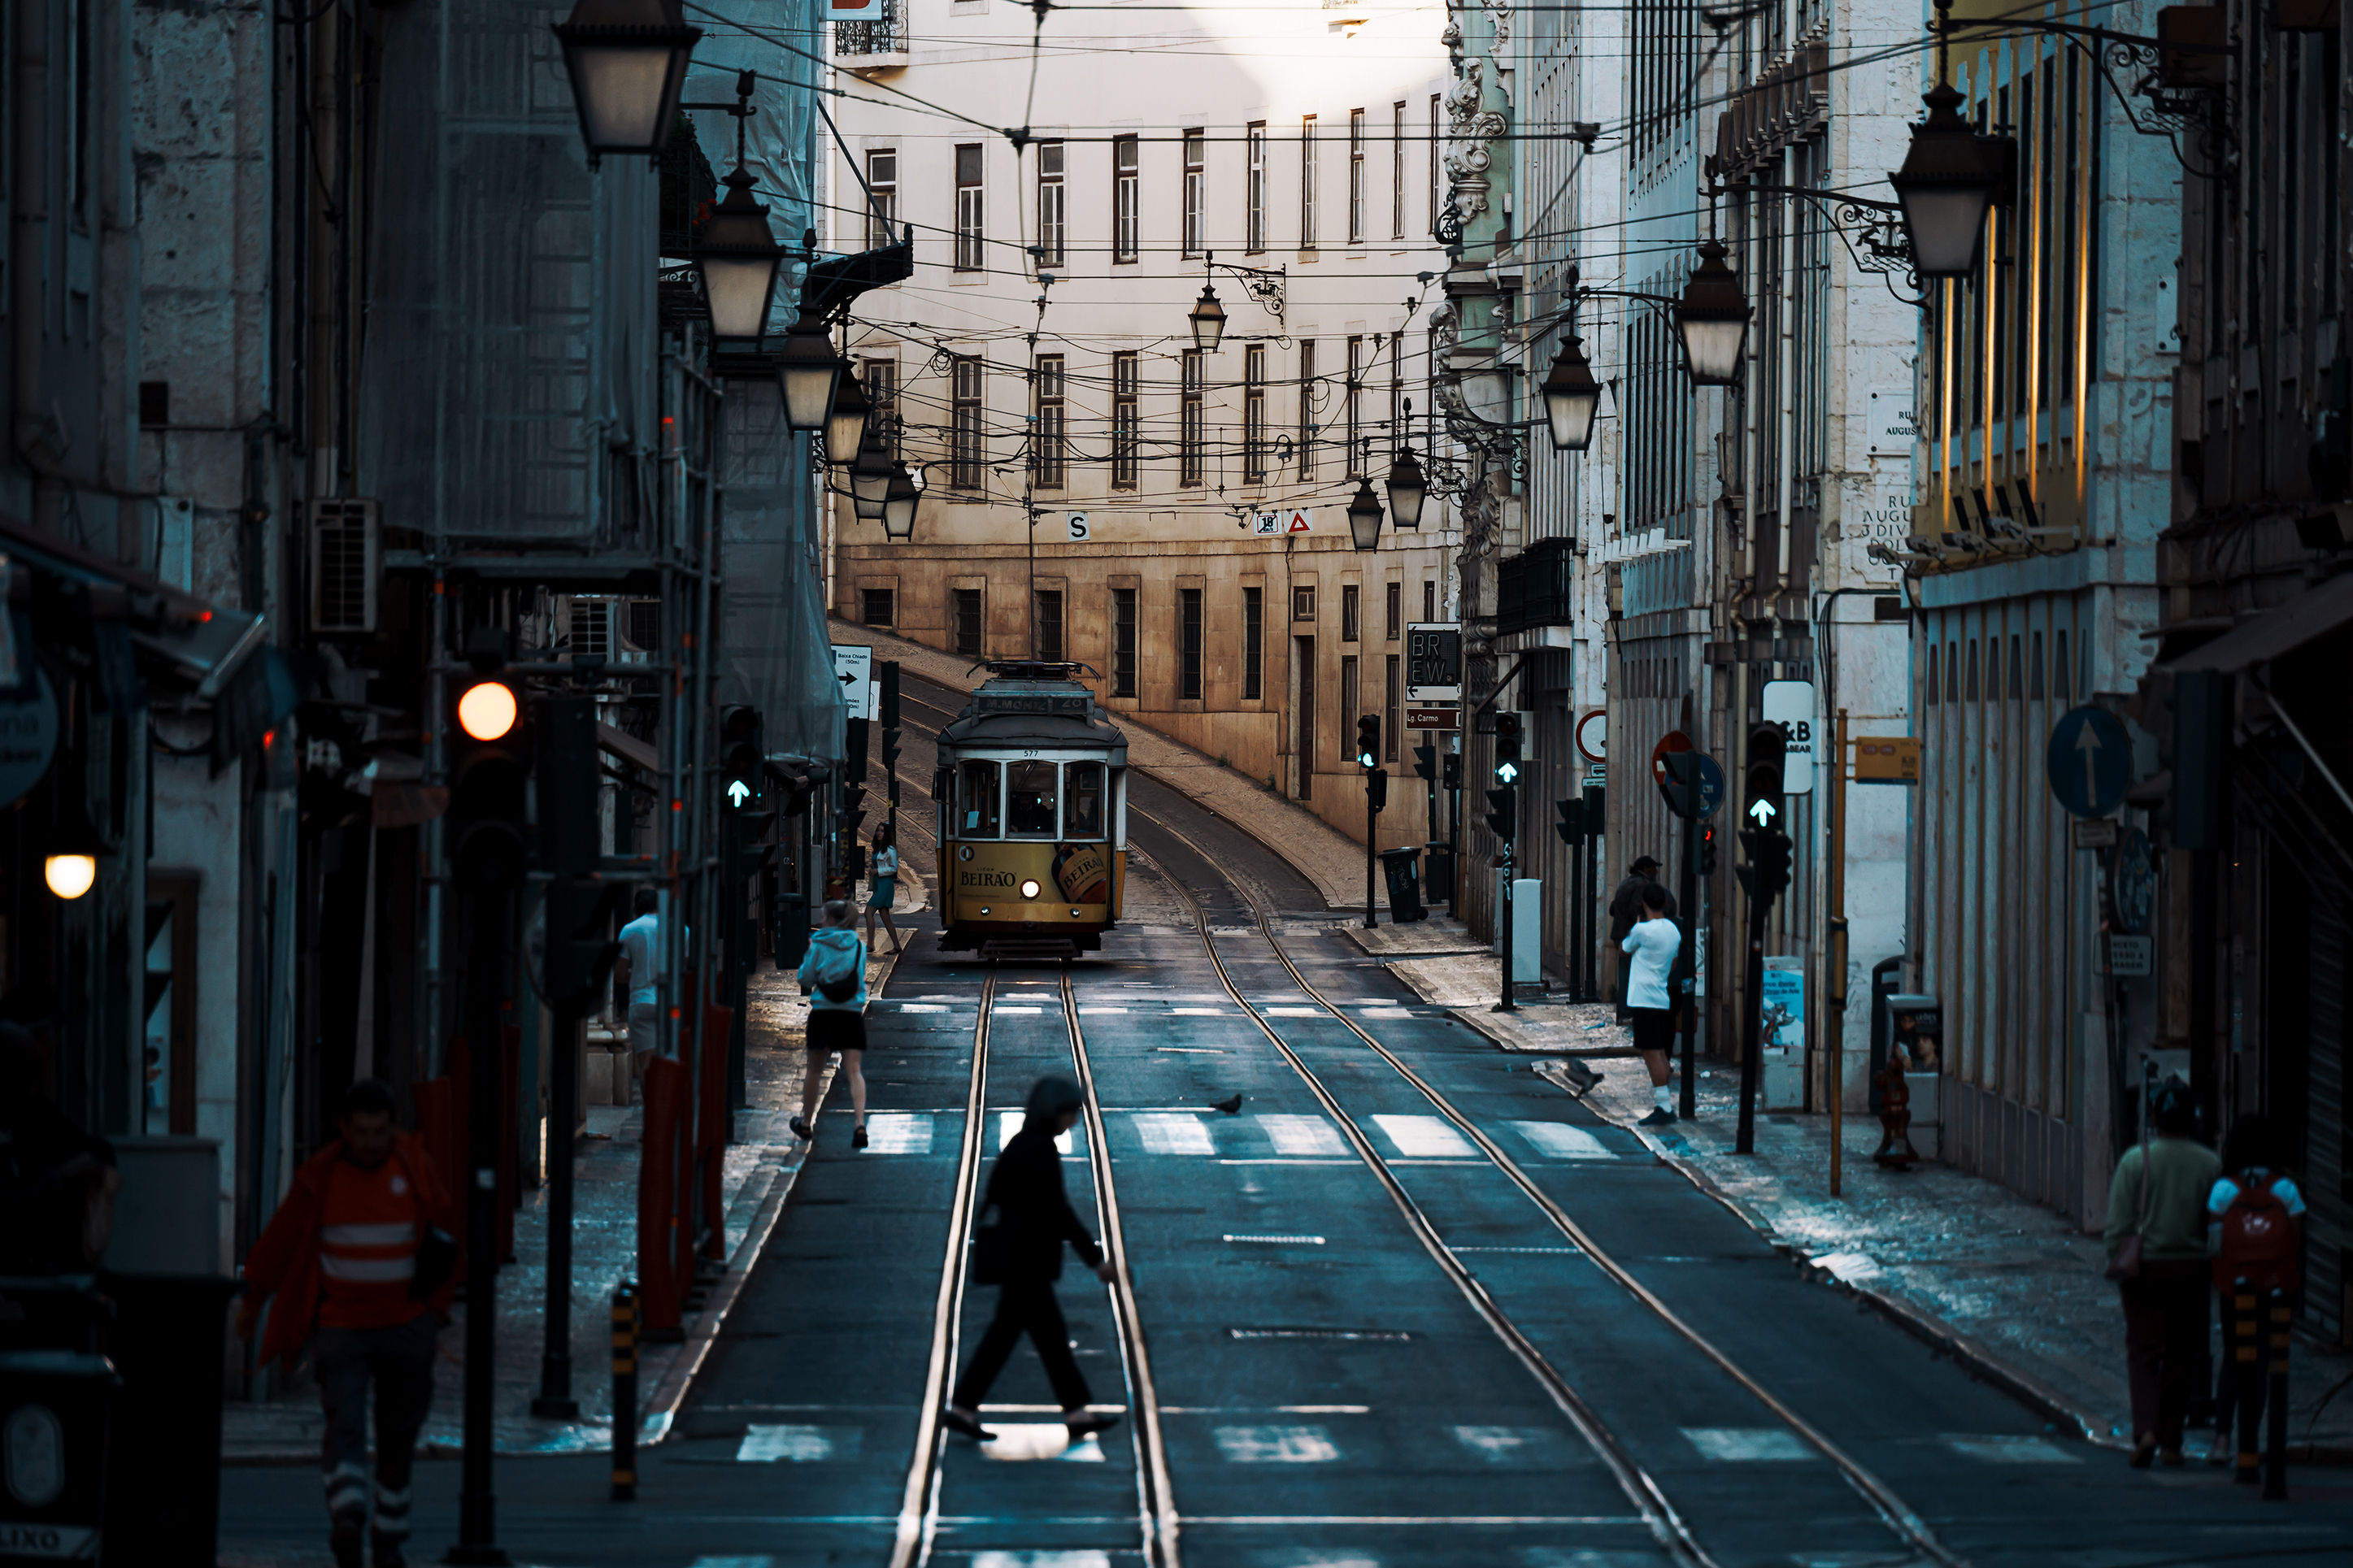
TAMRON 50-300mm F4.5-6.3 (Model A069) Focal length: 81mm Exposure: F5 Shutter Speed: 1/4000sec ISO: 100
Unplanned pictures of ordinary moments often end up being the ones you keep. A market street in Johannesburg, the promenade in Durban on a warm afternoon, a quiet main road in an Overberg town at the end of the day: these are the frames that carry the texture of a trip in a way that landmark photographs rarely do.
The habit worth building is looking rather than walking. Watch where the light is falling, where lines converge, where somebody is about to do something. When a scene interests you, take the picture without deliberating over it. Then take it again from a different angle and a different height. Crouching slightly, stepping two metres left, raising the camera above a crowd: each of these gives a different arrangement of the same subject, and the third or fourth attempt is usually the one that works.
A focal length somewhere between 35mm and 85mm keeps the framing close to what you saw, which is why street scenes shot in that range feel natural. Set a lower F-number when you want one element to stand clear of a busy background, and a higher one when the whole scene is the point and you want the detail across it to hold together.
Travelling on your own has a real advantage here. You can wait as long as a scene needs without anyone standing about while you do it, and it is much easier to work a single corner for ten minutes when nobody else is ready to move on.
TAMRON 28-75mm F2.8 G2 (Model A063) Focal length: 29mm Exposure: F2.8 Shutter Speed: 1/60sec ISO: 400
A portrait taken against a background that could be anywhere is a portrait of a person. A portrait taken against a background that could only be where you were is a photograph of the trip. Oak avenues and gabled werfs in the Cape Winelands, the pastel facades along the Durban seafront, the wide street architecture of central Pretoria: put the person in front of something that places them.
Balancing the subject against that background is the whole task. Placing the person off-centre, roughly on a rule-of-thirds intersection, usually settles the frame faster than centring them does, and it leaves room for the background to do its work. An F-number at or near maximum aperture softens the surroundings enough to keep attention on the face while still letting the location register.
Choose the focal length by how much of the setting you want. A standard or short telephoto lens concentrates on expression and gives flattering proportions. A wider lens brings in the landscape behind, though you will need to keep the person reasonably close to the camera or they will disappear into it.
Photographing people you do not know deserves a word of its own. Even in busy places where everybody has a camera, it is courteous to ask first, and a short exchange usually produces a better and more relaxed picture than a photograph taken from behind. If somebody would rather not be photographed, let it go without fuss.
Solo travel photography raises an obvious problem: if you want to be in any of the pictures, the self-timer or a phone-triggered shutter release is more than adequate. Rest the camera on a wall, a fence post or a rolled jacket, frame the scene first, then place yourself in it. Standing small against a large landscape almost always looks better than filling the frame with yourself, and it means you do not have to hand your camera to a stranger to get the shot.
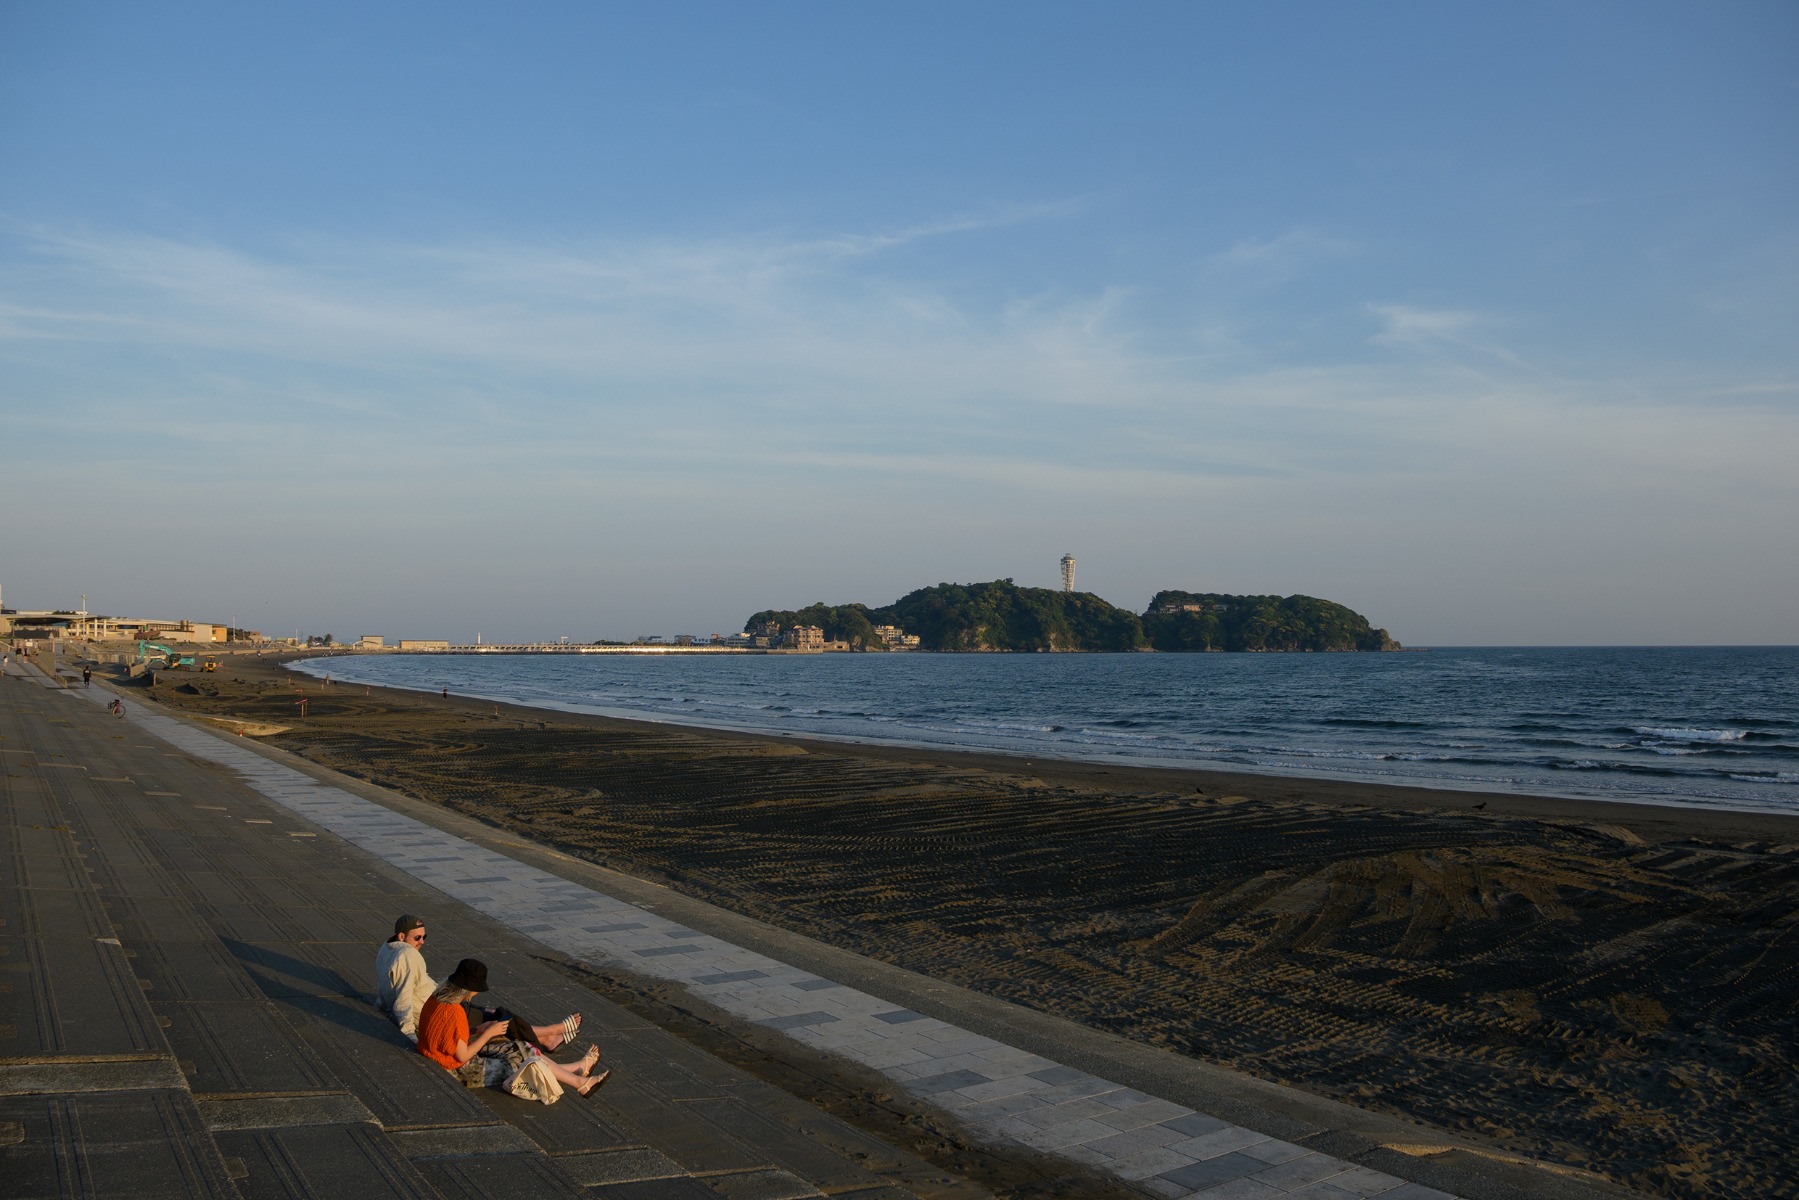
TAMRON 17-28mm F2.8 (Model A046) Focal length: 17mm Exposure: F9 Shutter Speed: 1/60sec ISO: 100
Start wide. A wide-angle lens takes in the whole of a scene and keeps the detail across it, which is what you want when the subject is the extent of the thing in front of you: fynbos-covered slopes running down to the sea in the Overberg, the West Coast shoreline, the Drakensberg escarpment catching late light, or a Highveld storm building over open ground in the Magaliesberg.
Wide-angle lenses also exaggerate perspective, so anything near the camera looms and anything distant recedes. Used deliberately this gives a landscape depth and a sense of three dimensions instead of a flat band of scenery. Put something in the foreground and get close to it: a rock, a fence line, a stand of grass. Then move. Changing your position by a few metres, or dropping the camera to knee height, alters the relationship between foreground and background completely.
An F-number between F8 and F11 will hold detail from close foreground to distant horizon on most wide lenses, and is a reliable default for scenery.
Time of day matters more than any setting. The blue hour before sunrise and the magic hour after sunset both give colour and directional light that midday cannot. Worth knowing if you are planning around it: South Africa runs on SAST all year with no daylight saving, so the times shift gradually across the seasons rather than jumping. It is also closer to the equator than many photographers are used to, which means the sun drops faster and the golden window is shorter. Be set up and ready before the light arrives, not while it is happening.
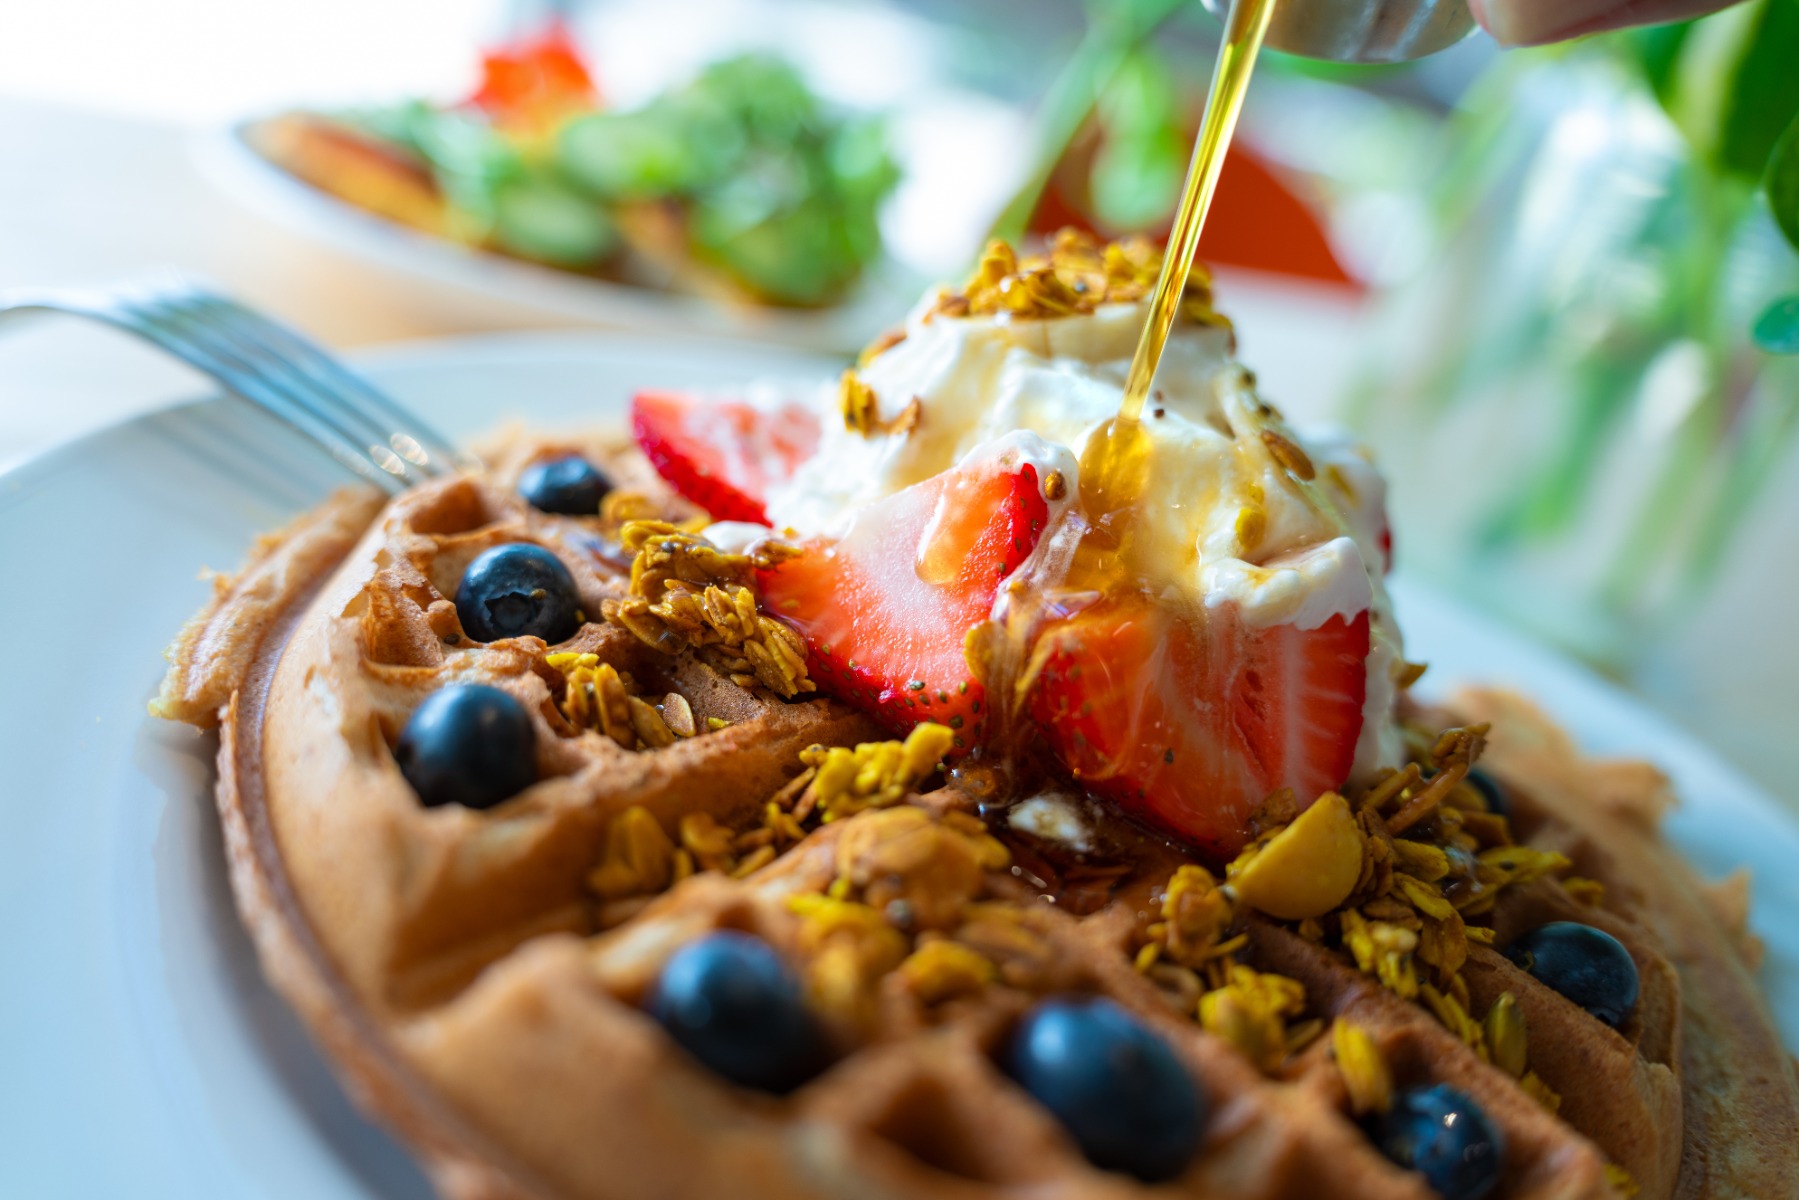
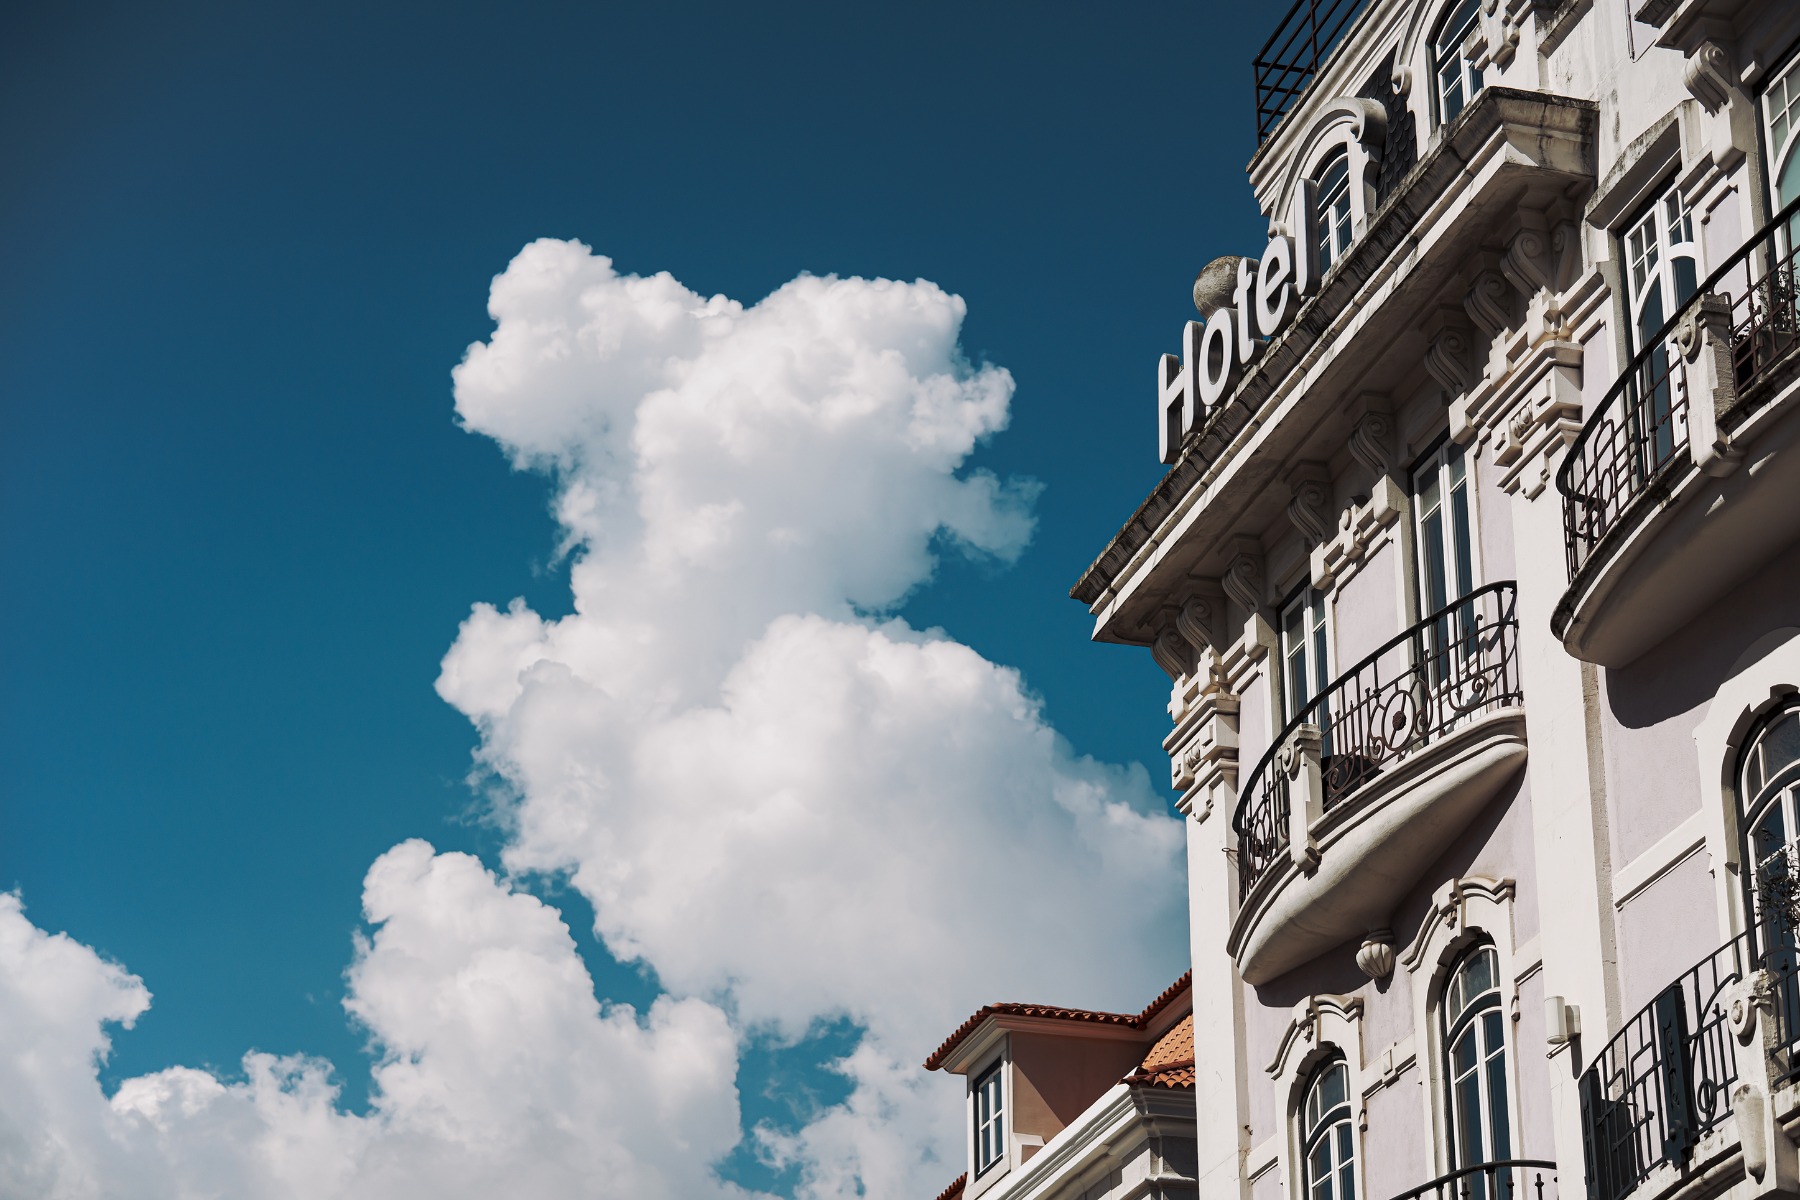
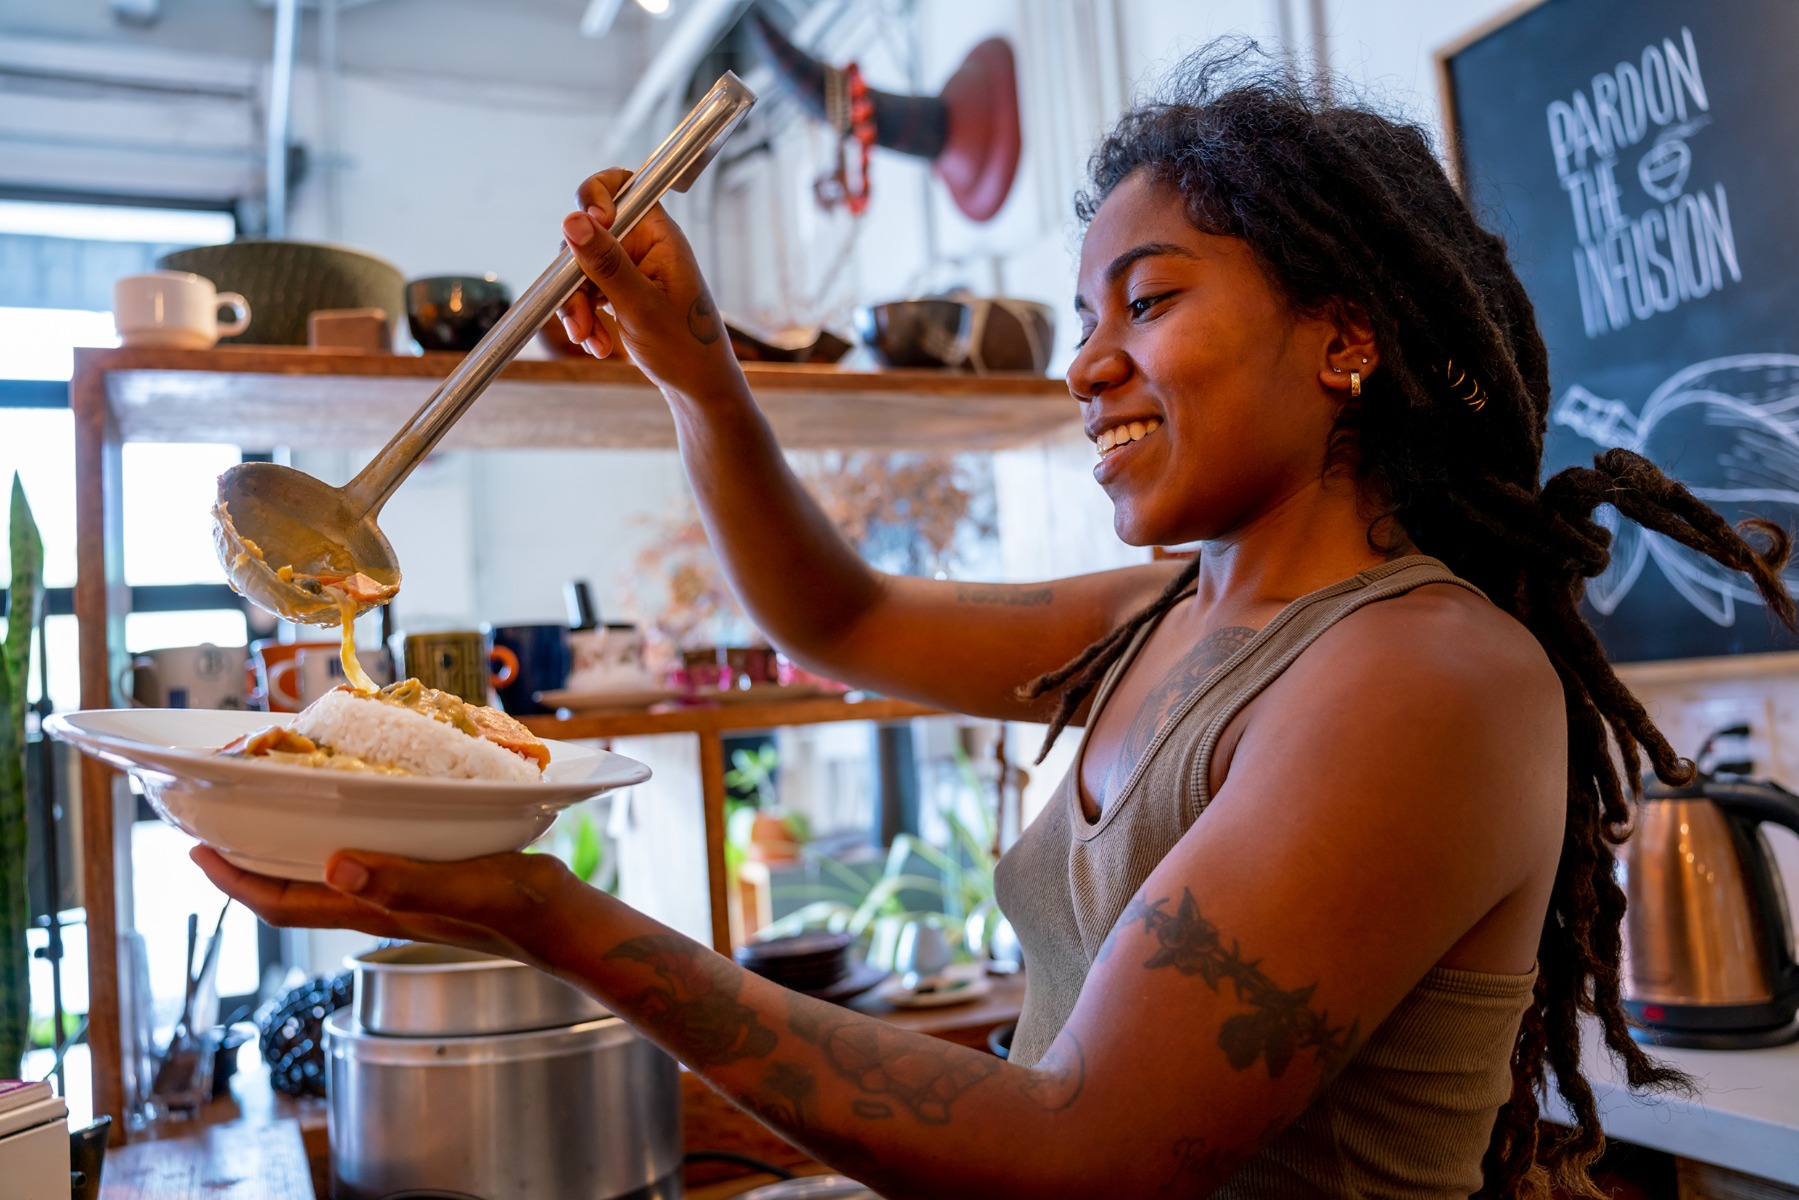
TAMRON 28-75mm F2.8 G2 (Model A063) Focal length: 28mm Exposure: F2.8 Shutter Speed: 1/100sec ISO: 100
Lunch at a wine estate, a plate at a Midlands farm stall, coffee somewhere on the way through: food photographs well when you use the light that is already there. Sit near a window if you can, or outside in open shade. Overhead artificial light is the usual reason a plate looks grey and unappetising in a picture, and switching it off or moving one table over fixes more than any setting will.
Work with the light coming across the table rather than from behind you. Holding the camera at somewhere between 45 and 90 degrees to the light source gives you shadow on one side of the plate, which is what makes food look three-dimensional. Semi-backlit and near-backlit arrangements are particularly good for anything with gloss or steam. A standard lens at F4 to F5.6 keeps the front of the dish sharp while the rest of the table softens off, which is usually the balance you want.
The same approach works for a shared meal outdoors. A braai photographed in late afternoon side light, with the food in the foreground and people out of focus behind it, tells you more about the day than a plated close-up does.
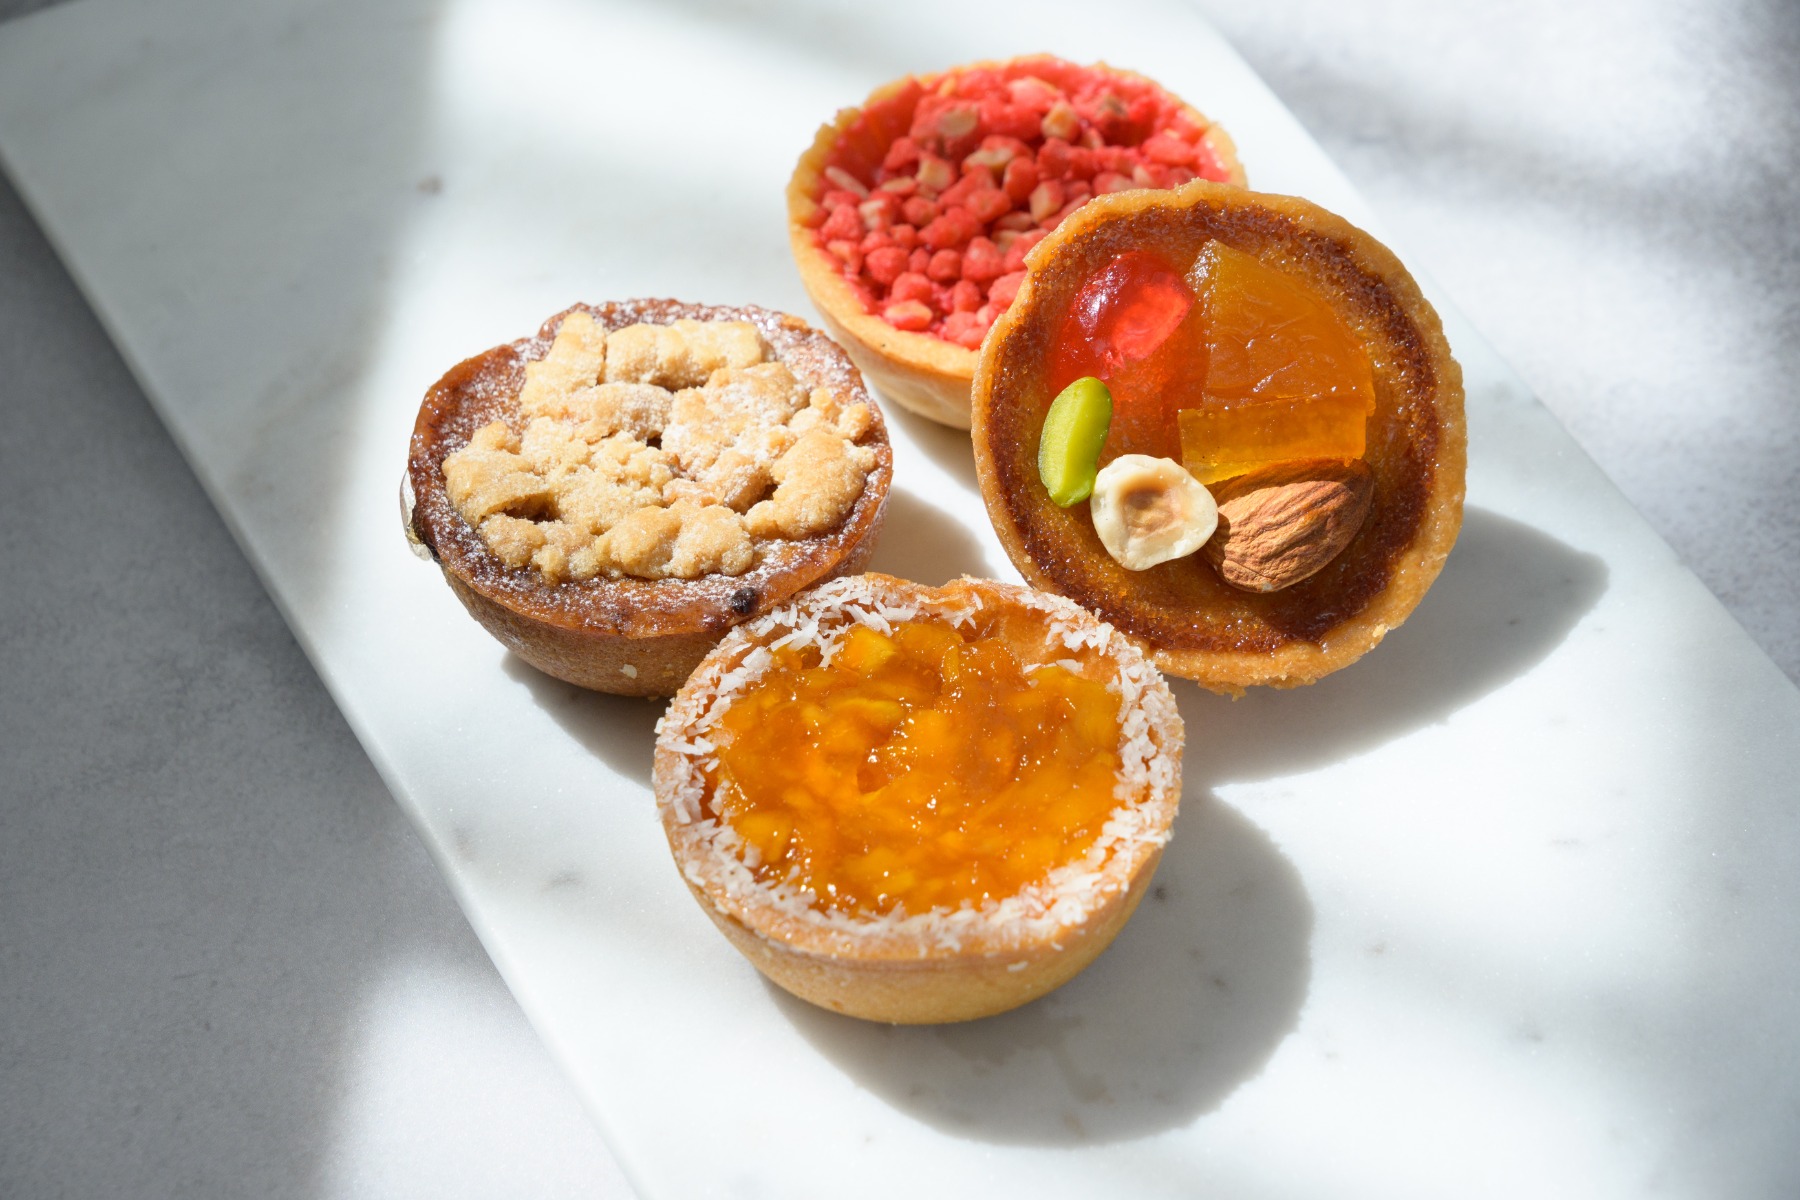
TAMRON 50-300mm F4.5-6.3 (Model A069) Focal length: 50mm Exposure: F4.5 Shutter Speed: 1/80sec ISO: 250
A lens with a short minimum object distance earns its place here. Being able to focus close means you can fill the frame with a single dish from a seated position, without standing up or pushing the table around. If you photograph food often, check the minimum object distance before you buy: it is the specification that decides whether a lens is usable at a table or not.
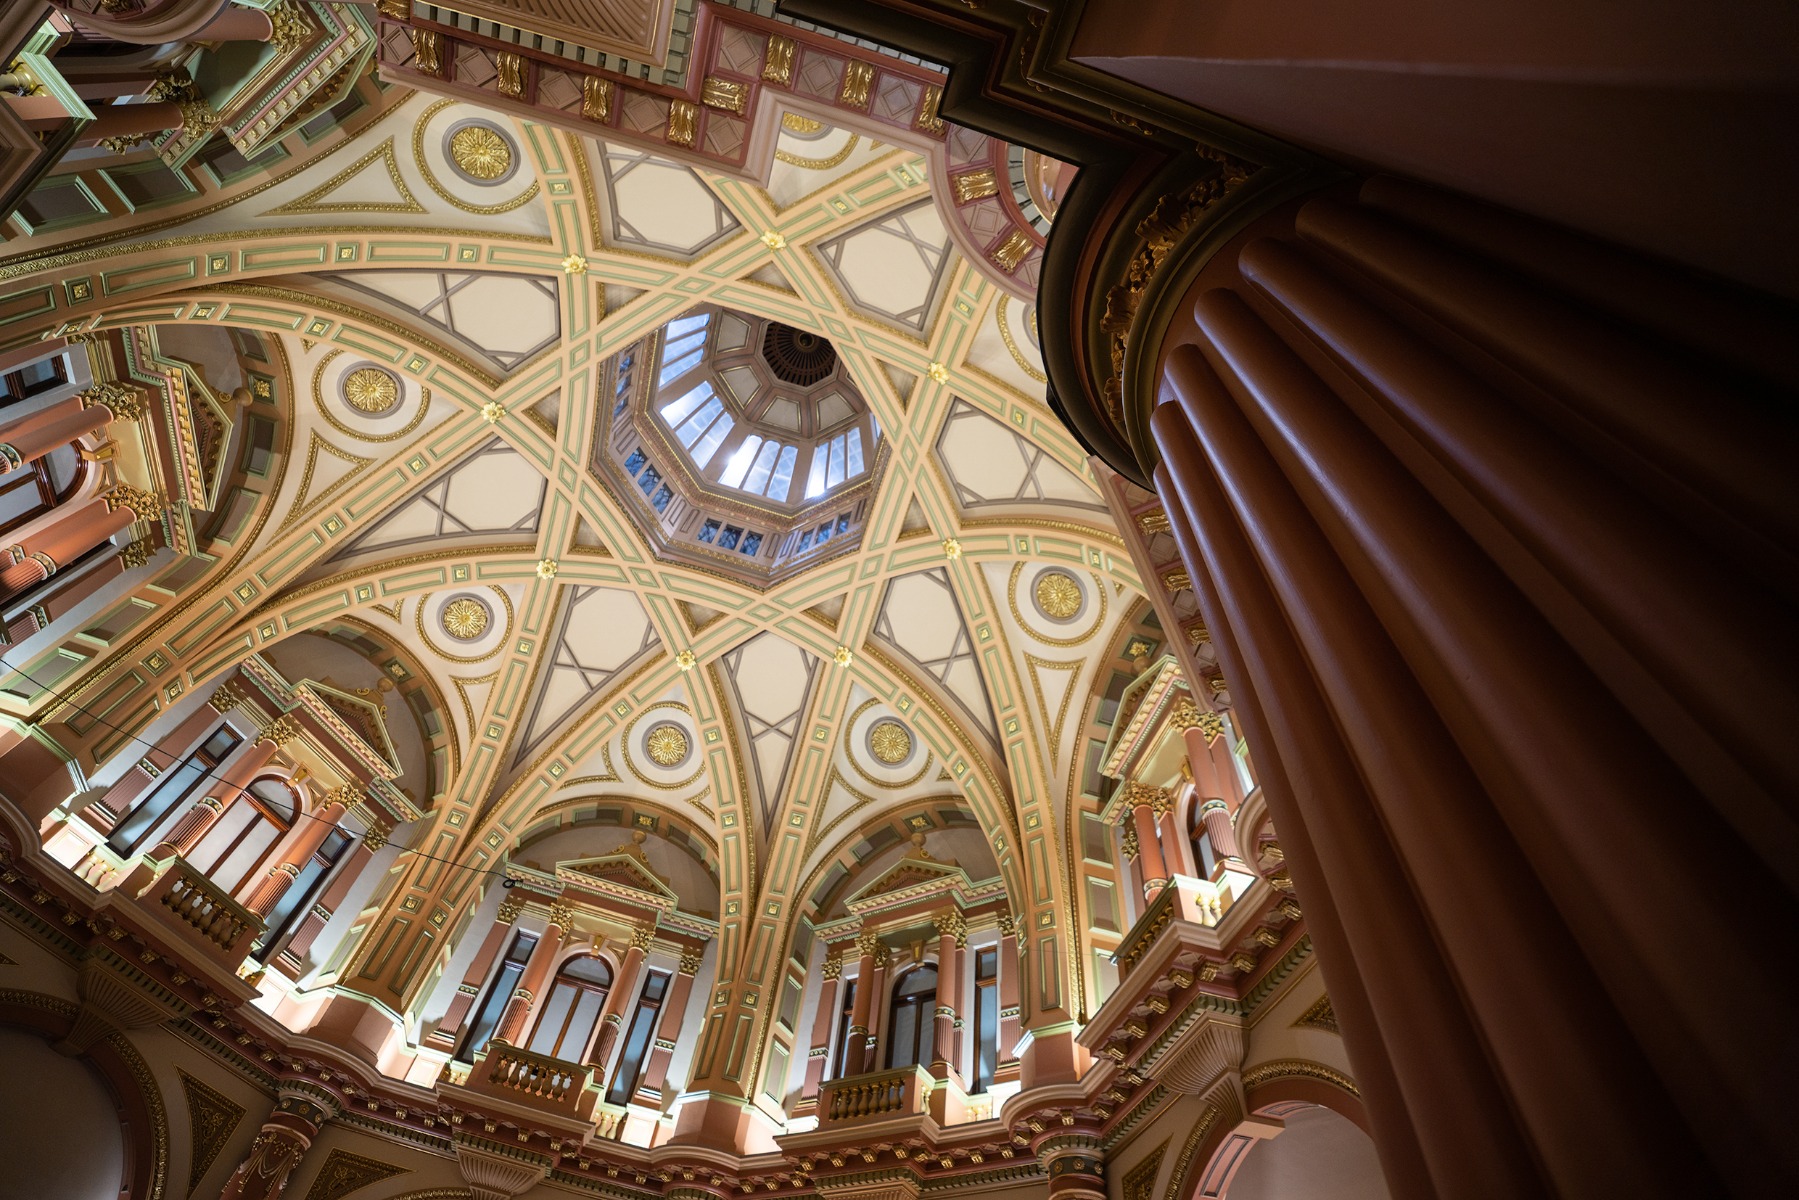
TAMRON 17-50mm F4 (Model A068) Focal length: 17mm Exposure: F4 Shutter Speed: 1/30sec ISO: 400
A gallery in Johannesburg, the cool interior of a Cape Dutch homestead, a wine cellar, a guesthouse room with morning light coming through the curtains: indoor scenes are almost always darker than they look, because your eyes adjust and the camera does not. Exposure becomes the thing you manage.
If any daylight is reaching the room, use it and position yourself relative to it rather than fighting it. Where there is no window, or the day is overcast, open the aperture close to its maximum and raise the ISO until the shutter speed is fast enough to hold steady by hand. Add exposure compensation if the result still looks darker than the room felt, which it often will when there are large dark surfaces in the frame.
In small rooms, passages and stairwells a wide-angle lens is the only practical option, and it also conveys the sense of the space rather than a fragment of one wall. Many indoor venues do not allow flash or tripods, so a lens that performs at a wide aperture and a camera you are comfortable hand-holding at slower speeds will get you considerably further than any accessory.
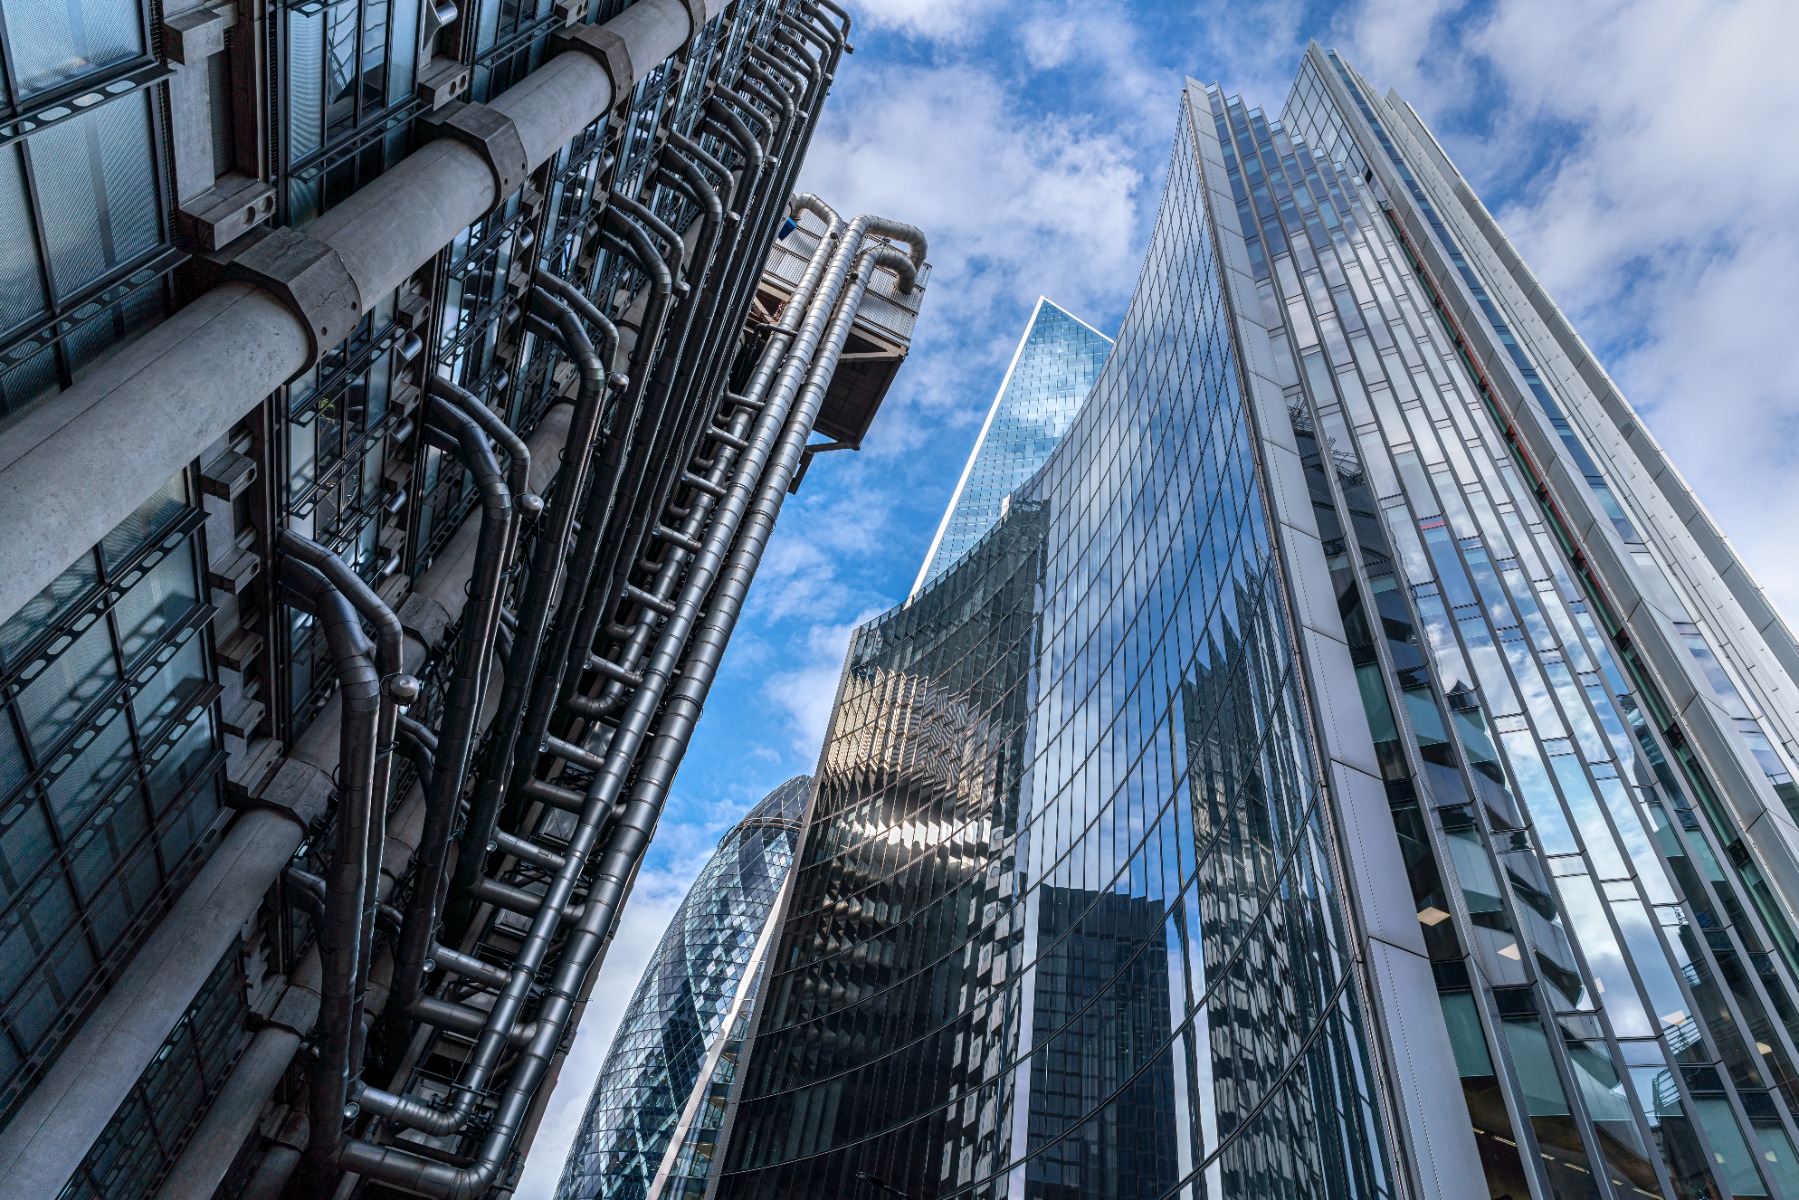
TAMRON 20-40mm F2.8 (Model A062) Focal length: 20mm Exposure: F5.6 Shutter Speed: 1/400sec ISO: 100
Wide-angle is the obvious starting point for architecture and city views. It takes in the full scale of a building and exaggerates the perspective of its vertical lines, so height reads as height. The Cape Town city bowl seen against the mountain, the Johannesburg skyline from higher ground, the Art Deco frontages along the Durban beachfront: all of these are wide-angle subjects first.
The less obvious option is a telephoto. Longer focal lengths compress distance, stacking everything in the frame into layers that sit closer together than they really are. A market street or an oak-lined avenue photographed from one end becomes a dense series of receding planes. A jacaranda-lined street in Pretoria works the same way in late spring. The compression effect is also how you place a building against a mountain range or a stretch of coastline in the same frame, at similar apparent scale, which is a striking contrast to photograph and impossible to achieve from close range.
City views after dark are worth the effort. Without a tripod you are relying on a slow shutter speed and a wide aperture, so keep the ISO as high as your camera handles cleanly, brace the camera against something solid, and take several frames of each composition. The blue period shortly after sunset, when there is still colour in the sky and the building lights are already on, gives a far better result than full darkness.
The rest is the underlying technique. None of it is complicated, and knowing the defaults means you spend your attention on the picture rather than the camera.
Exposure is simply how much light reaches the sensor, controlled by three settings working together. Get it wrong in one direction and the image is too dark to recover; get it wrong in the other and the brightest areas lose their detail permanently. All F-numbers below are written in the same notation for consistency.
Aperture priority is the mode to use for most travel photography. You set the F-number and the camera works out the shutter speed. Since depth of field is usually the decision that matters, whether the background is soft behind a portrait or sharp behind a landscape, this puts the important control in your hands and automates the rest.
Shutter priority is the better choice when something is moving and you need to decide how it is rendered. You set the shutter speed and the camera adjusts the F-number. Use it for anything in motion where a blurred subject would spoil the picture.
Manual mode is worth trying once the other two feel automatic. It takes longer to set, but it gives you exact control and it is genuinely useful in consistent light, where you can set the exposure once and stop thinking about it.
The F-number describes how far the lens aperture is open. A low F-number means a wide aperture, allowing more light to reach the sensor, and it narrows the depth of field so that less of the scene in front of and behind the focus point is sharp. That is what produces a soft background.
A high F-number closes the aperture down. Less light gets through, so the shutter speed drops or the ISO must rise, but the depth of field deepens and more of the scene is sharp at once. As defaults: F8 to F11 for landscapes and architecture, and F2.8 to F5.6 for portraits and table shots where you want the subject to lift away from its surroundings.
Shutter speed is the length of time the shutter stays open. Faster speeds freeze movement but let in less light; slower speeds gather more light but record any movement, including your own, as blur.
For a stationary subject in good light, 1/60 to 1/250 second is enough for a clean, sharp result. For anything moving, 1/500 to 1/1000 second will hold it still. As a rough guide for hand-holding, keep the shutter speed at least as fast as the reciprocal of your focal length, so 1/100 second or faster at 100mm, unless the lens or camera is stabilised.
ISO controls how strongly the sensor amplifies the light it receives. Raising it brightens the image without changing aperture or shutter speed, at the cost of increasing noise, so use the lowest setting the light allows.
Outdoors in South African daylight, ISO 100 is the working default rather than the bottom of a range. Midday sun on the Highveld or in the Karoo is strong enough that you will more often be looking for a way to cut light than to add it. Indoors, in shade or under heavy cloud, ISO 800 to ISO 3200 is normal and modern sensors handle it well. Judge it on the result on the back of the camera, not on the number.
Getting the arrangement of a frame right is the part most people find hardest, largely because it is the part with no numerical setting. Three approaches to travel photo composition cover the majority of situations, and they can be combined.
[Image] Rule of thirds
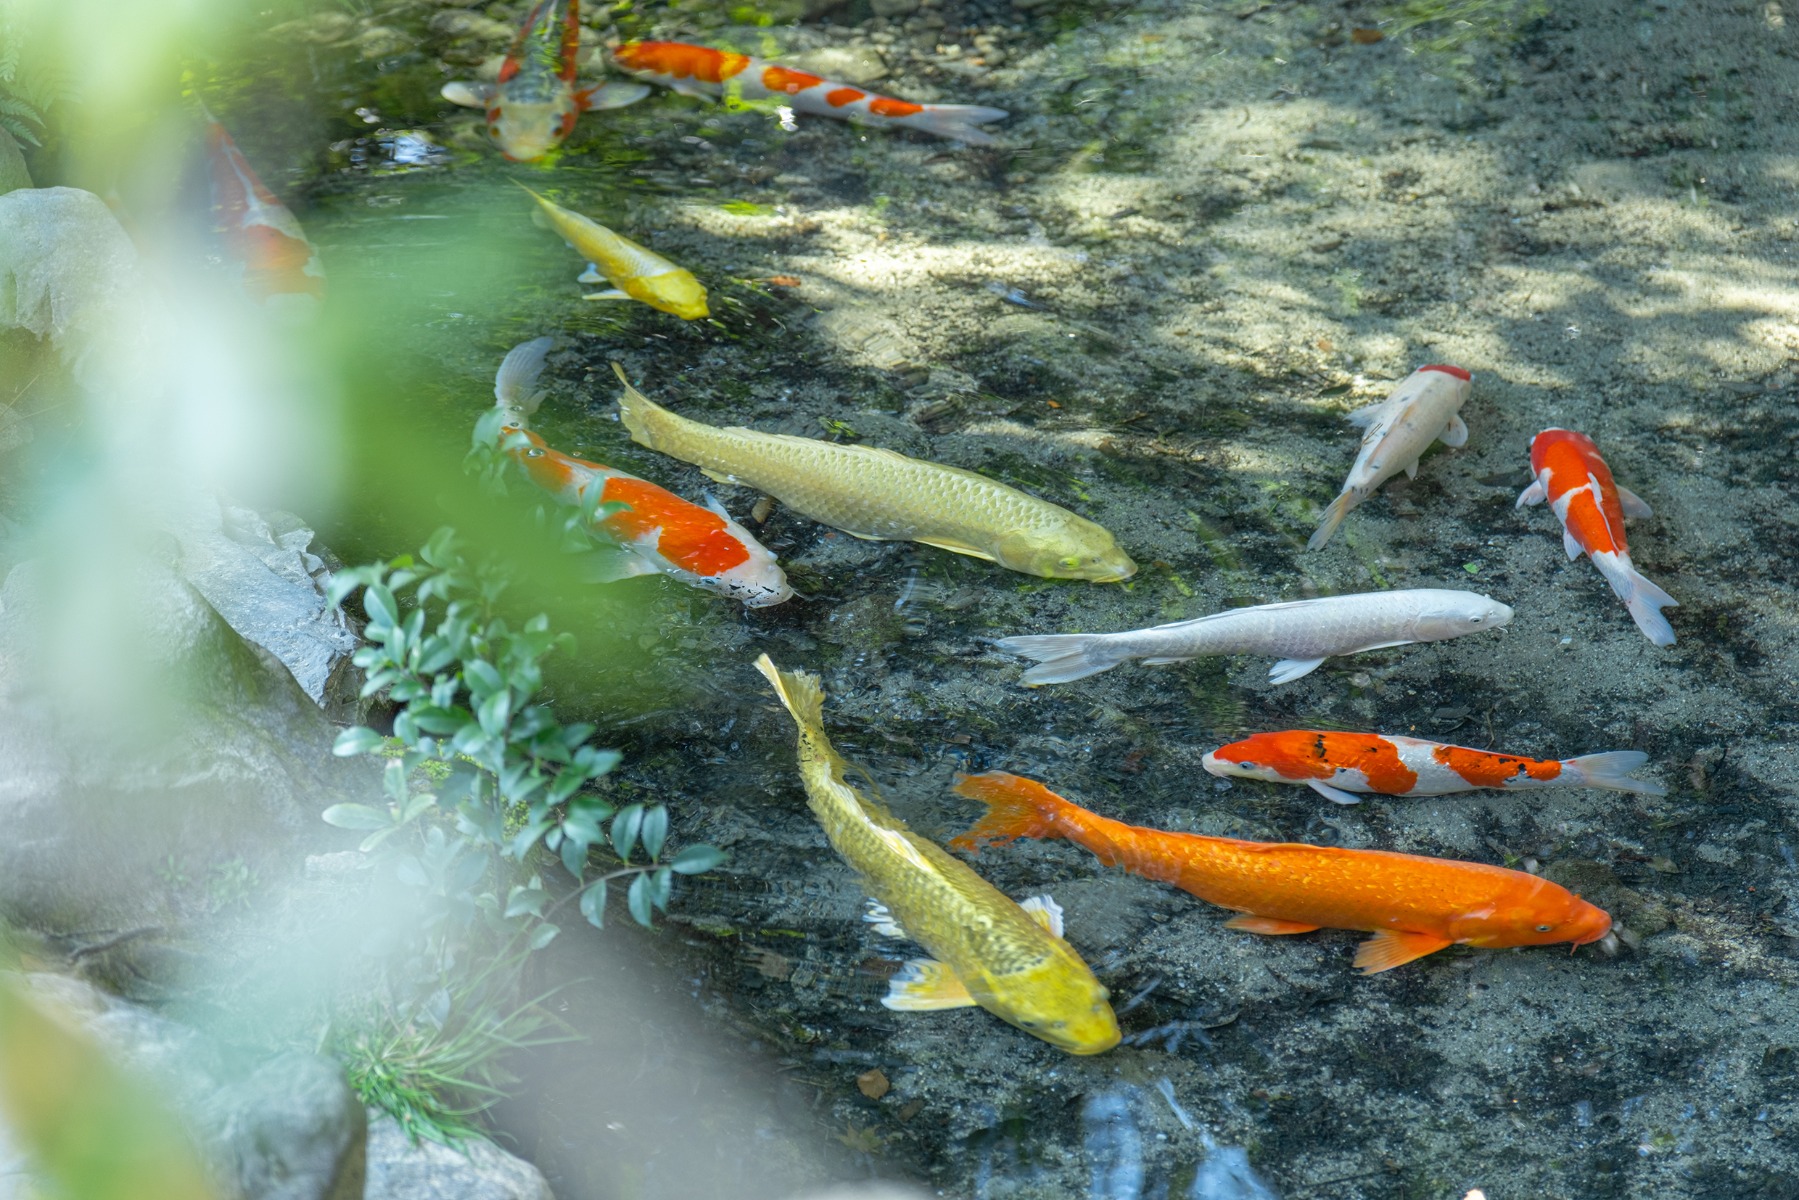
TAMRON 17-70mm F2.8 (Model B070) Focal length: 70mm Exposure: F2.8 Shutter Speed: 1/80sec ISO: 160
Divide the frame into thirds horizontally and vertically, and place the subject near one of the four intersections. Moving the subject off-centre creates movement and gives the eye somewhere to travel, and it leaves the space needed for a foreground and background to overlap into something with depth. On a coastline, putting the horizon on the upper third line gives weight to the water and the lower third gives it to the sky. It is the easiest composition to apply to almost any subject, which is why most cameras will display the grid for you.
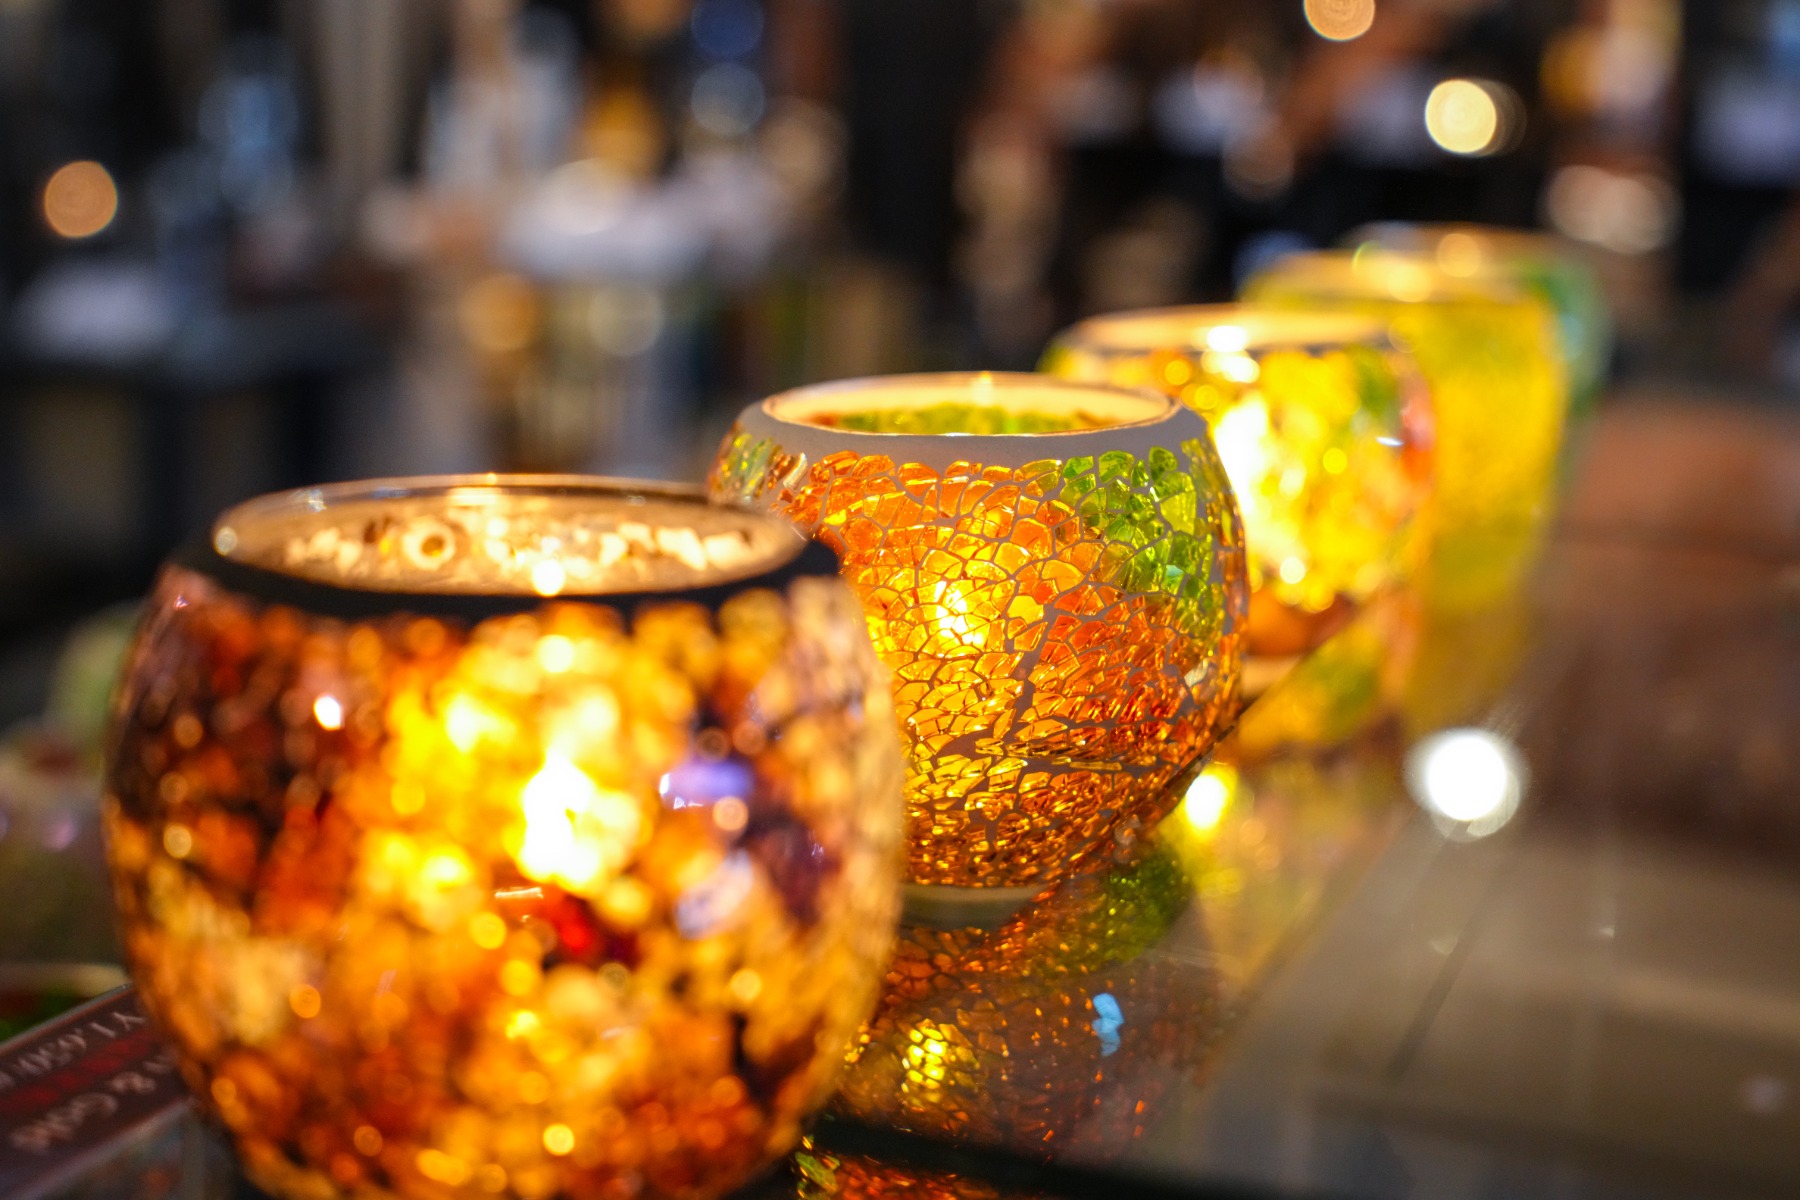
TAMRON 17-50mm F4 (Model A068) Focal length: 50mm Exposure: F4 Shutter Speed: 1/50sec ISO: 3200
Arranging the subject along a diagonal running across the frame introduces depth and a sense of motion. The eye follows the line naturally from one corner towards the other, so the picture feels dynamic even when nothing in it is moving. The Durban promenade receding into the distance, an oak avenue, a staircase, a shoreline running out of the corner of the frame: all of these work on a diagonal. It suits portraits, table shots and architecture equally.
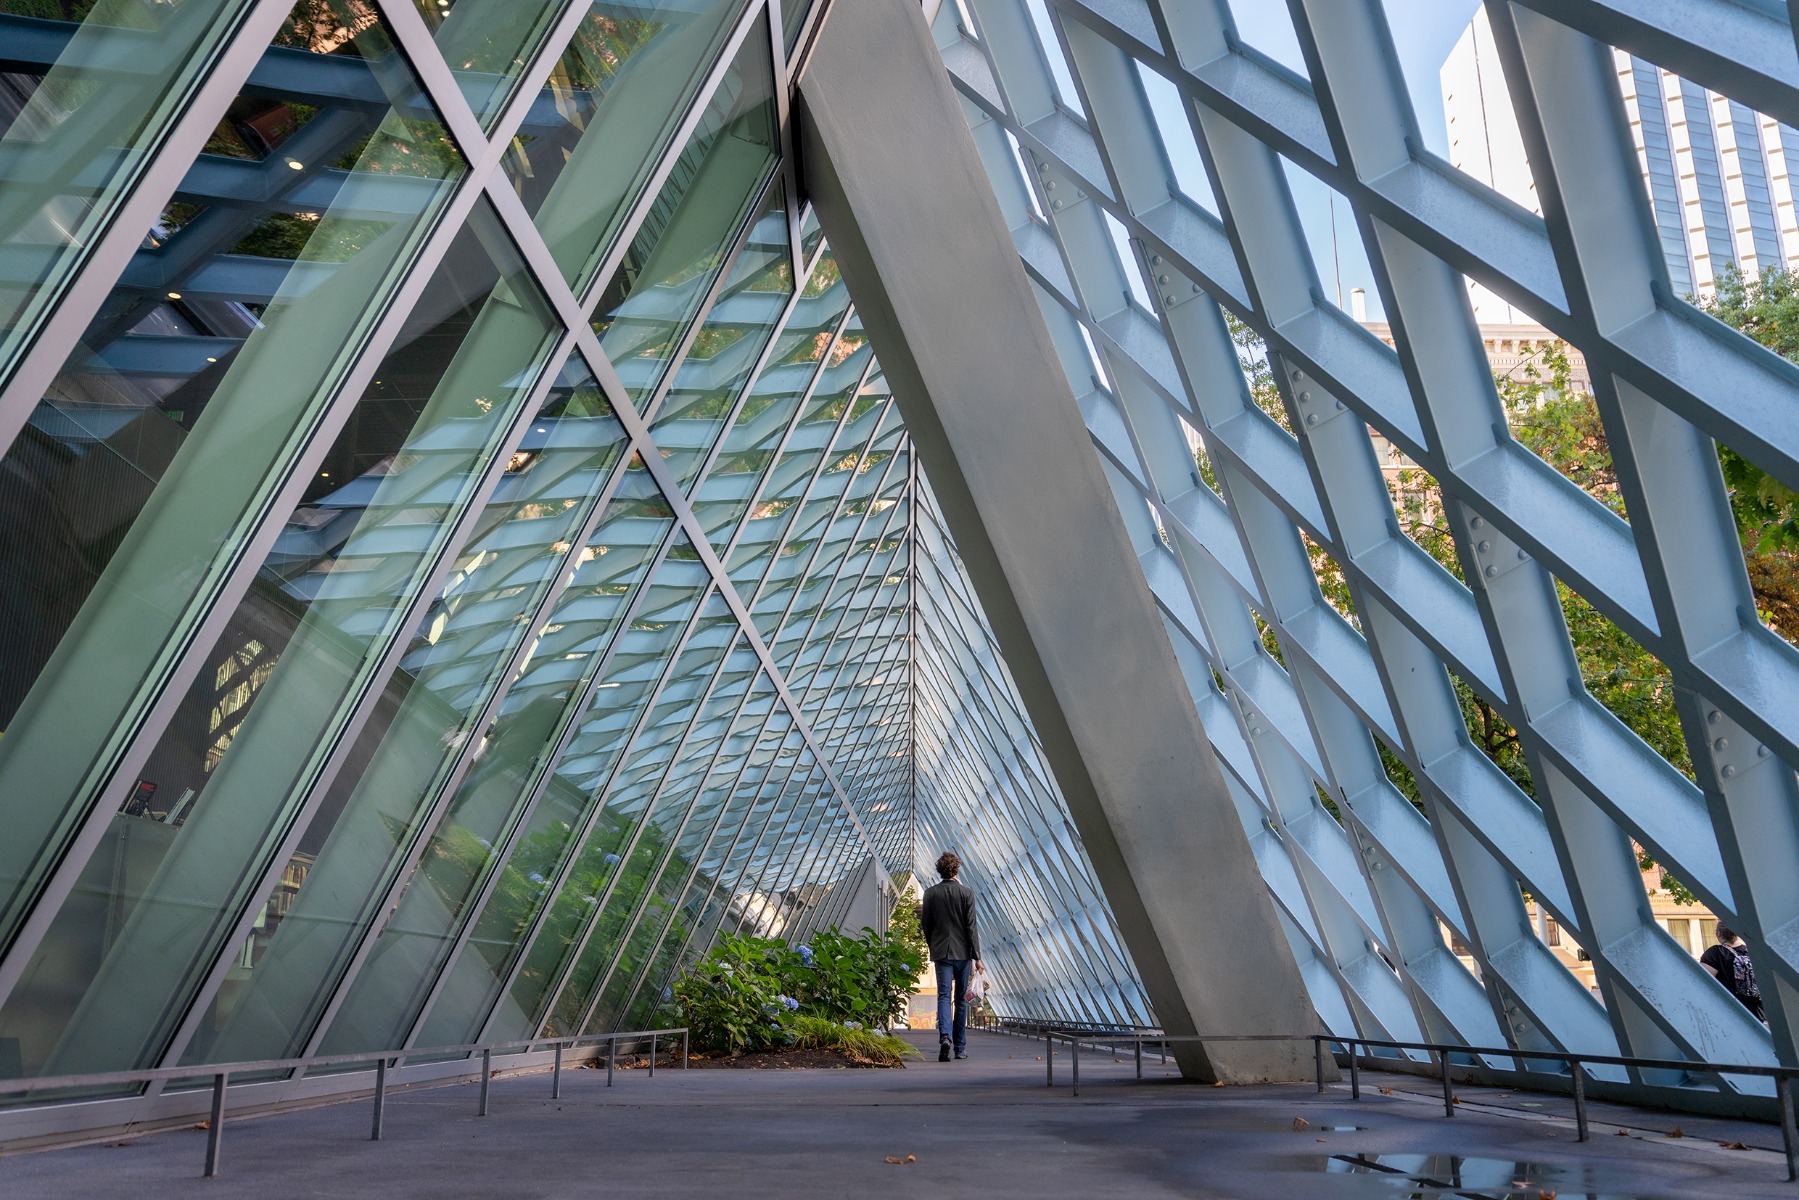
TAMRON 28-75mm F2.8 G2 (Model A063) Focal length: 28mm Exposure: F2.8 Shutter Speed: 1/320sec ISO: 200
Placing the subject inside a triangle, or arranging elements so that their edges form one, produces a settled and balanced picture. It suits anything with a broad base and a narrower top, which is why the Drakensberg peaks and their waterfalls fall into it so readily, and it works just as well for a group of objects on a table arranged so the tallest sits behind. Where the rule of thirds creates movement, a triangle creates stability.
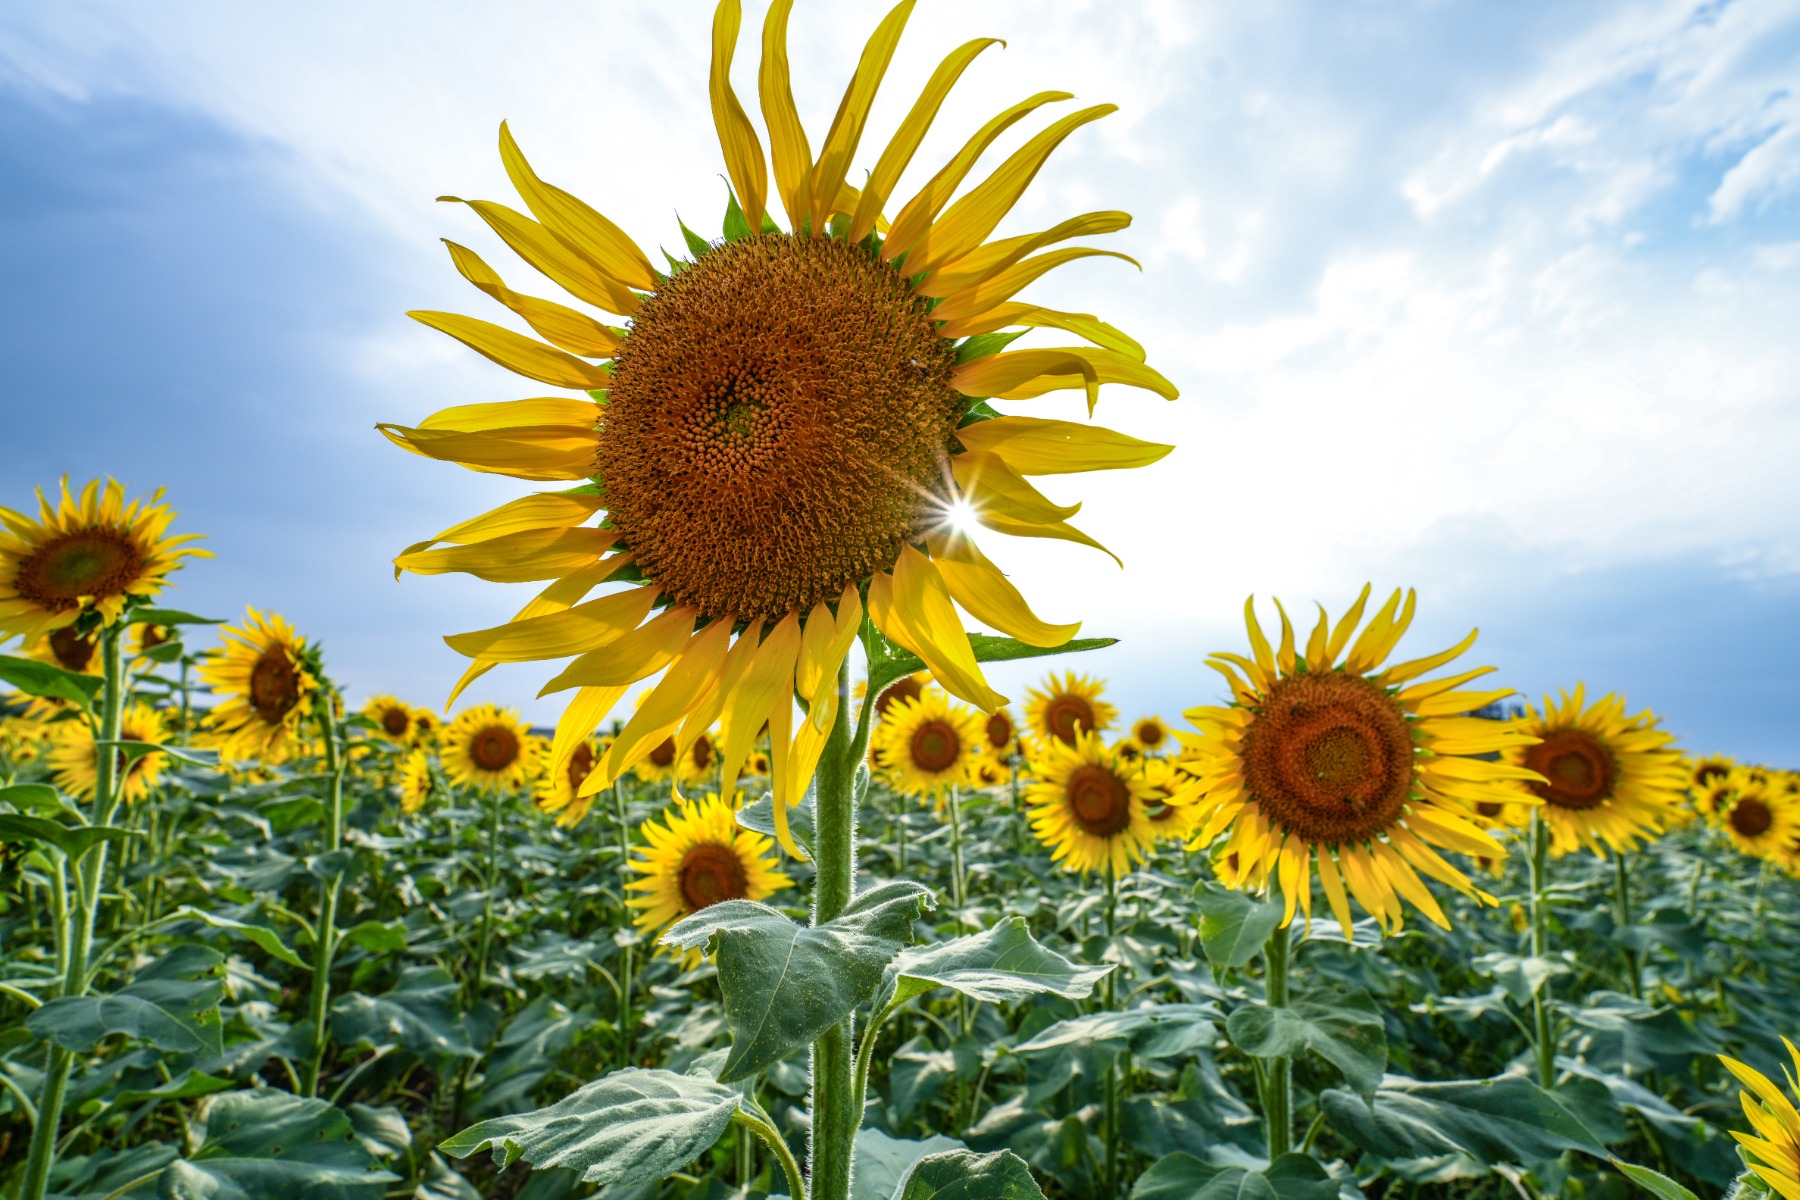
TAMRON 17-50mm F4 (Model A068) Focal length: 17mm Exposure: F8 Shutter Speed: 1/200sec ISO: 200
Where the light is coming from changes a scene more than any camera setting does. There are three directions worth recognising, and each does something different to shadow, colour and contrast.
Front light falls on the subject from behind the camera. Colours are accurate, faces are clearly lit and nothing is hidden, which makes it dependable. The weakness is that it casts shadows away from you, so there is little modelling in the frame and the picture can look flat. Under hard midday sun this is at its worst, and a scene that looked striking can photograph as a washed-out surface.
Backlight comes from behind the subject, towards the camera. Faces and detail fall into shadow, so it is difficult for a straightforward portrait, but it is the most atmospheric of the three. It rims a subject with light, turns haze and dust into visible depth, and produces the silhouettes that make sunrise and sunset photographs work. Expose for the sky and let the subject go dark, or expose for the subject and let the background blow out, but decide which one you are doing.
Side light strikes the subject from one side and is the most sculptural. Shadows fall across the surface and reveal texture and form, which is why it suits stonework, landscape and still life so well. On a face it emphasises every bit of surface detail, which is powerful when intended and unflattering when it is not, so watch what it is doing before you commit to it.
Conditions shift the character of all three. Coastal light on the Cape and KwaZulu-Natal seaboards is softer and more humid than inland light. Cloud brought in by the Cape southeaster diffuses everything. A Highveld thunderstorm on a summer afternoon can produce twenty minutes of extraordinary directional light against a dark sky. If there is a particular photograph you want from a trip, work out what time of day it needs and build the day around it.
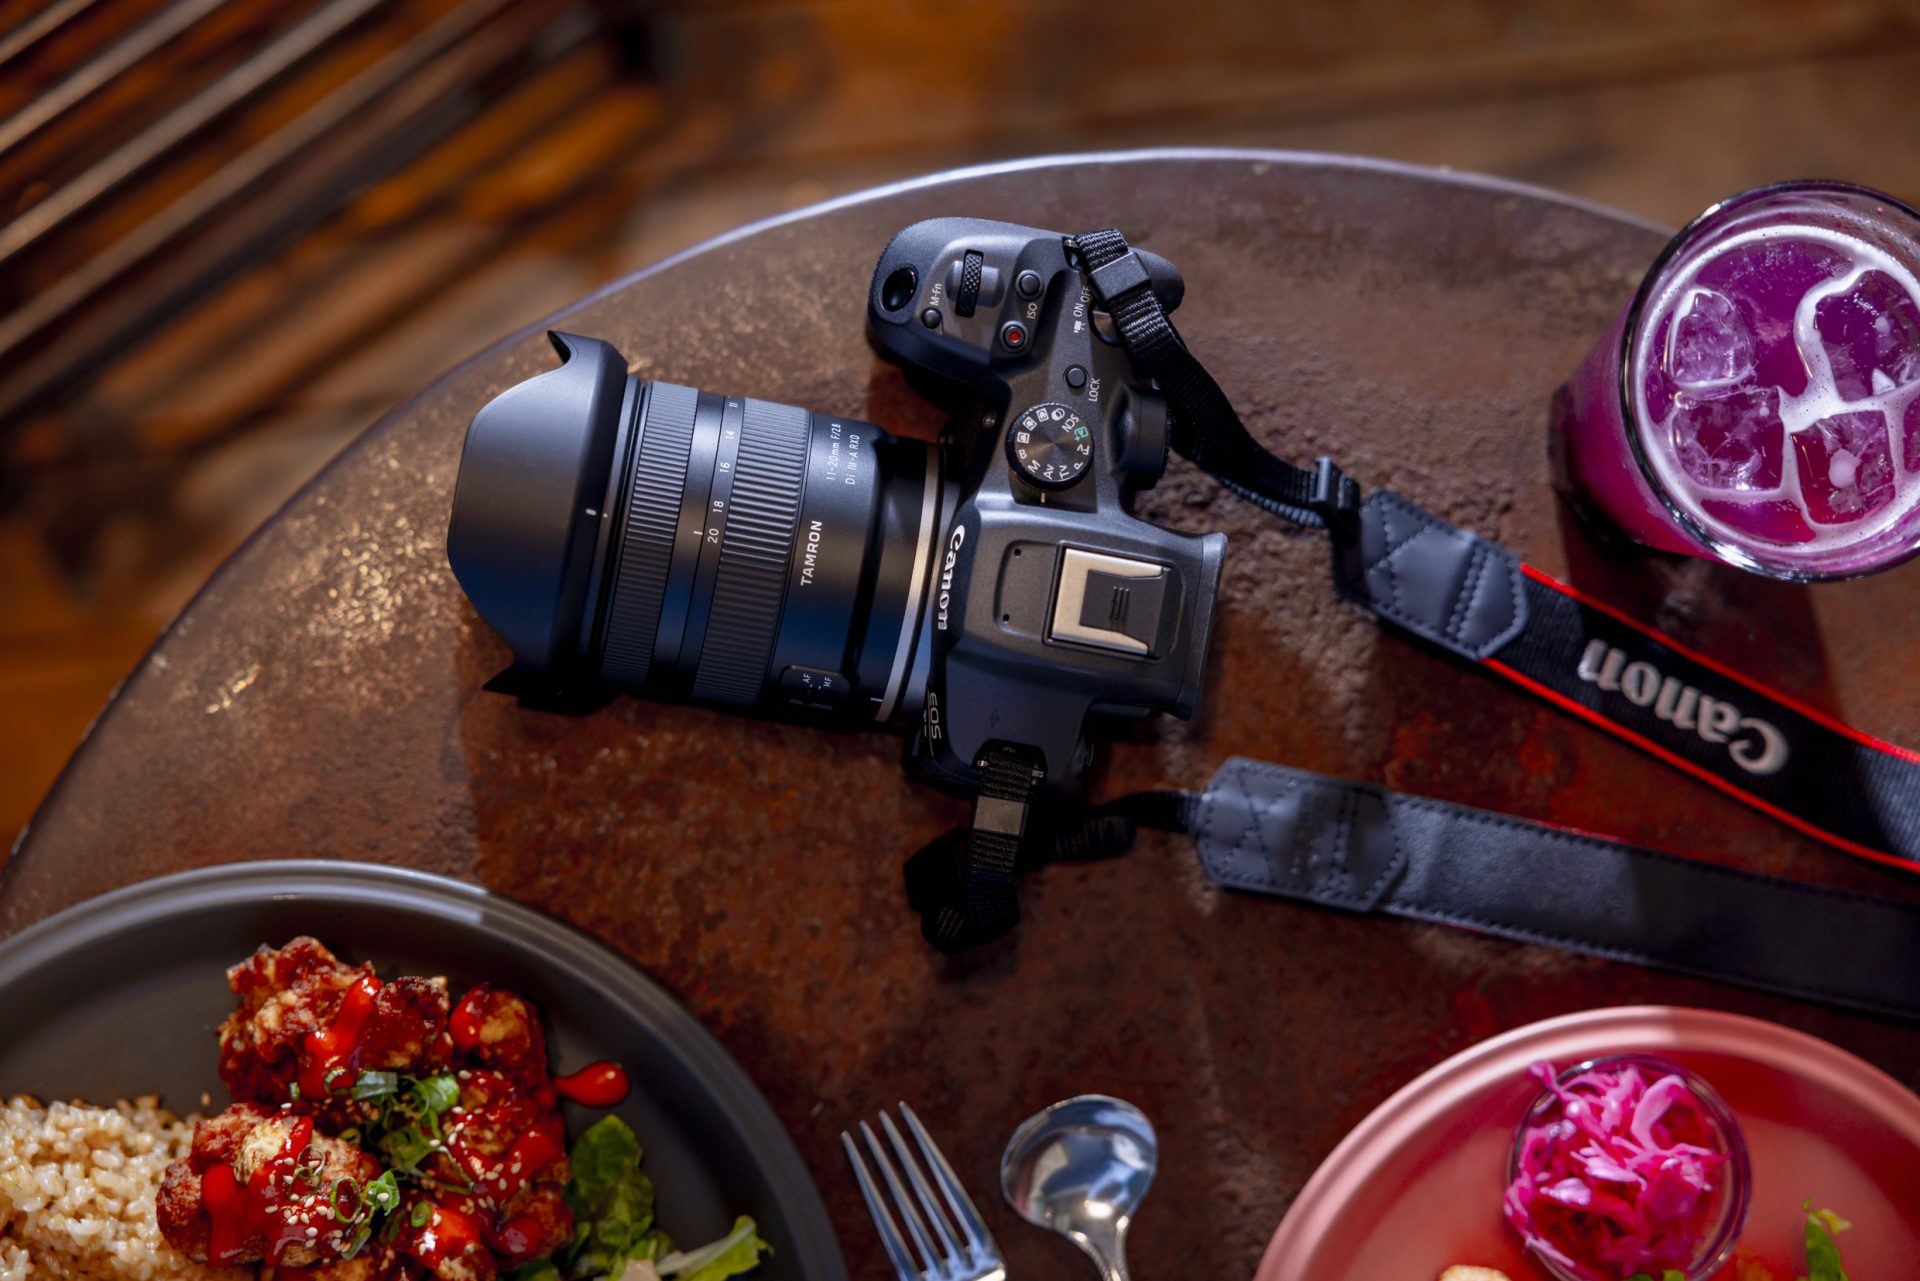
A travel lens has a harder brief than any other. It has to be small enough that you keep carrying it on day four, flexible enough to handle scenes you did not plan for, and good enough that the pictures justify having brought a camera at all. Seven things are worth checking.
Weight is the specification that decides whether a lens gets used. A heavy lens is fine for the first morning and a burden by the third day, and the camera that stays in the bag takes no photographs at all. Size matters just as much for anyone flying domestically with hand luggage only, or fitting a bag behind the seat on a long drive.
Numbers on a page do not tell you enough here. Hold the lens on your own camera body before deciding: how it balances in the hand matters more than what it weighs, and a well-balanced heavier lens can be more comfortable to carry all day than a lighter one that puts everything forward. If you are travelling alone, remember that everything you pack is something you will be carrying yourself.
Coverage is what makes one lens do the work of three. A zoom in the region of 24mm to 70mm handles landscapes at the wide end and portraits at the long end, and will cover most of a trip without complaint. A high-power zoom running from wide angle through to telephoto extends that further and means you can frame a distant building or a detail across a valley without changing anything.
There is a second, practical argument for a single wide-ranging zoom. Changing lenses in wind, dust or sea spray is exactly how grit reaches a sensor, and on the coast or in dry inland conditions those are the circumstances you will most often be shooting in. A lens you never have to take off is a lens that keeps the inside of your camera clean.
How close a lens will focus is easy to overlook and immediately useful. A short minimum object distance lets you fill the frame with a small subject without special equipment, and it makes a lens workable in tight spaces where you cannot step back.
On a trip this comes up constantly: a dish on a café table, craft work on a Gauteng market stall, detail on a carved door, a flower at the edge of a path. Check the minimum object distance in the specifications rather than assuming, as it varies widely between lenses of otherwise similar focal length.
A fast lens, meaning one with a low maximum F-number, does two things at once. It gathers more light, so you can keep shooting as the light drops without pushing the ISO to its limit, and it gives you a shallower depth of field for the soft backgrounds that make a subject stand out.
Both of those matter for the scenes covered earlier: portraits where the background should recede, interiors where flash is not permitted, and city views after sunset with no tripod to hand. If evening and indoor photography is a significant part of how you travel, maximum aperture is the specification to prioritise.
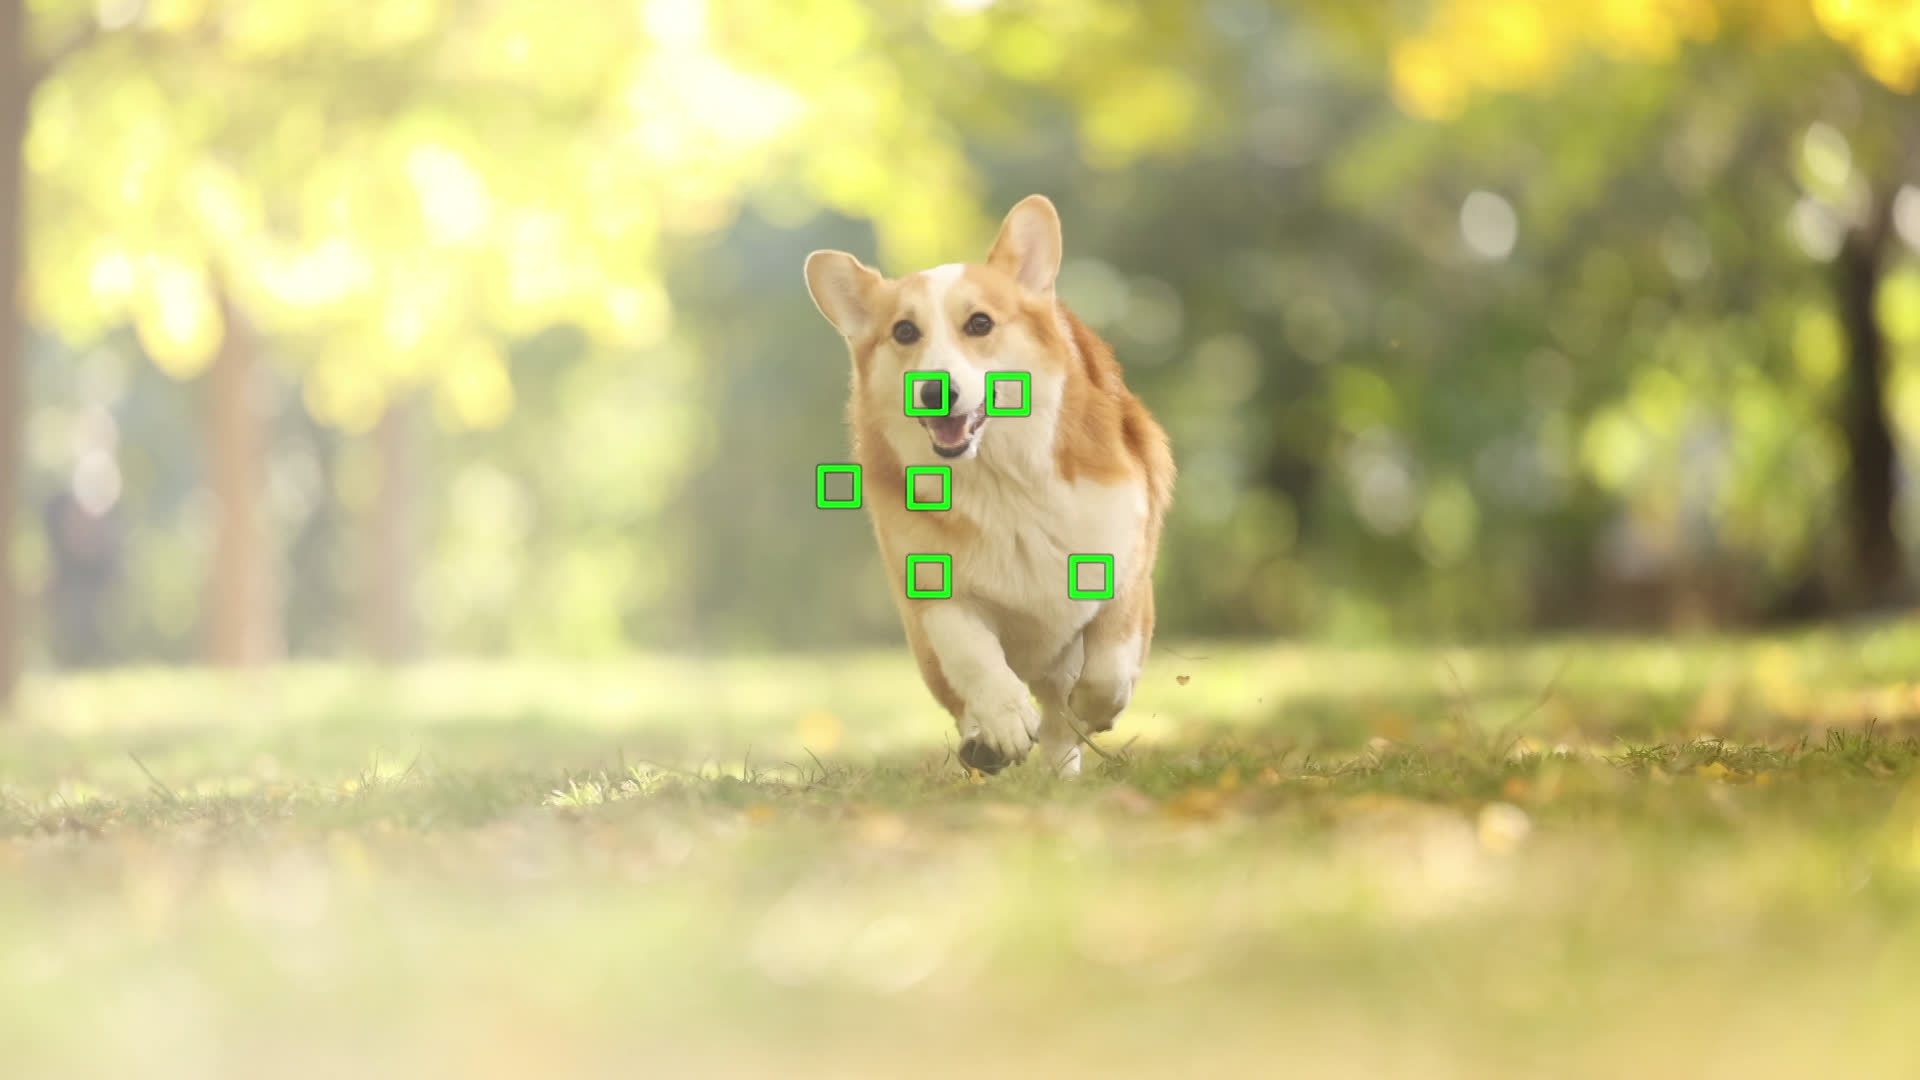
Autofocus needs to be quick, accurate and consistent, because most travel photographs are of things that will not wait. Tracking performance matters too: if the subject is walking, running or moving through a scene, the lens needs to hold focus rather than reacquire it each time.
Quietness is worth a thought as well. In a gallery, a museum or a small restaurant, a lens that focuses audibly draws attention you probably do not want.
Tripods rarely survive contact with an actual trip. They are awkward to pack, often not permitted indoors, and almost never with you at the moment you need one, so nearly all travel photography is hand-held.
Stabilisation is what makes that workable. It buys you several stops of usable shutter speed, which is the difference between a sharp frame and a soft one in a dim interior, at dusk, or at the long end of a zoom. It matters more still in solo travel photography, where there is nobody to hand the camera to and nothing but a wall to brace against.
Weather is not something you get to choose on a trip, and South African conditions are harder on equipment than the mild phrase suggests. Winter rain and southeaster-driven spray in the Cape, sudden summer thunderstorms on the Highveld, and constant salt-laden humidity along the KwaZulu-Natal and Cape coasts all reach a camera bag eventually.
A lens with moisture-resistant construction is sealed to keep water and dust from working their way inside, which reduces the chance of a fault and, more usefully, means you keep shooting when the weather turns instead of packing up. Some of the best light of any trip arrives immediately before or after rain, and it is worth being able to stand in it.
Good travel photographs come from a small number of repeatable decisions: recognising which of the six scenes you are in, setting the aperture for the depth of field you want, arranging the frame using one of three dependable compositions, and paying attention to where the light is coming from. None of that requires more equipment than you already have.
Lens choice is the part that shapes everything else, because the lens you enjoy carrying is the one that will be on the camera when something worth photographing happens. For most trips a light, compact zoom covering a wide range of focal lengths, focusing close and sealed against the weather, will do more for your pictures than a bag full of specialist glass. Take these travel photo tips with you, keep the kit light, and bring back photographs that look the way the trip felt.