| September 18, 2026
 South Africa's #1 Mobile Protection Brand
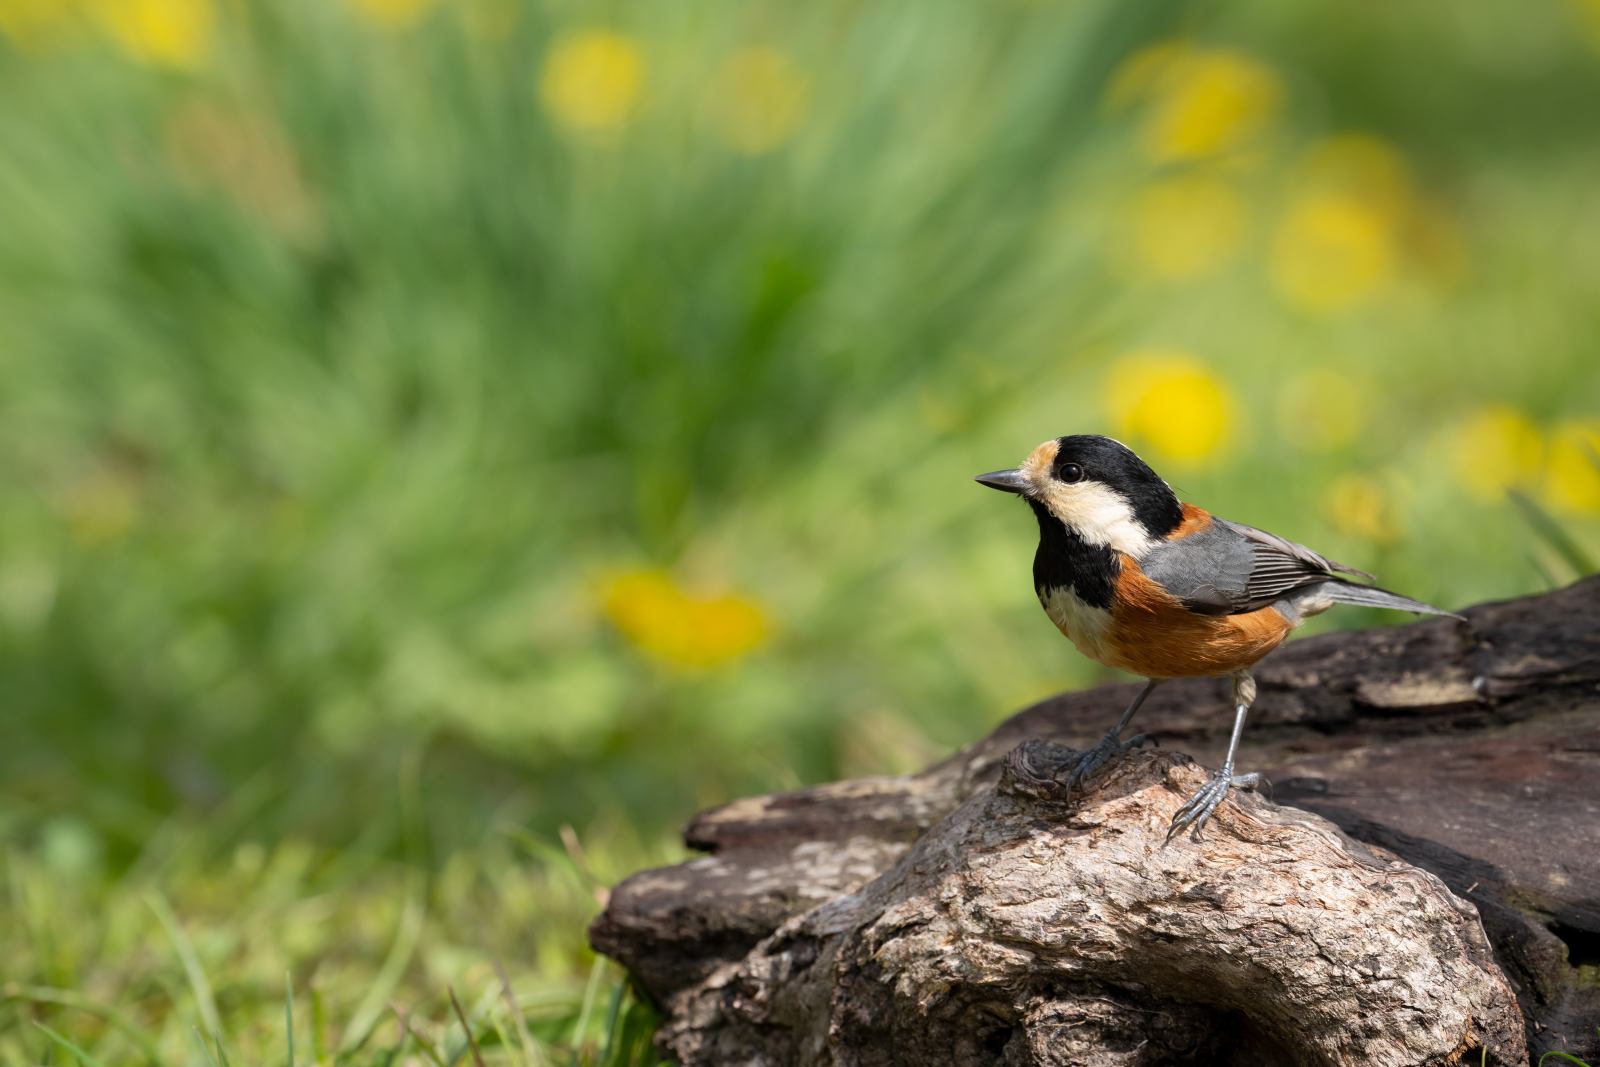
Bird photography is one of the few branches of wildlife photography you can start from your own garden. There is real satisfaction in watching a bird long enough to understand what it is about to do, and then catching that moment cleanly. The difficulty is that birds are alert, they keep their distance, and they move faster than almost anything else you will point a camera at.
This guide covers what you need to get going: how to choose a lens for bird photography, the exposure and focus settings that actually work in the field, the compositions worth learning first, and how to approach different subjects from large waders to small garden birds. It closes with field etiquette, which matters as much as technique.
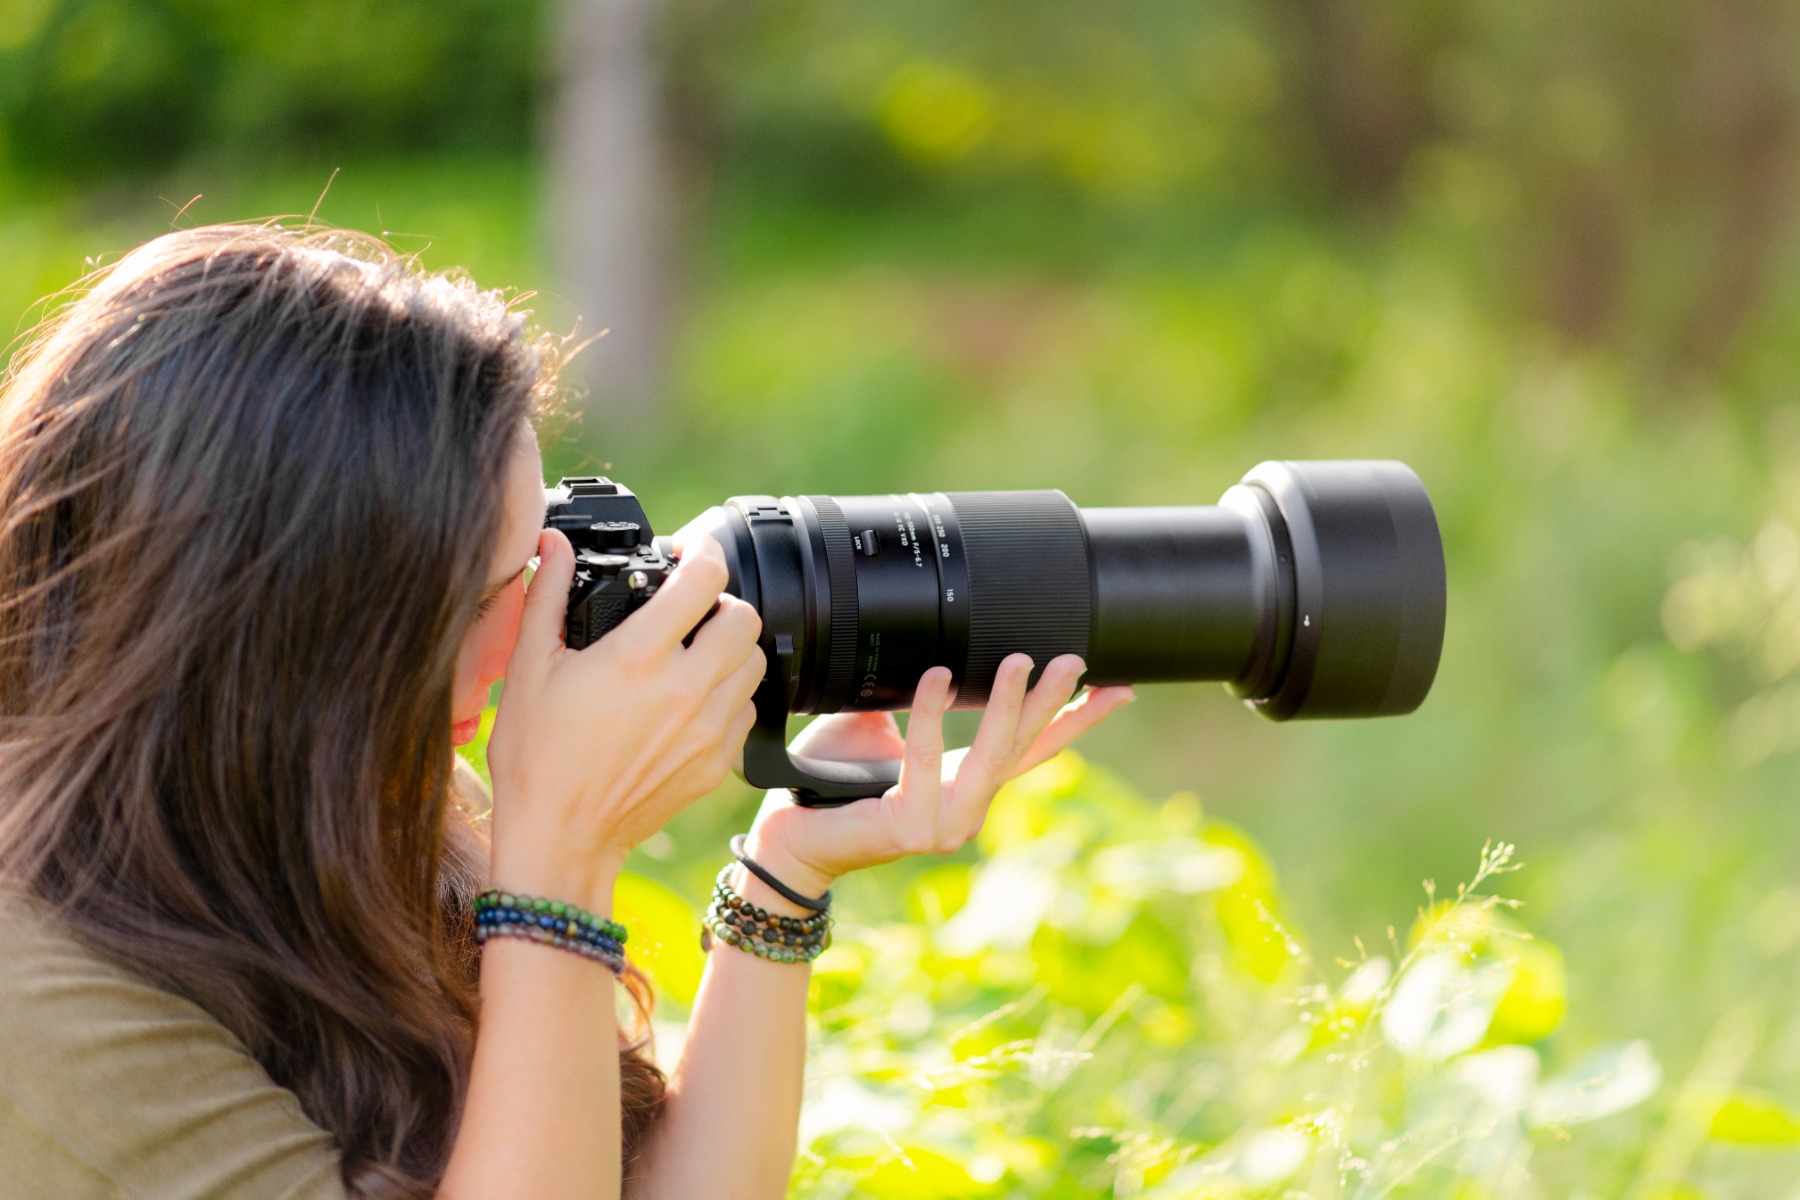
Lens choice shapes bird photography more than any other decision. Focal length and angle of view are where to start.
Ultra-telephoto lens
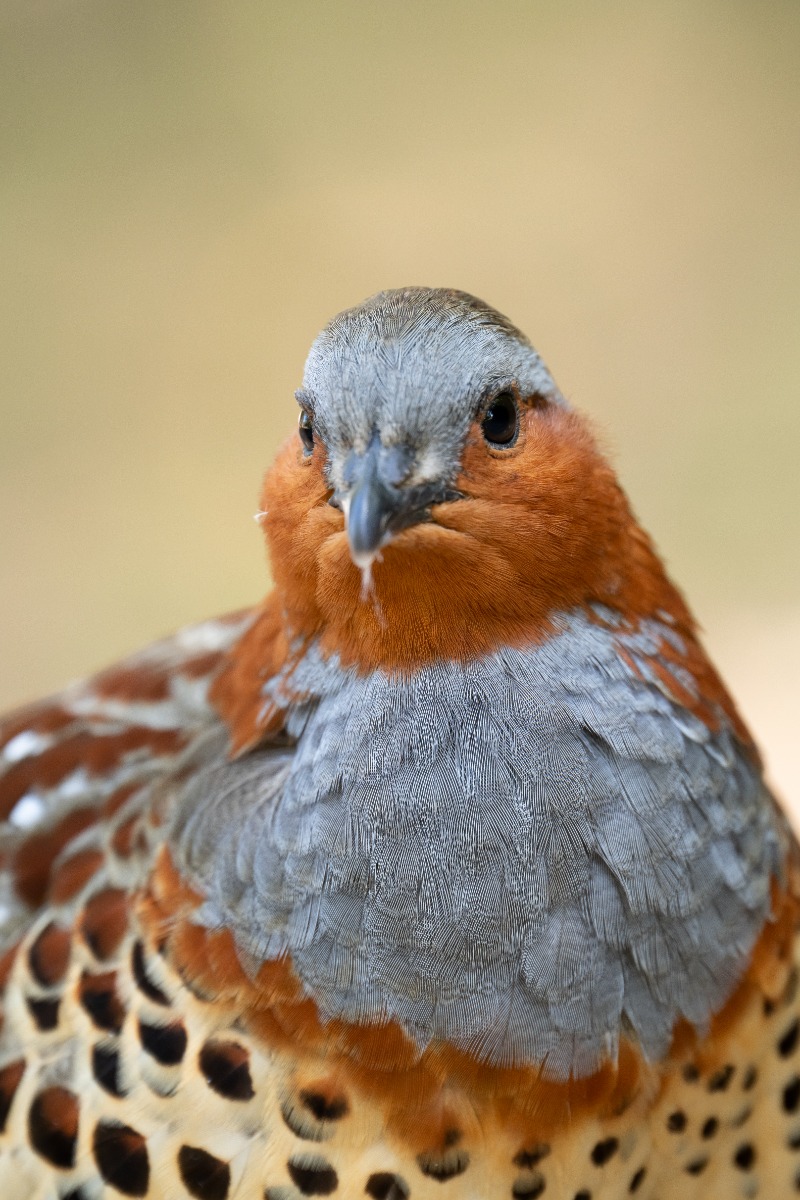
TAMRON 150-500mm F5-6.7 (Model A057) Focal Length: 500mm Exposure: F8 Shutter Speed: 1/60sec ISO: 800
Birds register your presence long before you are close enough for a frame-filling shot, which is why an ultra-telephoto lens of 400mm or more is the standard tool for the job. Reach lets you work at a distance the bird is comfortable with, and at 400mm and up you start resolving what makes a bird photograph worth looking at — the set of the head, the eye, the individual feathers along a wing.
A useful benchmark: 400mm will fill the frame with a heron across a farm dam, but a Cape white-eye in a garden shrub at the same distance will still be small. The smaller the bird, the more focal length you need for the same subject size.
Focal length alone does not tell you what you will get. The sensor in the camera determines how much of the lens’s image circle you actually use, and that changes the angle of view.
Two sensor sizes dominate mirrorless cameras: full-frame and APS-C. With the same lens fitted, an APS-C camera gives a narrower angle of view than a full-frame body — the frame is effectively cropped in.
For bird photography that works in your favour. Mounting a full-frame telephoto on an APS-C body gives you the reach of a considerably longer lens without the size, weight or cost. A 150-500mm on APS-C behaves much like a 225-750mm would on full-frame, which is a serious amount of reach for a lens you can still carry all morning. If getting the bird large in the frame is your priority, this pairing is one of the most cost-effective routes to it.
Medium telephoto lens
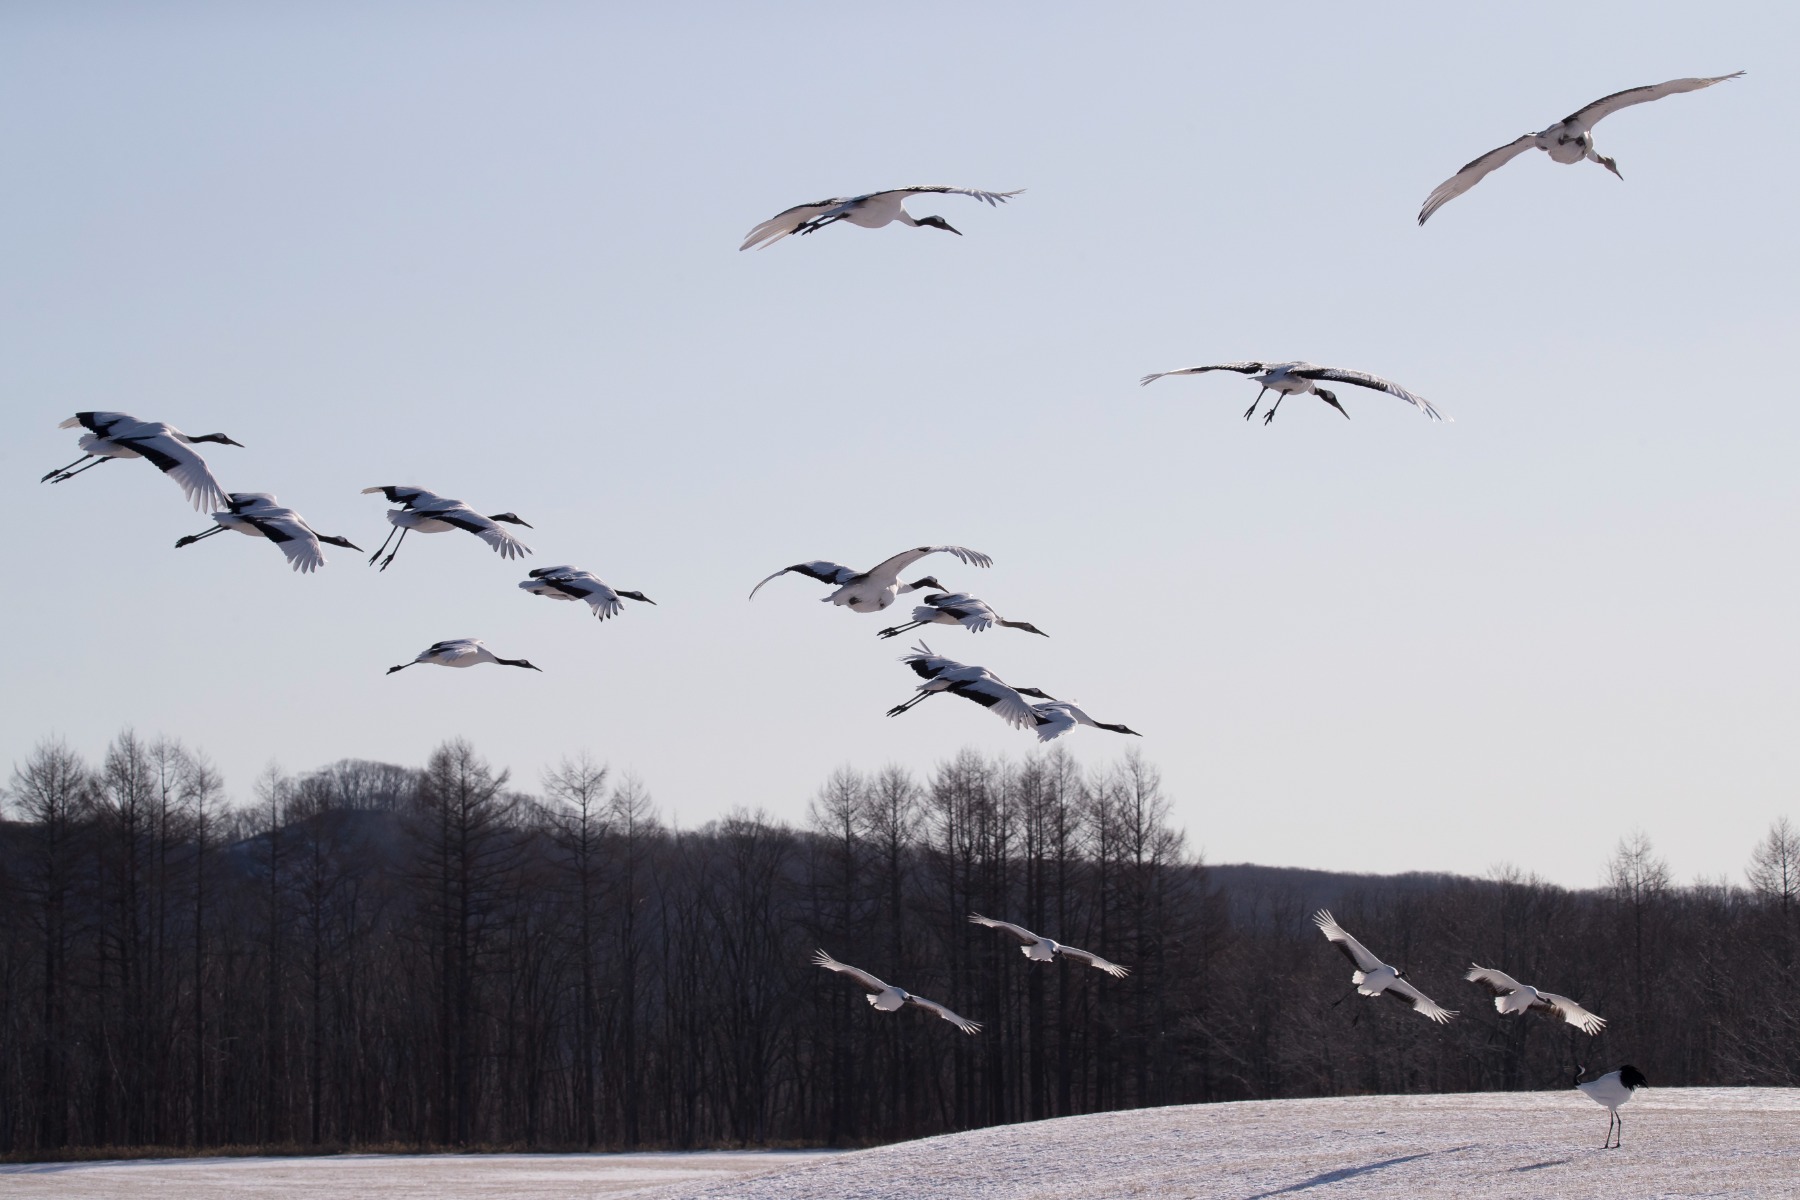
TAMRON SP 150-600mm F5-6.3 (Model A022) Focal Length: 150mm Exposure: F8 Shutter Speed: 1/5000sec ISO: 800
Long lenses dominate the genre, but not every bird photograph should be a portrait. Pulling back to a medium telephoto opens up a different set of images entirely: a flock lifting off a coastal lagoon, geese crossing in loose formation, the shape a mass of birds makes against open sky.
It also lets you photograph a bird as part of where it lives. A single blue crane in an Overberg wheatfield, with most of the frame given over to the field itself, says something a tight head-and-shoulders shot cannot. Learning to leave space deliberately is one of the fastest ways to improve your bird photography.
Two other items earn their place in the bag.
Ultra-telephoto lenses are long and heavy, and both qualities make them prone to shake. A tripod for bird photography steadies the lens and lets you hold a composition without your arms tiring, which matters when you are waiting rather than chasing.
The trade-off is mobility. A tripod slows you down badly when birds are moving unpredictably, so treat it as equipment for a particular way of working — set up at a hide, on a dam wall or at a known perch, framed and waiting for the bird to arrive — rather than something to carry everywhere.
Binoculars are not a photographic accessory, but they will improve your photographs. They let you pick out small birds you would never spot with the naked eye, and they let you watch behaviour — which branch a sunbird keeps returning to, how long a kingfisher hovers before dropping.
That watching is what lets you anticipate rather than react. Use them before you lift the camera, not instead of it.
Birds move fast and the light is rarely ideal, so exposure in bird photography is mostly a negotiation between shutter speed and noise. These are the bird photography settings worth starting from.
Shutter speed is the setting most likely to ruin a bird photograph, so hand it the controls: shutter priority is the sensible default. Set the speed the subject demands and let the camera work out the rest.
The exception is a static bird you are photographing deliberately for its portrait. There, depth of field matters more than freezing motion, so switch to aperture priority and control the background blur yourself.
Match the bird photography shutter speed to the movement, not to a rule. For birds in flight you need 1/2000 to 1/3000 second to hold a wingtip sharp — faster still for something as quick as a swift or a small kingfisher.
A perched bird is far more forgiving. Somewhere between 1/200 and 1/800 second will usually do it, allowing for the fact that even a resting bird turns its head constantly. Adjust as the situation changes rather than settling on one figure for the day.
For general work, F5.6 to F10 keeps the whole bird sharp and holds detail in the outline and plumage. That range is the safe starting point.
Two reasons to move off it. If a fast shutter speed leaves you underexposed — common in early light, under trees or on an overcast Highveld morning — open up to buy back the exposure. And if you want the background to fall away completely behind a portrait, work close to the maximum aperture.
High shutter speeds have to be paid for somewhere, and in bird photography that is usually ISO. Values of 1600 to 3200 are routine, and higher is often unavoidable in poor light.
Push it too far, though, and noise erodes exactly what you were after — feather texture and the fine detail around the eye. On a bright summer day there is no reason not to drop ISO down and take the cleaner file. Judge it shot by shot rather than leaving it on auto and hoping.
Exposure gets you a usable file; focus gets you a keeper. This is where most bird photographs are won or lost.
Autofocus settings
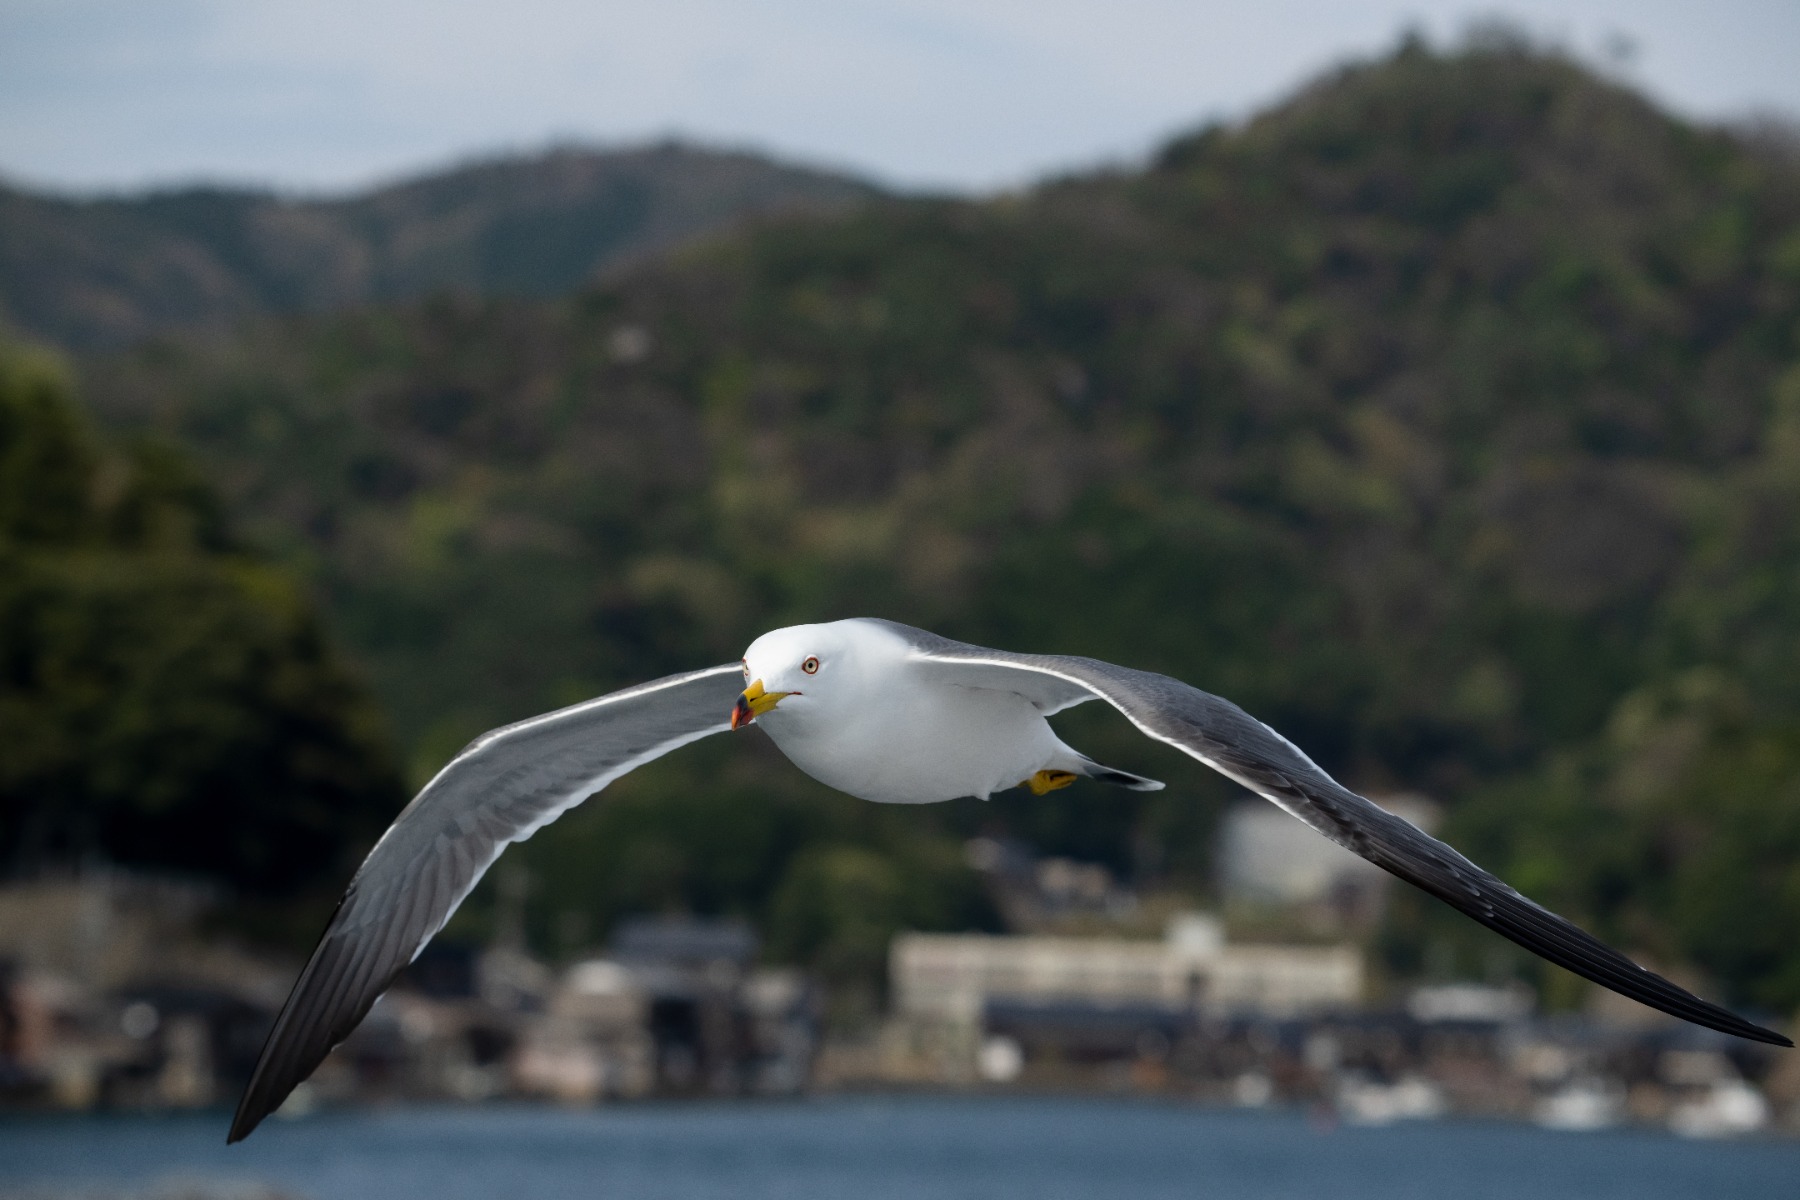
TAMRON 150-500mm F5-6.7 (Model A057) Focal Length: 150mm Exposure: F8 Shutter Speed: 1/2500sec ISO: 1000
Use continuous autofocus (AF-C). It keeps adjusting as the bird moves, which single-shot AF cannot do once the bird shifts even slightly.
Then choose your focus area to suit the situation. For flight, a zone setting gives the camera enough room to hold a bird that is not travelling in a predictable line — a single point will simply lose it.
In cluttered conditions the opposite applies. Among reeds, thorn branches or dense garden foliage, a spot setting is the better choice, because a small focus area lets you thread past the twigs in front of the bird rather than locking onto them. A weaver half-hidden in a reedbed is a spot-AF problem, not a zone-AF one.
Use burst shooting alongside this. Hold the shutter through the sequence and pick the sharp frame afterwards — with birds, the difference between the best and worst frame in a burst is often a matter of a few hundredths of a second.
Focusing on the eye
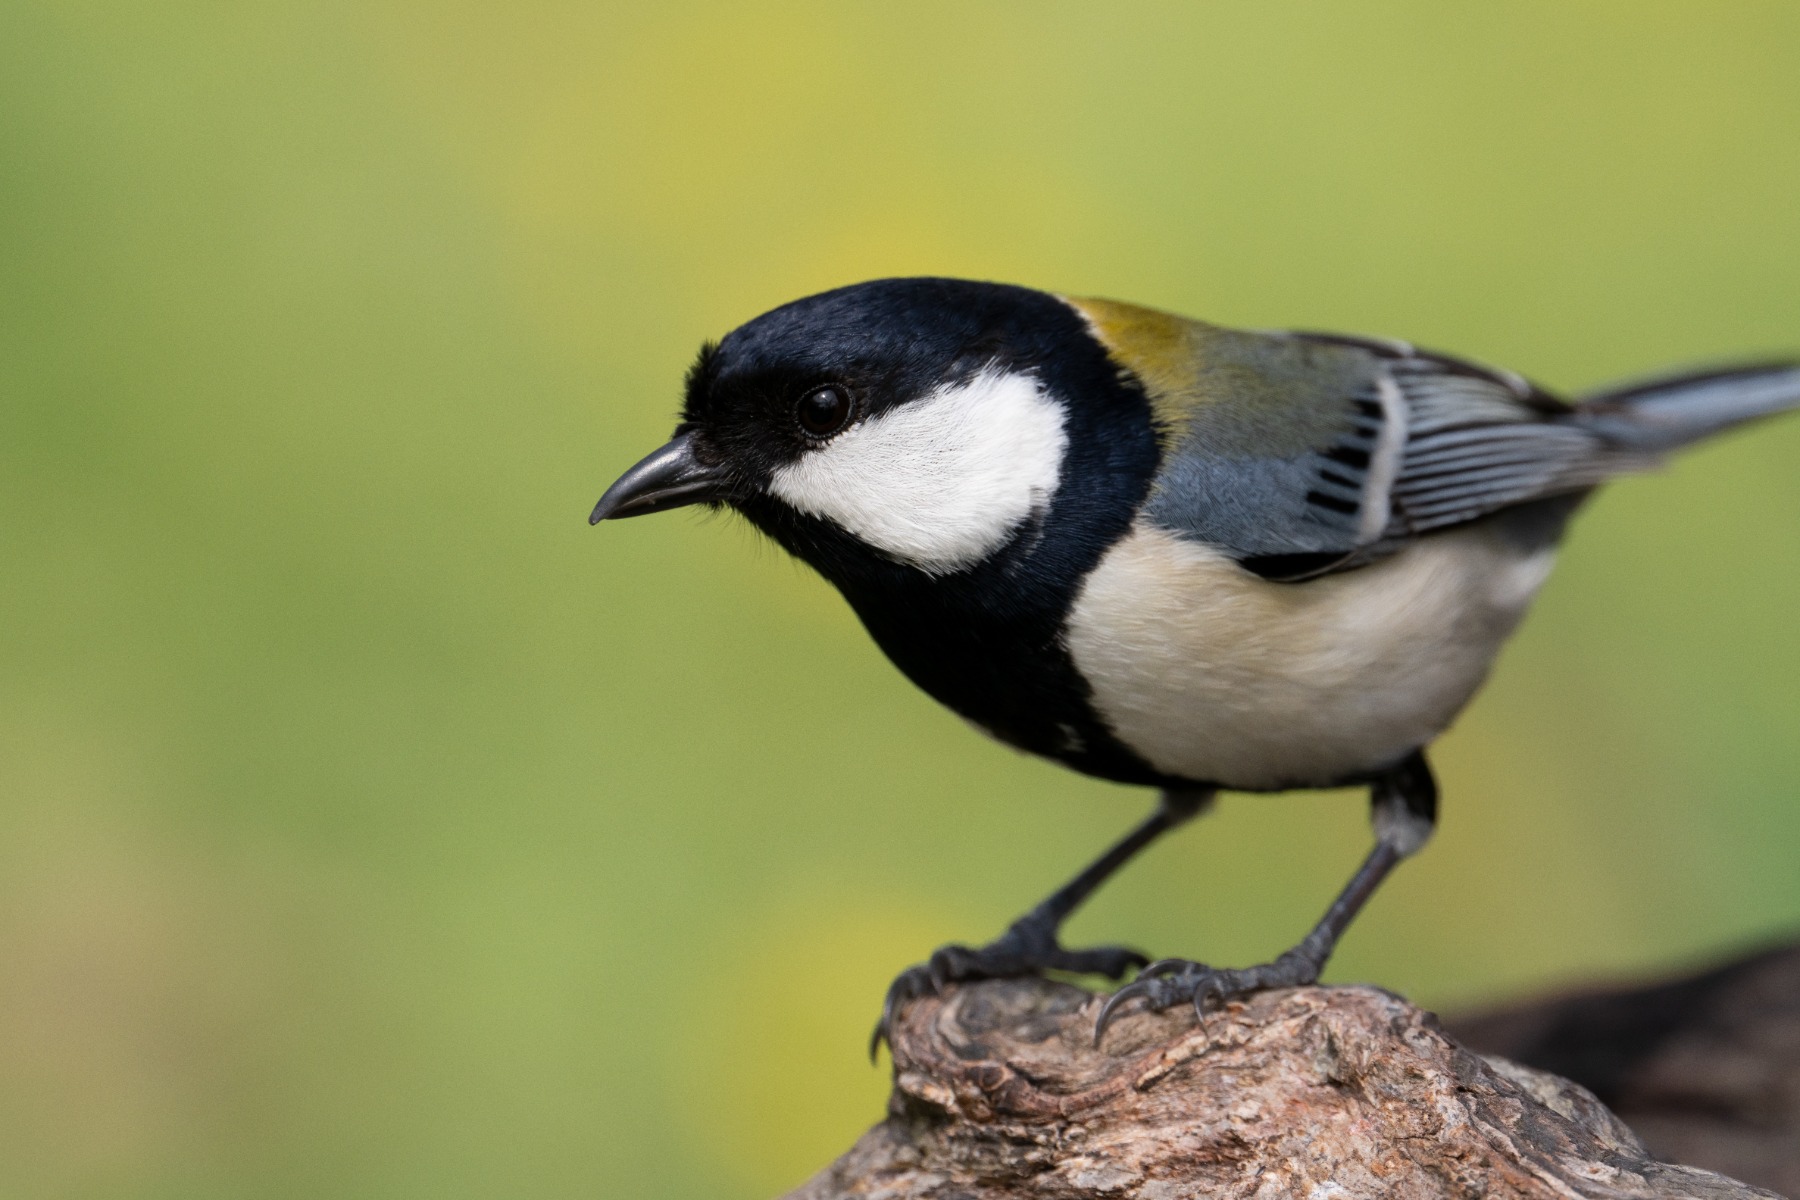
TAMRON 150-500mm F5-6.7 (Model A057) Focal Length: 500mm Exposure: F11 Shutter Speed: 1/500sec ISO: 640
A bird photograph reads as sharp when the eye is sharp, whatever else is soft. Focus on the head, and specifically on the near eye.
On a small bird that is genuinely difficult. It helps to half-press early, while you are still anticipating where the bird will be, rather than trying to acquire focus and shoot in the same instant. Watch for the pauses too — most small birds hold still for a fraction of a second between movements, and that is your frame.
Many current cameras offer animal or bird eye detection AF, which handles a great deal of this automatically. Check whether yours does and turn it on.
Composition is what separates a record shot from a photograph. Three arrangements cover most of what you will need in bird photography.
Centred composition
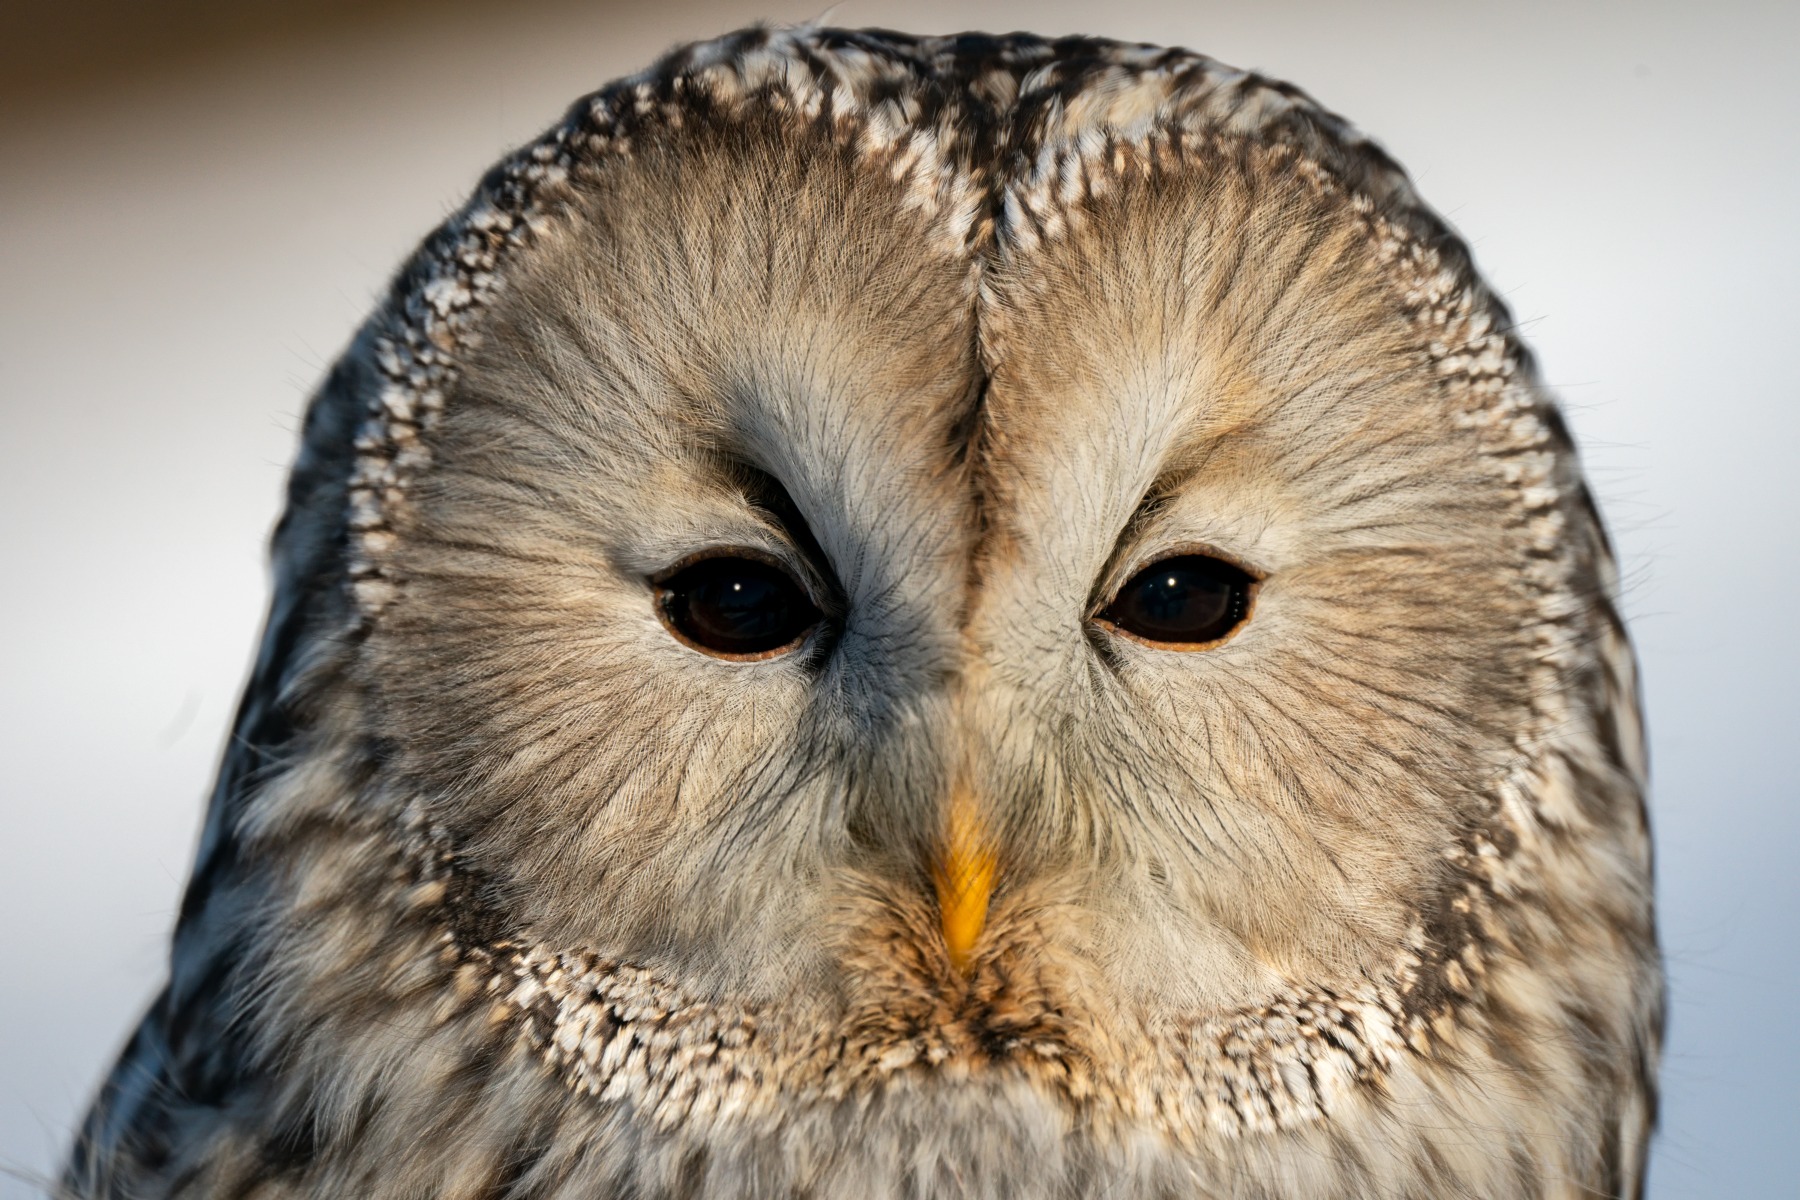
TAMRON 150-500mm F5-6.7 (Model A057) Focal Length: 500mm Exposure: F6.7 Shutter Speed: 1/2500sec ISO: 800
Placing the bird large and central is the most direct approach there is. It suits portraits, and anything where the expression or the plumage is the point. A strongly blurred background does a lot of work here, separating the bird cleanly and giving the frame depth.
Centring is often dismissed as unimaginative, and used carelessly it is. Used deliberately, with a clean background and a bird large enough to justify it, the simplicity is the strength.
Rule of thirds
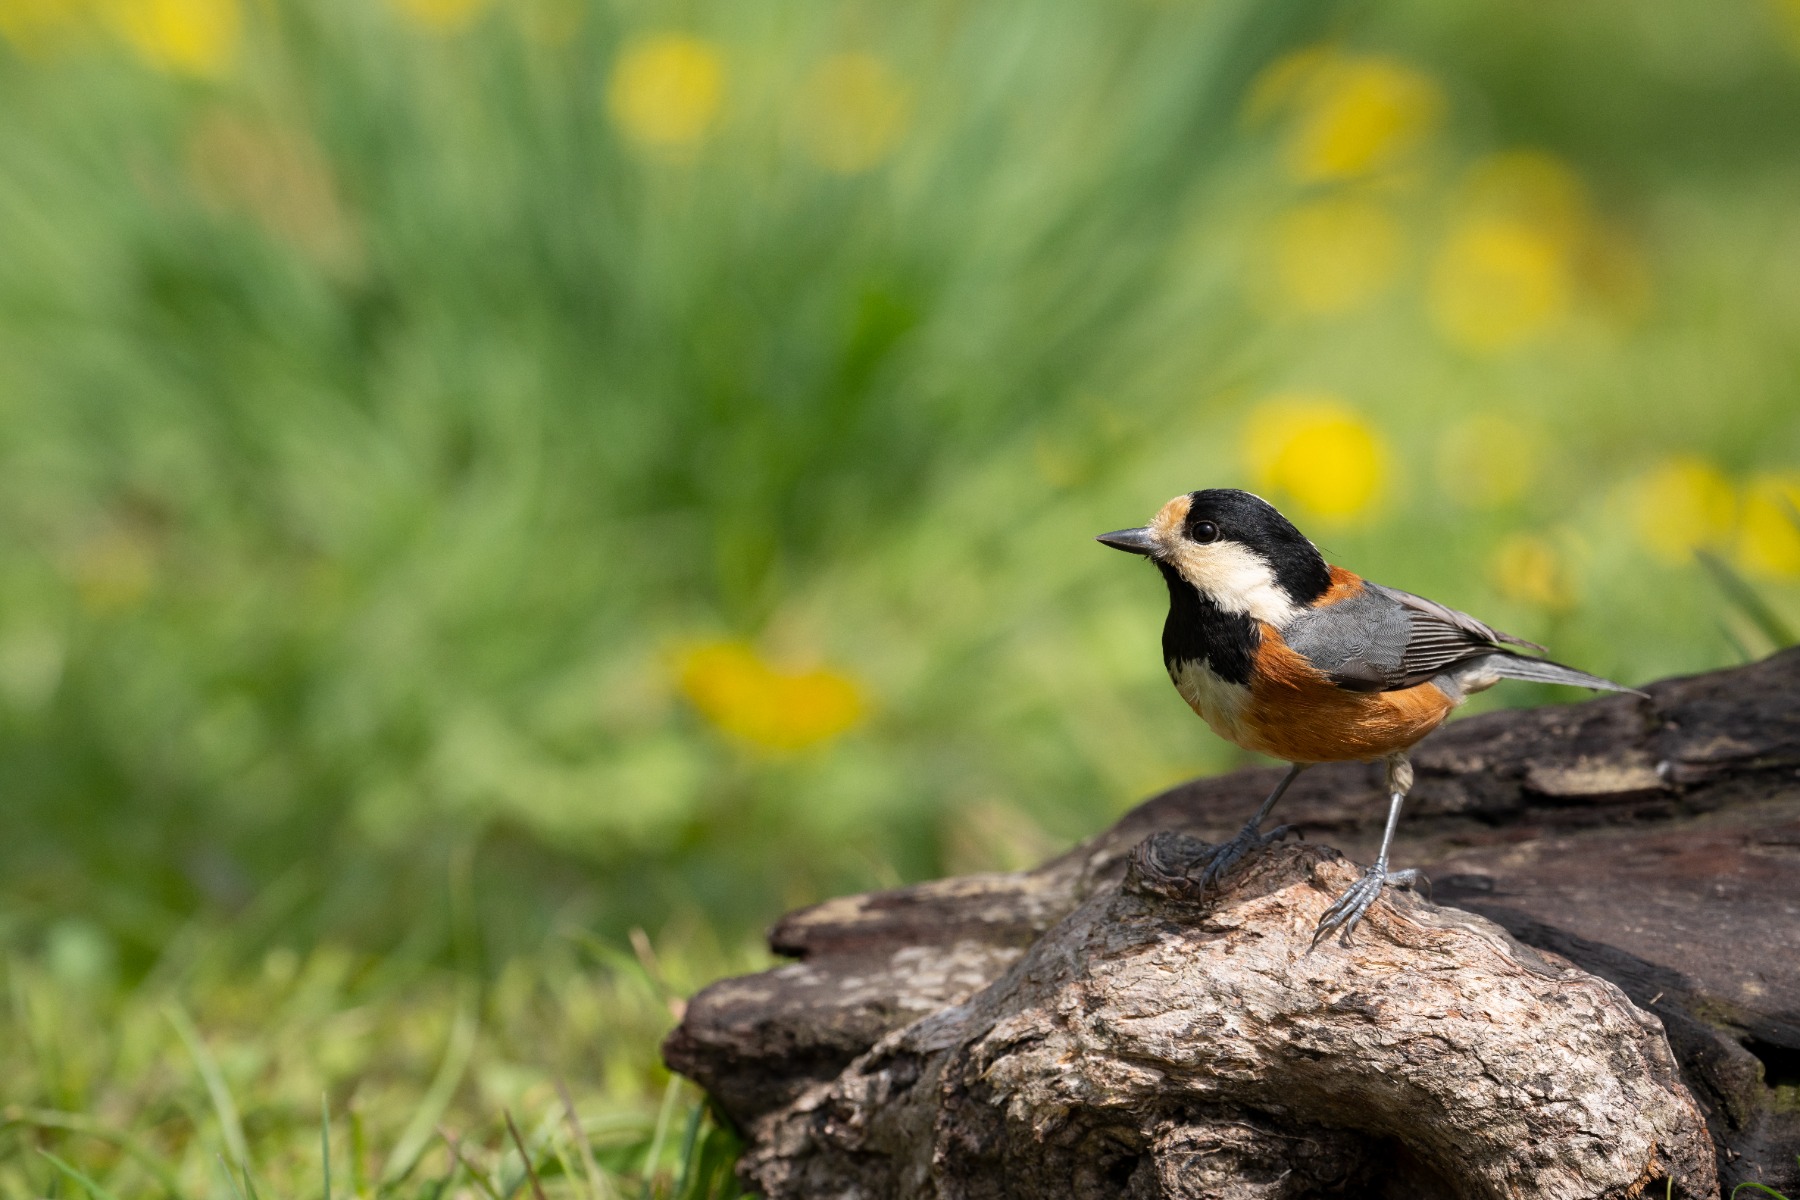
TAMRON 150-500mm F5-6.7 (Model A057) Focal Length: 500mm Exposure: F5.6 Shutter Speed: 1/800sec ISO: 500
Divide the frame into thirds horizontally and vertically, and place the bird near one of the intersections. This gives you room to include the habitat — water, reeds, grassland, the branch structure of a tree — so the photograph says something about where the bird lives as well as what it looks like.
It is also simply easier to balance. Put the bird on the left or right third and let the remaining space carry the setting.
Diagonal composition
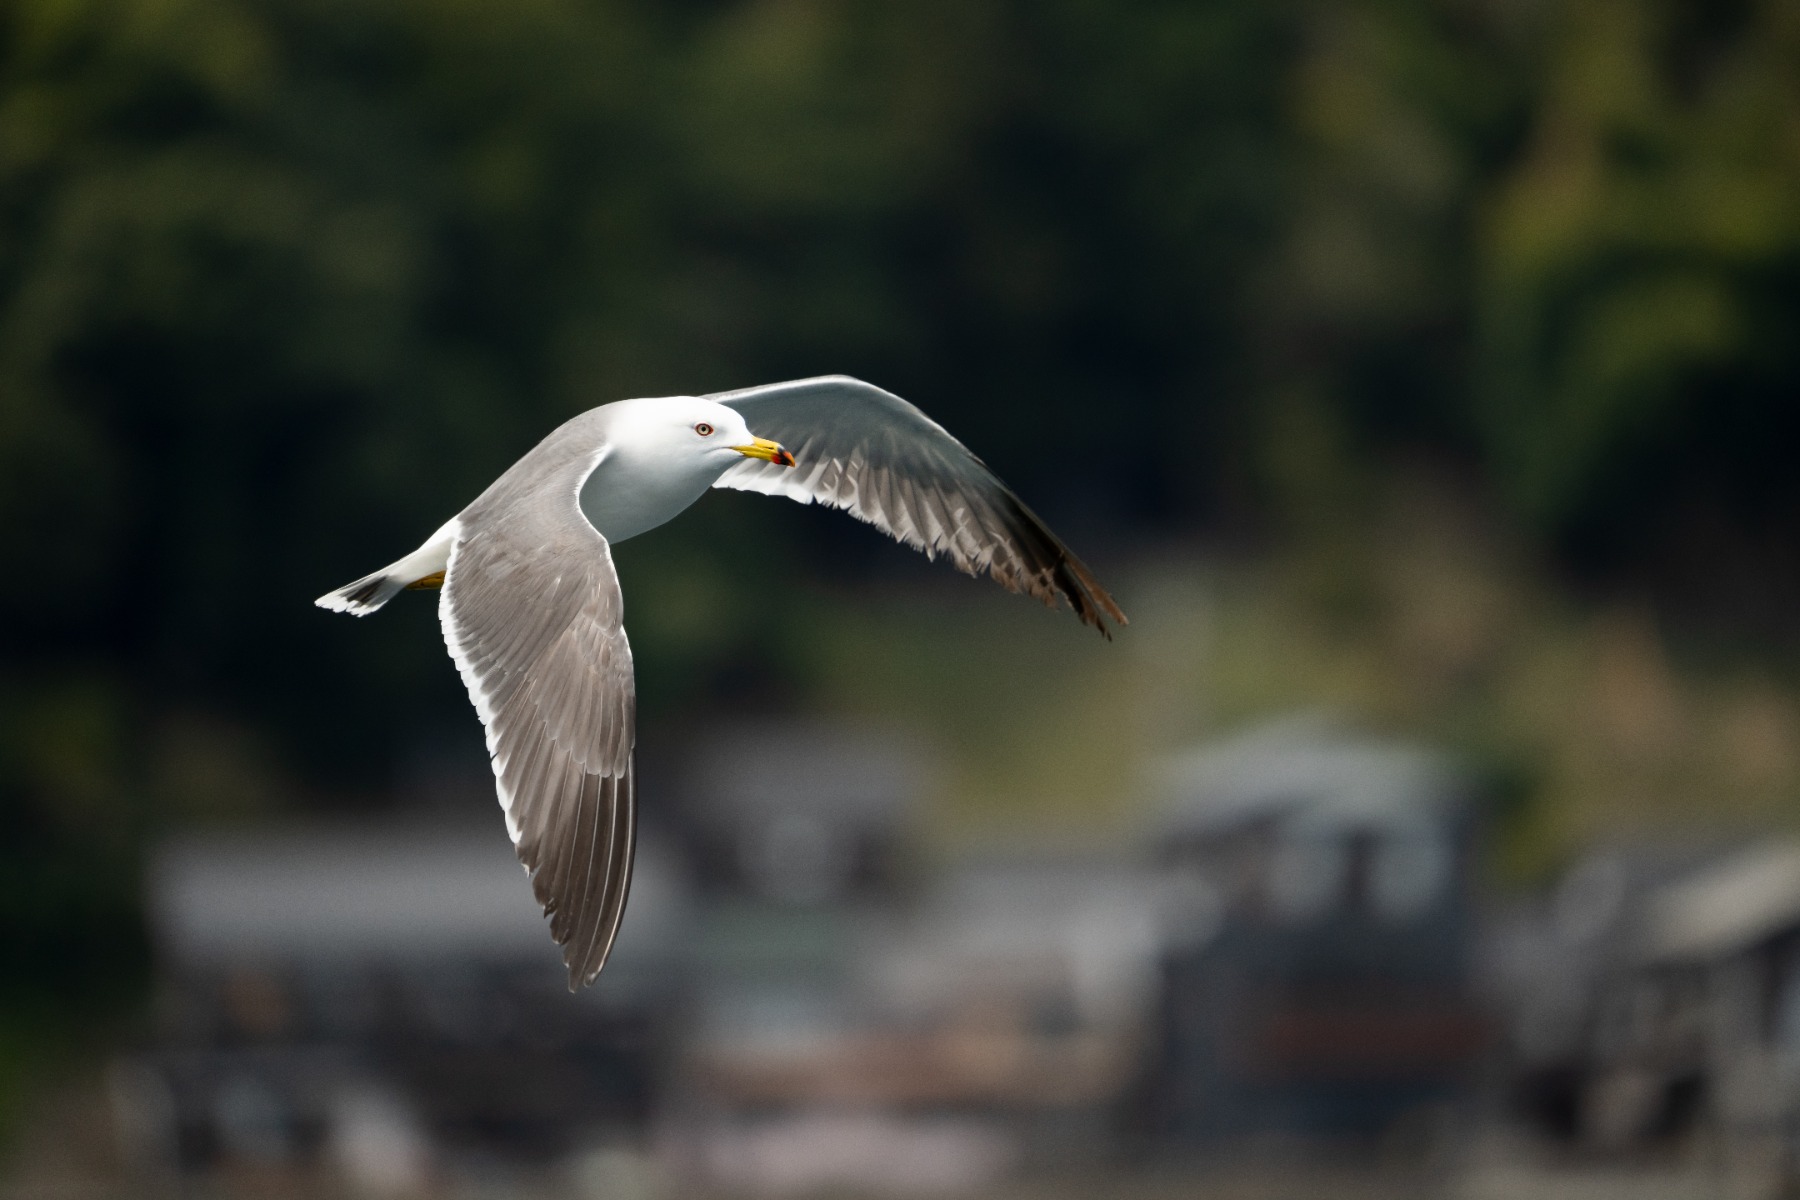
TAMRON 150-500mm F5-6.7 (Model A057) Focal Length: 414mm Exposure: F6.3 Shutter Speed: 1/2000sec ISO: 800
Running the subject along a diagonal suits birds in flight particularly well. A bird crossing the frame corner to corner reads as moving in a way that a horizontal arrangement does not, and the diagonal itself adds energy to the picture.
Leave space ahead of the bird rather than behind it. The gap in front of a flying bird is what gives the frame direction — crop it tight to the beak and the movement stops dead.
Different subjects call for different approaches. Here is how the basics apply across the situations you are most likely to meet.
Large birds
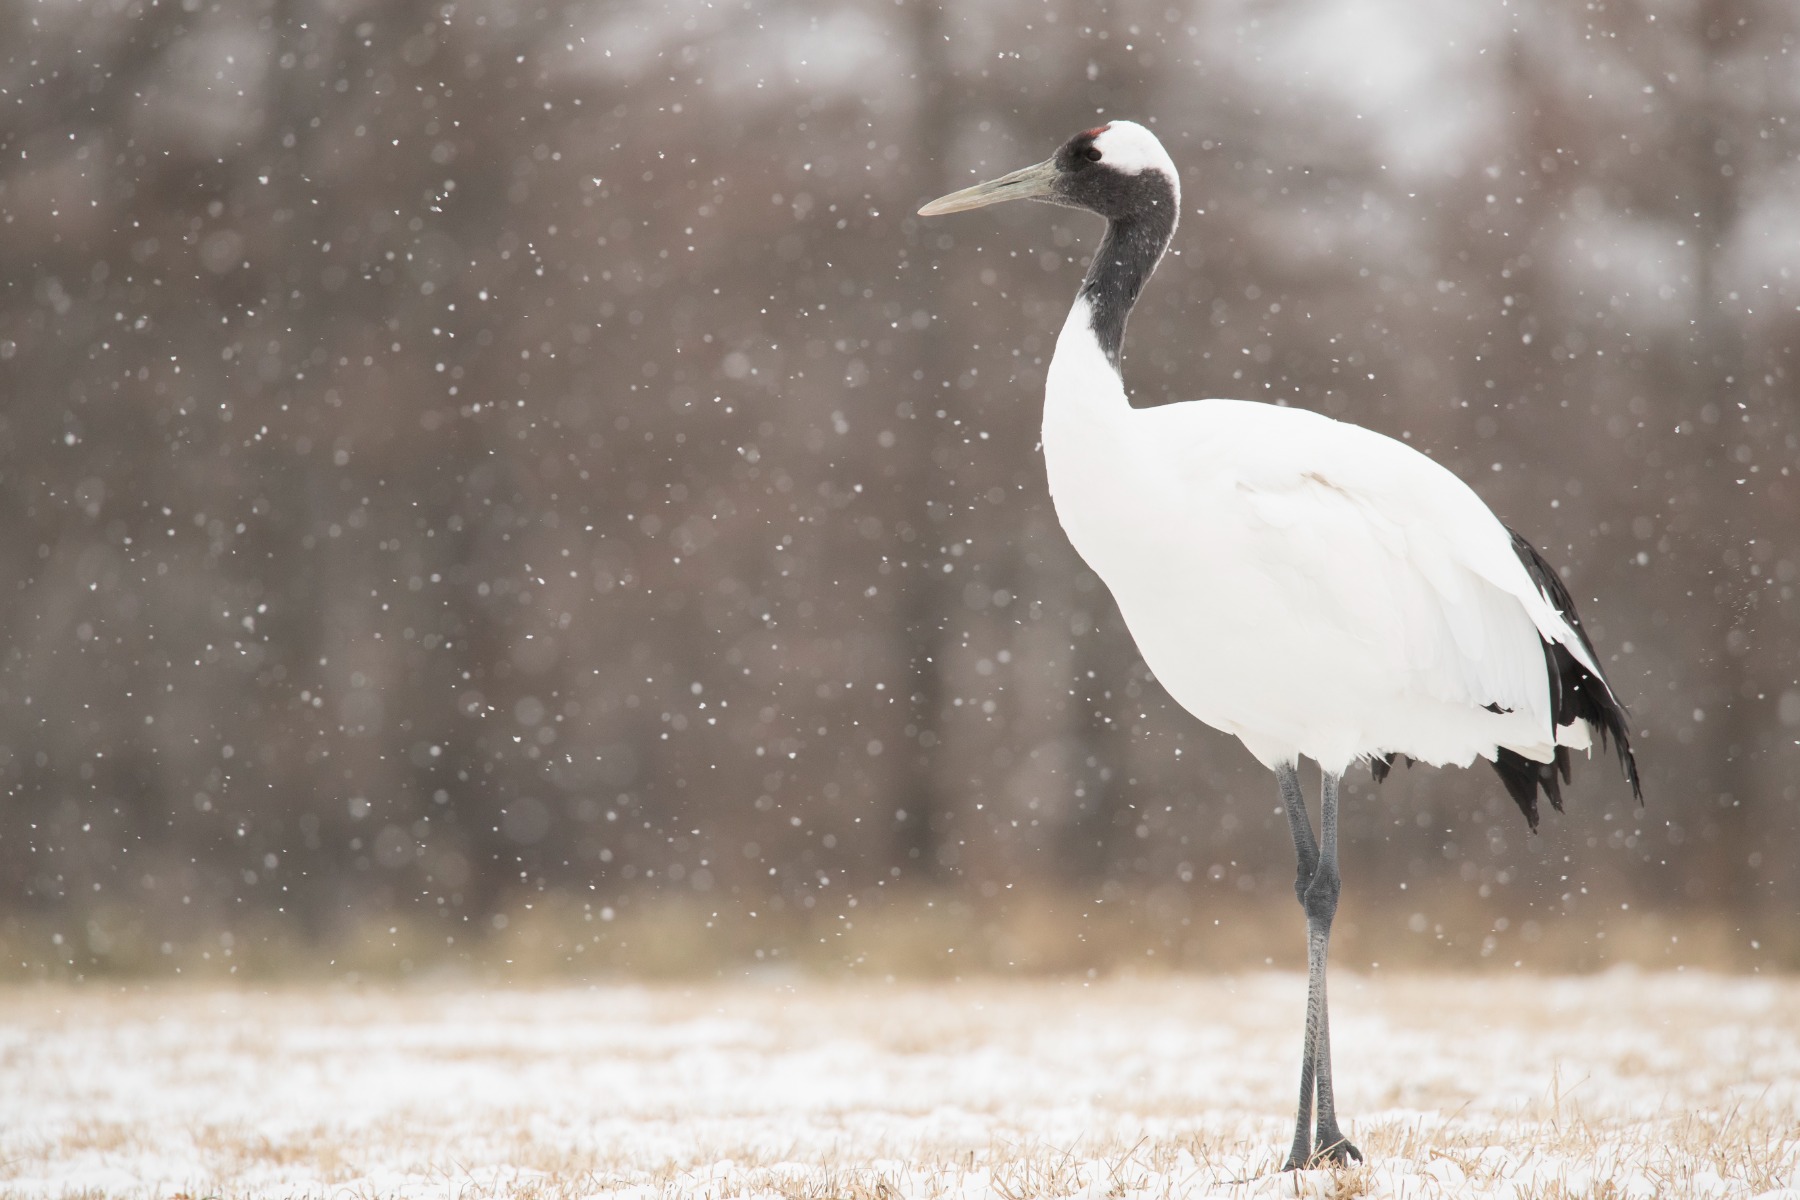
TAMRON SP 150-600mm F5-6.3 (Model A022) Focal Length: 600mm Exposure: F8 Shutter Speed: 1/1000sec ISO: 2500
Large birds are the right place to begin. Grey and goliath herons, African spoonbills, pelicans and blue cranes are big enough to fill a frame at moderate focal lengths, and they generally move slowly and predictably enough to give you time to think.
Photograph the whole bird first, then work in closer for the head. Watch the relationship between the bird and what is behind it — a pale spoonbill against dark water, or a heron’s silhouette against open sky — and choose the angle that makes the shape and colour read most clearly.
Perched birds
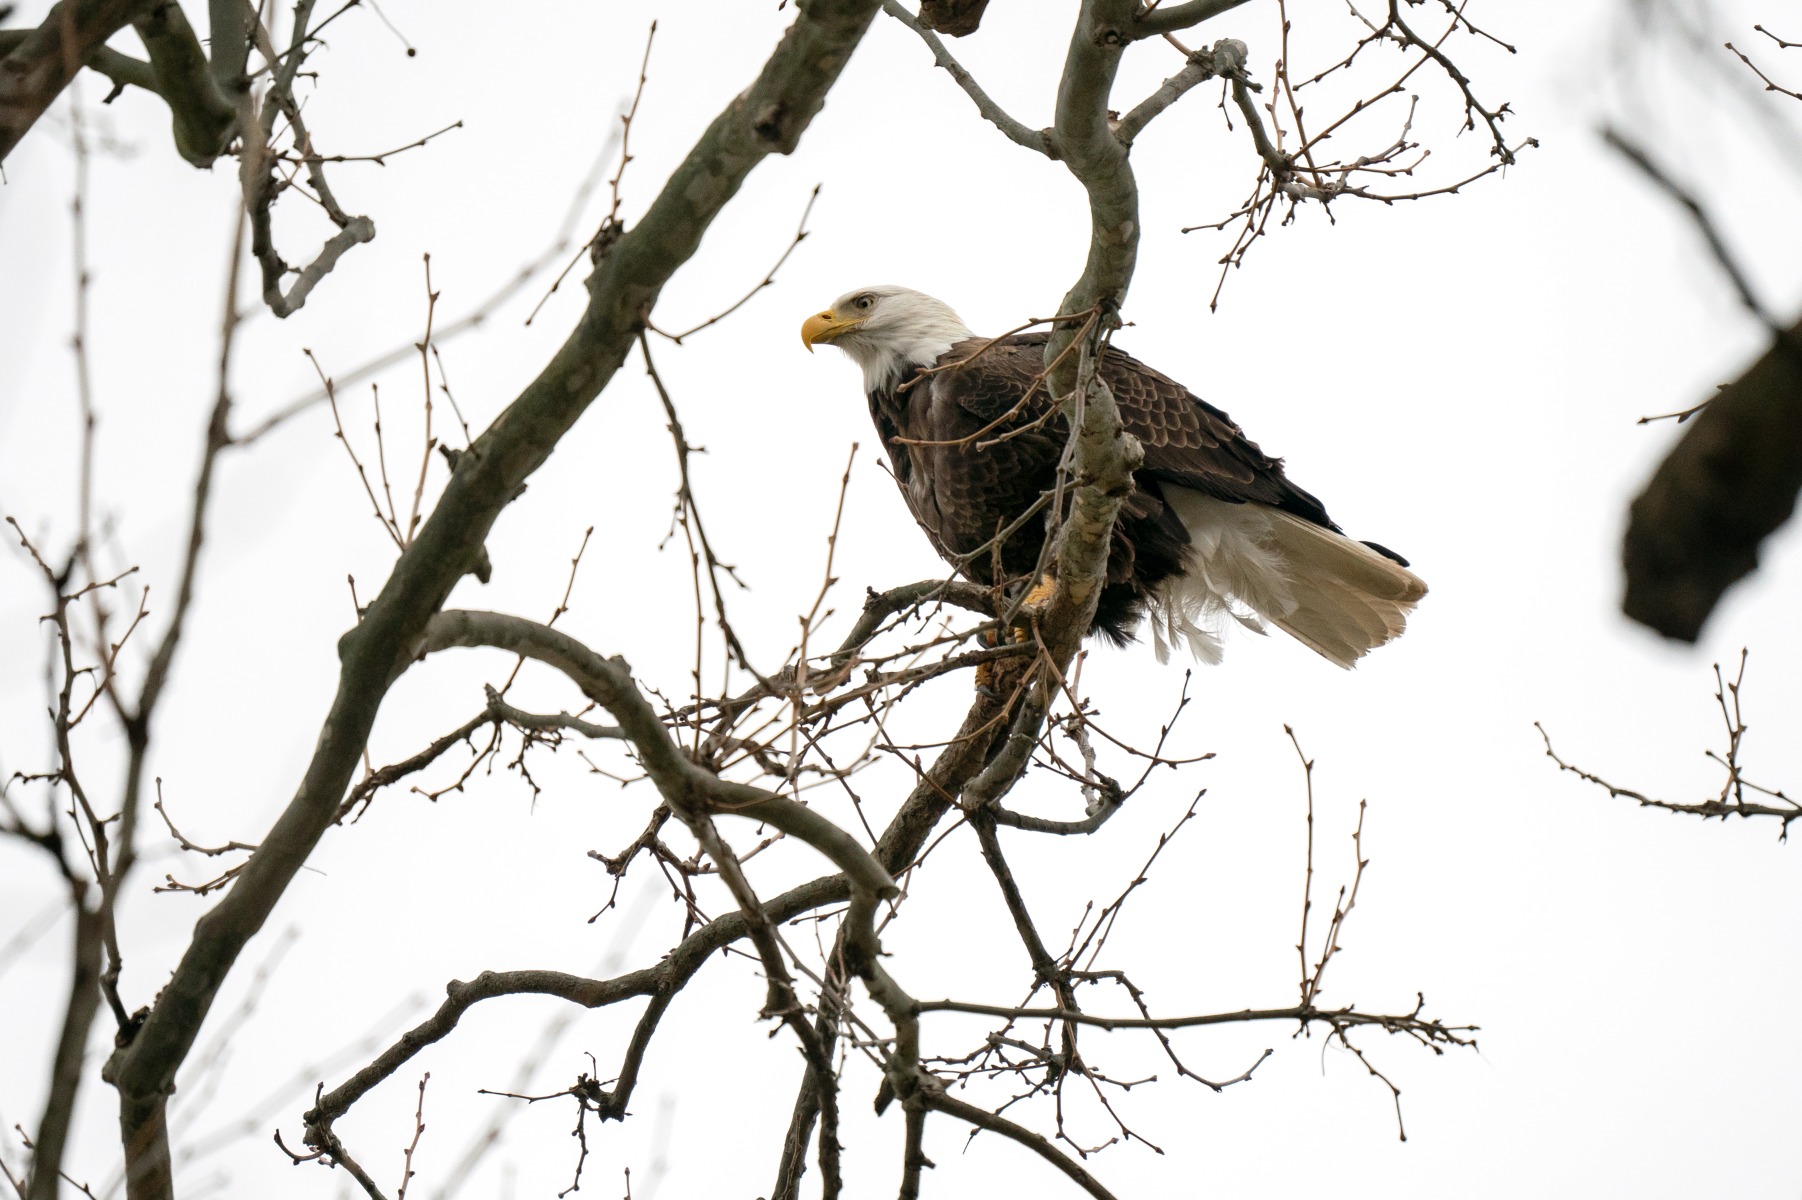
TAMRON 150-500mm F5-6.7 (Model A057) Focal Length: 500mm Exposure: F6.7 Shutter Speed: 1/2000sec ISO: 1600
When a bird is feeding or resting in cover, the work is mostly observation. Watch it for a few minutes before raising the camera and you will start to see the pattern — birds tend to use the same few perches repeatedly, and once you know which one, you can frame it and wait.
Close the distance slowly. Walking straight at a bird to get it larger in the frame simply ends the encounter; move in stages, pausing often, and stop the moment its behaviour changes. If you have read the bird well enough to know where it will land, waiting on a tripod is more productive than following it around.
Birds in flight
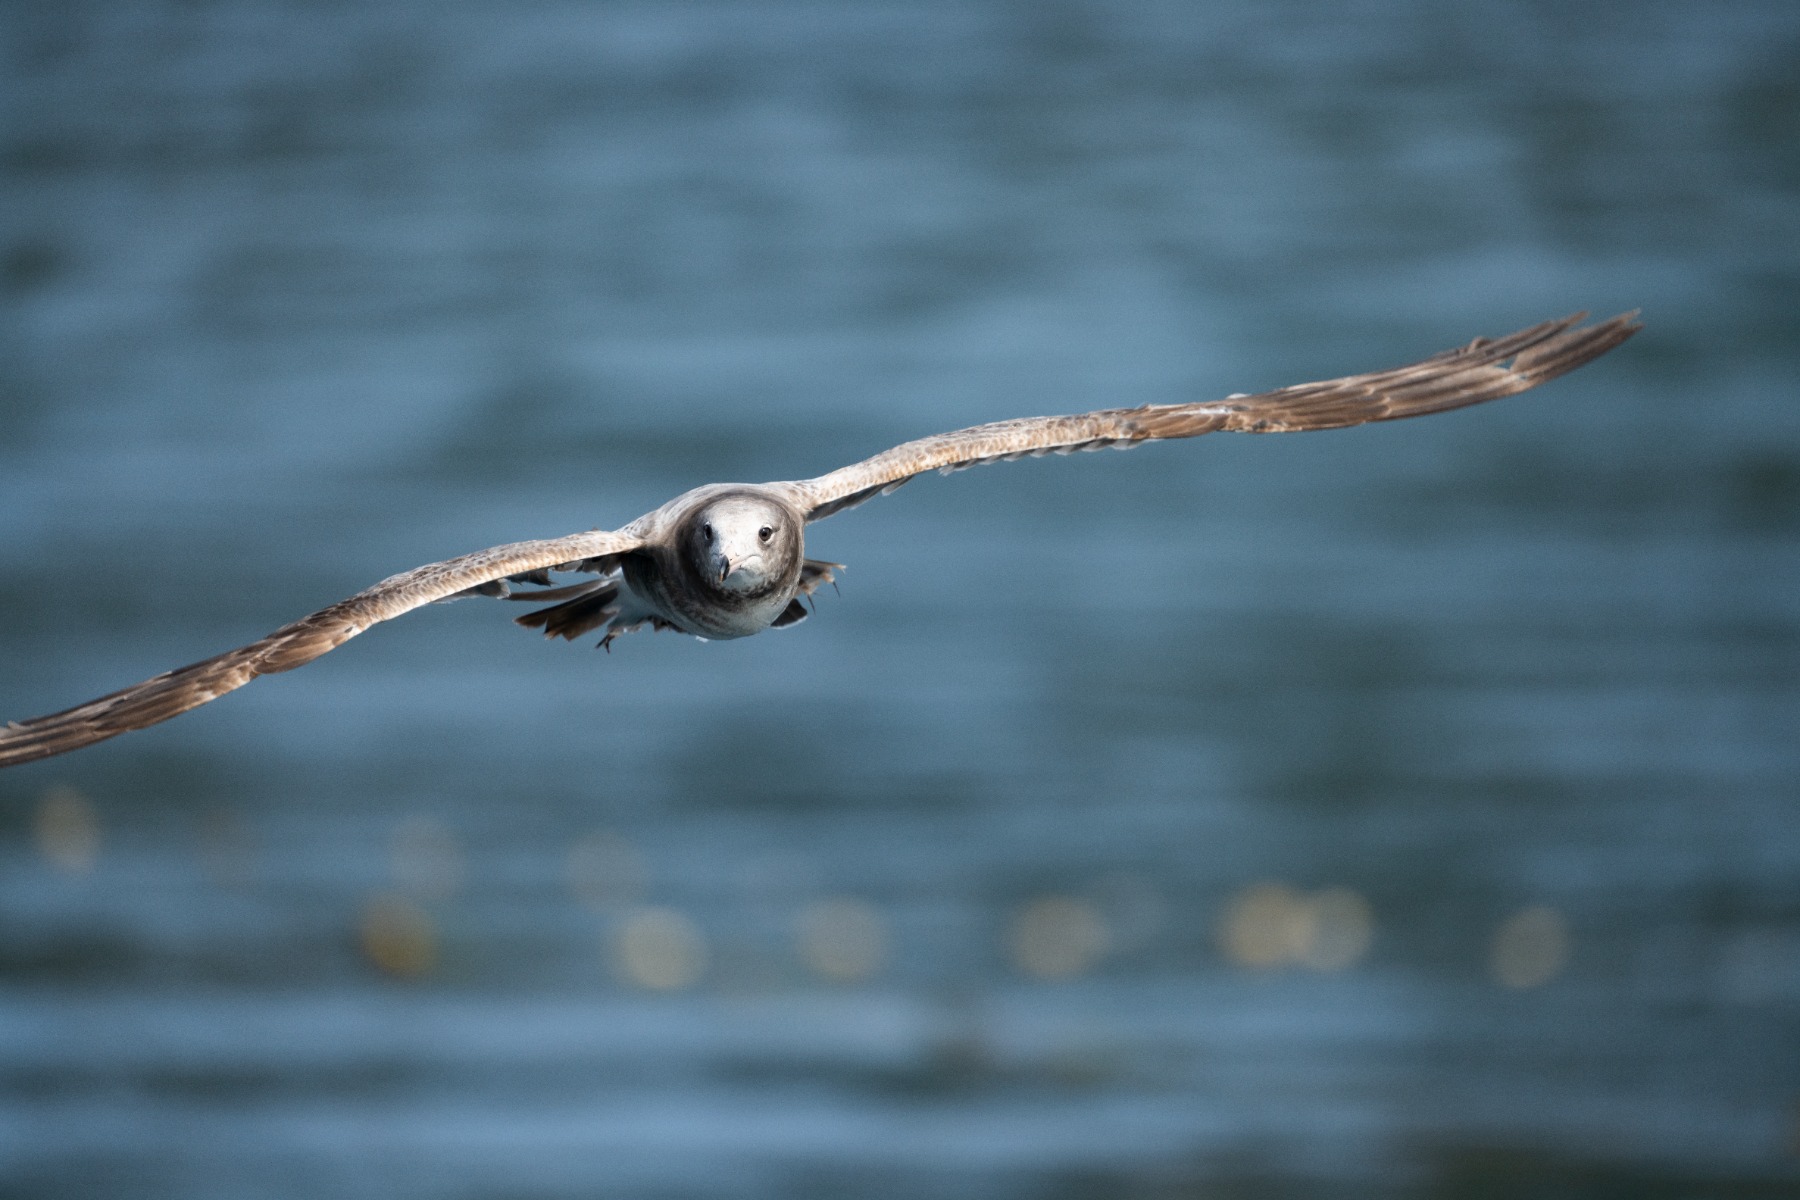
TAMRON 150-500mm F5-6.7 (Model A057) Focal Length: 500mm Exposure: F6.7 Shutter Speed: 1/2000sec ISO: 500
Take-off is easier to catch than it looks, because it is usually telegraphed. A bird about to launch will crouch, lean forward or shift its footing. Frame the perched bird, half-press to focus, and start your burst just before it goes.
For birds already in the air, switch the focus area to zone and shoot in sequence, panning with the bird rather than trying to hold a fixed frame. A slower shutter speed while panning is worth experimenting with too — the bird stays reasonably sharp while the background streaks, which conveys speed far better than a completely frozen frame.
Waterside birds
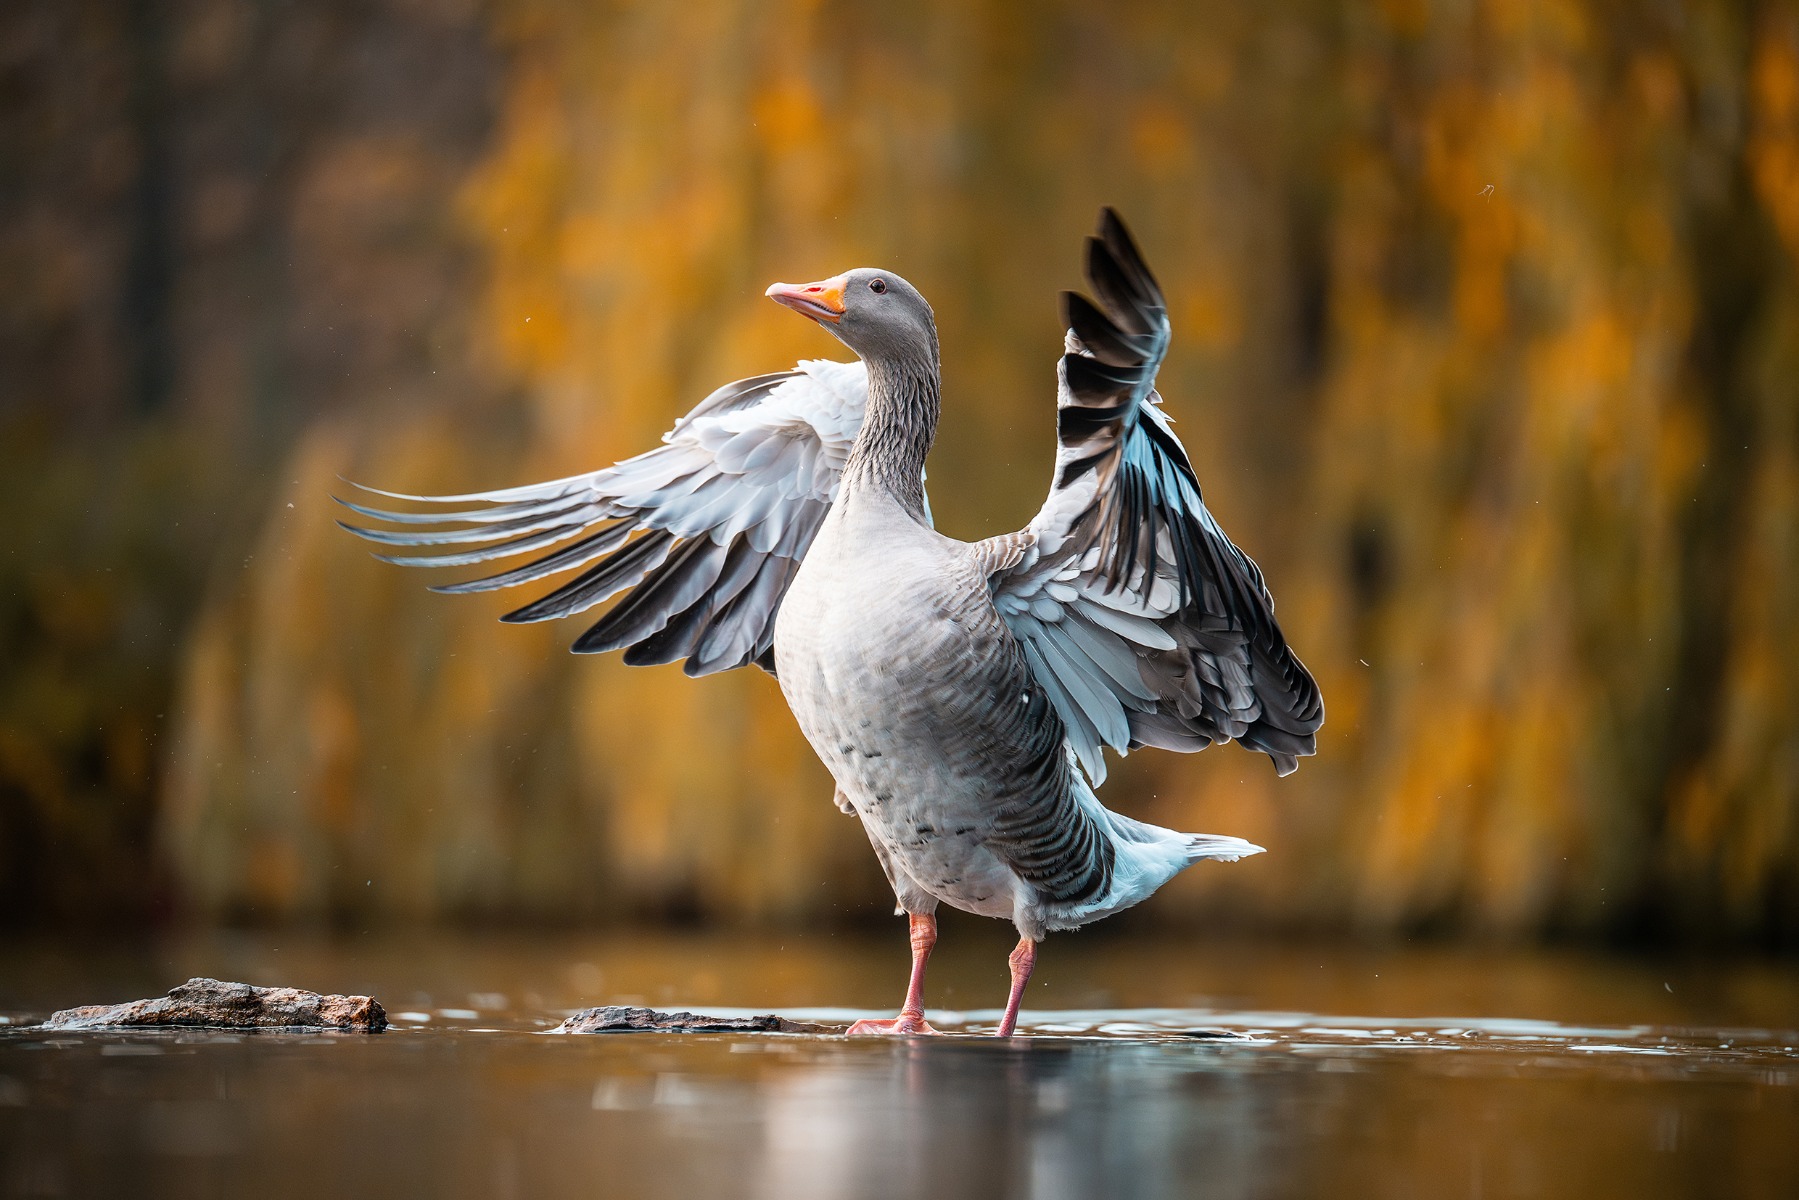
TAMRON 150-500mm F5-6.7 (Model A057) Focal Length: 393mm Exposure: F6 Shutter Speed: 1/1250sec ISO: 3200
Coastal lagoons, estuaries, farm dams and urban wetlands are among the most productive places to photograph birds, and the water itself is part of the picture. Including the surface in the foreground adds depth, and dropping to a low position — close to water level rather than standing over it — makes the bird look larger and more present in its own environment.
Diving birds are the prize here. A pied kingfisher hovering and then dropping is one of the most photogenic sequences available anywhere in the country, and you will want roughly 1/3000 second and a long burst to freeze the splash cleanly. Reflections and ripples are worth composing around rather than working past.
Small birds
TAMRON 150-500mm F5-6.7 (Model A057) Focal Length: 303mm Exposure: F8 Shutter Speed: 1/640sec ISO: 500
Cape sparrows, masked weavers, white-eyes, black tits and sunbirds are small, quick and wary, which makes them the hardest of the common subjects. Use as much focal length as you have and work from a distance that lets them settle.
Anticipation matters more here than anywhere else. Small birds follow routes — the same aloe, the same feeder, the same exposed branch they pause on before dropping into cover. Identify that spot, focus on it, and wait for the bird to come to you rather than tracking it through the foliage.
Bird photography happens in living habitat, and the photograph is never worth more than the bird. A few principles are standard practice among South African birders and photographers.
• Stay away from nests. Photographing at a nest can cause a bird to desert it, and can expose eggs or chicks to predators that follow your scent or your path in.
• Never chase or flush a bird. If a bird stops feeding, becomes alert or moves away, you are too close — back off rather than pushing for one more frame.
• Be careful about sharing locations. Rare species, and owls and raptors in particular, attract crowds and sometimes worse. Share the general area rather than exact coordinates.
• Consider other people. Hides, boardwalks and paths are shared. Keep quiet, keep out of other people’s sightlines, and do not monopolise a position.
• Do not bait, feed or alter the habitat. Breaking off branches or clearing vegetation for a cleaner shot damages the site for everyone who comes after you, including the birds.
• Use call playback sparingly, or not at all. Repeated playback draws birds off territory and away from feeding and nesting, and many reserves prohibit it outright. If you use it, use it once and move on.
• Avoid flash. It is of limited use at telephoto distances anyway, and it is genuinely disturbing at close range and to nocturnal species.
Rules also vary by site. Reserves, conservancies and provincial conservation authorities set their own conditions on access, hides, tripods and drones, so check the specific place you are visiting before you go. The birds were there first, and photographing them sustainably is what keeps the access open.
Pulling the equipment discussion together, these are the specifications that matter when choosing a lens for bird photography.
Reach comes first. A telephoto lens is essential, and 400mm or more is the practical threshold for photographing birds at a distance they will tolerate. Longer focal lengths let you keep that distance while still filling the frame — and on an APS-C body, the effective reach goes further again.
A brighter maximum aperture gives you more room to work. Bird photography demands fast shutter speeds, and the light often will not support them — first light over a wetland, deep shade under trees, an overcast winter morning. A wider aperture buys you either a faster shutter or a lower ISO, and in poor conditions you will want both.
You will carry this lens for hours, often on foot, and frequently handheld where a tripod is impractical. A lighter, more compact lens is one you will still be using at the end of the morning, and it comes up to the eye faster when a bird appears without warning. Handling is not a secondary consideration in bird photography — it directly determines how many shots you get.
Birds move faster than the AF system on a mediocre lens can manage. Look for quick, decisive acquisition and — more importantly — reliable tracking of a subject moving toward or across you. Smooth, quiet operation is worth having too, both for the birds and for anyone filming alongside you.
Long lenses magnify every movement of your hands, so an in-lens stabilisation system such as Vibration Compensation makes a visible difference. It matters most when shooting handheld at the telephoto end, which in bird photography is most of the time.
Bird photography rewards patience more than equipment, but the right lens removes the obstacles that stop beginners early — not enough reach, not enough light, autofocus that cannot keep up. Get the focal length right, learn the exposure and focus settings until they are automatic, and the compositions will follow.
Start somewhere close to home. A garden, a local wetland or a farm dam will give you more usable practice than a long trip, and the birds there will teach you to read behaviour — which is the skill everything else in bird photography rests on.