| September 18, 2026
 South Africa's #1 Mobile Protection Brand
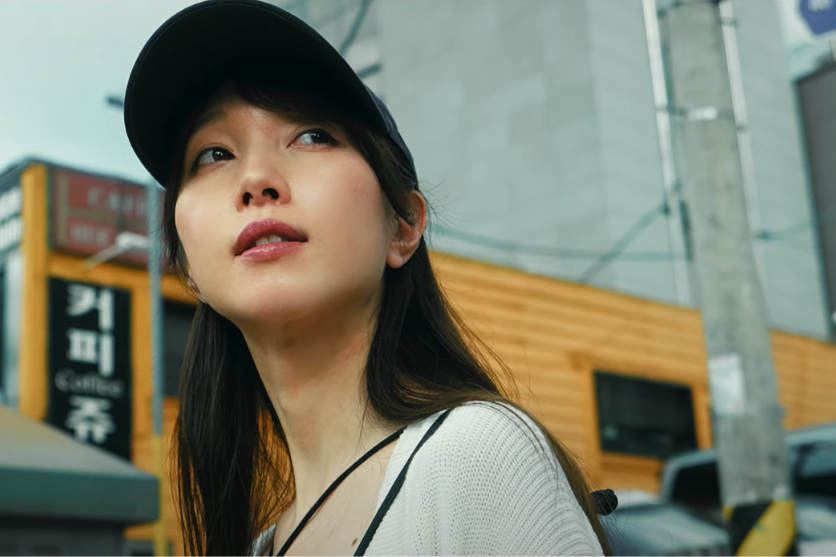
Video has become the default way to share a life online, and vlogging is where most people start. A phone in your pocket is enough to begin, which is exactly why the format has spread so quickly. But there is a clear step up waiting once you move to an interchangeable-lens camera — cleaner footage after dark, genuine background separation, and a look that holds together when someone watches it on a television rather than a handset. This guide works through what vlogging is, the equipment worth buying first, how to film and publish sensibly, and how to choose a lens that matches the way you actually shoot.
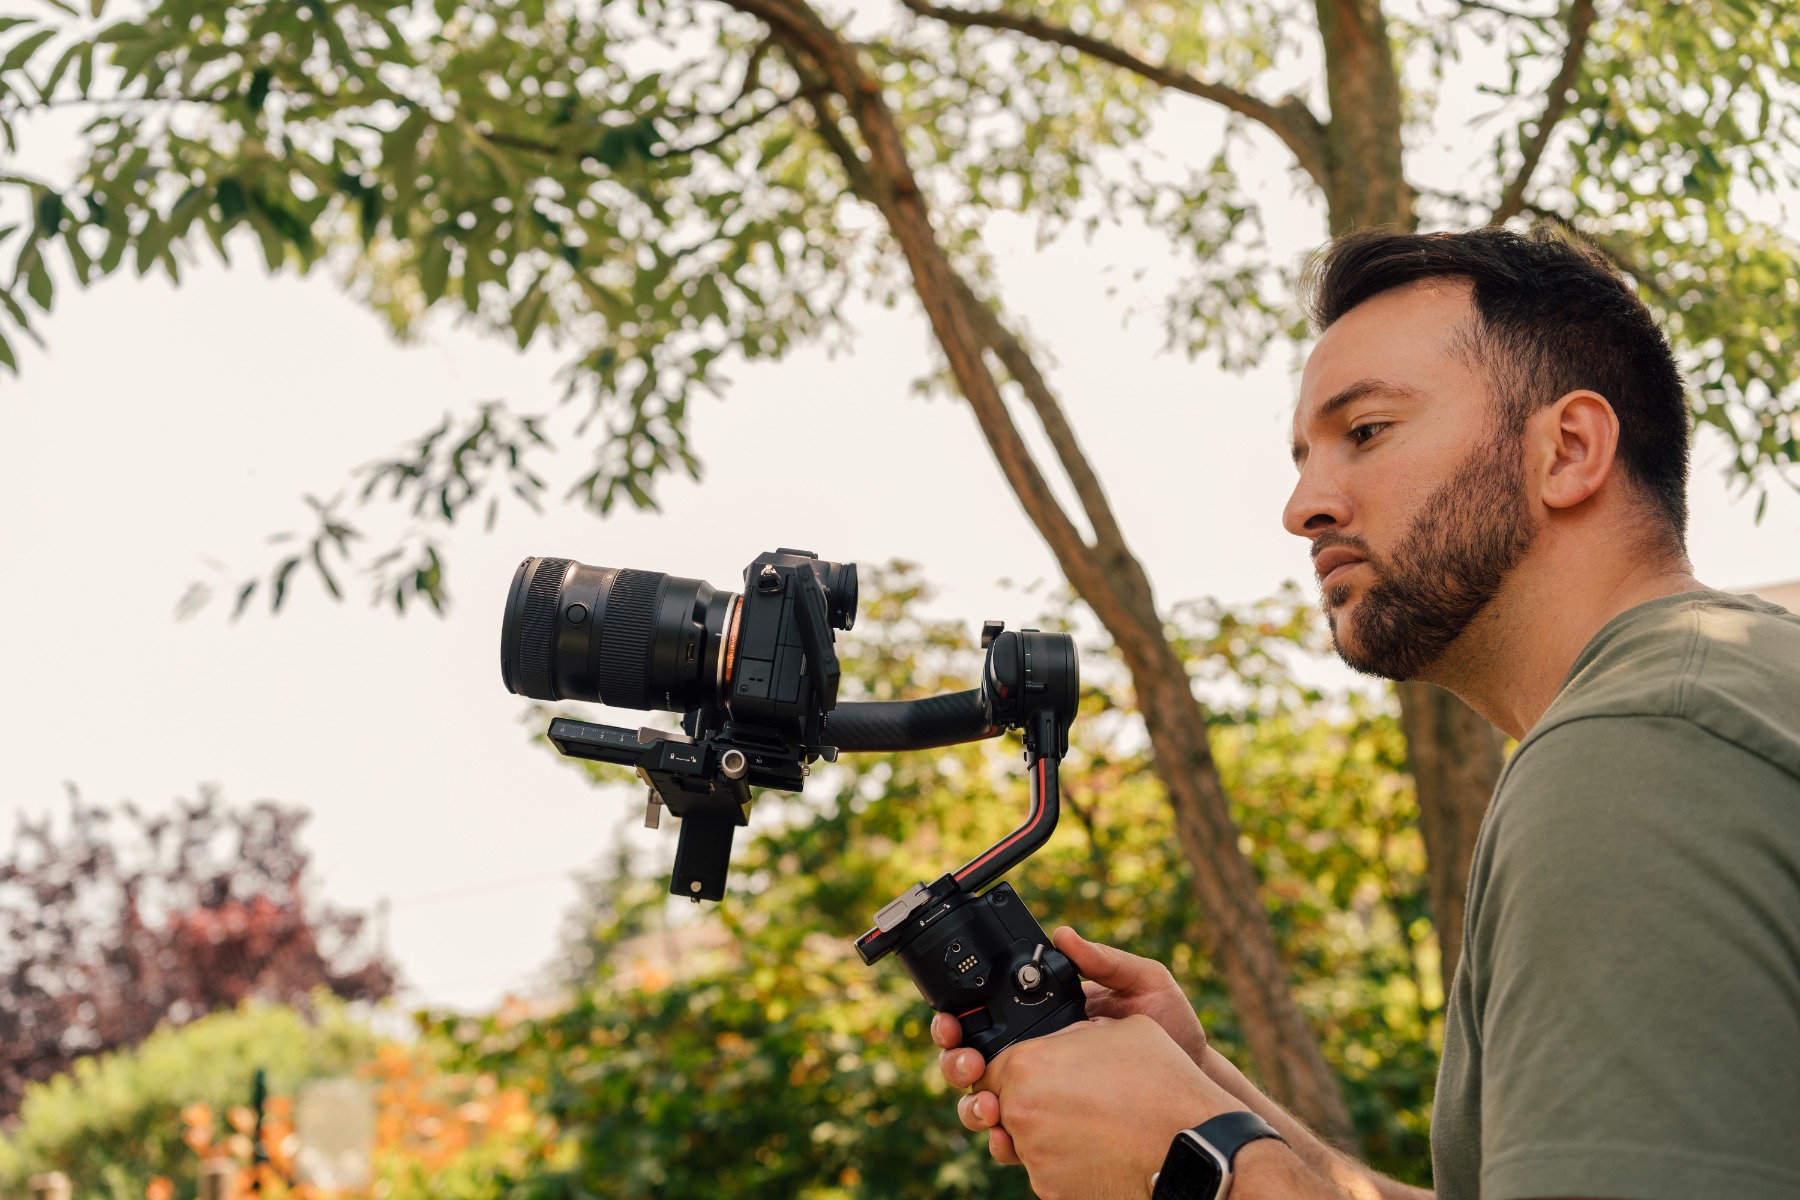
The word is a contraction of “video blog”, and that is more or less what it is: a blog told in moving pictures rather than paragraphs. Where a written post relies on description and a handful of photographs, vlogging captures the thing itself — a morning routine, a weekend away, a recipe, a workshop project — as it unfolds.
The reason it connects is presence. A reader can be told that the wind came up on the beachfront; a viewer hears it. Expression, tone of voice, hesitation, the noise of a kitchen or a Highveld thunderstorm building over Johannesburg in February — all of it arrives at once, and none of it survives translation into text. That is why vlogging feels closer and more personal than a written post, even when the subject is completely ordinary.
Most vlogging is published on YouTube, Instagram and TikTok, and the low barrier to entry is a large part of the appeal. There is no gatekeeper, no minimum production budget and no requirement to own anything you do not already have.
Vlogging is a container rather than a single format, and creators fill it in very different ways. These are the styles you will come across most often, and what makes each of them work.
A daily vlog follows an ordinary stretch of life — getting up, the commute, a work session, groceries, cooking supper, a Saturday with nothing planned. Because it needs no event and no set-up, it is the easiest style to sustain, which matters far more than production value when you are starting out.
The appeal is proximity. Stitching together small, unremarkable moments — coffee on the stoep, a walk along the Sea Point promenade, an afternoon fixing something in the garage — lets a viewer feel like they know how you live. Personality carries this genre, so resist the urge to perform; the flatter and more natural the delivery, the better it lands.
Travel vlogging records a trip as it happens: the road, the stops, the food, and the things that were never in the plan. Its advantage over a guidebook or a travel programme is texture — the wind through the Karoo, the queue at a farm stall, what a pass in the Drakensberg actually looks like from the driver’s seat rather than from a helicopter.
It also doubles as a personal record. A Garden Route trip you filmed three summers ago becomes far more vivid on video than in a folder of stills, and that is often the reason people keep making them long after the audience stops growing.
Cooking vlogs cover everything from a recipe walkthrough to a meal out, and they work because food is not only visual. The knife through an onion, fat catching on the coals of a braai, a potjie ticking over — sound does a surprising amount of the work, which is why ASMR-leaning food videos have such a following.
There is room for range here. A step-by-step milk tart, a bunny chow eaten properly in Durban with your hands, a tasting menu in the Winelands that most viewers will never book — each offers a different kind of vicarious experience, and all of them tend to hold attention well.
Family vlogs document ordinary family life: school runs, birthdays, holidays and the slow business of children growing up. Over a few years the archive becomes a kind of moving photo album, which is often worth more to the family than to the audience.
It also finds a ready audience among people at the same life stage. Practical detail — how a family handles long school holidays, what actually works on a fourteen-hour drive to the coast — is genuinely useful, and viewers tend to swap ideas in the comments as much as they watch.
Cinematic vlogging treats the video as a piece of work rather than a record. Slow motion, timelapse, deliberate camera movement and aerial footage turn an unremarkable morning into something closer to a short film.
The craft continues after filming. Colour grading, music choice and pacing are all used to build a consistent look, and the strongest examples are recognisable within a few seconds. If you enjoy the editing as much as the shooting, this is where that pays off.
You do not need much to begin, and filming casually on a phone is a perfectly good starting point. What follows applies once you decide to take it further and work with an interchangeable-lens camera.
The equipment list around vlogging looks intimidating, but almost none of it needs buying at once. A camera and a microphone will cover the vast majority of what you film; everything else can be added as you discover what your particular style actually demands.
Let your subject decide the order. Cooking at a fixed angle makes a solid tripod the first purchase; filming on the move through Braamfontein or along the Durban beachfront makes weight and stabilisation matter far more.
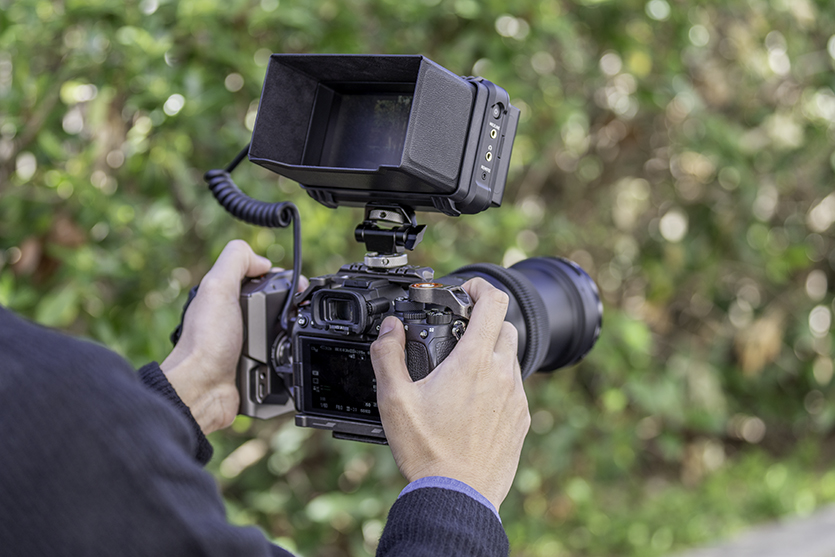
Three types of camera come up again and again in vlogging.
The phone is the obvious one. Recent handsets record more than acceptable footage, edit in their own apps and cost nothing extra because you already own one. For anyone testing whether they enjoy the process, it is the sensible place to start.
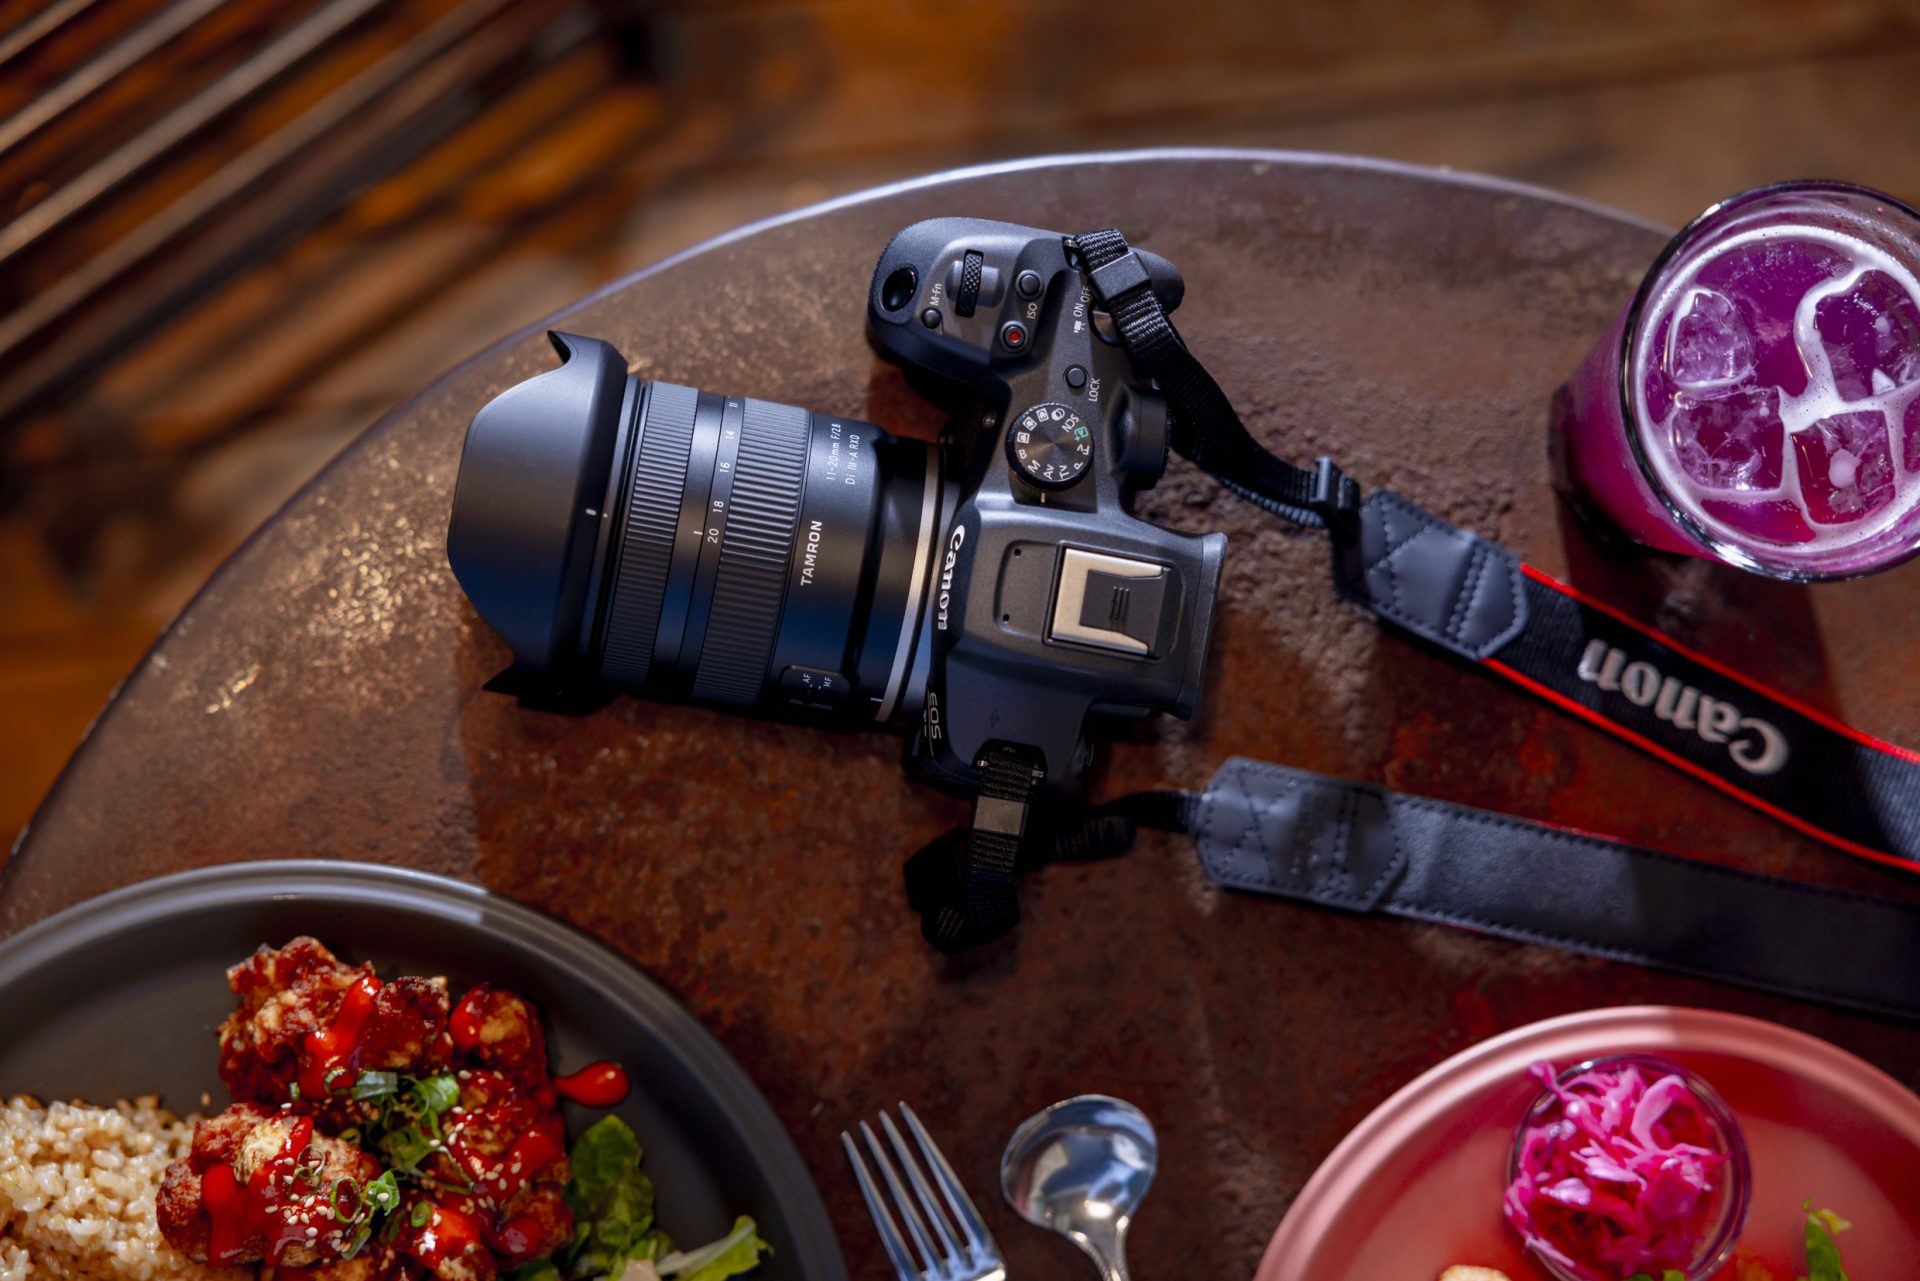
An interchangeable-lens camera is the step up. It gives you control over the lens, and with it access to things a phone approximates rather than achieves: real background blur, usable footage after sunset, and the shallow depth of field that cinematic vlogging depends on.
Action cameras occupy the third slot. Small, tough and usually waterproof, they suit surfing on the False Bay coast, mountain biking in the Magaliesberg or anything involving rain, dust or a helmet mount — conditions where you would rather not have your main body in your hand.
Audio is the thing beginners underestimate. An audience will forgive soft footage far sooner than it will forgive muddy, echoing or wind-blasted sound, and will click away without quite knowing why.
An external microphone fixes most of this on its own. Even an inexpensive on-camera model is a significant improvement on a built-in mic, and a lapel mic is worth adding if you talk to camera often. Start with something affordable and replace it once you know what your recordings are actually lacking.
Directional microphones are worth understanding: they favour sound from where they are pointed and suppress what arrives from the sides, which is the difference between usable and unusable audio on a windy promenade or a busy street.
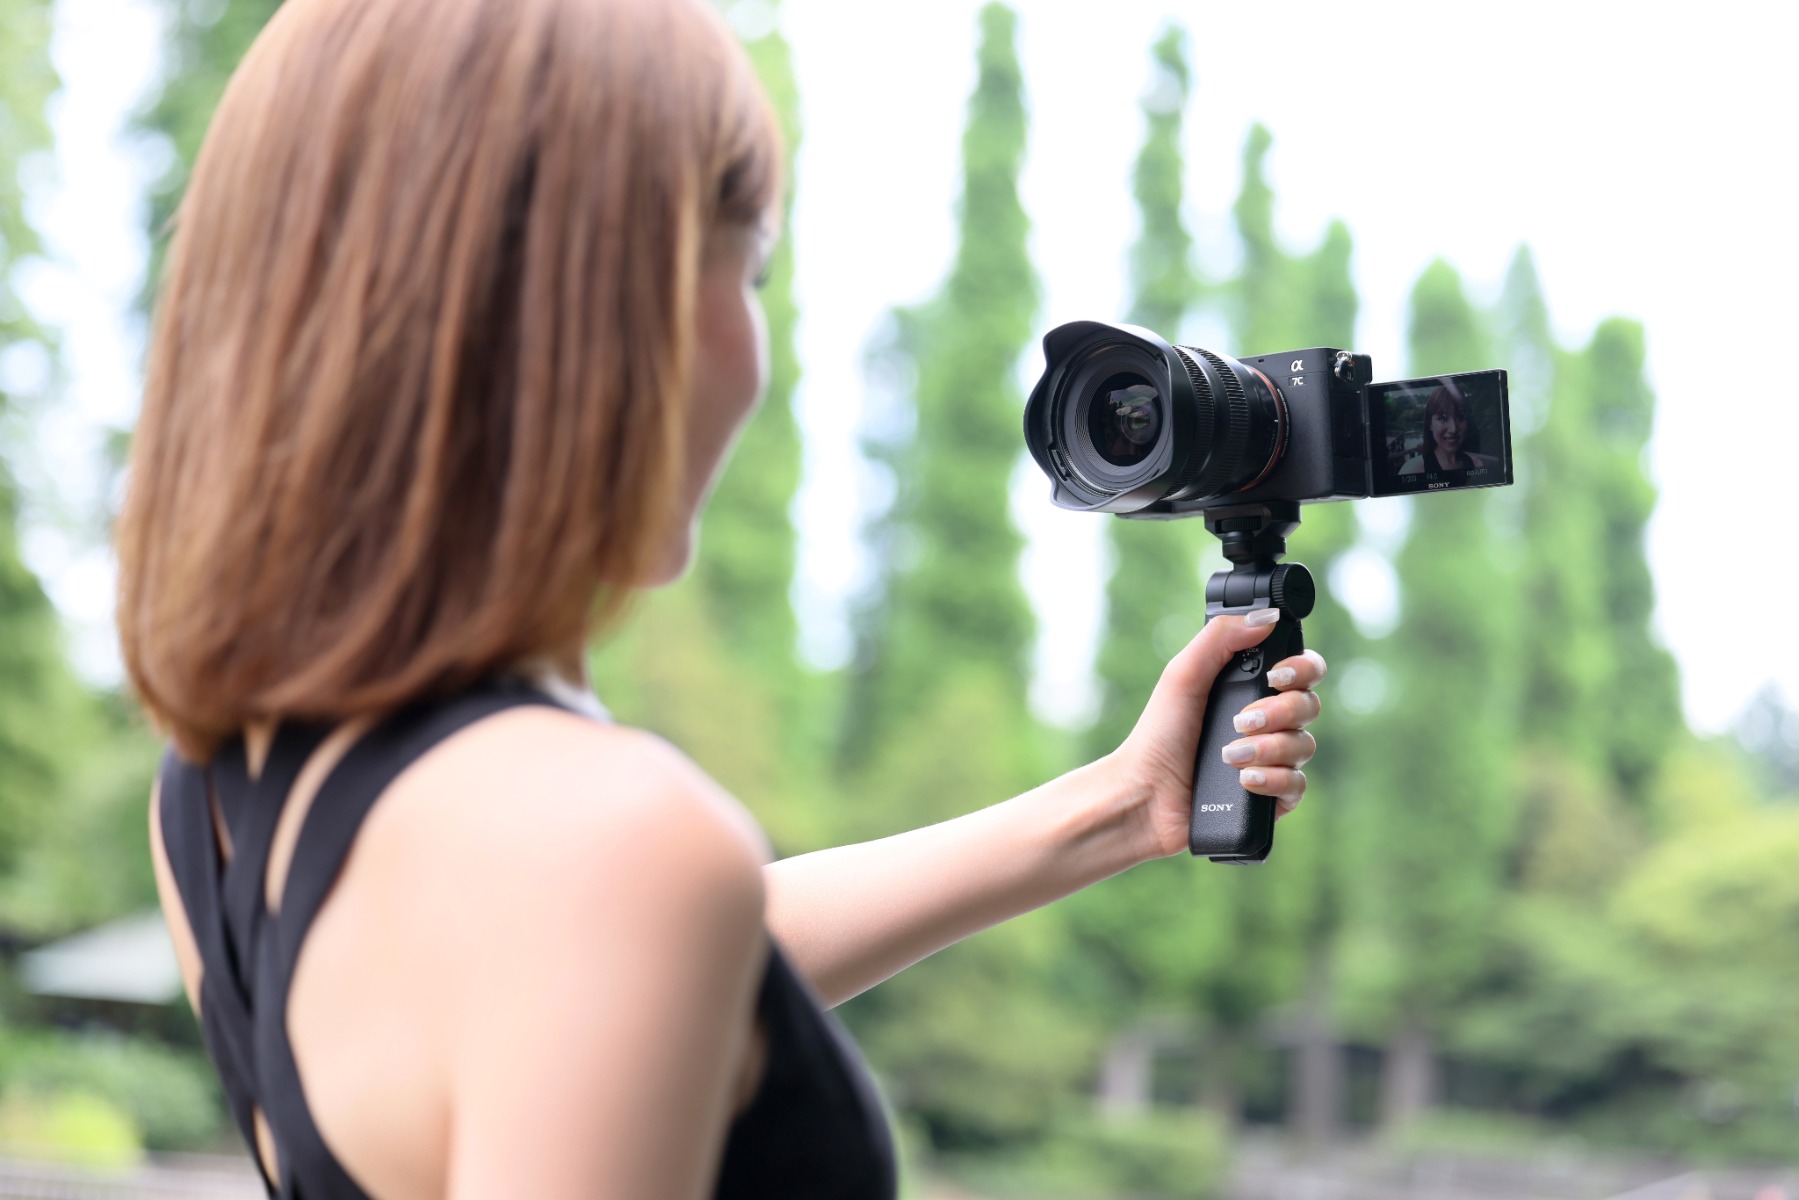
On an interchangeable-lens camera, the lens does more to shape a vlog than any other single choice. Match it to the kind of footage you actually produce.
A wide-angle lens — roughly 35mm and shorter — takes in a lot from a short distance, which makes it the standard choice for filming yourself at arm’s length and for shooting indoors where you cannot step back. It also handles the wide material on a trip: a Karoo horizon, the Johannesburg skyline, a mountain pass.
A standard lens, around 50mm and under, gives a perspective close to the way you see, and that neutrality makes it unusually versatile. Everyday scenes and people record naturally on it, without the stretched look wide-angle lenses can introduce close to a face.
If you are trying to travel light, an all-in-one zoom is hard to beat. One lens covering wide through telephoto removes the swapping — and the dust that comes with swapping — and a bright maximum aperture on top of that gives you brighter footage indoors and after dark, plus the soft backgrounds that make video look considered rather than casual.
Stability is what separates footage that looks deliberate from footage that looks accidental.
A tripod is essential for anything filmed from a fixed position — pieces to camera, cooking, interviews. A compact travel tripod that doubles as a hand grip is the most useful version for vlogging, since it works on a kitchen counter, on a table or in your hand.
A gimbal solves the other half of the problem. It cancels the bounce of walking, which is exactly what you need for travel and daily vlogging, where most of the footage is captured on the move.
Light is what makes footage look expensive, and controlling it is cheaper than most people expect.
A small LED panel is the workhorse. Mounted on the camera or set on a stand, it lifts an interior after dark or fills in a face that would otherwise sit in shadow.
Ring lights do something more specific: even, flattering light straight onto the face, which is why they dominate beauty and talking-head vlogging. The catchlight they leave in the eyes is a large part of why the result looks alive rather than flat.
Daylight remains the best light available, and it is free. Filming near a window gives soft, directional light that suits almost any subject, and the long golden light in the hour before sunset will do more for a shot than any panel. Plan around it: in Cape Town the sun sets shortly before 17:45 in midwinter and after 19:30 in December, and South Africa stays on SAST all year, so the window shifts by season rather than by clock change.
Equipment matters less than repetition. Film something a minute long and take it all the way through — shoot, edit, publish — because the whole loop is where the learning happens, and it is the part most people never complete.
Pick a subject you already care about. Knowledge makes you fluent on camera, fluency makes filming enjoyable, and enjoyment is the only thing that reliably gets a second video made.
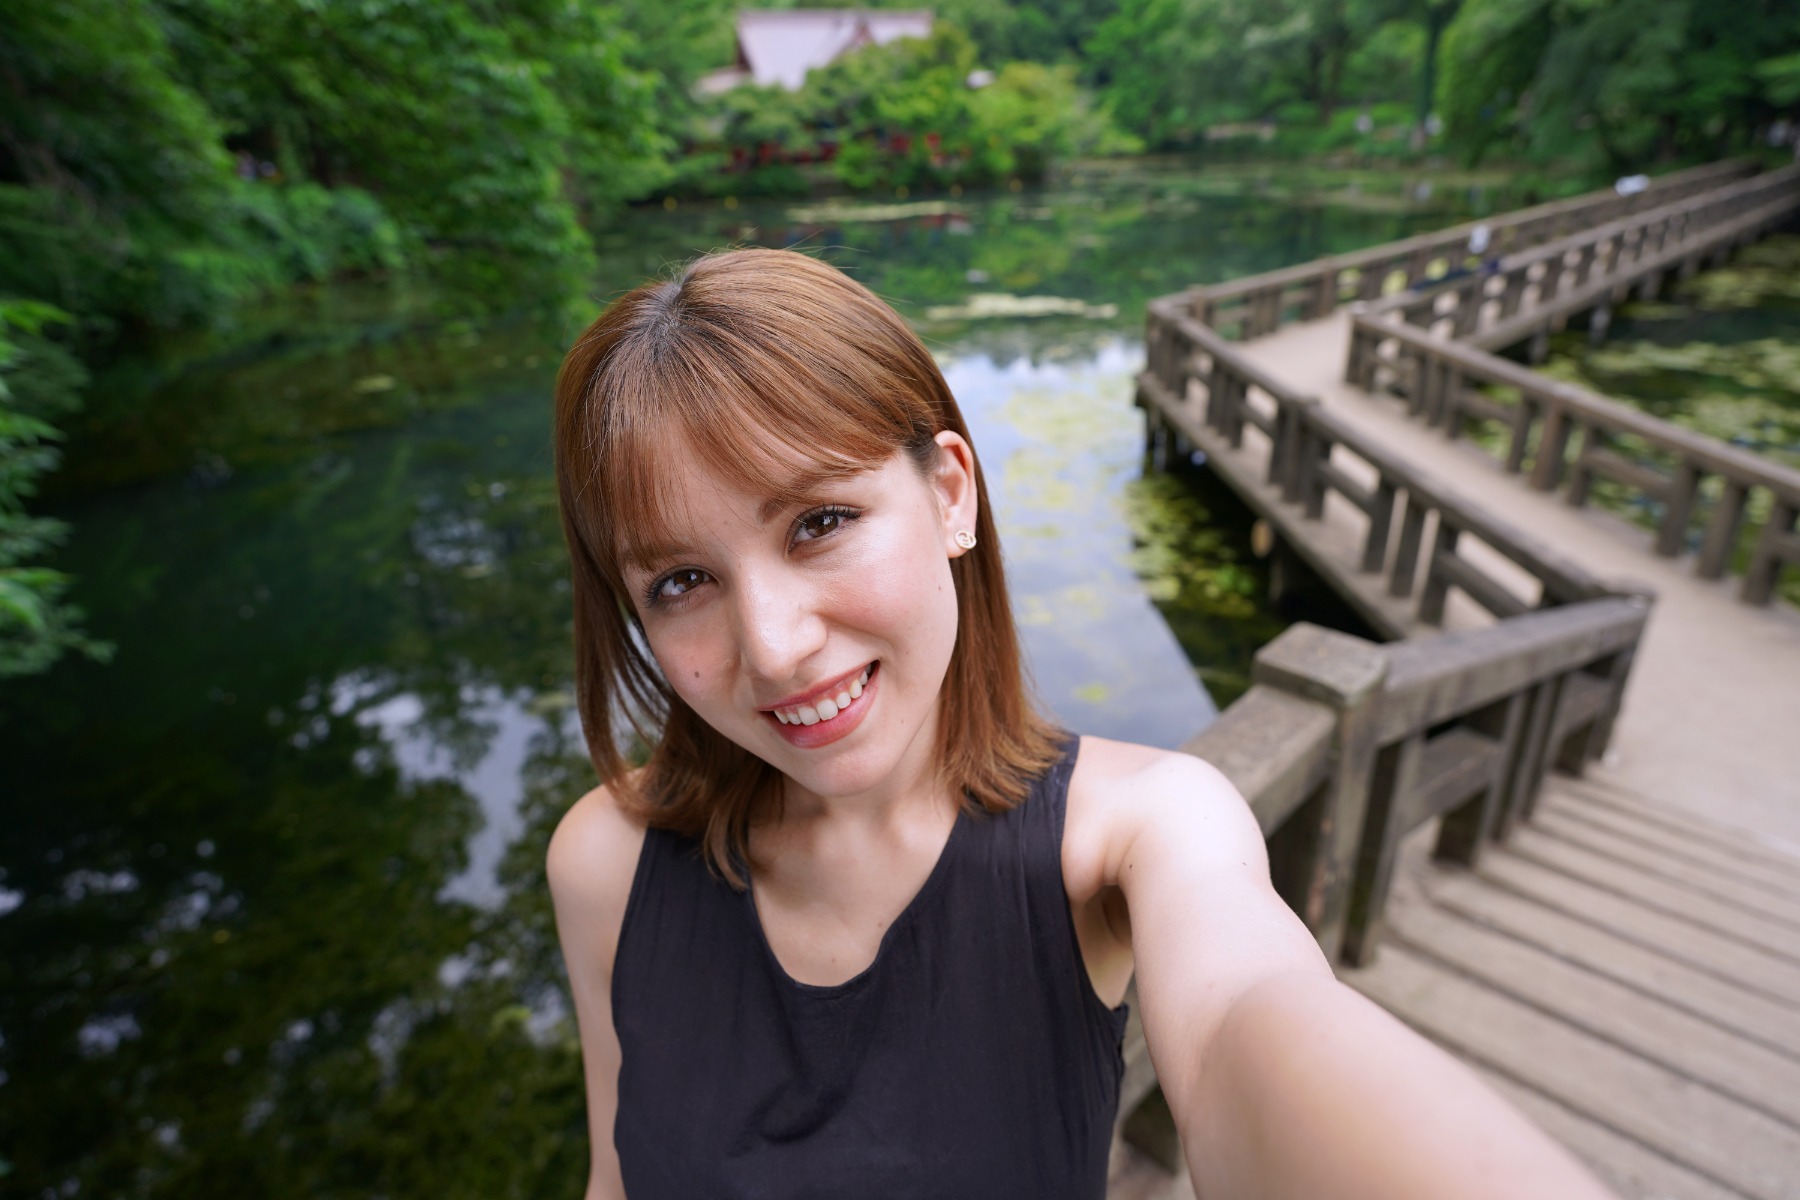
A handful of basics will lift almost any vlog.
Start with composition. The rule of thirds is a cliché because it works — placing your subject off-centre rather than dead centre immediately makes a frame look intentional. Vary it once you are comfortable, but vary it consciously.
Second, cut between shot sizes. Wide establishing shots, mid shots and close-ups on details break the monotony that sets in when everything is filmed from the same distance at the same height. Two or three angles of the same action give you something to work with in the edit.
Third, keep the look consistent. Matching white balance and colour across clips is what makes a video feel like one piece rather than a collection of files, and it is far easier to get right while filming than to repair afterwards.
Software helps too. TAMRON Lens Utility™ lets you customise how a compatible lens behaves, including focus control, so smooth and repeatable focus pulls are within reach of someone who has never operated a focus ring before.
Editing is where the video is actually made. Cutting the dead air, ordering the material into something with a shape, adding music and subtitles — this is what turns forty minutes of clips into six minutes worth watching.
You do not need advanced skills to do it well. Trimming, sequencing, a music bed and legible captions cover most of what an audience notices, and free editors handle all of it.
Once it is finished, publish it where the format fits. Each platform rewards something different: YouTube supports longer, slower pieces, while TikTok and Instagram Reels are built around short videos, typically in the fifteen- to sixty-second range. The same footage often needs two different edits.
Presentation decides whether it gets found at all. Titles, thumbnails, descriptions and hashtags do the work of discovery, and they deserve as much attention as the edit itself. Watch what is working in your specific subject area rather than in general.
If you intend to keep going, read the comments and reply to them. Feedback tells you which parts held attention, requests give you subjects you would not have thought of, and the habit of responding is what turns viewers into a returning audience.
A few precautions keep vlogging enjoyable and out of trouble. Most of them come down to consideration and a little homework.
Ask before you film friends and family, and take no for an answer. If someone is uncomfortable on camera, frame around them or blur them in the edit. The Protection of Personal Information Act treats identifiable footage of a person as personal information; purely personal or household activity falls outside it, but a monetised channel is unlikely to qualify as either, so consent is not only good manners.
Be careful about your address. Street signs, a house number, a distinctive view from a window, post lying on the counter — any of these can locate you. Watch the footage back with that specifically in mind before you upload.
Apply more caution again with children. Do not reveal a school name, a sports fixture or a regular routine, and consider that a child who is happy to be filmed at six may feel very differently at sixteen about footage that is still online.
Use royalty-free music and sound effects. Free libraries have multiplied — the YouTube Audio Library is the obvious starting point — and there is no longer much reason to risk a claim on a soundtrack.
Copyright also arrives by accident. Music playing in a coffee shop, a television on in the background, a song at an event: all of it is protected, and platforms detect it automatically. Venues in South Africa generally license public performance through SAMRO, but that licence covers the venue playing the music, not you publishing it. Mute the clip or replace the audio in the edit.
Public space does not automatically mean permission. Shopping centres, museums, private reserves and many attractions set their own filming rules, and a camera on a tripod is often treated very differently from a phone held at chest height.
Municipalities matter too. Most South African cities run a film permit office, and while someone filming a personal vlog handheld is rarely the target, organised shoots involving tripods, lighting or crew usually require a permit. Requirements differ from one municipality to the next, so check the specific one rather than assuming.
Drones have their own regime. The South African Civil Aviation Authority regulates remotely piloted aircraft, and flying for commercial purposes — which can include footage on a monetised channel — requires the appropriate licensing and approvals. Recreational flying is restricted near airports, over people and over property you do not control.
Filming outside the country brings another set of rules again. Regulations and etiquette vary widely, including within the region, so look into local law before you travel rather than after you have been stopped.
Lens choice is where a vlog gains most of its character. These are the specifications worth weighing up.
A bright maximum aperture — F2.8 or F4 rather than something slower — lets more light reach the sensor, which keeps footage clean in dim interiors and after dark.
It also produces shallower depth of field. Softening the background separates you from what is behind you, and it is the single most recognisable difference between footage from an interchangeable-lens camera and footage from a phone.
Focal length determines how much of a scene fits in the frame, and different vlogging styles pull in different directions.
Wide-angle lenses suit small rooms, arm’s-length selfie filming and landscape work. Standard focal lengths give a natural perspective and are kinder to faces, which makes them the better choice for talking to camera at a normal distance.
Angle of view is easier to judge with your own eyes than from a number. Look at sample footage, and try a lens in a shop before committing to it.
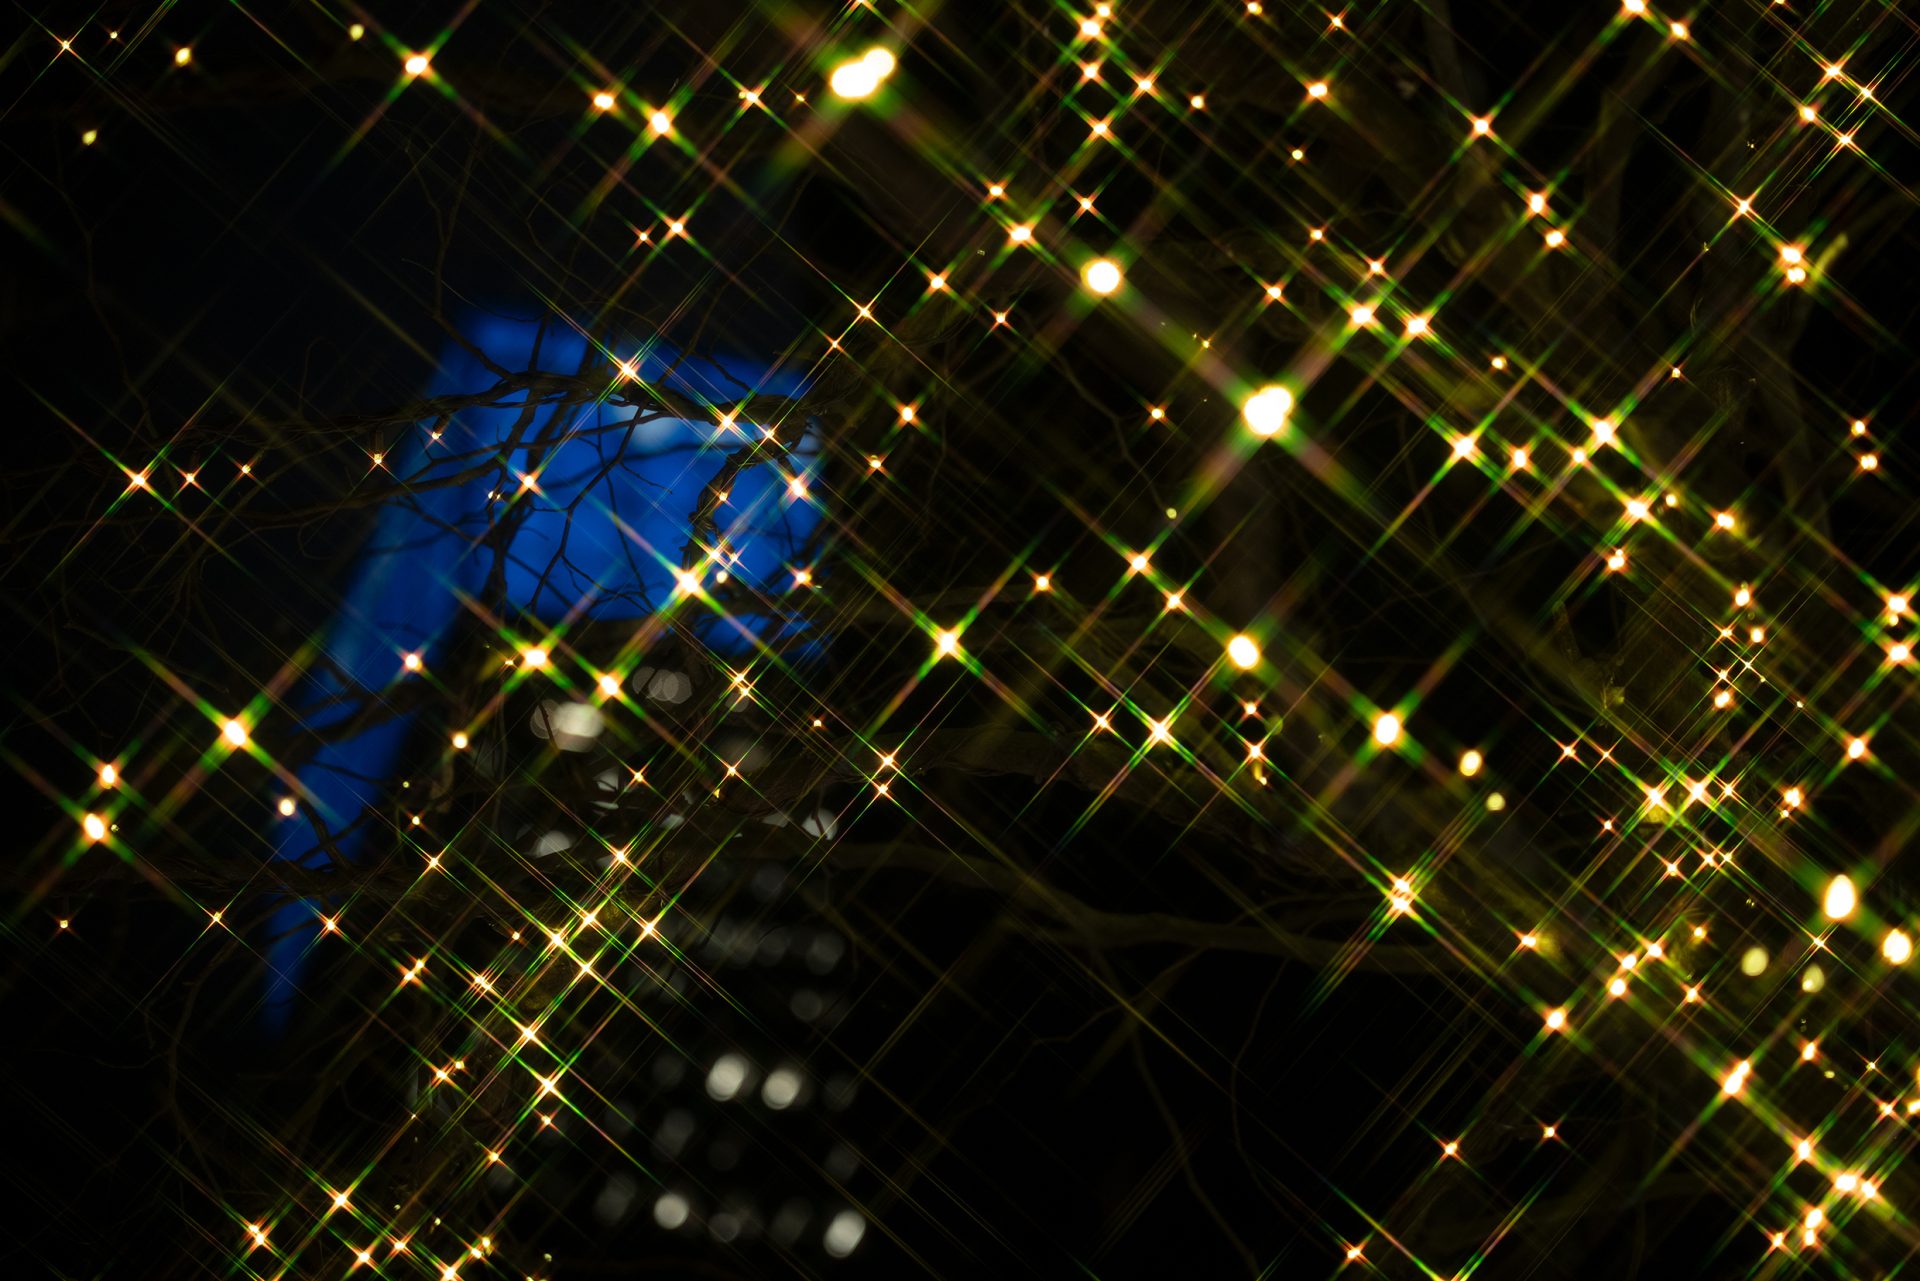
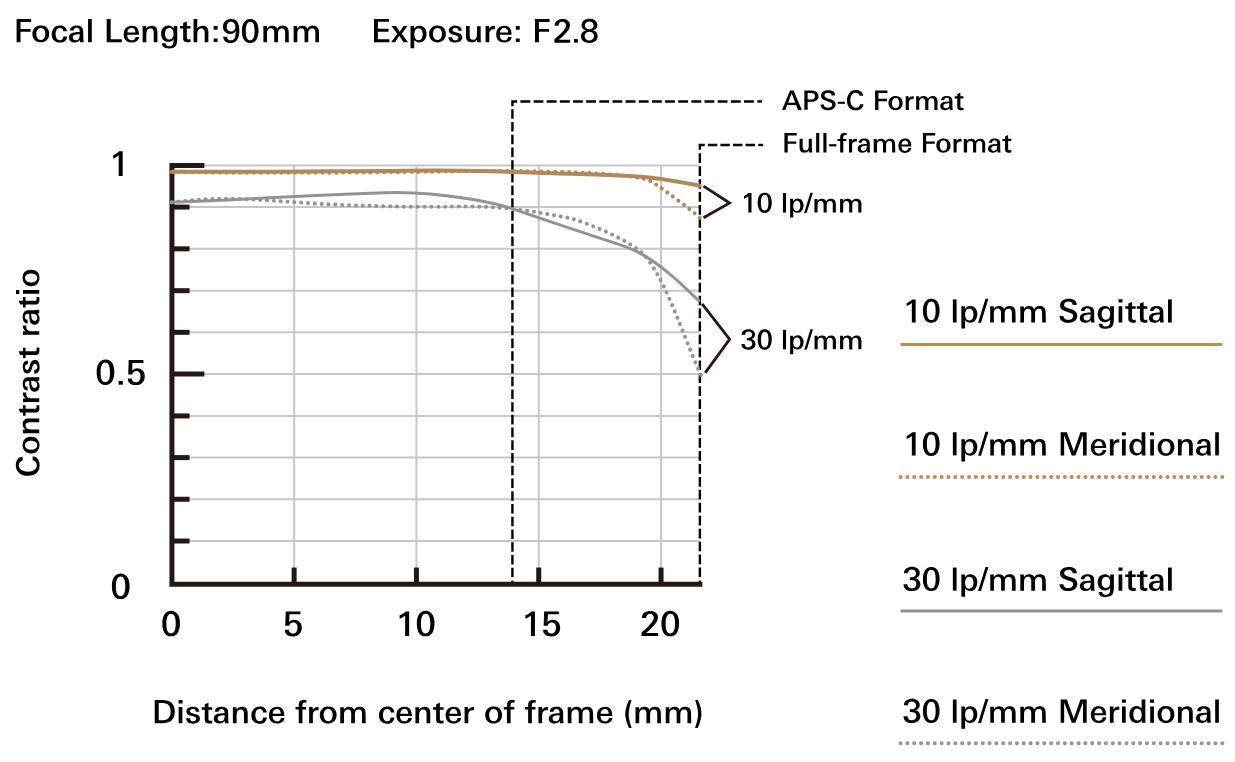
Two lenses with identical specifications can render the same scene quite differently. Colour, contrast, the way highlights fall away and overall sharpness combine into what is usually called a lens’s “look” — clinical and crisp at one end, warmer and softer at the other. Sample footage tells you more than a specification sheet ever will, and staying within one manufacturer’s range keeps that character consistent across a video cut from several lenses.
A light, compact lens is one you will actually carry. That matters most when filming handheld for long stretches or walking a route all day, where a heavy setup quietly shortens the shoot. If packing space is the constraint, an all-in-one zoom covers wide through telephoto in a single lens and removes the decision entirely.
Focus breathing is a slight change in angle of view as focus shifts. In stills it goes unnoticed; in video it shows up as a small zoom every time focus moves, which reads as amateurish once you have learned to see it. Reviews and sample footage will tell you how pronounced it is on a given lens.
Zoom lenses used for video bring two further issues worth checking.
Optical axis shift is a small change in where the lens is effectively pointing between the wide and telephoto ends, which nudges your composition off as you zoom.
Focus shift is the related problem of focus drifting as focal length changes, so a shot that was sharp at the wide end softens as you zoom in. Both are best judged from footage rather than from specifications.
Manual focus comes up constantly in video, and the physical feel of the focus ring decides whether fine adjustments are pleasant or fiddly. Look for even, slightly weighted resistance, and check how cleanly the lens switches between autofocus and manual — hunting for a switch mid-take costs you the shot.
Vlogging happens outdoors, and the weather does not cooperate. A lens with Moisture-Resistant Construction gives you room to keep filming through Cape winter drizzle or a summer downpour on the Highveld instead of packing up, which matters for travel and outdoor work in particular.
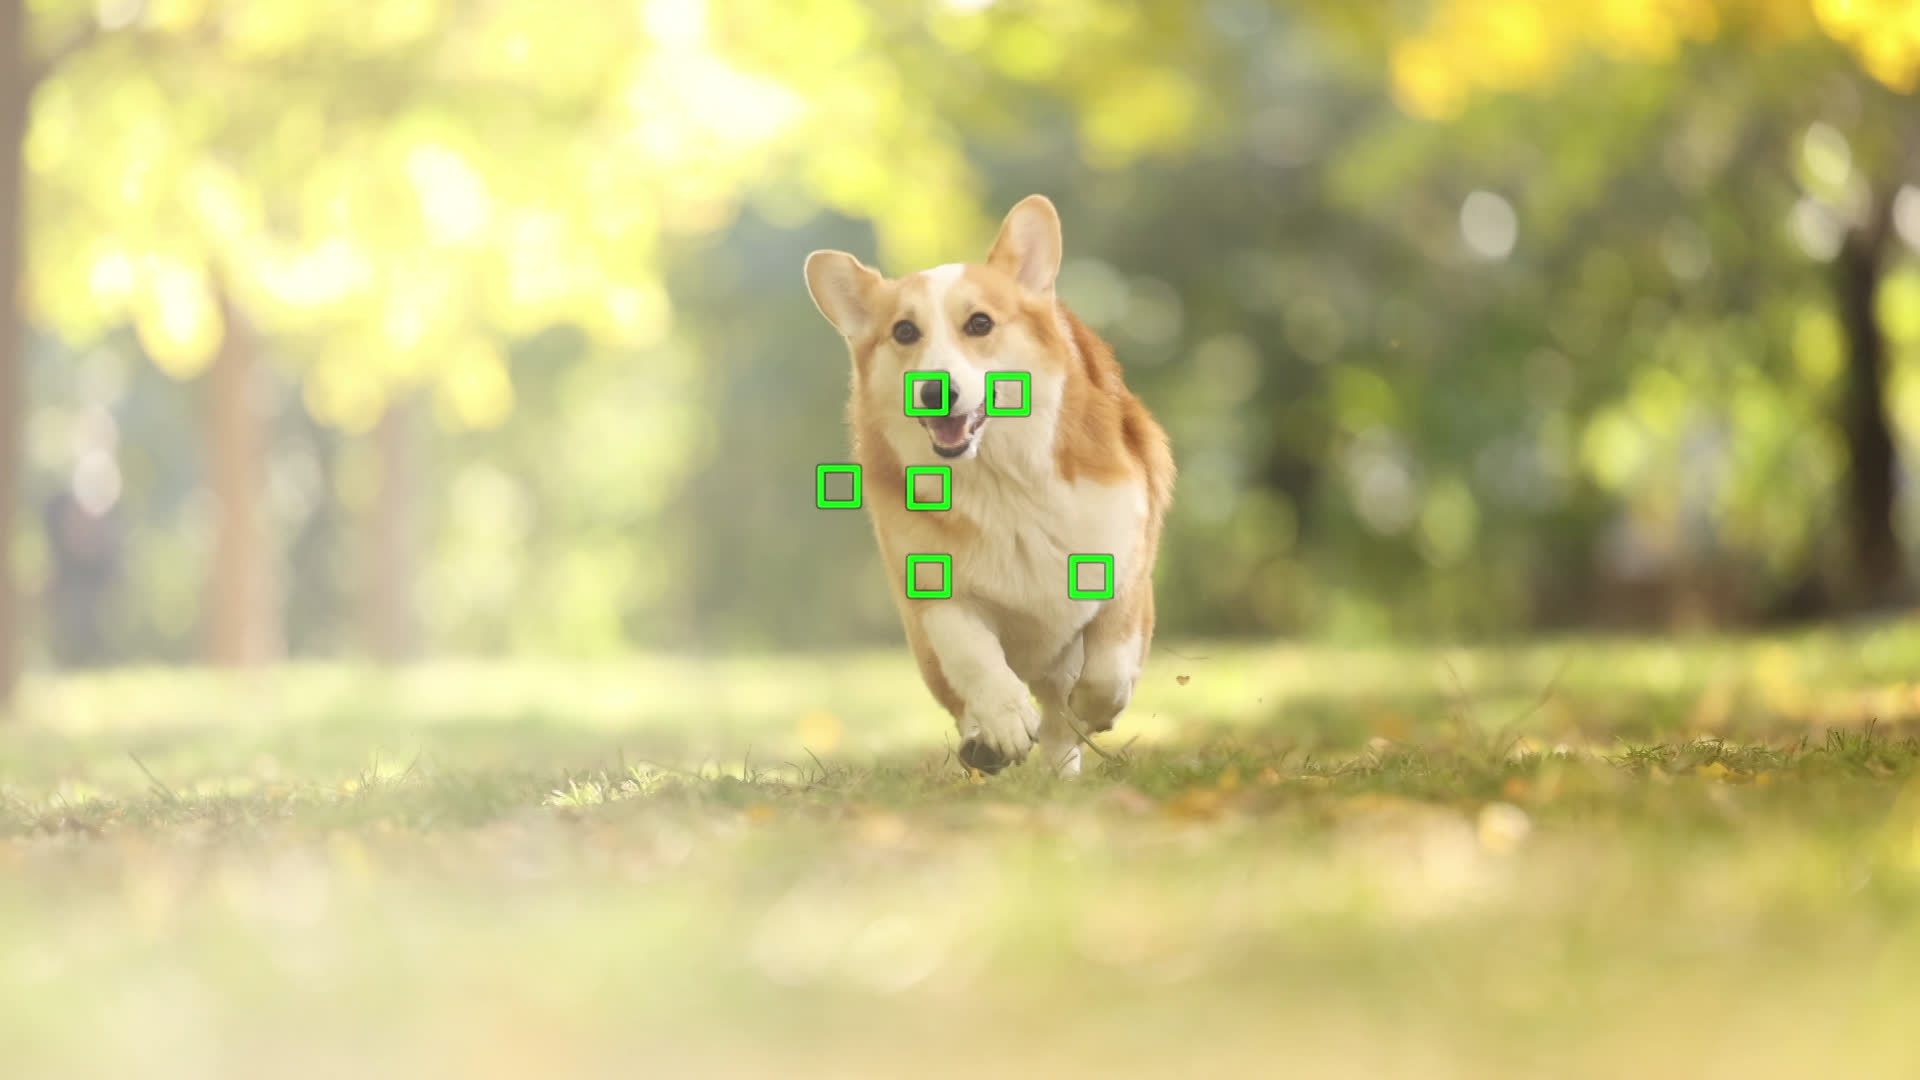
Judge autofocus on two things: how confidently it locks on, and how well it holds a subject that moves. Then listen to it. A noisy focus motor is picked up by an on-camera microphone and ends up sitting under your dialogue, so quiet operation is a genuine specification rather than a nicety.
Vibration Compensation steadies handheld footage, and because vlogging so often happens without a tripod or gimbal, it does a great deal of quiet work. Check whether a lens has stabilisation and how effective it is in practice, particularly at the telephoto end where shake is magnified.
Phones will always be the fastest way to start vlogging, and there is nothing wrong with staying there. But an interchangeable-lens camera opens up control a phone cannot offer — over depth of field, over low light, over the look of the footage itself — and that is what separates a video that documents something from one that is worth rewatching.
If you are new to it, film something short this week and take it all the way to publication. The kit can improve later; the habit is what makes the difference.