| September 18, 2026
 South Africa's #1 Mobile Protection Brand
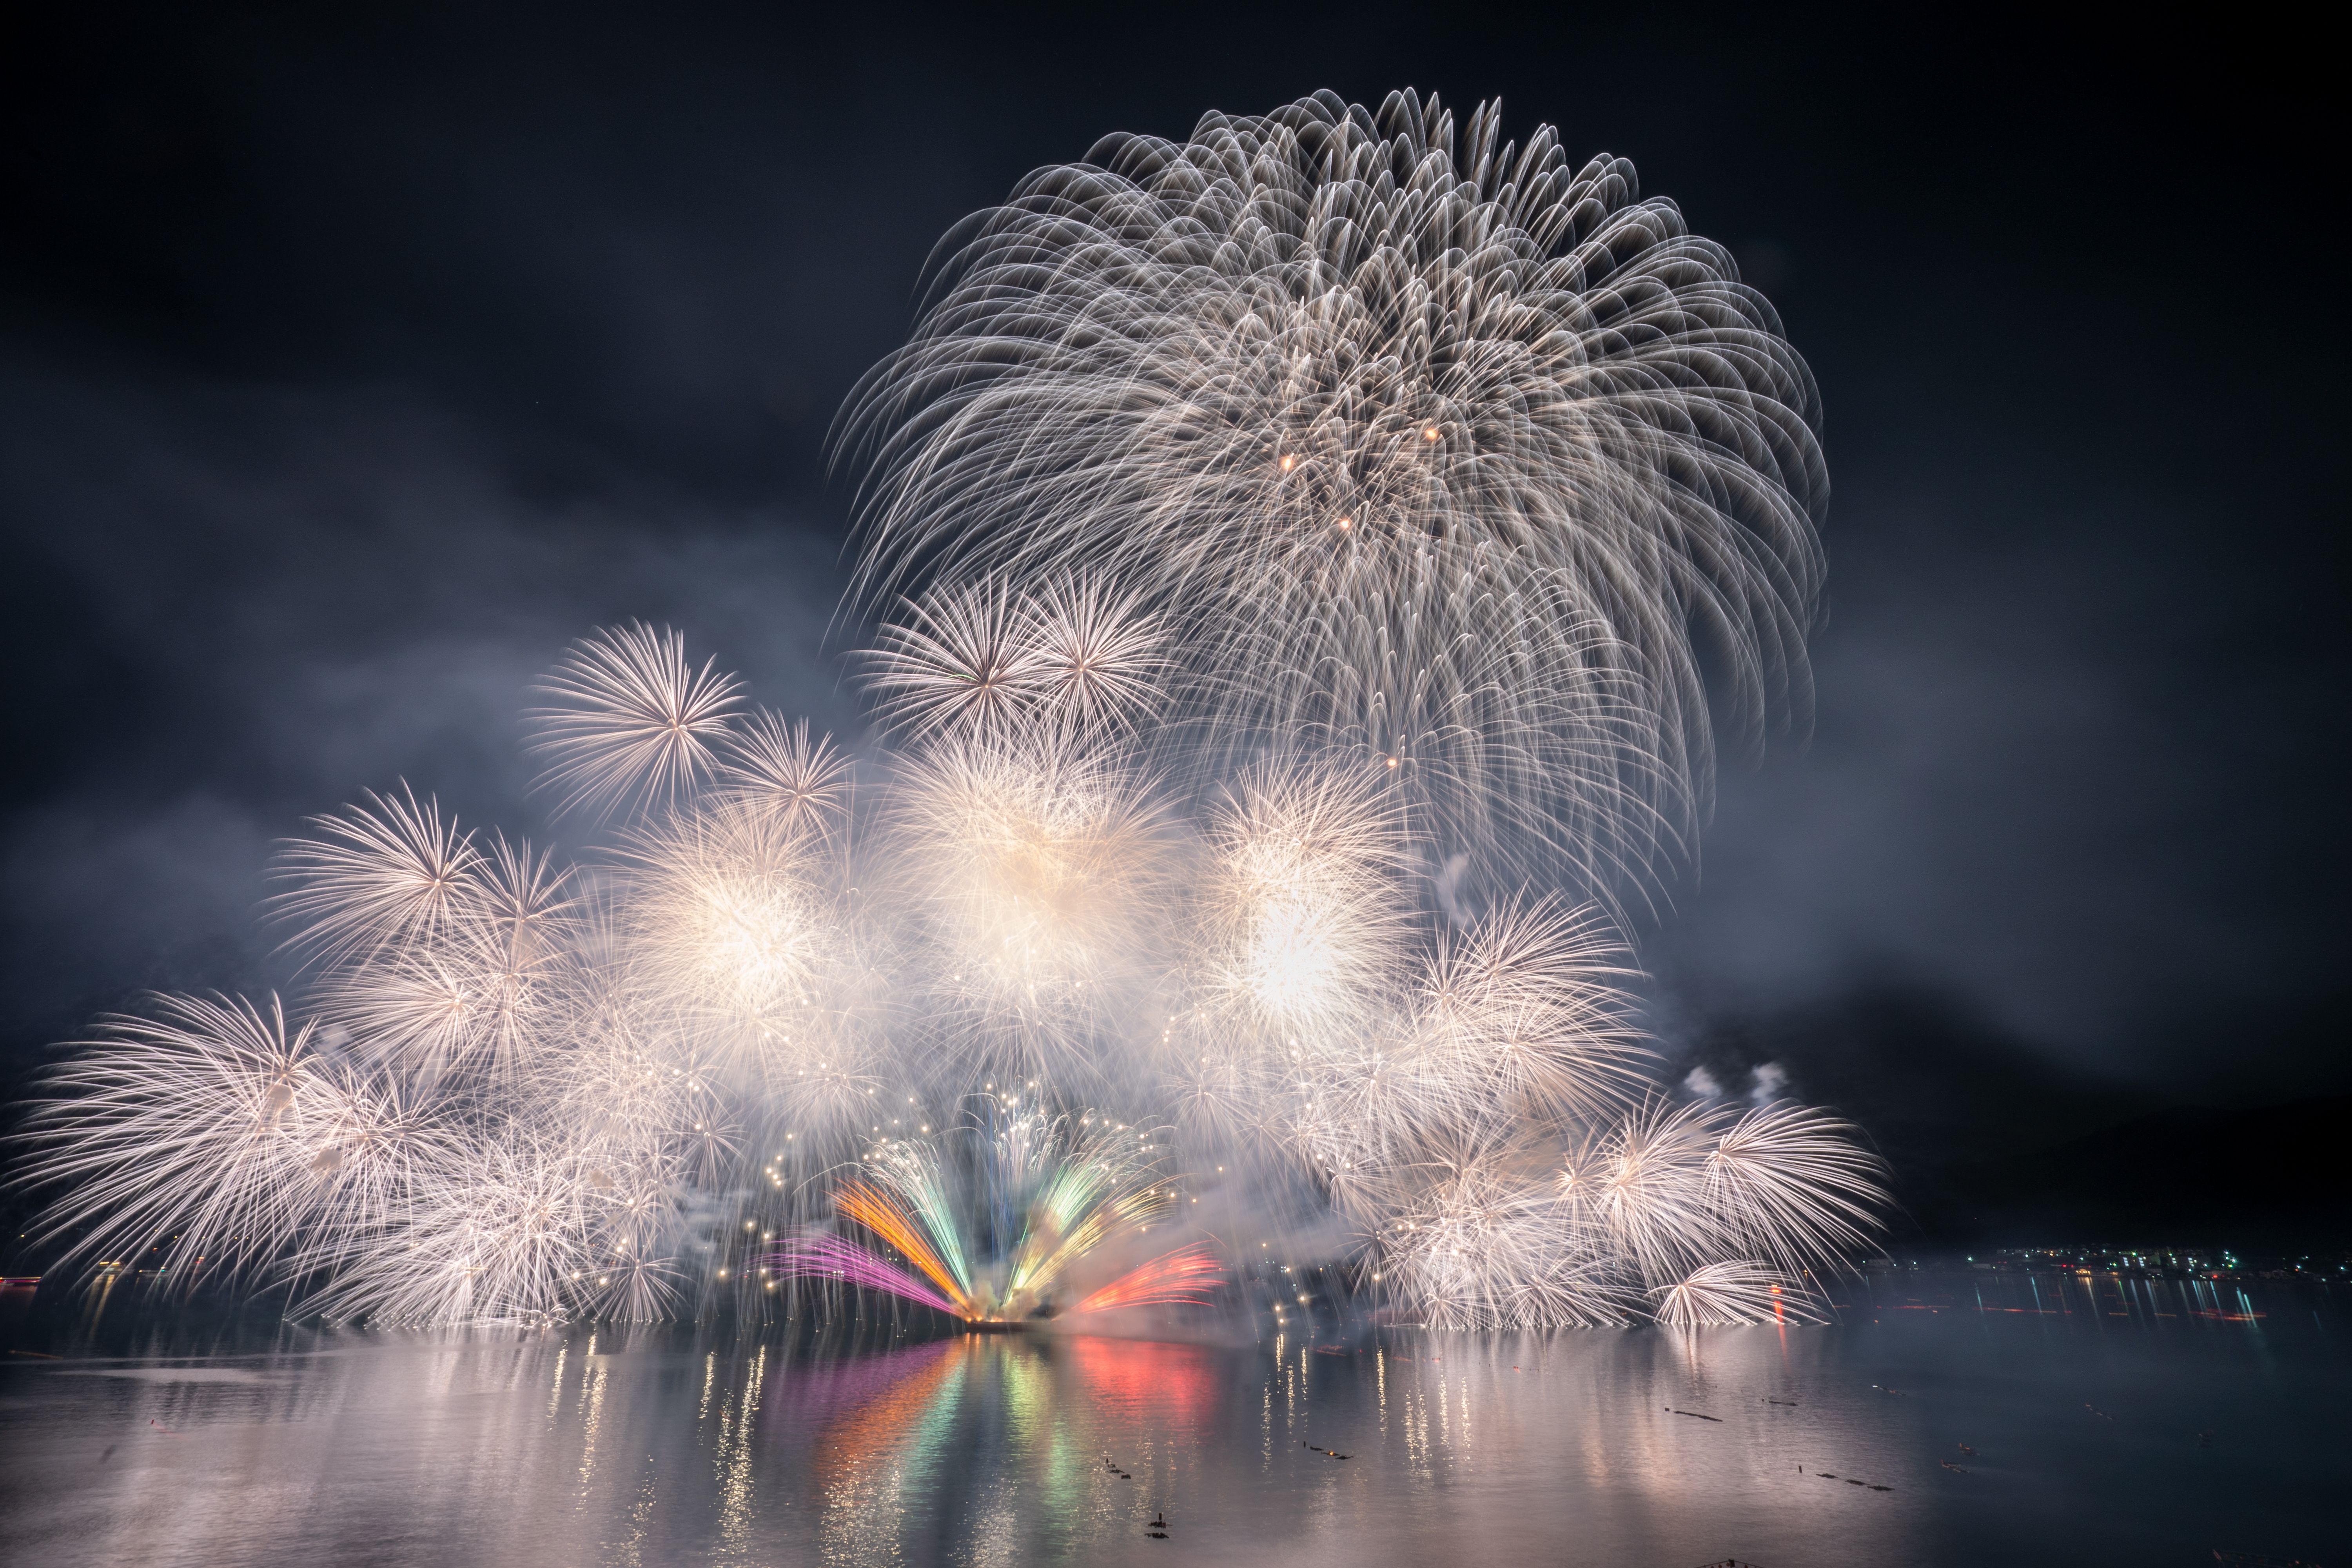
South Africa's fireworks season falls in December and January, when displays go up over harbours, stadiums and waterfronts on warm nights that stay light until well after seven. Photographing them looks harder than it is. The subject is bright, its shape is predictable even when its timing is not, and it sits against a black sky that does most of the compositional work for you. Get the exposure settings and the lens right and the rest is patience. This guide covers both.
Fireworks photography asks for a wide field of view, a long exposure and a camera that does not move. That combination sets the kit list. Here is what to have with you before the first shell goes up.
A wide-angle lens — roughly 35mm or shorter — is what lets you fit an entire display into the frame without clipping the tops off the highest bursts. It also gives you room to include what sits underneath: a harbour wall, a crowd, a city skyline. Those elements are what turn a picture of lights in the sky into a picture of an evening. Stop down to somewhere between F8 and F16 and the shapes stay crisp while the light trails hold their form.
If you would rather show the architecture of a single burst, reach for a telephoto lens of around 80mm or longer. Shooting from a distance compresses the scene and renders the colours and trails with more drama than a wide frame can manage. It is the better choice for the fine radial spread of a large shell, or for the colour gradients that appear as one shade burns through into the next.
Long exposures and bulb work are impossible handheld, so a tripod is not optional. Look for one that sits low and heavy rather than tall and light. December displays on the Cape coast frequently come with a stiff south-easter, and a tall tripod on a small footprint will vibrate through every frame you take. Firm ground helps and sand does not, so plant the legs deliberately if you are shooting from a beach.
Pressing the shutter button with your finger moves the camera, and across a four-second exposure that movement is visible. A cable release or wireless remote lets you open and close the shutter without touching the body. The camera's self-timer will do at a push, but it costs you the ability to react to a launch, which makes it a poor substitute here.
Once you are comfortable with the basics, an ND filter opens up more deliberate work. It earns its place during a finale barrage, when a dozen shells go up at once and an otherwise correct exposure blows out to white. An ND8 through to an ND64 brings the brightness back into range and lets you hold a long shutter without losing the colour. That is the difference between a white smear and a frame with structure in it.
Spare batteries and memory cards, because a two-hour wait followed by fifteen minutes of shooting burns through both faster than you expect. A head torch or small light for changing lenses and reading dials in the dark. Warm layers if you are on the coast, where the temperature drops several degrees once the sun is properly down, even in midsummer. Pack all of it before you leave rather than discovering a gap at the venue.
With the kit sorted, the work moves to settings. Fireworks defeat automatic metering, so nearly every decision below is one you make yourself.
A firework is a small, very bright object against a very large, very dark background, and it arrives without warning. Every automatic exposure system reads that scene as dark and opens up accordingly, which blows out the burst at the moment it matters.
Setting exposure manually is the only reliable approach. The values below are starting points to adjust from rather than fixed numbers, and the first few frames of any display are where you refine them.
Manual mode, and for most of a display, bulb mode. Bulb holds the shutter open for exactly as long as you hold the release, which lets you record a full shell from launch through bloom to fade instead of catching an arbitrary slice of it.
Two to four seconds captures the trails cleanly for a single shell. Working in bulb, open on the sound of the launch and close when the last embers fade. For a finale barrage, eight seconds or longer builds a denser and more forceful frame.
Between F8 and F11 for most work. That range keeps shells at different distances and heights sharp within the same frame, and gives you depth running from a foreground element right through to the sky.
Start at ISO 100 to 400. A low ISO keeps noise out of the black sky, which is exactly where it shows most, and preserves saturation in the colours. If frames are coming out too dark, raise it one stop at a time rather than jumping several.
Auto or daylight will render the colours honestly. Shift it deliberately if you want a cooler or warmer sky. Shooting RAW leaves the decision until later, though when several colours burst together the balance becomes difficult to correct afterwards, so check results on the back of the camera while you can still adjust on the night.
Autofocus has nothing to lock onto in an empty black sky. Estimate the distance to the launch point beforehand and set focus manually, stopping just short of the infinity mark rather than hard against it — most lenses focus slightly past infinity, and racked to the stop is usually soft.
Alternatively, use magnified live view on a distant streetlight, a lit building or a ship's light on the water, then leave the focus ring alone for the rest of the evening. Take test frames on the first shell and check them at magnification before you commit to the whole display.
The launch makes a sound before the shell makes light. Open on that sound and hold until the trails have faded completely, and you record the entire arc rather than the bloom alone.
For a barrage, watch a few volleys before you start shooting to learn the rhythm, which is usually more regular than it first appears. If a single exposure cannot hold everything, shoot several and blend them afterwards.
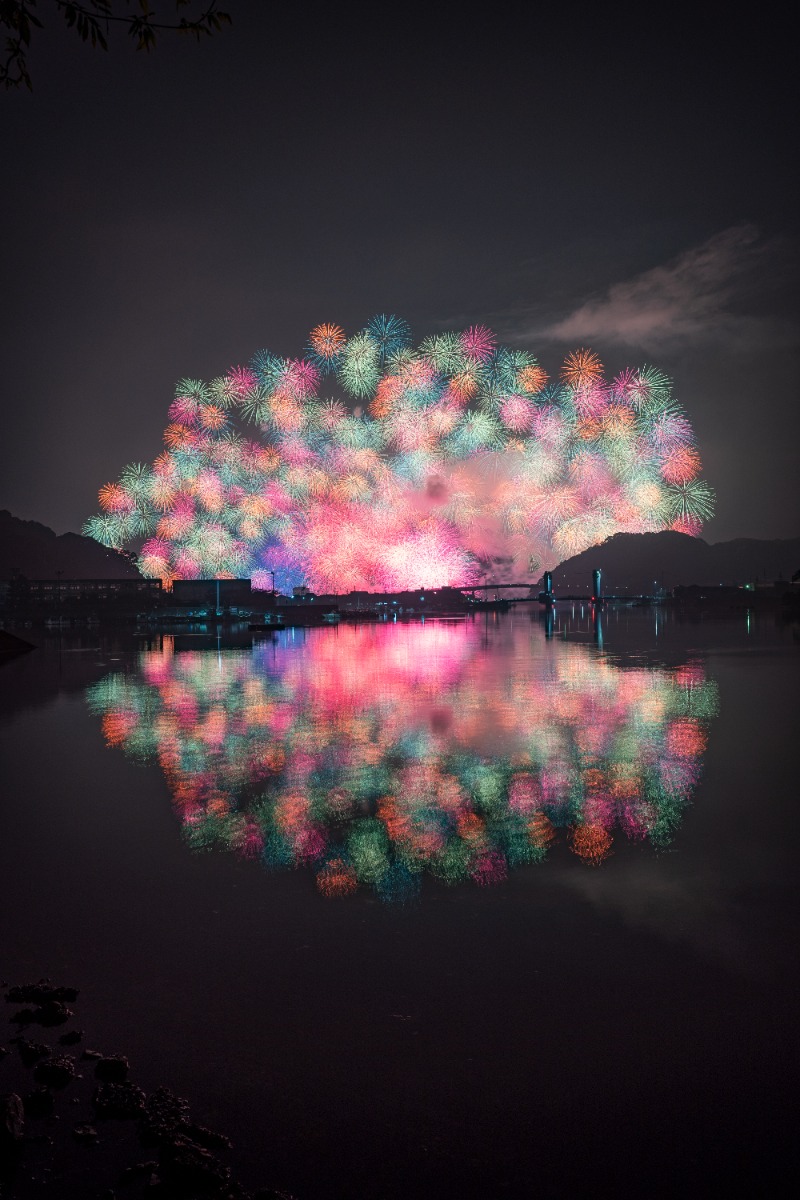
TAMRON 17-28mm F2.8 (Model A046) Focal length: 28mm Exposure: F8 Shutter Speed: 5sec ISO: 100
The rule of thirds and a centred composition will both give you a balanced frame with sensible space around the burst. If there is a bridge, a harbour crane or a distinctive roofline nearby, work it in. That is what tells a viewer where the photograph was taken, and it is what separates your frame from every other frame of the same display.
Water is the strongest asset available to you. A display over Table Bay, along the Durban beachfront or across a Highveld dam hands you a mirrored second copy of every shell, and a symmetrical composition built on that reflection is hard to beat. Match the frame to the shell as well: shoot horizontally for wide, spreading bursts and vertically to emphasise a single tall one.
When many shells launch from the same point across a sustained sequence, trying to capture all of them in one exposure will simply overexpose. Shoot them separately instead — somewhere between one second and 1/60 depending on brightness, firing continuously — then combine the frames in editing. The result keeps the saturation of each individual burst while building a dense, crowded sky that no single exposure could hold.
If long exposures are consistently coming out too bright, an ND filter cuts the light reaching the sensor without forcing you to shorten the shutter or stop down further. Correct exposure is what lets the subtler colour transitions and the finest trails survive, so it is worth carrying one once you are confident working in manual.
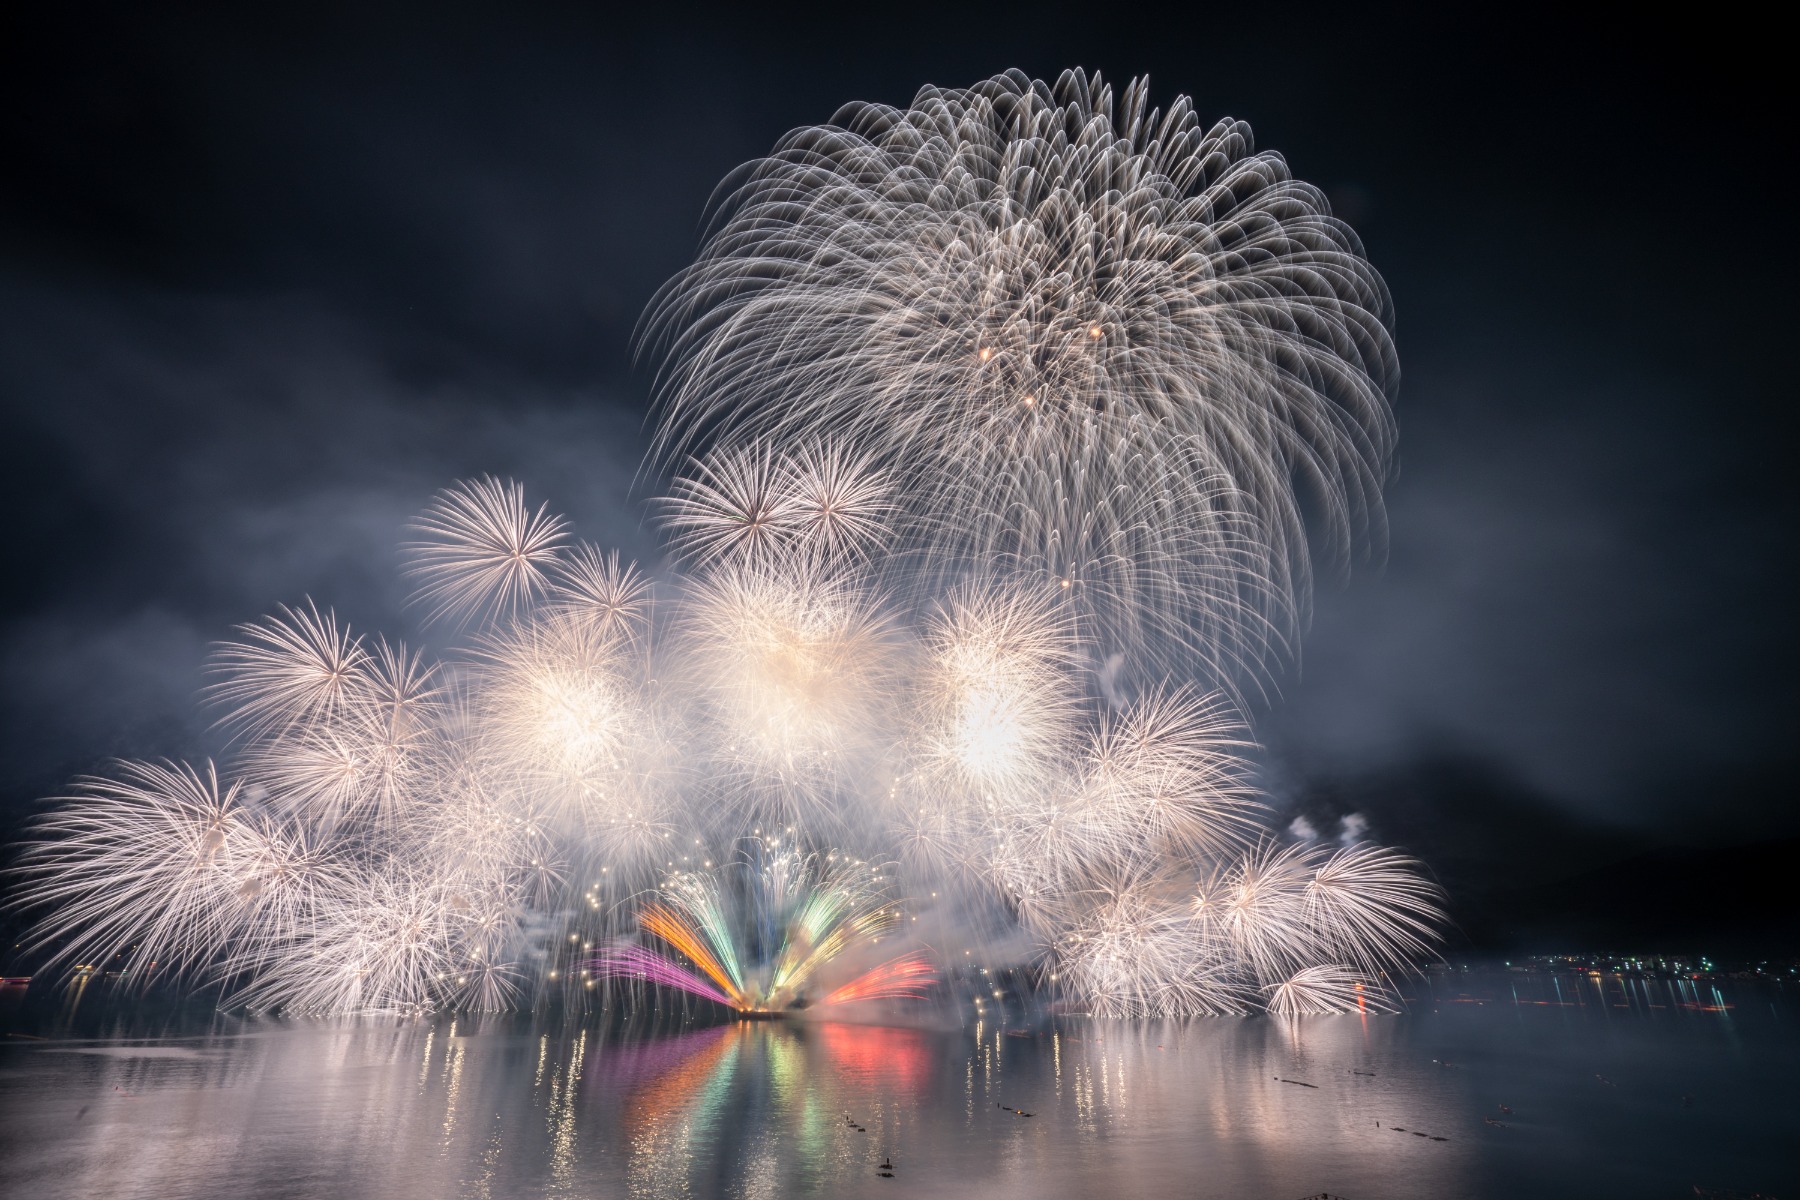
TAMRON 17-28mm F2.8 (Model A046) Focal length: 17mm Exposure: F22 Shutter Speed: 67sec ISO: 100
Everything above applies wherever you are shooting. These three approaches give you different pictures from the same display, and it is worth deciding which one you want before you set up rather than working it out once the sky is already busy.
Use the wide lens and include the ground. Tree silhouettes, the Johannesburg skyline, the backs of the crowd — all of it adds scale and context that a sky-only frame cannot carry.
Exposure balance is the challenge here. Streetlights and harbour lighting are continuous while the fireworks are momentary, so meter for the burst and accept that the ground lights will sit slightly bright. A strong foreground shape held as a silhouette gives the frame real depth.
Switch to the telephoto and fill the frame with one shell. At this scale you can see the individual bundles of light, the way colour shifts as the composition burns through, and the radial geometry spreading out from the centre. Large shells reward this most, because the gradients that appear across the bloom and fade are barely visible to the eye and render beautifully at long focal length.
Find a position where a road or bridge runs through the lower part of your frame and you can combine the bursts overhead with vehicle light trails below. The same long exposure records both, and the lines of traffic give you a vanishing point that pulls the eye up towards the display.
This one takes planning. You need a vantage point with a clear view of both the road and the sky, and traffic moving steadily rather than sitting still. An elevated position above a Pretoria arterial or a coastal road along the uMhlanga seafront can work well. Scout it in daylight, well before the display starts.
Lens choice determines what kind of fireworks photograph you are able to take at all. These are the characteristics worth weighing before the night.
Wide for the whole scene, telephoto for the structure of a single shell. Which matters more depends entirely on the picture you have in mind, and at a public display you rarely get to move once you have claimed a position.
If you want both options from one spot without changing lenses in the dark, a high-ratio zoom is the sensible answer. It also removes the risk of getting dust on the sensor at exactly the wrong moment.
A fast lens at F2.8 or F4 gathers more light, which matters less for the fireworks themselves — you will be stopped down to F8 or beyond — and considerably more for everything around them. The same lens handles the crowd before the display, the harbour at dusk and the walk back afterwards. It is the versatility that justifies it here rather than the fireworks.
Displays involve long waits, walking to a position and then holding it in a crowd, often with very little space around you. A lighter, more compact lens is easier to carry, easier to work with at close quarters, and steadier in the hand if you end up shooting something without the tripod.
Test how the autofocus behaves in low light before the night itself, and check the feel of the focus ring, because you will be in manual focus for most of the display. A ring with useful resistance and a long enough throw is what lets you set focus precisely in the dark and trust that it has not drifted since.
Stabilisation does nothing for tripod work, but it does a great deal for everything else on the evening. Handheld frames of the crowd, the venue at dusk from Cape Town's waterfront, or the skyline afterwards all benefit, and shake is most obvious at telephoto lengths. You will use it across the night even when the display itself is shot locked down.
Fireworks photography rewards preparation far more than reflexes. Set the camera to manual, fix focus before the light goes, choose the lens according to the picture you actually want, and put the tripod somewhere stable with something worth including in the foreground. Do that and the display itself becomes the easy part. Start from the settings here, adjust from what you see on the back of the camera, and keep the frames that surprise you.