| September 18, 2026
 South Africa's #1 Mobile Protection Brand
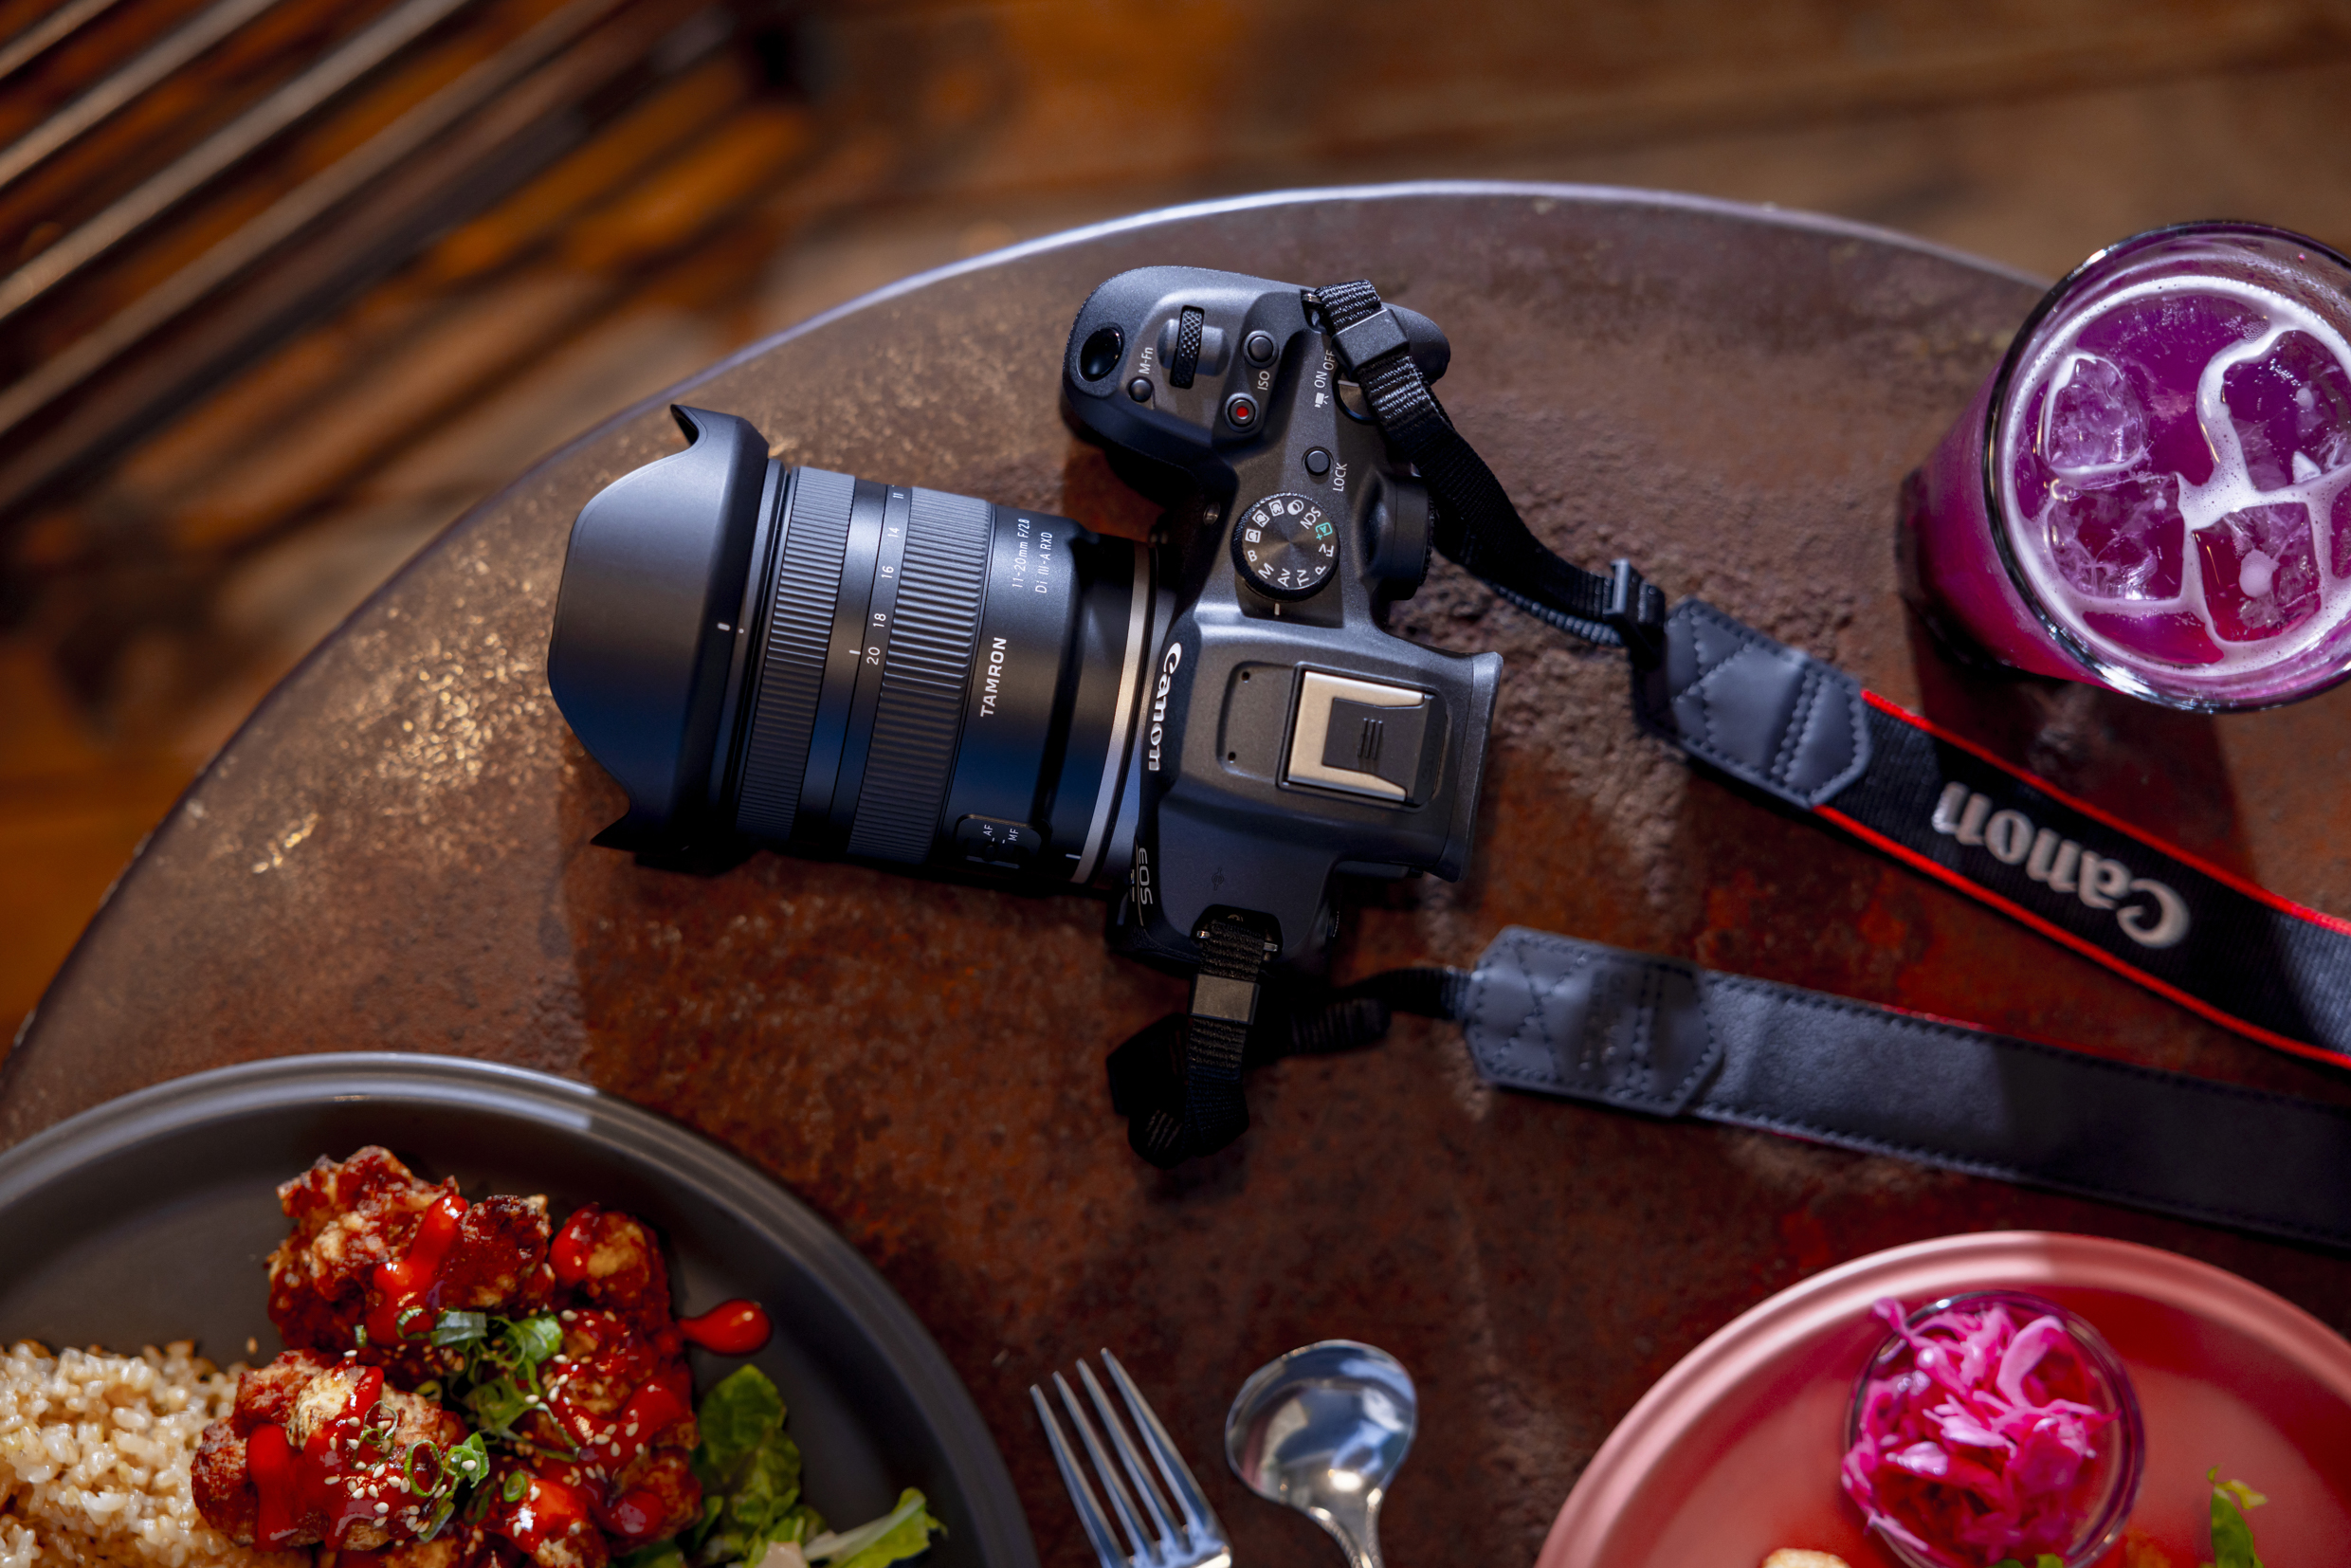
When Canon's mirrorless system launched, the difficulty was finding the lens you wanted. That problem has reversed. The RF catalogue is now broad enough that the real challenge is narrowing it down — working out which specifications actually matter for the pictures you intend to make, and which are simply numbers on a box. This guide covers both halves of that decision: what the mount is and how it relates to Canon's older standards, then the ten things worth checking before you commit to a lens.
The mount is the mechanical and electronic joint where a lens meets a camera body. Each manufacturer sets its own standard, and those standards are not interchangeable — the diameter, the locking mechanism, the distance to the sensor and the electrical contacts all have to correspond. Canon currently has three in circulation, and knowing how they relate saves a good deal of confusion when you start shopping.
RF mount is Canon's standard for its mirrorless interchangeable-lens cameras, and the design decisions behind it explain a great deal about why RF mount lenses perform the way they do.
The defining characteristic is a short flange back — the distance from the mount surface to the image sensor. Removing the reflex mirror from the light path allowed Canon to bring the rear of the lens much closer to the sensor, and that proximity, combined with a wide mount diameter, gives lens designers considerably more freedom. Optical elements can be placed where the optics want them rather than where a mirror box permits. The practical result is faster maximum apertures, better correction at the edges of the frame, and designs that would simply not have been buildable on the older standard.
The mount also communicates faster. More data moves between body and lens, and moves more quickly, which allows finer control over focus and aperture and more accurate correction applied in-camera.
One distinction matters before you buy. There are two families of lens for this mount: RF lenses, built to cover a full-frame sensor, and RF-S lenses, built for the smaller APS-C sensor. The difference determines what will and will not work on your body, which is the first of the selection criteria below.
EF mount is Canon's full-frame standard for its earlier camera system, introduced in 1987 and in continuous development for more than three decades. That longevity is its principal advantage: the catalogue of EF lenses is enormous, spans every focal length and price bracket imaginable, and a very large secondhand market has built up around it.
Set the two side by side and the trade-off is clear enough. EF offers breadth, maturity and value, particularly used. RF offers the optical advantages that a short flange back and a wide throat make possible, along with faster communication and the newer autofocus systems that depend on it. Neither makes the other obsolete, and as the next section explains, you are not strictly required to choose.
EF-S mount is the APS-C counterpart to EF. The relationship between the two runs one way only: an EF lens will mount and function on an EF-S body, but an EF-S lens will not mount on an EF body, because the smaller image circle and the rear element's protrusion make it physically incompatible.
RF and EF are not directly compatible. The flange distances differ and the lens will not attach.
They are, however, adaptable. A mount adapter sits between an EF lens and an RF body, restoring the correct distance to the sensor and passing the electronic signals through. Canon produces several versions, including ones with a control ring or a drop-in filter slot. For anyone moving across from the older system, or anyone who wants access to that large secondhand catalogue, this is a genuinely useful route.
Adaptation is not entirely free of consequence, though, and it is worth checking specifics rather than assuming. Autofocus behaviour can differ from what the same lens delivered natively, particularly with older designs. The adapter adds length and weight. Certain functions may be reduced or unavailable depending on the combination. Look up your particular lens and body pairing before you buy, rather than after.
It is worth noting what cannot be done, since the question comes up regularly. There is no adapter that allows an RF lens to be used on an EF-M body, and there cannot be one. EF-M places the sensor 18mm from the mount surface while RF requires 20mm, so an RF lens fitted to an EF-M body would need to sit two millimetres *closer* to the sensor than the mount allows — and an adapter can only ever add distance, never remove it. Canon has in any case discontinued the EF-M line.
With the mount background settled, here is what actually separates one lens from another when you are deciding.
RF mount bodies come with either a full-frame or an APS-C sensor, and the straightforward answer is to buy the lens family that matches: RF lenses for full-frame bodies, RF-S lenses for APS-C.
The more interesting case is mounting a full-frame RF lens on an APS-C body, which works without issue. The smaller sensor captures only the central portion of the image circle the lens projects, so the field of view narrows. Multiply the focal length by approximately 1.6 to find the full-frame equivalent — a 100mm lens frames like a 160mm lens would on full frame.
Turned to your advantage, this is genuinely useful rather than merely a limitation. An APS-C body effectively extends the reach of every telephoto you own, which is exactly what you want when the subject is a bird across a wetland or play on the far side of a sports field. It costs you nothing optically; you are simply using the sharpest part of the lens.
The reverse does not hold. An RF-S lens on a full-frame body will either crop automatically or vignette heavily, because the image circle is too small to fill the sensor. Our guide to APS-C sensors goes into the equivalence maths in more detail if you want it.
Lenses divide into two broad types, and the choice shapes how you work more than any other single specification.
A zoom covers a range of focal lengths in one barrel. You can move between a wide establishing frame and a tight detail without changing anything, which matters when you are travelling light, when the situation is changing quickly, or when swapping lenses would mean missing the moment.
A prime is fixed. In exchange for that inflexibility you generally get a faster maximum aperture, a simpler optical formula and, often, better rendering for the money. The catch is that adjusting your framing means adjusting your position, which takes some getting used to.
The conventional advice is sound: start with a zoom. Shooting one for a few months teaches you which focal lengths you actually reach for, and that knowledge tells you precisely which prime to buy next. Adding a fast prime at a length you already know you like tends to be a far better purchase than buying one on principle.
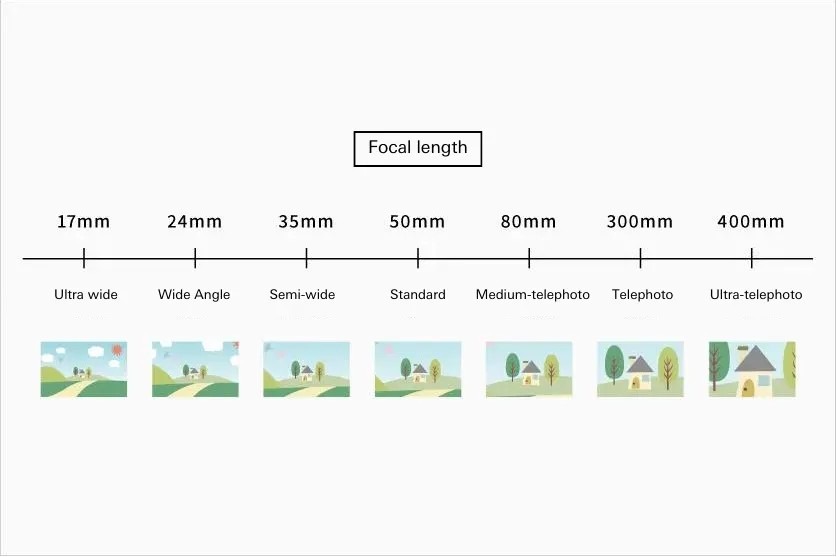
Focal length determines angle of view — how much of the scene in front of you lands on the sensor — and it is the specification that changes your photographs most.
The conventional bands, on a full-frame sensor, are roughly:
• Ultra wide-angle: under 24mm
• Wide-angle: 24mm to 35mm
• Standard: around 50mm
• Telephoto: 80mm to 300mm
• Ultra-telephoto: 300mm and beyond
On an APS-C body, divide by roughly 1.6 to find the lens that gives equivalent framing — a 35mm lens on APS-C frames much like 56mm does on full frame. Each band is described below.
Ultra wide-angle RF lenses
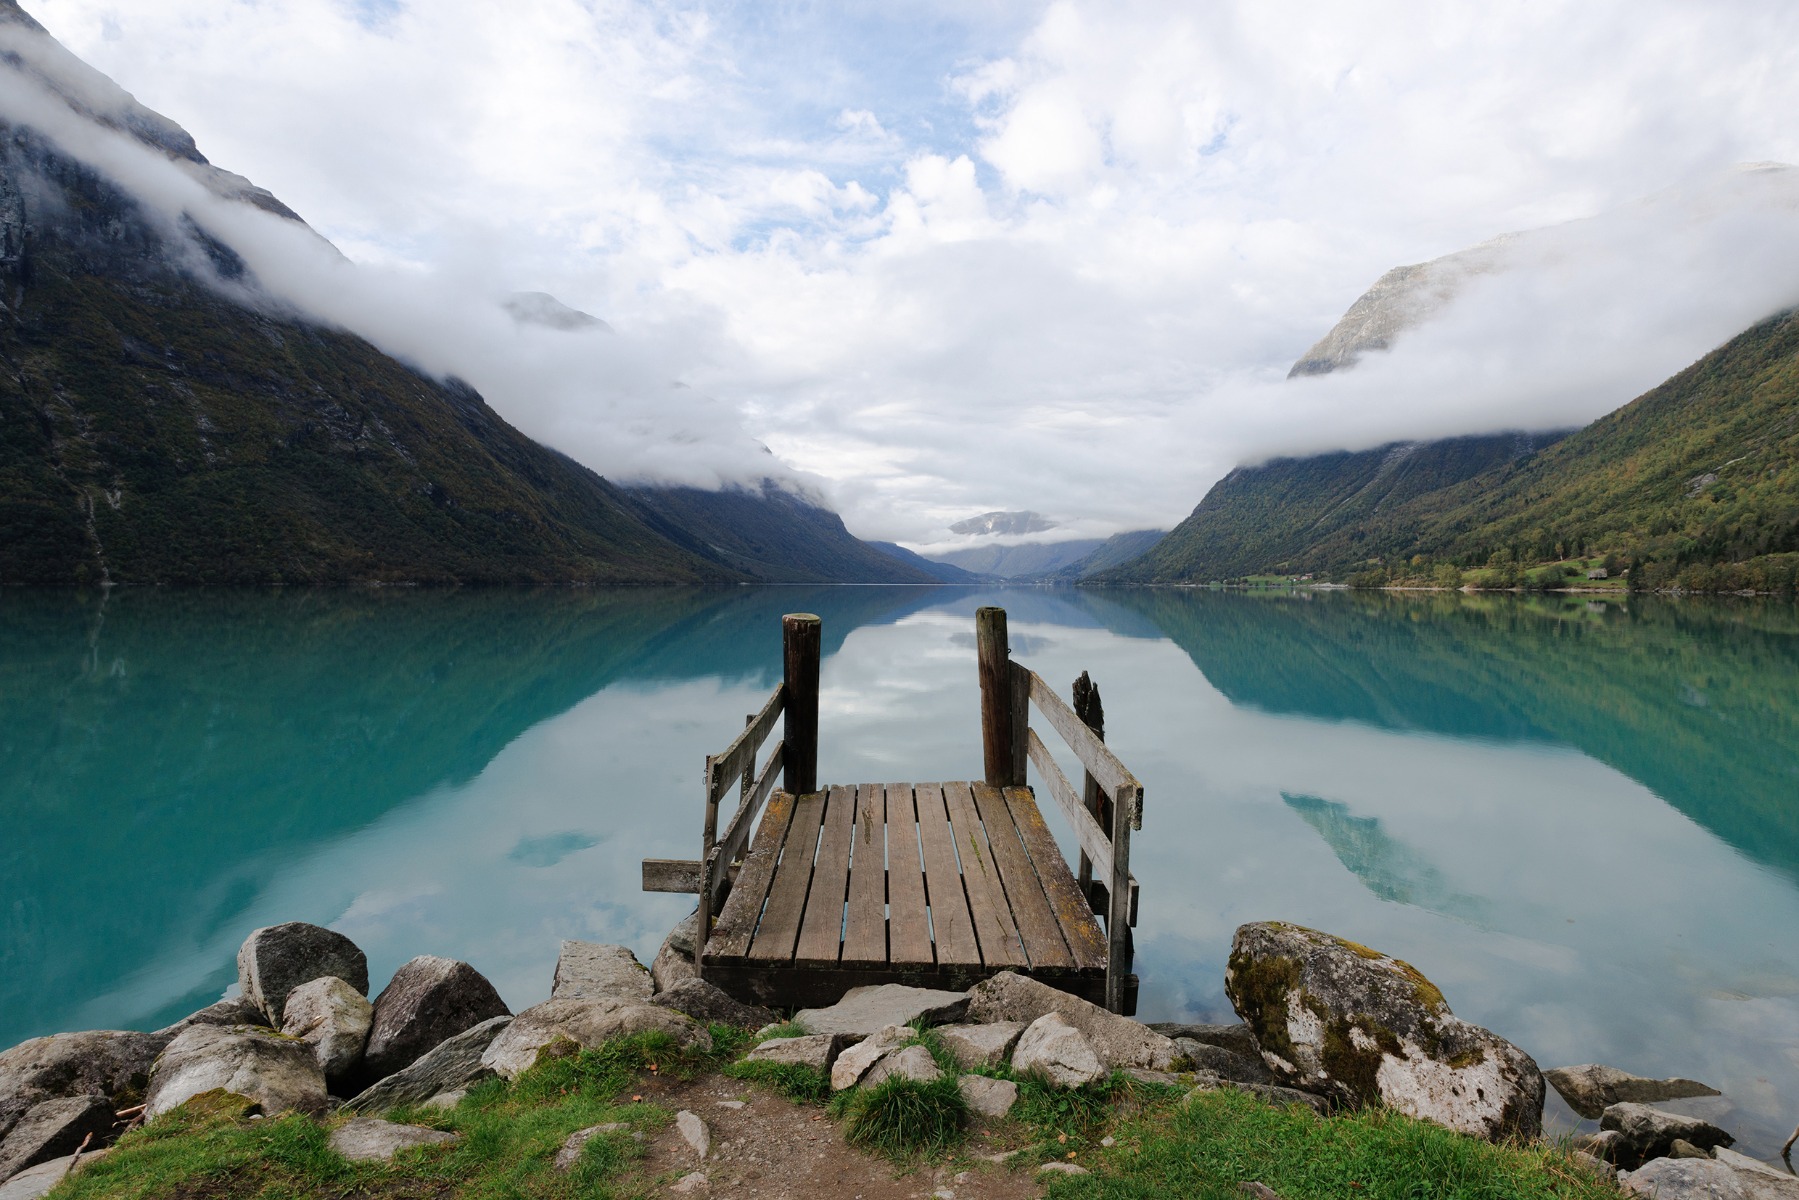
TAMRON 11-20mm F2.8 (Model B060) Focal length: 11mm Exposure: F8 Shutter Speed: 1/200sec ISO: 100
Below about 24mm, the angle of view becomes extremely wide and perspective is strongly exaggerated. Near objects loom, distant ones recede sharply, and the sense of space opens right up.
This is the band for scale. The Drakensberg escarpment, open Karoo horizons and the Cape Peninsula coastline all reward a lens that can hold the whole thing in one frame, and RF wide-angle lenses of this type let you place something in the immediate foreground while keeping the entire background legible behind it — which is what produces depth rather than merely width.
It is equally useful where you have no room to retreat. Confined interiors and the narrow older streets of the Cape Town city bowl both prevent you from stepping back, and an ultra wide-angle solves that problem directly.
Between roughly 24mm and 35mm, the effect is less dramatic but more broadly usable. Perspective is still stretched, though not to the point of distortion, and you retain a wide field of view without the framing becoming unwieldy.
Landscapes, cityscapes and architecture all sit naturally here. The towers of the Cape Town Foreshore and the hard geometry of inner-city Johannesburg both photograph well in this range, where a slight change of angle can exaggerate a building's height or pull a street's perspective toward you. Like the ultra wide band, it copes with confined spaces.
Around 50mm, the angle of view approximates the effective field of human attention. Perspective is rendered naturally — nothing stretched, nothing compressed — which is why standard lenses feel undramatic in the best sense.
That neutrality makes them versatile. Portraits, street work, everyday photographs, landscapes and food photography are all comfortably within reach of a single standard lens, and for many photographers it becomes the lens that simply lives on the camera. Our articles on portrait photography, snap photography and food photography each go further into what this range does well.
From about 80mm to 300mm, distant subjects are rendered large and the angle of view narrows considerably.
Distance is what makes the case. A cricket boundary sits roughly 65 to 70 metres from the wicket, and play on the far touchline of a rugby field is 60 metres or more from where you are standing — at 50mm, a player at that range occupies a few dozen pixels. This is the band that makes sport photographable at all, and the same reach applies to any subject you cannot approach.
RF telephoto lenses also compress space. Because you are standing further back, the apparent distance between foreground and background shrinks, stacking the elements of a scene and making a distant backdrop loom larger behind your subject. Portrait photographers use this deliberately, both for the flattering rendering of facial features and for the smooth, unstructured backgrounds that a long lens at a wide aperture produces.
Beyond 300mm, the reach extends to subjects that are genuinely far away, and the angle of view narrows to the point where finding your subject through the viewfinder takes practice.
Birding is the clearest application. Most birds will not tolerate close approach, and 400mm or 500mm is often the difference between a record shot and a photograph. The opportunities are spread right across the country — coastal and wetland species in the Western Cape, grassland and dam-edge birds across the Highveld, and the forest species of the KwaZulu-Natal coastal belt. The same reach serves distant sport, and the moon, which is far easier to photograph well than most people expect.
Two practical consequences. The subject is rendered large and cleanly separated from its surroundings, which is the appeal. But magnification applies to camera movement as much as to the subject, so a shake that would be invisible at 50mm becomes obvious at 500mm — a tripod, a monopod, or effective stabilisation is not optional at these lengths.
Weight and size
Compact lenses get carried; heavy ones stay at home
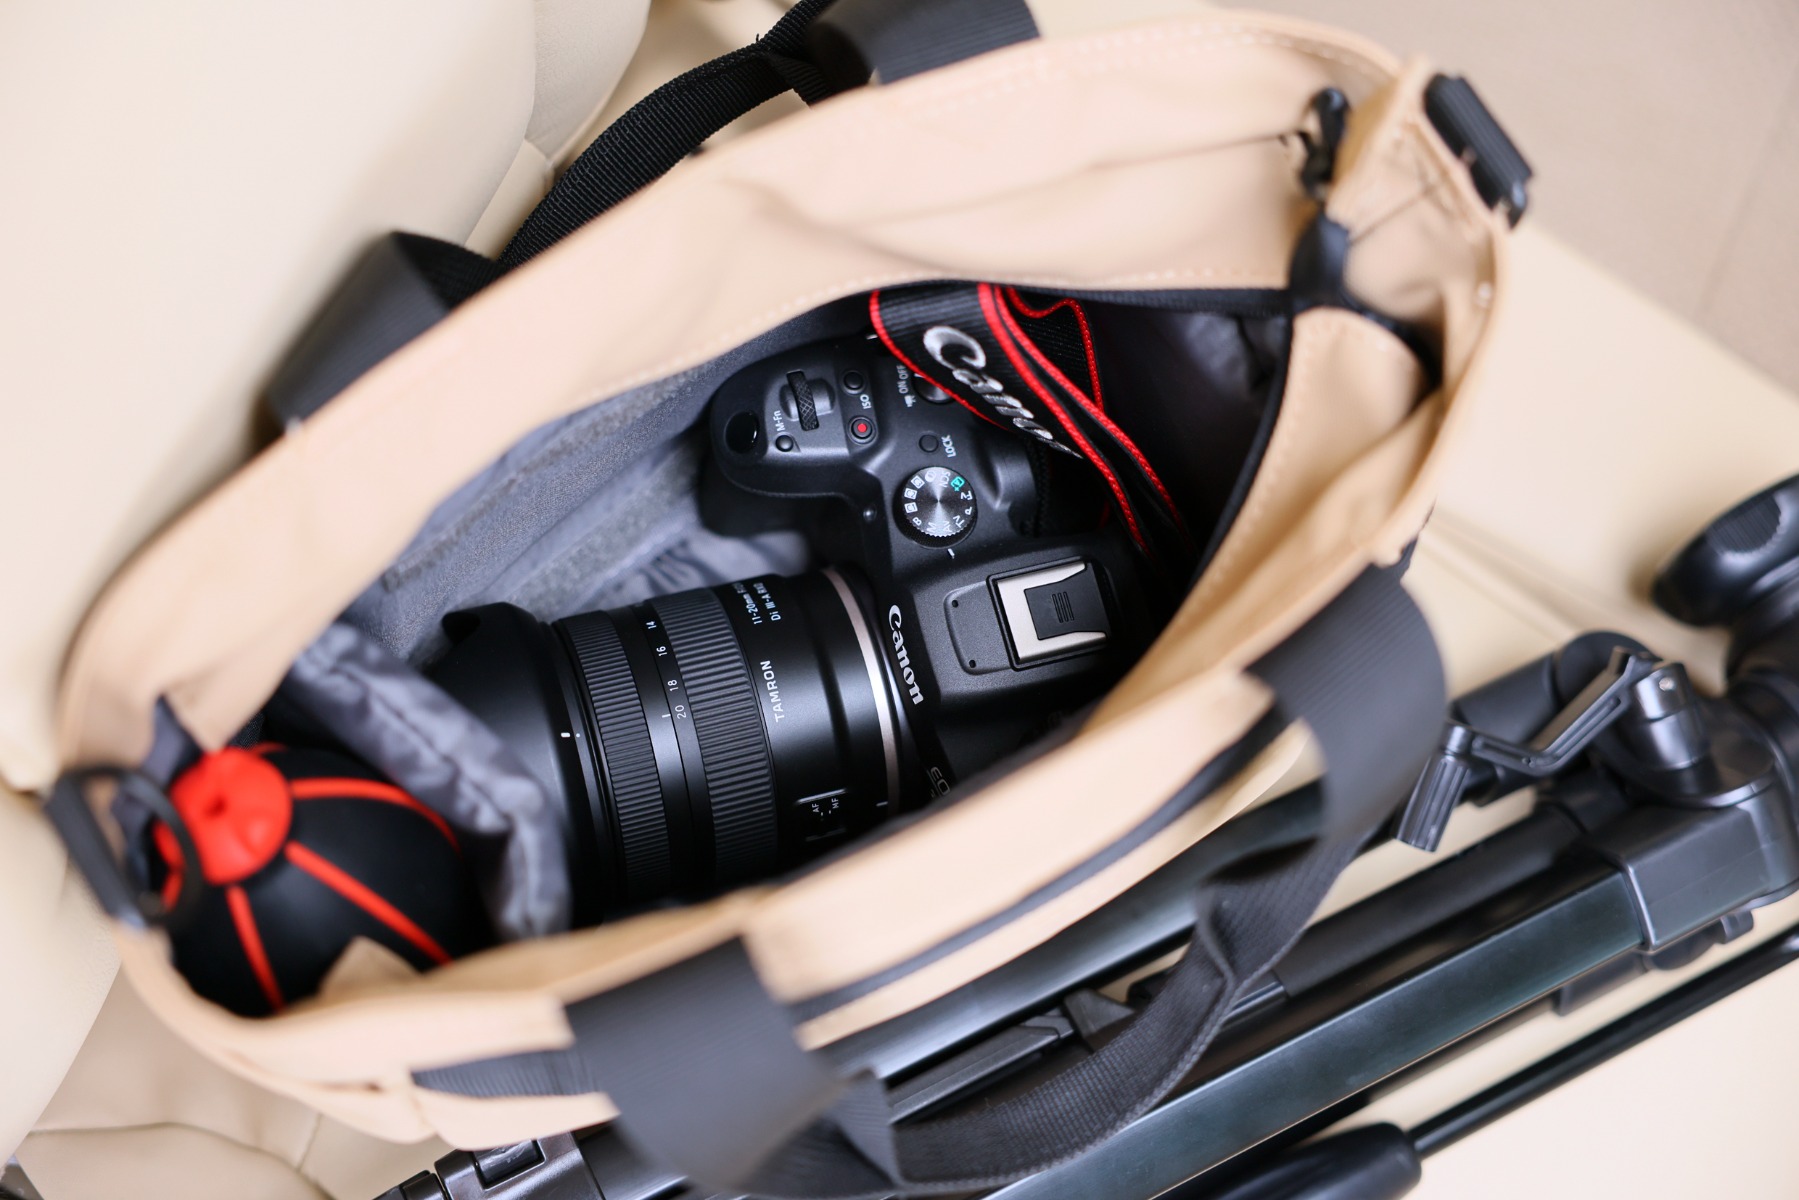
How a lens feels in the hand and what it weighs around your neck affect your photography more than the specification sheet suggests, because they determine whether the lens comes with you at all.
A compact, lightweight lens gets packed for a weekend away, fits into hand luggage without argument and does not make you think twice about a walk. A heavy one gets left behind, and a lens at home takes no photographs. For street and travel work in particular — where you may be carrying the camera for hours and need to raise it quickly — the lighter option often produces better results than the technically superior one, simply because it is there and ready.
The maximum aperture is the widest the lens will open, expressed as an f-number. The lower the number, the more light reaches the sensor, which is why lenses with low maximum f-numbers are described as "fast" or "bright".
Two things follow. The first is low-light capability: a lens that opens to F2.8 gathers considerably more light than one limited to F5.6, which keeps shutter speeds usable indoors, after sunset and in any dim interior. The second is depth of field. Wide apertures such as F1.4 or F2.8 render only a narrow slice of the scene sharp, throwing everything else into soft, unstructured tone — the effect that separates a subject cleanly from a cluttered background.
Fast lenses cost more and weigh more, so the question is whether you will use the aperture. If you mostly shoot outdoors in daylight at moderate apertures, a slower lens may be the better buy.
A lens has to be operable without conscious thought, because the moments when you are fumbling for a switch are the moments you miss.
Test the focus ring. It should turn smoothly with enough resistance to hold a setting but not so much that fine adjustment becomes a struggle. Note whether it is linear — the same rotation always producing the same focus shift, which matters for video and for repeatable manual focusing — or speed-sensitive, where turning faster moves focus further.
Check the switches too. The AF/MF switch should fall under your thumb or forefinger with the camera raised to your eye, not require you to lower it and look. On longer lenses, a focus limiter that restricts the focusing range to near or far distances speeds up autofocus considerably and is worth having. Handle the lens before buying if you possibly can; none of this reads off a specification sheet.
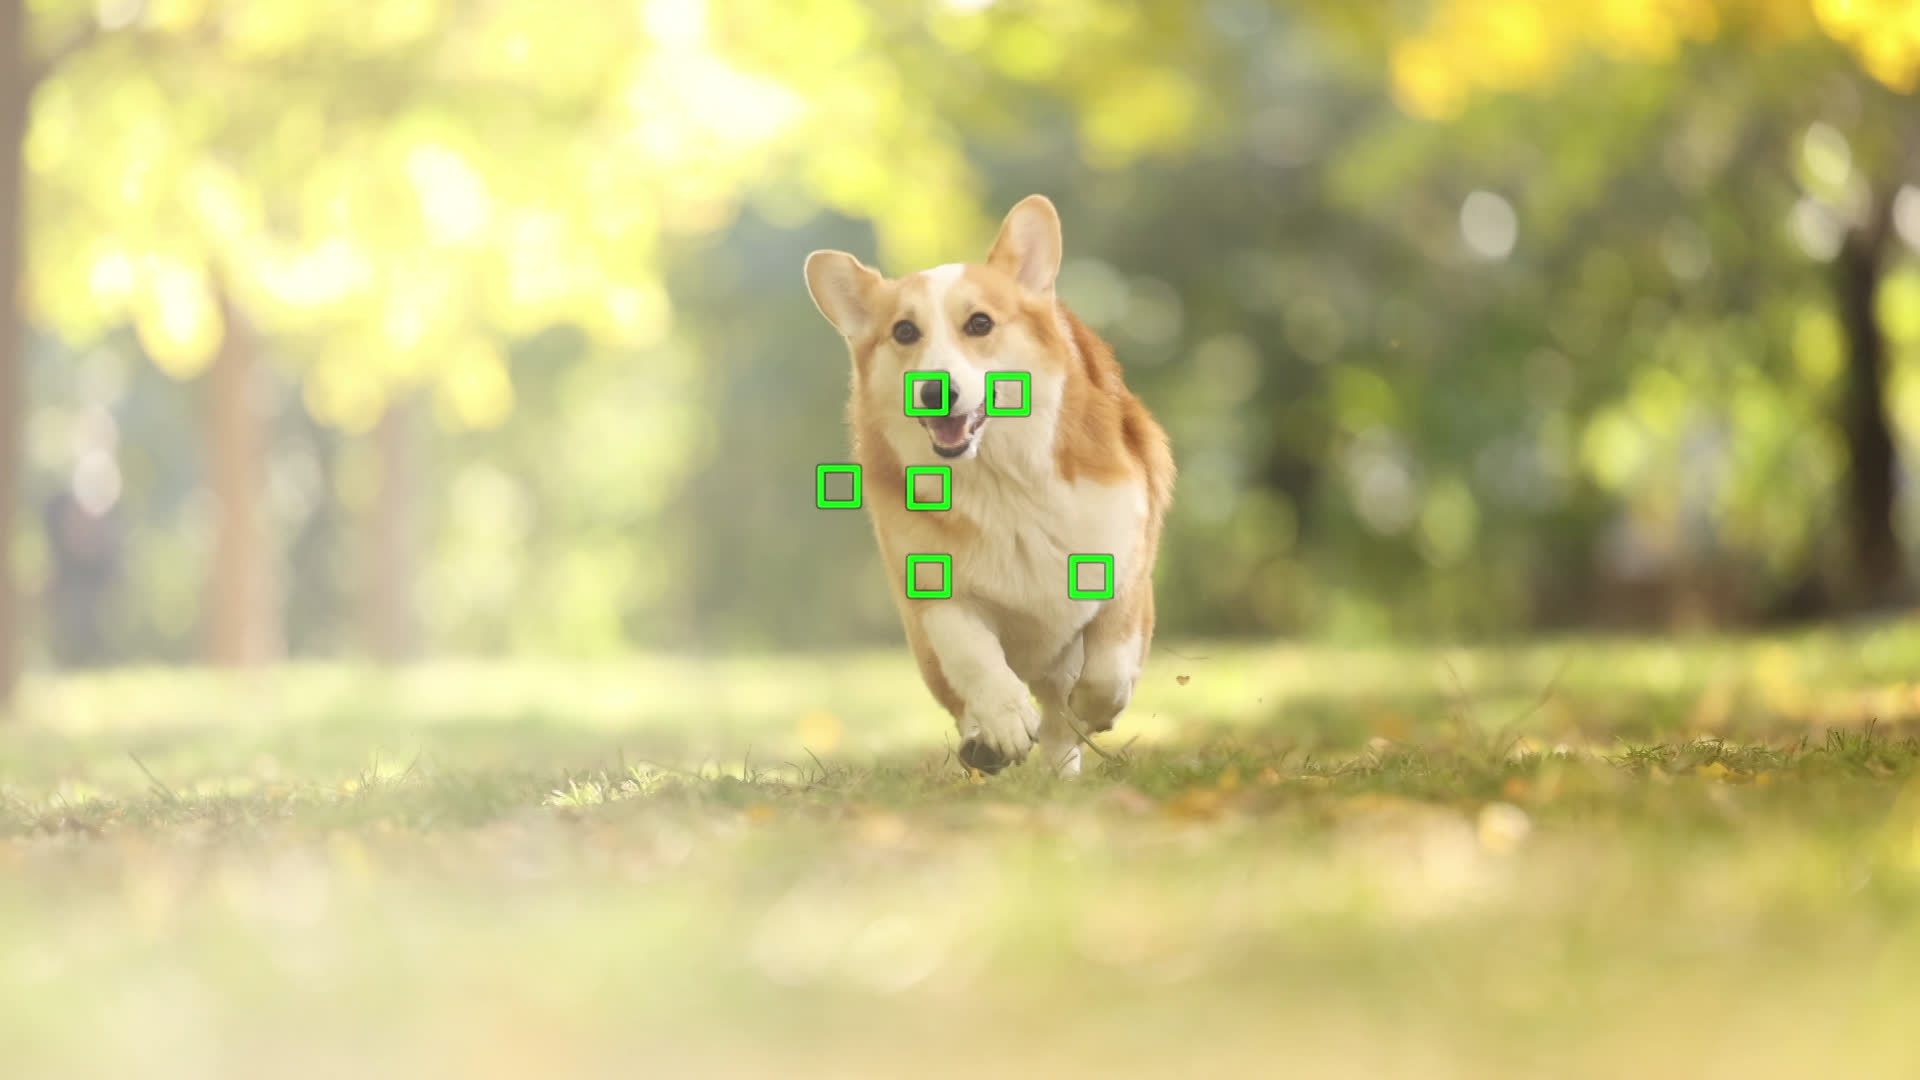
Accuracy is the baseline. Beyond it, consider how quickly focus is acquired and how reliably it holds a subject that is moving.
Tracking matters most for subjects that will not cooperate: children, dogs and cats, birds and sport all move unpredictably, and a lens whose focus motor cannot keep pace will produce a high proportion of near-misses regardless of how good the camera's tracking algorithm is. Our articles on children's photography, photographing dogs and cats, sports photography and bird photography each cover the technique side.
Noise is the other consideration. Focus motors can be audible, and a camera's internal microphone will pick them up. If you shoot video, or work anywhere quiet, look for a design specified as near-silent — the vlogging and interchangeable-lens video articles go into this in more detail.
Stabilisation built into the lens counteracts hand movement, allowing sharp images at shutter speeds that would otherwise guarantee blur. Tamron's system is branded VC.
The benefit scales with focal length, because magnification applies to your movement as well as your subject — the longer the lens, the more a small shake is enlarged. It also matters wherever light is short and shutter speeds drop: interiors, late golden hour, and any situation where raising ISO further would cost more in noise than you want to pay. And it earns its place whenever a tripod is impractical, which covers a great deal of landscape and travel shooting.
Worth checking is whether the lens has stabilisation at all, how many stops of correction it claims, and whether it coordinates with in-body stabilisation on your camera, since the two working together generally outperform either alone.
Minimum object distance

The closest a lens will focus determines how much detail you can reach
Minimum object distance is the shortest distance between subject and sensor at which the lens will still achieve focus. The shorter it is, the closer you can work and the larger your subject will render in the frame.
This specification is easy to overlook and repays attention. A lens that focuses close enough lets you move between a wide view and a tight detail without changing lenses, approaching macro-like magnification without a dedicated macro lens. It also solves a practical problem in confined spaces — in a small room, the limiting factor is often not the focal length but how close the lens will let you stand.
Two figures tell the story: the minimum object distance itself, and the maximum magnification ratio, which expresses how large the subject is rendered on the sensor relative to life size. The second is usually the more informative of the two.
Optical rendering

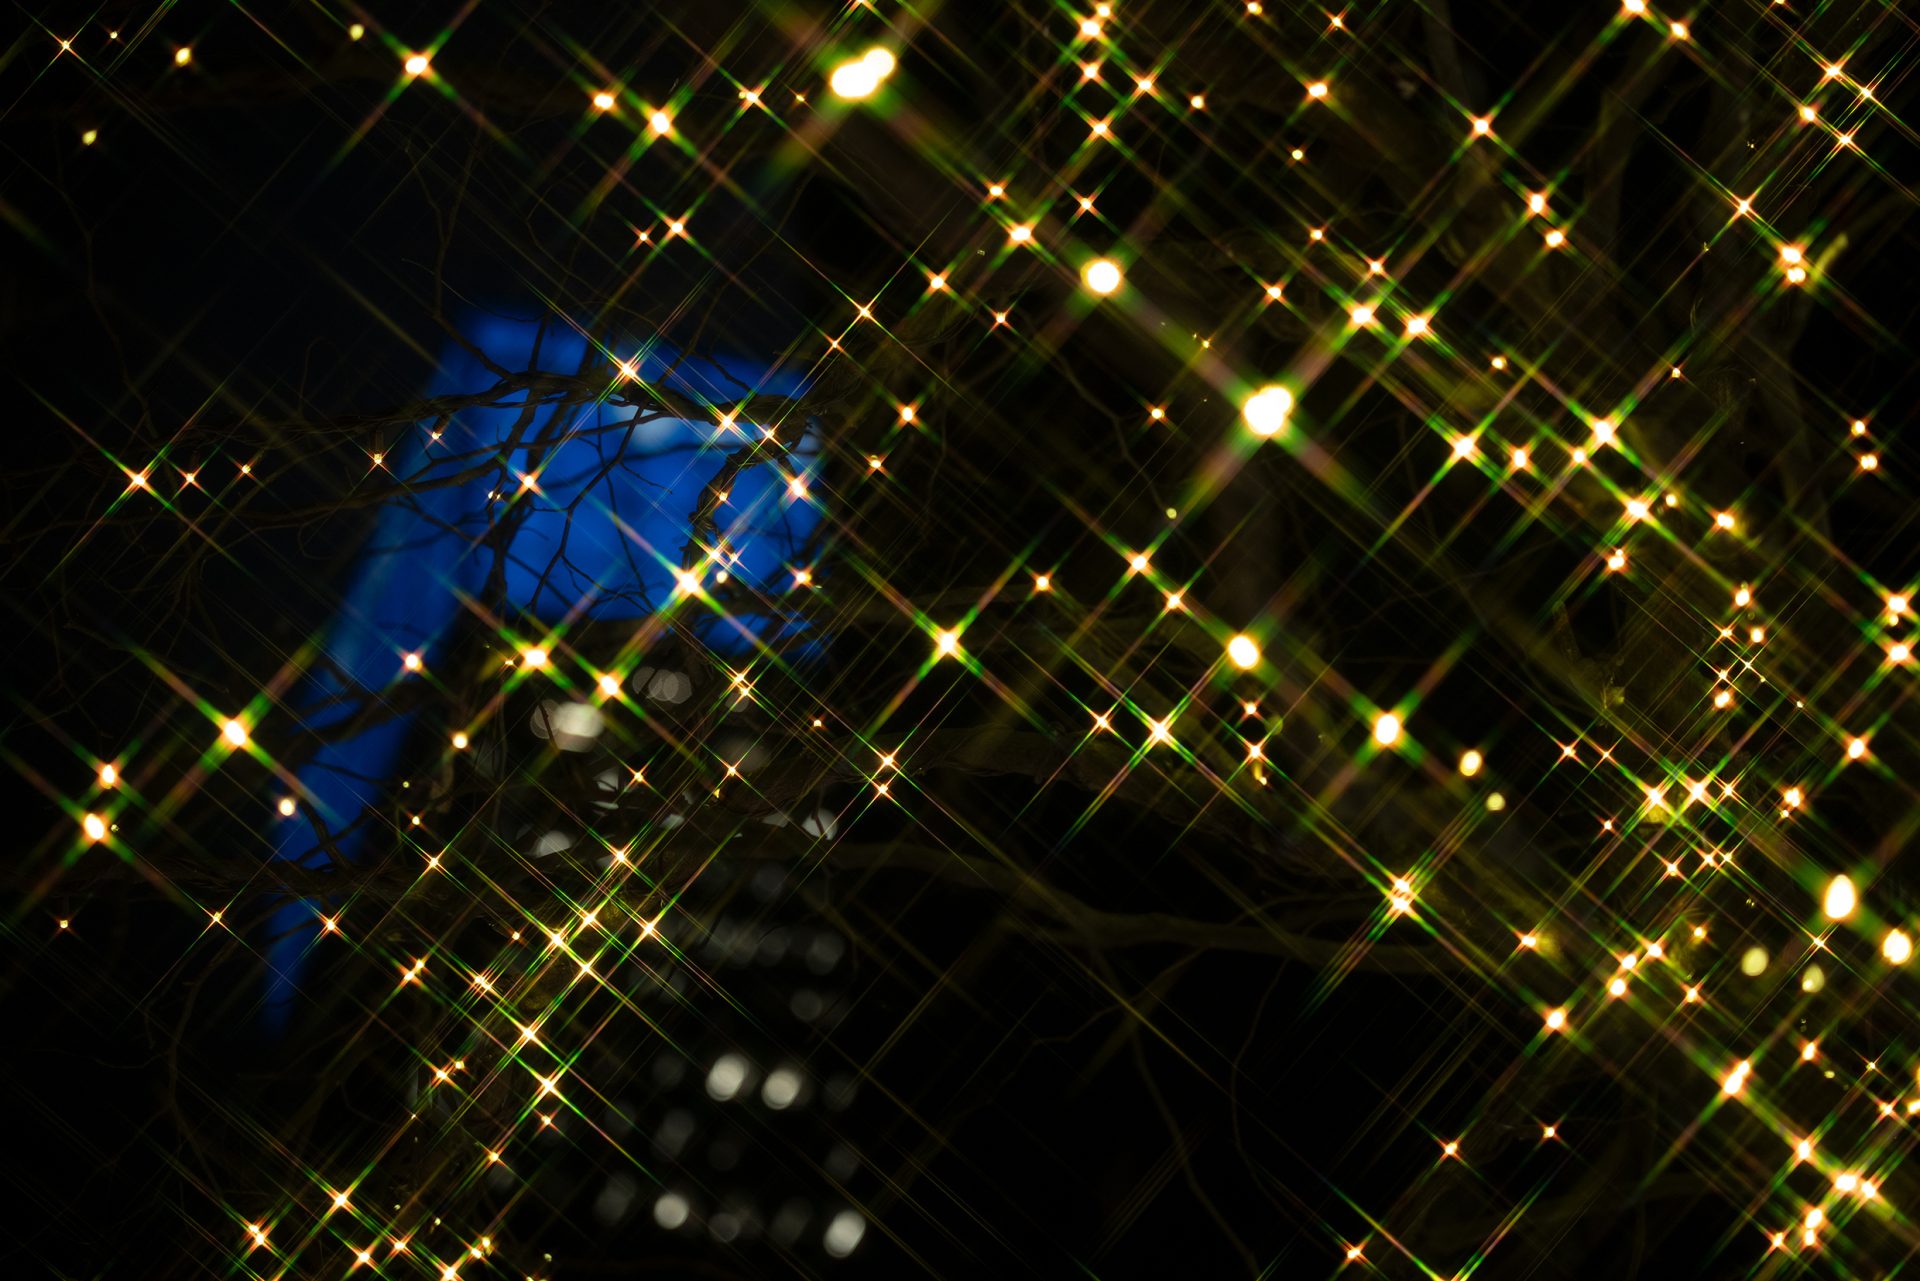
TAMRON 11-20mm F2.8 (Model B060) Focal length: 11mm Exposure: F2.8 Shutter Speed: 1/400sec ISO: 100
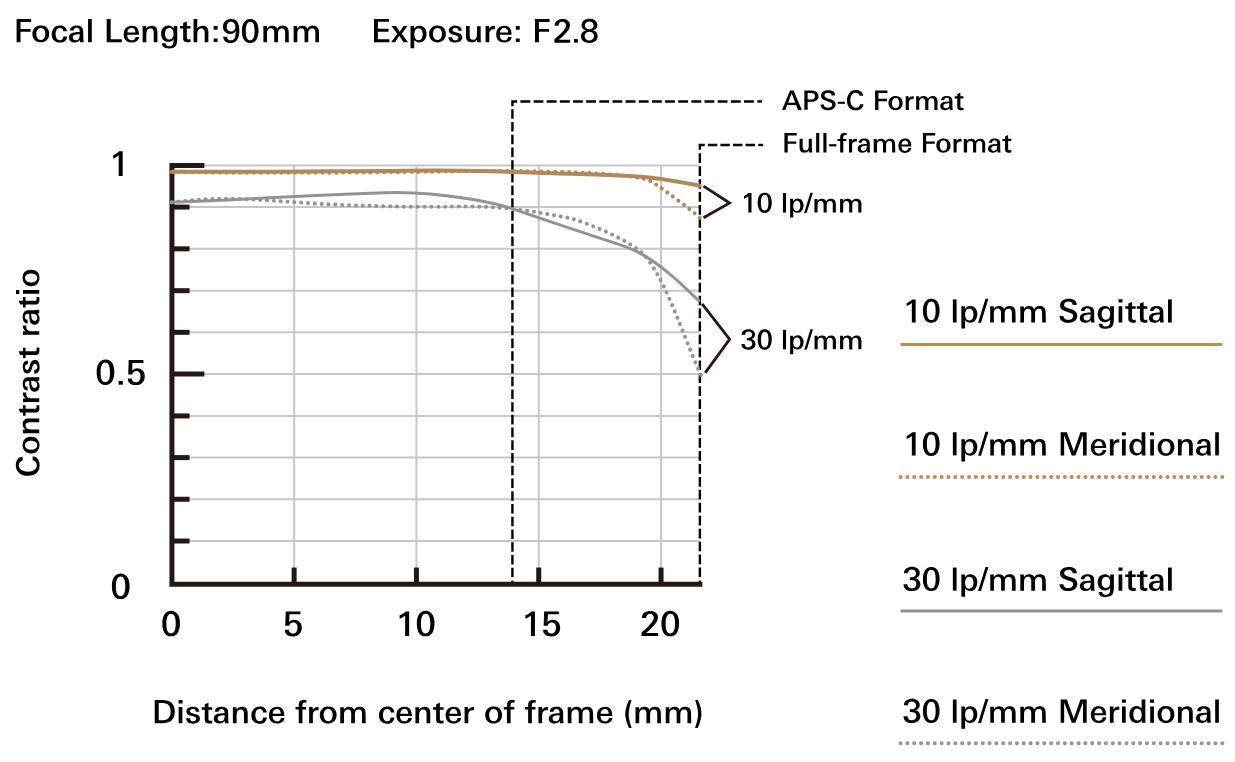
Two lenses of identical focal length and maximum aperture can produce visibly different images. How a lens renders — its particular combination of sharpness, contrast, colour and the character of its out-of-focus areas — varies by manufacturer and by individual design.
Sharpness is the most measurable of these and the least interesting. Contrast affects how images feel before any adjustment. Colour rendering differs subtly between designs and shows up most in skin tones and foliage. And bokeh — the quality rather than the quantity of the blur, whether it is smooth and creamy or busy and edged — is the characteristic photographers argue about most and measure least.
Much of this is a matter of preference rather than performance, and no specification captures it. Look at sample images made with the lens you are considering, ideally of subjects similar to your own, and judge whether what you see matches what you want.
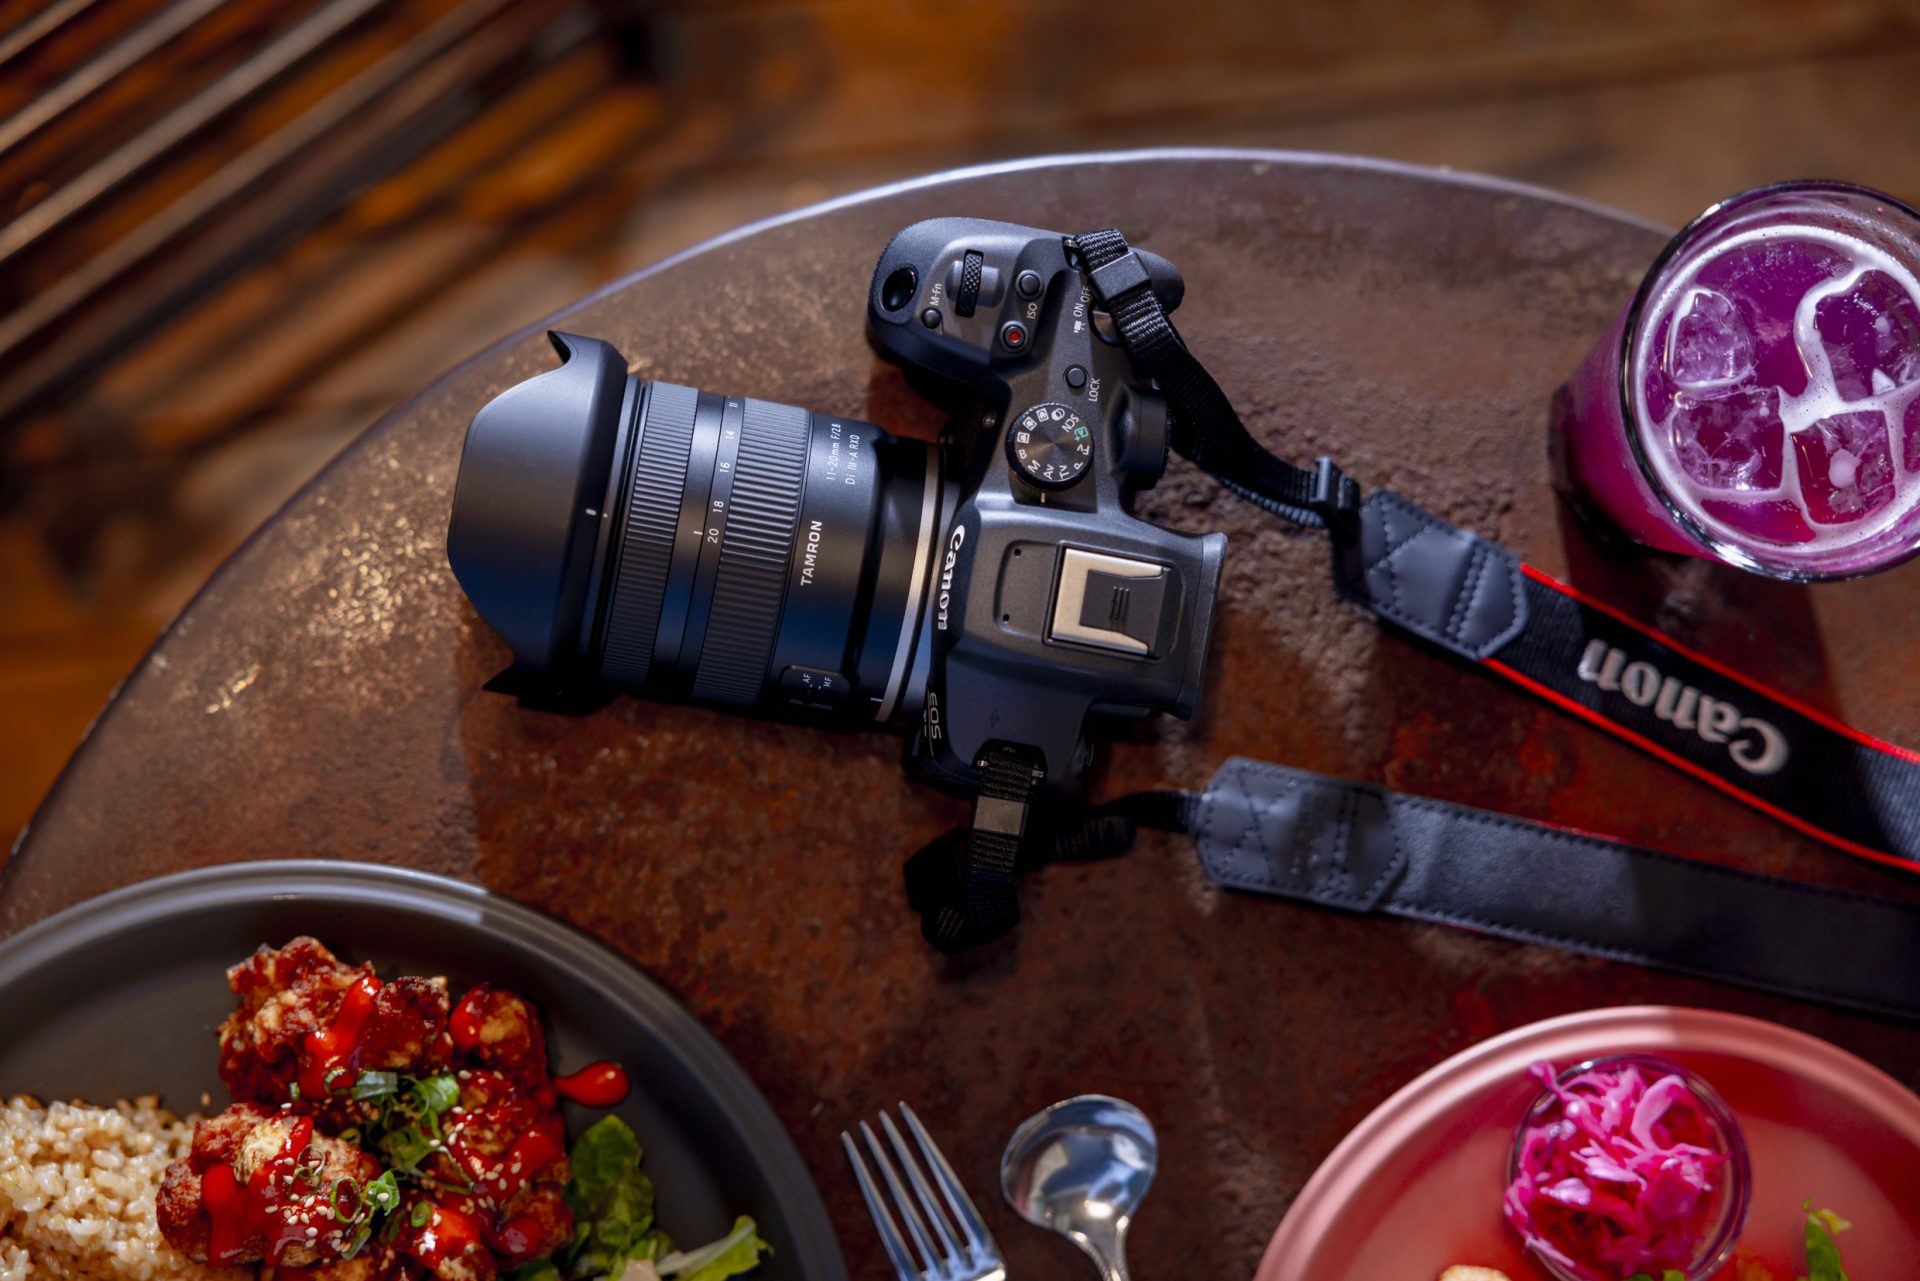
Tamron's 11-20mm F/2.8 Di III-A RXD (Model B060) is built for RF mount cameras with APS-C sensors, and it is an ultra wide-angle zoom of an unusual specification: F2.8 maintained across the entire zoom range, in a body that stays compact and light.
The close-focusing capability is the standout. A minimum object distance of 0.15m at the wide-angle end, with a maximum magnification of 1:4, means you can work within a few centimetres of your subject while still holding a wide field of view behind it — producing a wide-angle close-up in which the subject dominates the frame and the surrounding scene remains entirely readable. It is an effect that very few lenses can produce at all.
One point of clarity, since this article recommends checking for in-lens stabilisation. The B060 is an RXD design and does not include VC. In practice this matters far less here than it would on a telephoto: stabilisation in the camera body is standard across RF bodies and handles this duty, and at focal lengths between 11mm and 20mm, magnification of hand movement is minimal to begin with. Combined with the constant F2.8 aperture, the lens holds up well in low light regardless. It is a specification worth understanding rather than one worth worrying about.
Compact enough to carry without thinking about it and optically strong enough to justify the space, it suits landscape, architecture, interiors and close-up work equally.
Ten criteria is a lot to hold in mind at once, so reduce it to one question: which lens most easily produces the pictures you already want to make? Everything above is in service of that, and a specification that does not serve your photography is not an advantage no matter how impressive it looks.
Where you can, handle the lens before you commit. Feel the weight, turn the focus ring, find the switches with your eye to the viewfinder, and take a few frames if the shop will let you. Specifications describe a lens; they do not tell you whether you will enjoy using it.
Choosing is genuinely difficult, and that is largely because it is a choice about the photographs you intend to make rather than about the equipment. Picture the work first. The lens tends to follow.