| September 18, 2026
 South Africa's #1 Mobile Protection Brand
Most guides to photographing illumination were written for the northern hemisphere, where the festive season falls in the depths of winter and darkness arrives by four in the afternoon. South Africa inverts all of it. Our festive lights go up in November and burn through a high-summer December, which means waiting out a long warm evening before there is enough darkness to shoot in — sunset lands somewhere between seven and eight depending on where in the country you are, and you want another forty-five minutes on top of that before the lights read properly against the sky. The air is warm, the evenings are long, and the shooting window is narrower than you would expect. This guide covers where festive lights photograph well, the settings that get you there, and the creative techniques worth trying once the basics are working.
Illumination rewards matching your approach to the setting. Four situations cover most of what you will encounter, and each asks for something slightly different. Exposure figures for all of them are consolidated into the settings section below rather than repeated here.
The simplest approach is to let the lights occupy the entire frame and carry the picture on their own. Done carelessly this produces a wall of undifferentiated glare; done with attention it can be the strongest image of the night.
The discipline is subtraction. Keep whatever is behind the display as plain as you can manage, so the shapes and colours of the lights themselves are what the eye reads. Then move. Shoot from directly beneath a strung canopy, from off to one side so the strings converge, from far enough back that the whole structure resolves into pattern. Most people photograph a display from the spot where they first saw it, which is why most photographs of displays look identical.
Setting a display against a lit city produces the richest frames available in this subject, because you get two completely different light sources doing different jobs in one image.
The Cape Town city bowl and Foreshore give you illuminated towers behind and below, with the mountain as a dark mass holding one edge of the frame. Inner-city and northern Johannesburg offer hard geometry, dense signage and strong verticals. The Durban beachfront promenade sets strung lighting against open sky and sea, which is the cleanest of the three backgrounds and the most forgiving.
Work at region level and be aware that a great many of the larger South African displays sit on private or commercial property — a shopping precinct, a garden, a hotel forecourt. Photography for your own use is rarely an issue, but tripods and anything that looks like a production will often require permission, so ask at the entrance rather than after you have set up.
Lights among trees, along water or through a public garden give you something softer than an urban frame, and the natural elements break up the display in ways that add depth.
The pairing worth planning around is the sky itself. For roughly twenty minutes after sunset, the sky holds a deep saturated blue that photographs far better than full black, and warm lights against that blue is the most reliable image this subject offers. It is a short window and it closes quickly at these latitudes, so be set up and framed before it starts rather than arriving into it.
Two starting points, depending on how you are working. On a tripod, begin around one second and adjust from there — long enough to hold detail in the darker parts of the scene. Handheld, you need to stay near 1/100 sec to avoid shake, which means opening the aperture and accepting a higher ISO. These are genuinely different approaches rather than interchangeable settings, and which one you use decides everything else about the frame.
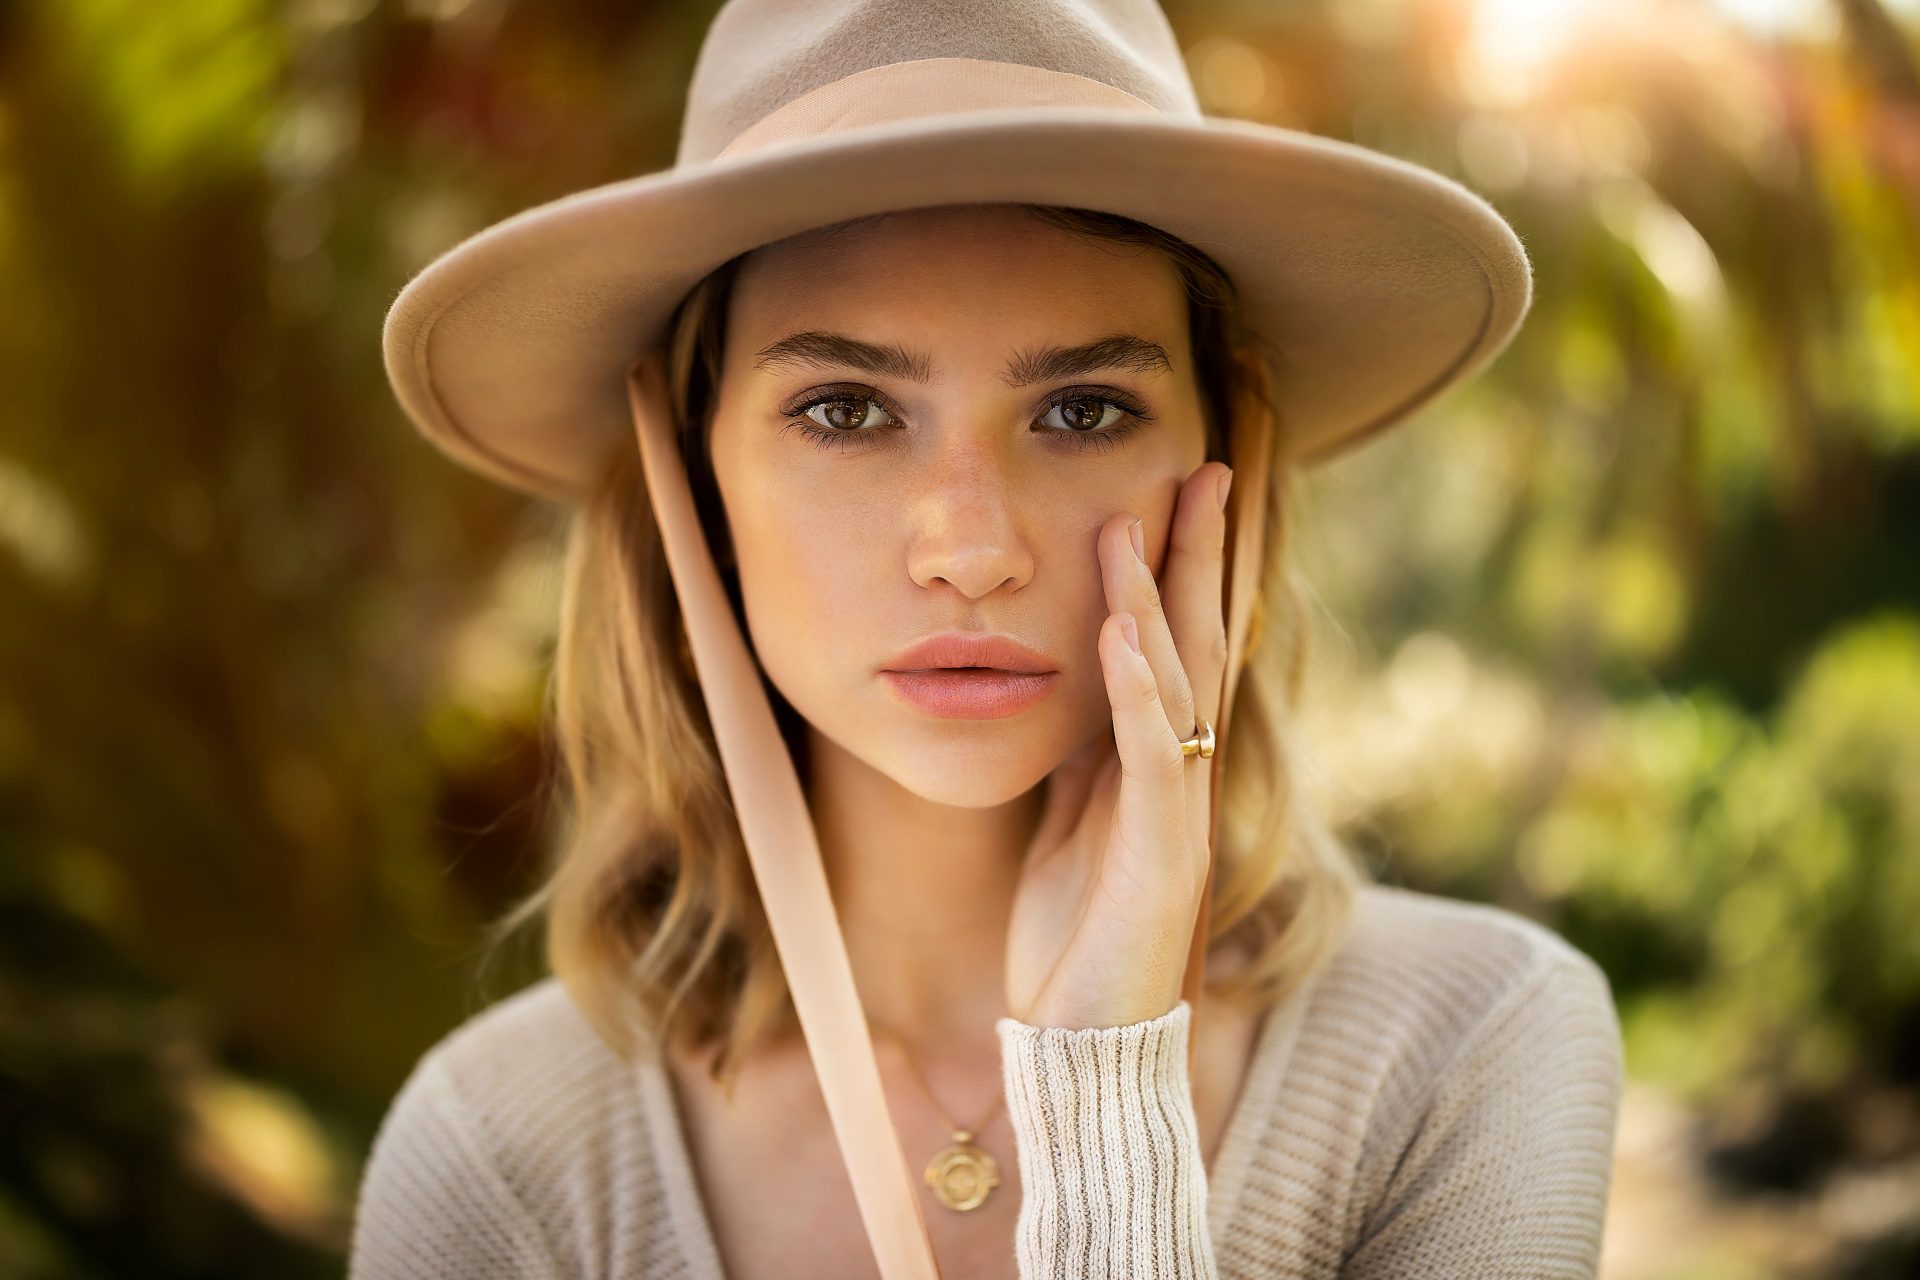
Lights make an exceptional backdrop for portraits, because they turn into soft colour the moment they fall out of focus. The approach is straightforward: open the aperture wide, place your subject well forward of the display, and focus carefully on the eyes. The lights behind collapse into ball bokeh and your subject sits against a field of glowing colour.
Backlighting is the main pitfall. If the brightest thing in the frame is behind your subject, the camera will expose for it and leave the face in shadow, so add positive exposure compensation and check the result rather than trusting the meter. A small light from the front — a phone screen held just out of frame works — lifts the face enough to matter.
Photographing couples introduces a problem the technique above does not solve on its own. Two people are rarely the same distance from the camera, and at the wide apertures this subject invites, a difference of twenty centimetres can leave one face sharp and the other soft. Ask them to bring their heads level and roughly equal in distance, which usually means standing shoulder to shoulder and turned slightly inward rather than one behind the other. If they insist on a pose with real depth between them, stop down to around F4 and raise ISO to compensate.
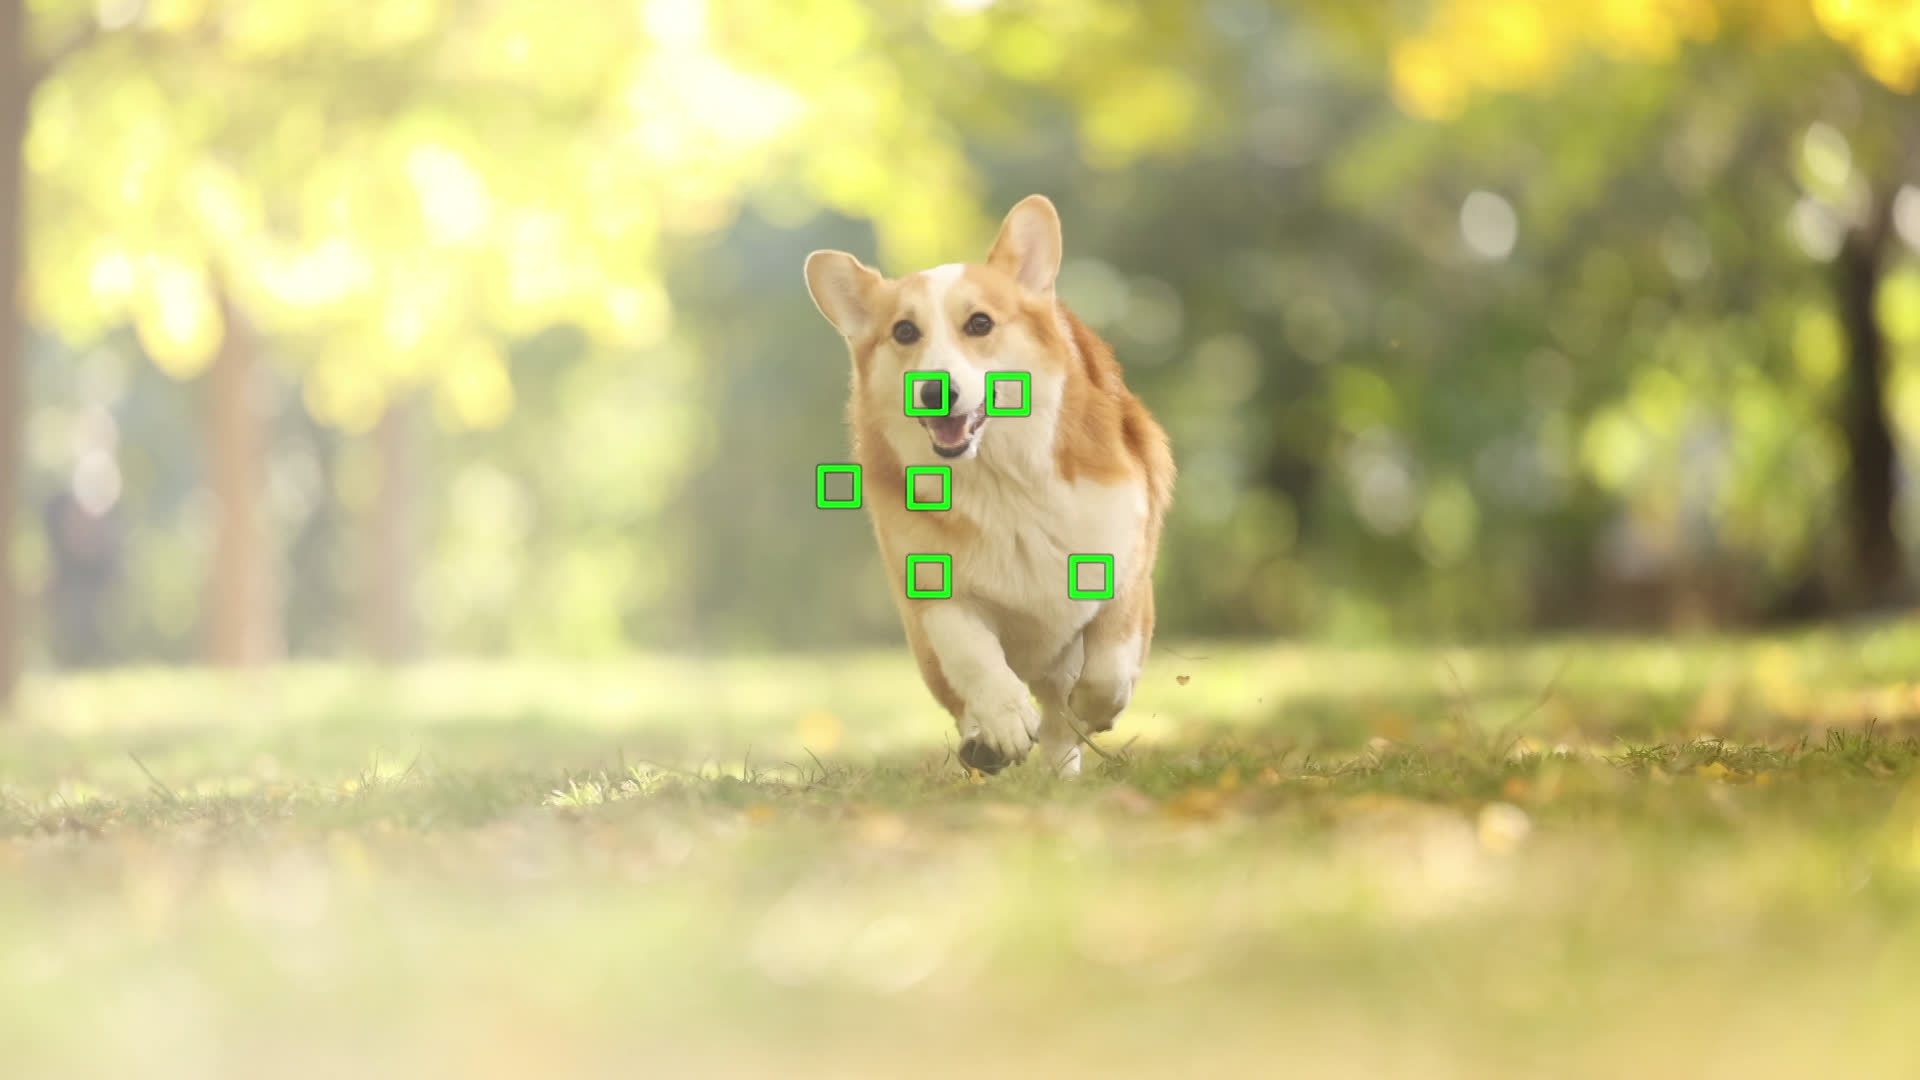
Photographing dogs with lights behind them works well and is less difficult than it sounds, provided the animal is comfortable. A dog will not hold a pose for a two-second exposure, so keep the shutter at 1/200 sec or faster and raise ISO to make that possible. Get down to the dog's eye level — a standing shot looking down flattens the face and loses the lights behind. Focus on the near eye.
One honest caveat: a crowded evening display is loud, bright and full of strangers, and plenty of dogs find that genuinely distressing. If yours is anxious in crowds, a quiet residential street with lights along it produces a better photograph and a far better evening for the dog. Our article on photographing dogs and cats covers handling and timing in more detail, and the portrait photography guide goes further into working with people.
With the scenes covered, here is the complete settings picture in one place.
Two focal ranges do most of the work in this subject, and either is a sound starting point.
A wide-angle lens, around 35mm or shorter, takes in a whole display and its surroundings from close range — which matters because you frequently cannot back away. Walkways are narrow, crowds are dense, and the display is often built into a space that gives you no room. Wide angles also exaggerate perspective, so shooting from low down and angling upward makes a structure loom in a way that standing at eye level never will.
A standard lens, around 50mm, renders the scene closer to how you actually saw it. Perspective stays natural, nothing stretches at the frame edges, and it is the better choice for portraits and for casual frames of people among the lights.
Every figure in this article lives here, so this is the section to return to.
Start in aperture priority. You choose the f-number, the camera finds a shutter speed, and since how much the lights blur is the main creative decision in this subject, keeping direct control of aperture is the right trade.
Move to manual once you are comfortable, and move to it immediately for long exposures and multiple exposures, where you need the camera to do exactly what you tell it and nothing else. Manual is also the answer when the scene is bright enough in places that automatic metering keeps changing its mind between frames.
Two distinct approaches, depending on what you want.
For soft, atmospheric frames that make the most of blur, work close to wide open — roughly F2 to F4. This throws the background into unstructured colour and, usefully, lets in far more light, which keeps shutter speeds workable without pushing ISO into noise.
For sharp frames where a whole nightscape needs to read clearly front to back, stop down to around F8 to F11. Point sources also begin to produce small starbursts as you stop down, which suits architectural and cityscape frames.
You will see long-exposure work shot considerably further down than that — F16 or F18 is not unusual. Worth understanding why, because it is not for depth of field. Stopping down that far is a way of forcing a much longer shutter speed without a filter, and it exaggerates the starburst effect on every point of light in the frame. It costs you real sharpness to diffraction, so it is a deliberate trade rather than a default.
Handheld, stay between 1/50 and 1/200 sec. Below that, camera shake starts showing up regardless of how steady you think you are.
On a tripod, the range opens completely. Five to thirty seconds is where light trails, smoothed water and emptied walkways happen, and it is the single biggest difference between a snapshot of a display and a photograph of one.
Begin at ISO 100 to 400 and raise it only as the scene demands. In genuinely dark conditions ISO 1600 to 3200 is reasonable and modern sensors handle it well.
The cost is noise, which appears first in the smooth dark areas that this subject is full of — night sky, shadowed ground, unlit walls. Check those areas rather than the lights themselves when deciding whether you have gone too far.
Cameras consistently underexpose scenes that are mostly dark with bright points in them, because the meter reads all that darkness and tries to correct for it. The lights come out looking weaker than they appeared to you.
Adding around +1EV usually restores what you actually saw. Check the result and adjust; this is a setting to use actively rather than once at the start of the evening.
White balance decides the emotional temperature of the image. Set to daylight, the whole frame warms toward orange, which suits festive scenes and is often the more attractive choice. Set to tungsten, everything cools toward blue, which suits colder architectural subjects.
There is a local complication worth knowing. South African displays are frequently a mix of generations — warm LED alongside cool white LED alongside older filament strings, sometimes on the same structure. No single white balance setting resolves all three, and automatic white balance will simply pick one and shift as you reframe. Shoot raw and set it deliberately afterwards, choosing whichever light source matters most in the frame.
Composition is what separates a record of a display from a photograph of one.
Get low and shoot upward. A display photographed from a metre off the ground spreads above and around the viewer instead of sitting flatly in front of them, and it is the quickest improvement available. If a frame looks flat, the answer is almost always to move rather than to adjust a setting — closer, lower, further round to one side.
Depth comes from layering. Place something in the immediate foreground, a branch or a string of lights or a person's shoulder, and let it blur. The eye reads that blur as distance, and a flat frontal view becomes three-dimensional.
Reflections are the other reliable device. Glass frontage doubles a display, and wet ground works even better — after a Highveld summer thunderstorm, and they arrive most afternoons through December, wet tar turns into a mirror that carries every light in the scene. Shoot low enough to catch the reflection and you effectively double the display for nothing.
For overall balance, the rule of thirds remains the most useful default, and our article on composition basics covers when to depart from it.
Once the fundamentals are working, four techniques open the subject up considerably.
Ball bokeh from festive lights
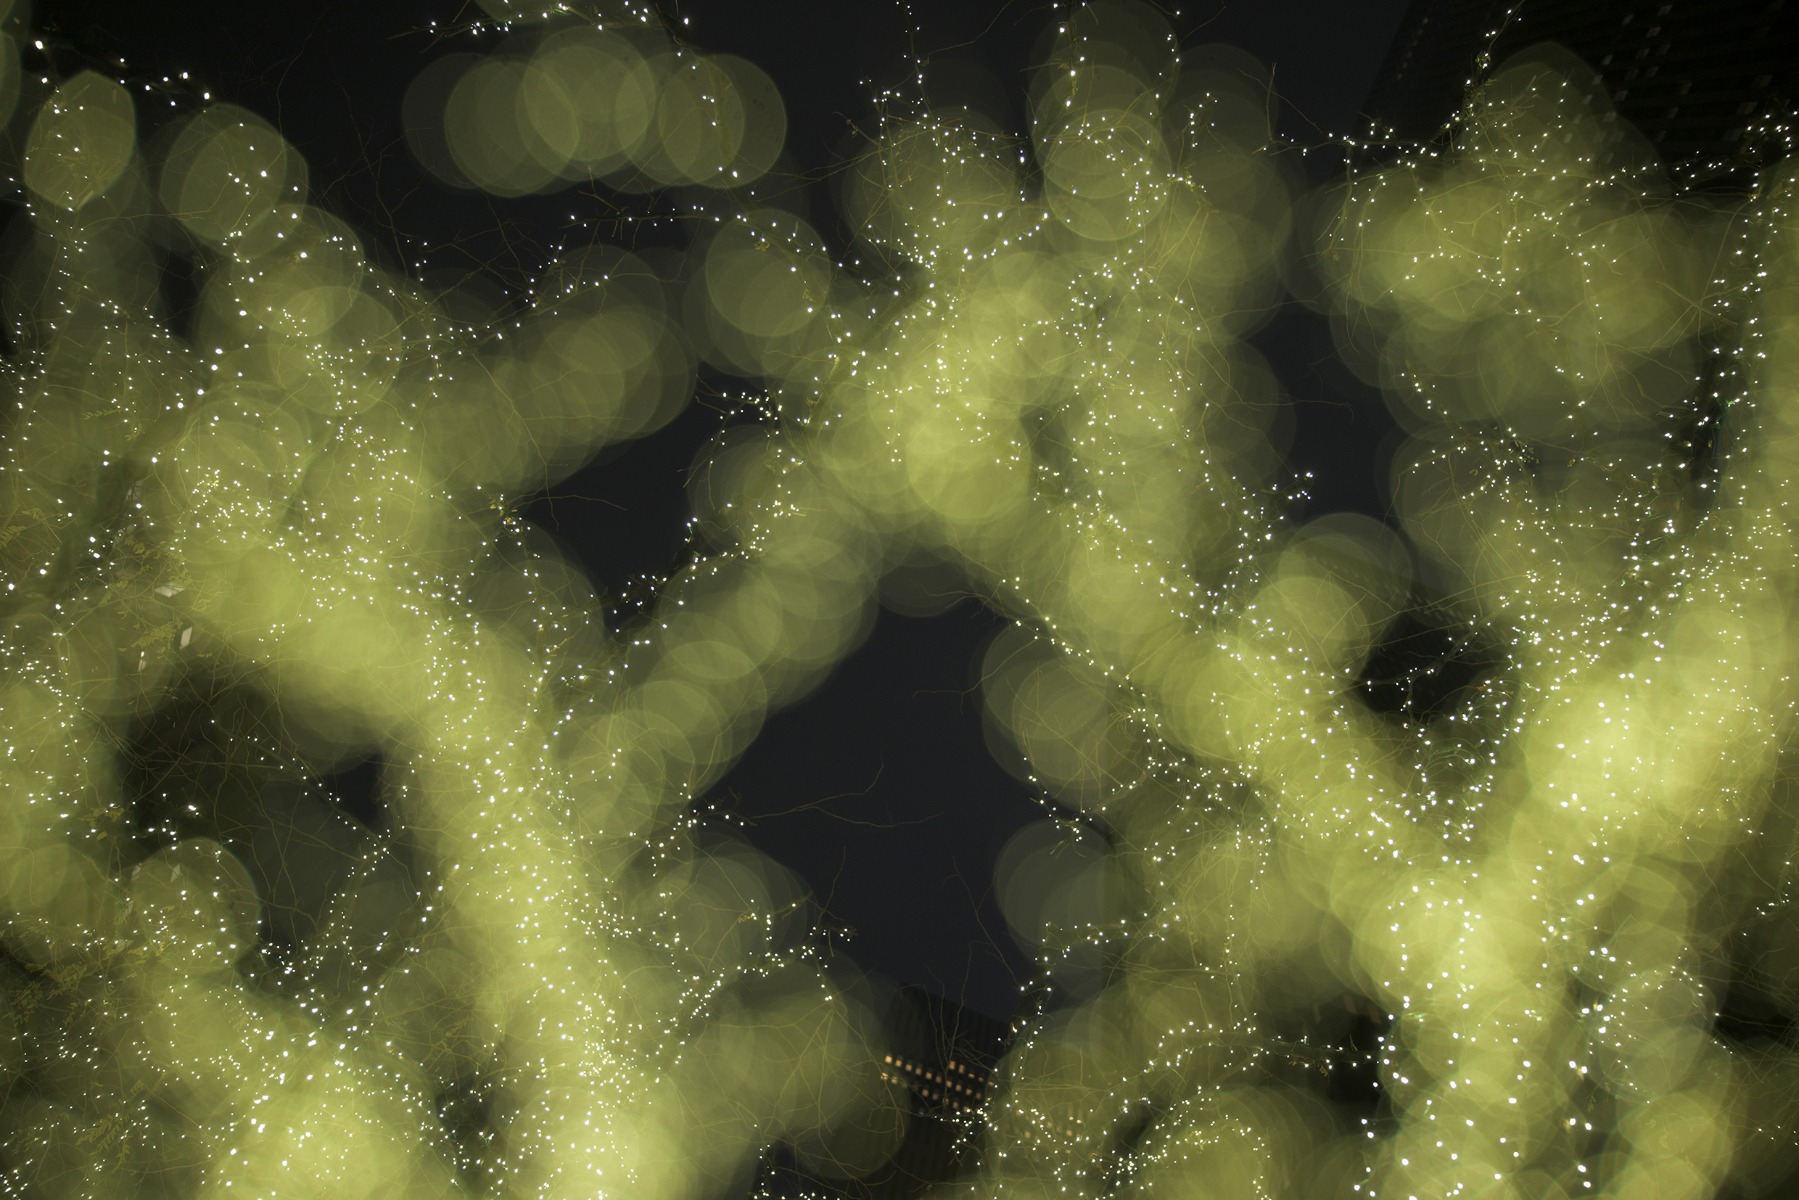
TAMRON 28-75mm F2.8 G2 (Model A063) Focal length: 28mm Exposure: F2.8 Shutter Speed: 1/125sec ISO: 400
Ball bokeh is what happens when a point of light falls far enough out of focus to render as a soft disc. A display full of small bulbs turns into a field of glowing circles, which is the most recognisable effect in this genre and among the easiest to achieve.
Three things produce it. Open the aperture close to wide. Put real distance between your subject and the lights behind — the further back the display sits, the larger the circles. And focus decisively on something in the foreground, because half-focused lights look like a mistake rather than a choice.
If the circles come out too bright and start blowing out, pull exposure compensation back down. This is the one situation in this article where negative compensation is usually the right call.
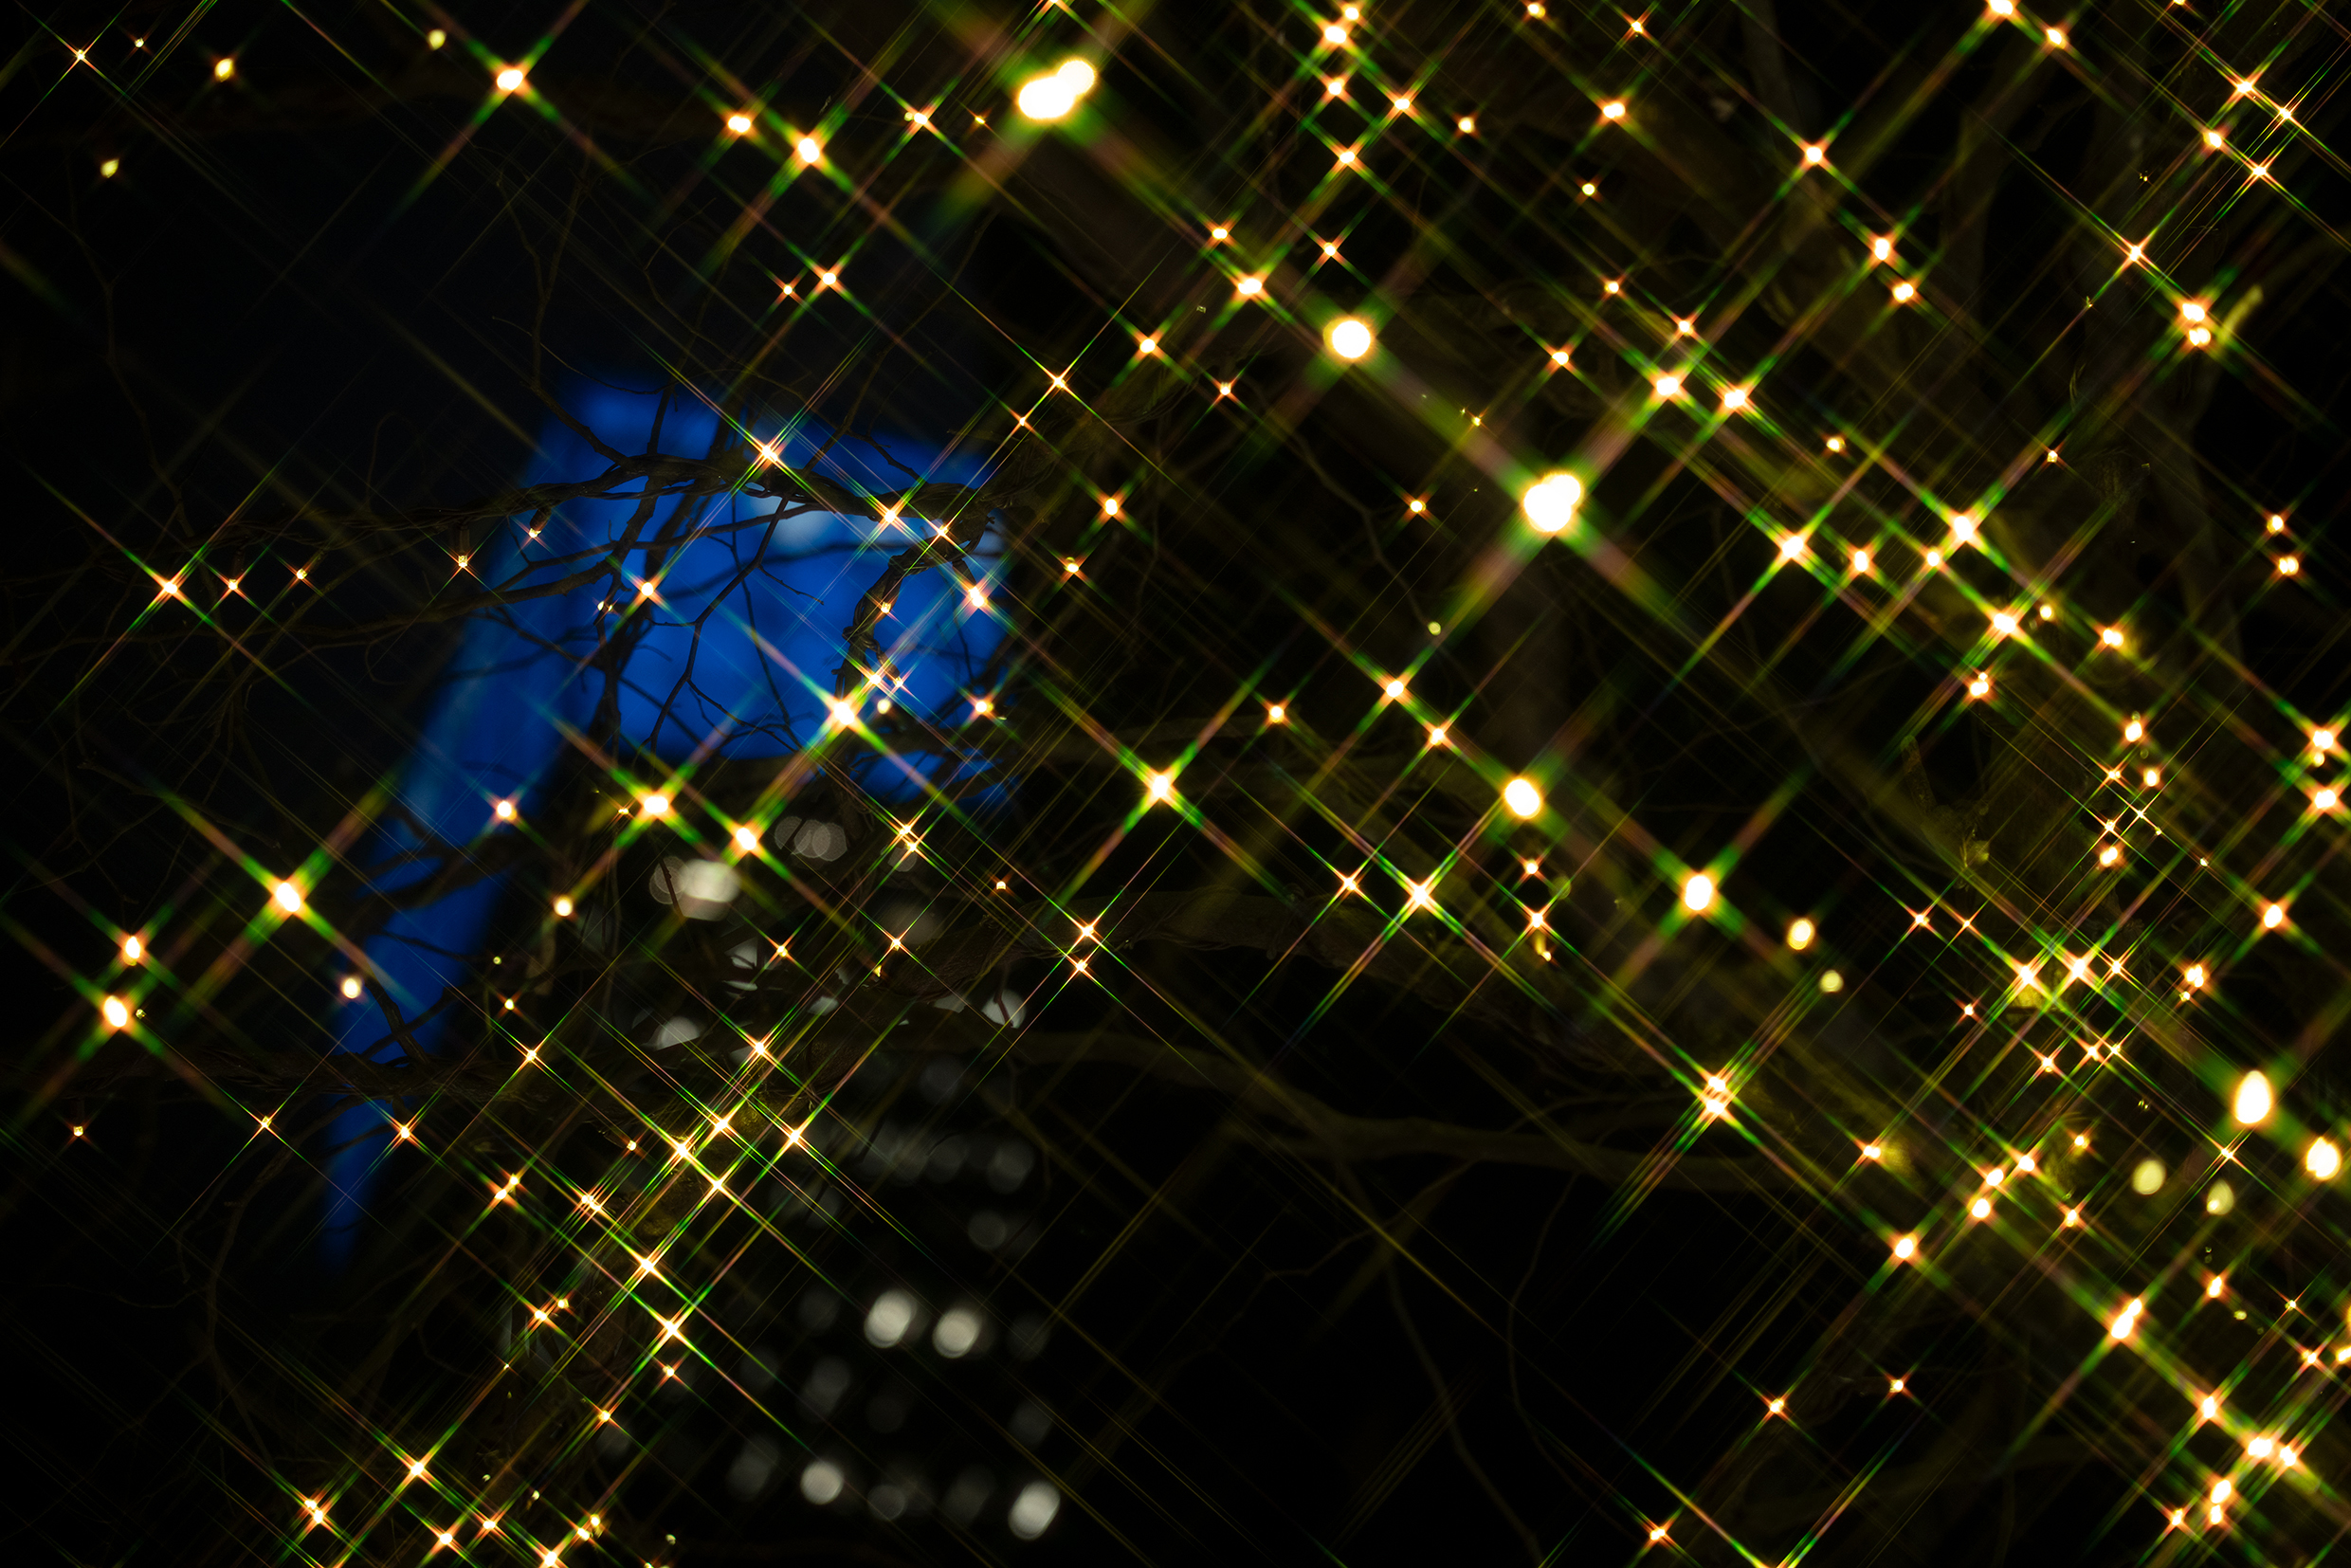
Filters alter the character of the light itself rather than the exposure, and two are worth carrying.
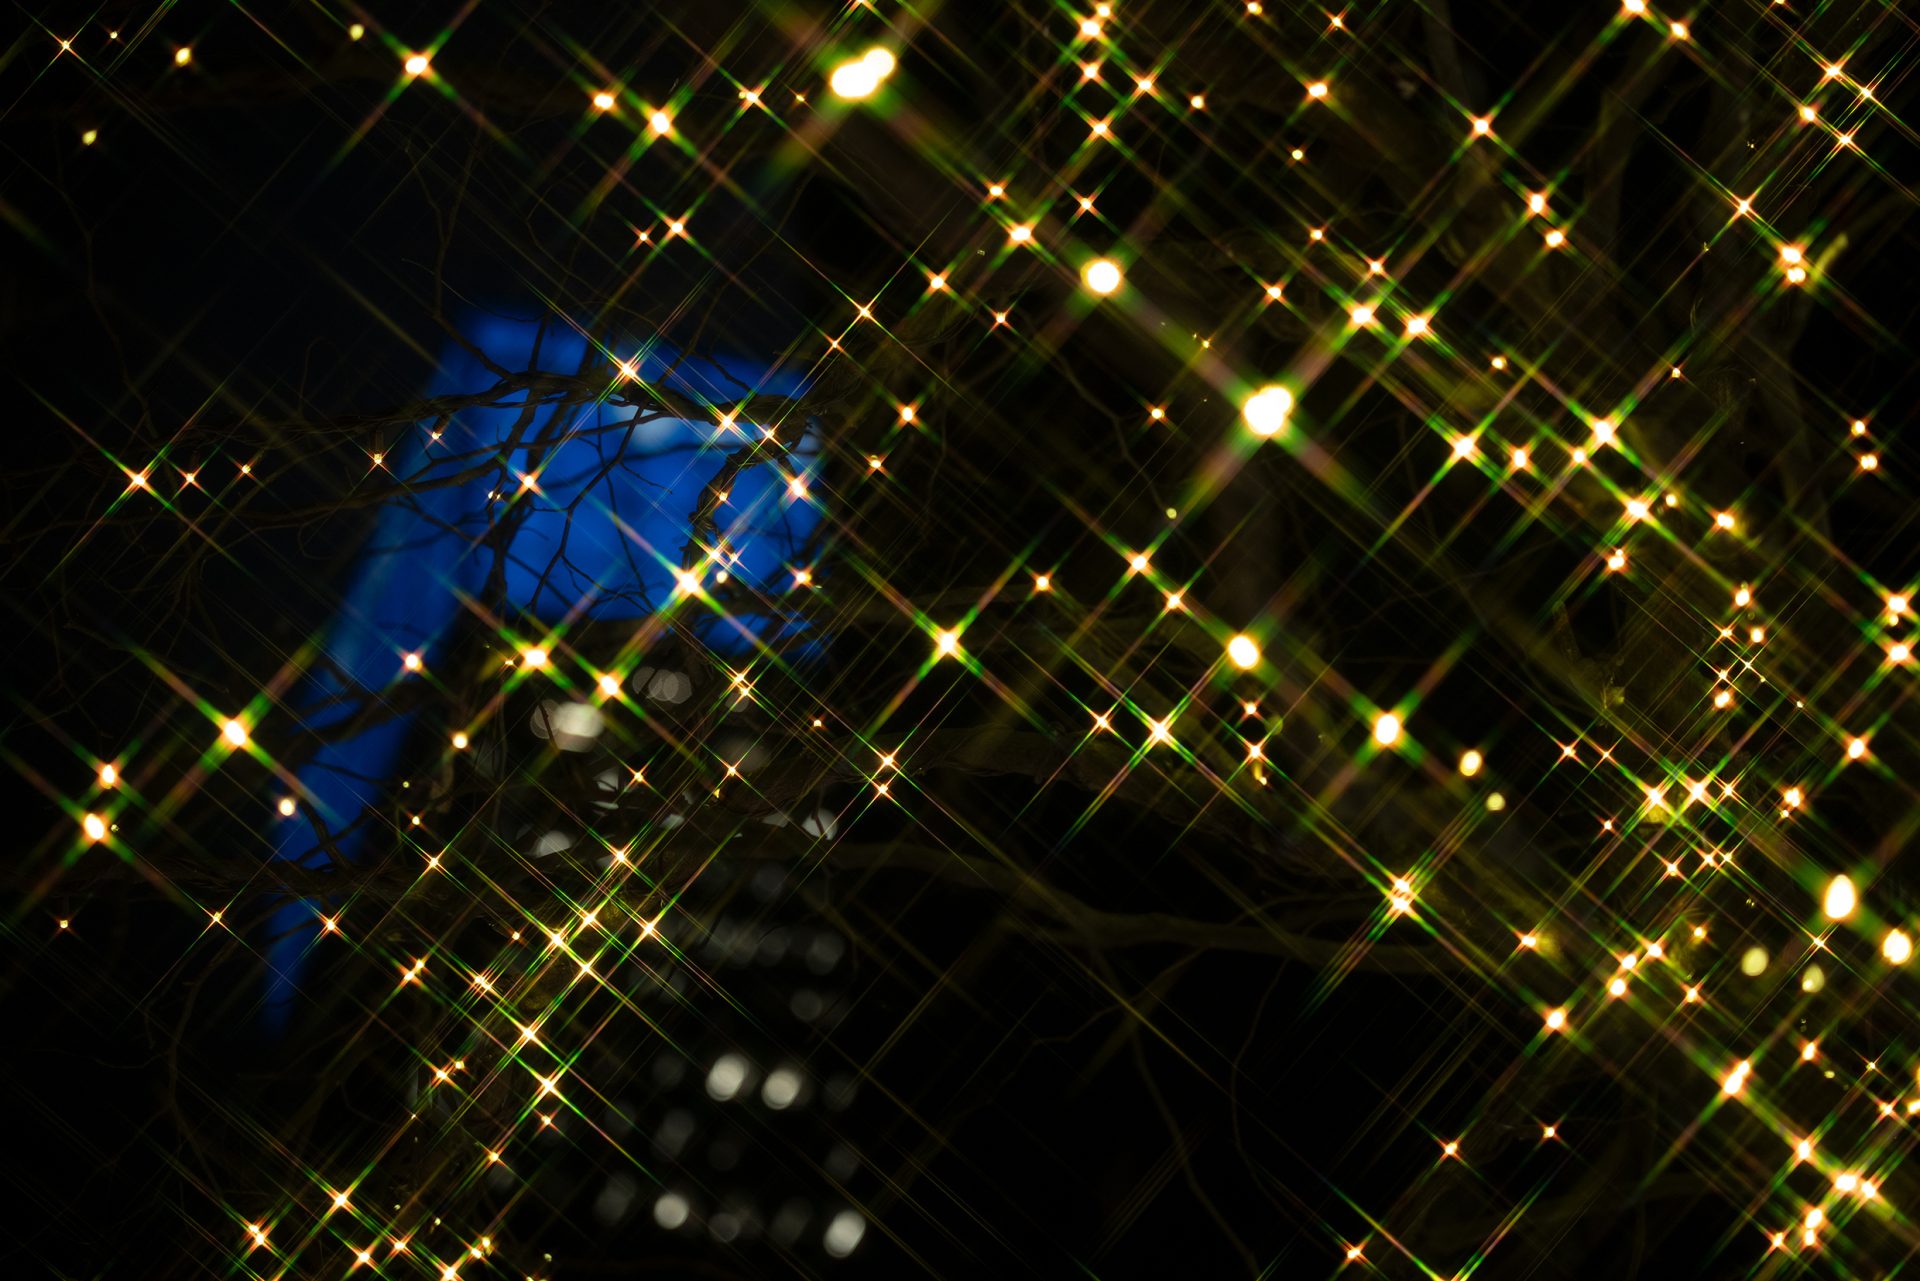
A cross filter draws radiating lines out of every strong point source, turning bulbs into small stars. Against a sparse display it looks spectacular. Against a dense one it becomes noise very quickly, with hundreds of overlapping spikes and no clear subject left — so use it where the lights are few and strong rather than many and small.
A soft filter does the opposite, blurring the edges of the light so everything reads gentler and more diffuse. Colour filters shift the overall tone, and a warm one reinforces the atmosphere most festive scenes are already aiming for.
Long exposure with light trails
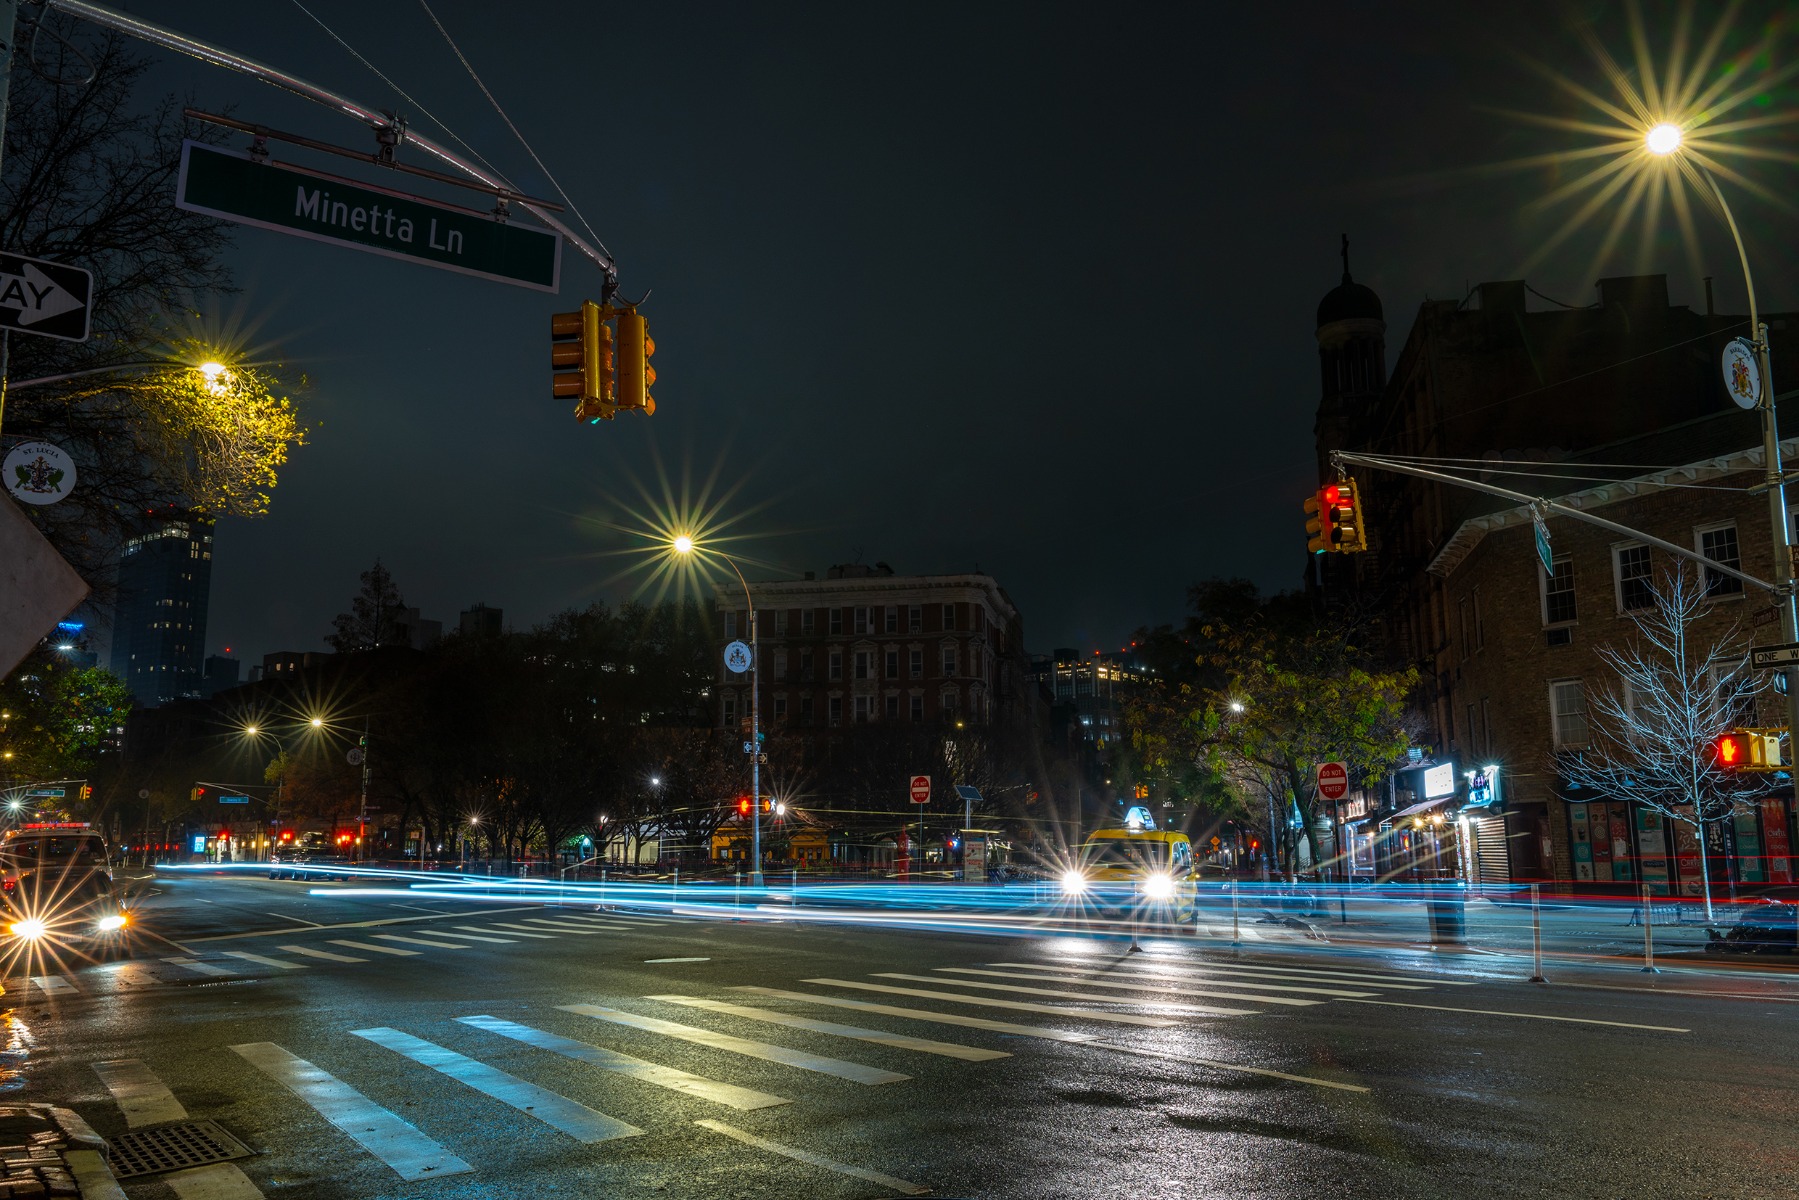
TAMRON 28-75mm F2.8 G2 (Model A063) Focal length: 28mm Exposure: F18 Shutter Speed: 20sec ISO: 80
Long exposure changes everything in the frame except the lights, which is precisely why it makes them stand out.
Cars passing a lit street become continuous ribbons of red and white. People walking through the frame either vanish entirely or reduce to soft ghosts, which empties a crowded walkway and leaves the display alone in the picture. City arterials near an illuminated precinct are the obvious place to try it.
A tripod is not optional here — at fifteen to thirty seconds, nothing handheld survives. Work around ISO 100 to 400, and use a remote release or the camera's self-timer so that pressing the shutter does not introduce the shake the tripod just eliminated. Our article on fireworks photography covers the same technique applied to a faster-moving subject.
Multiple exposure of festive lights
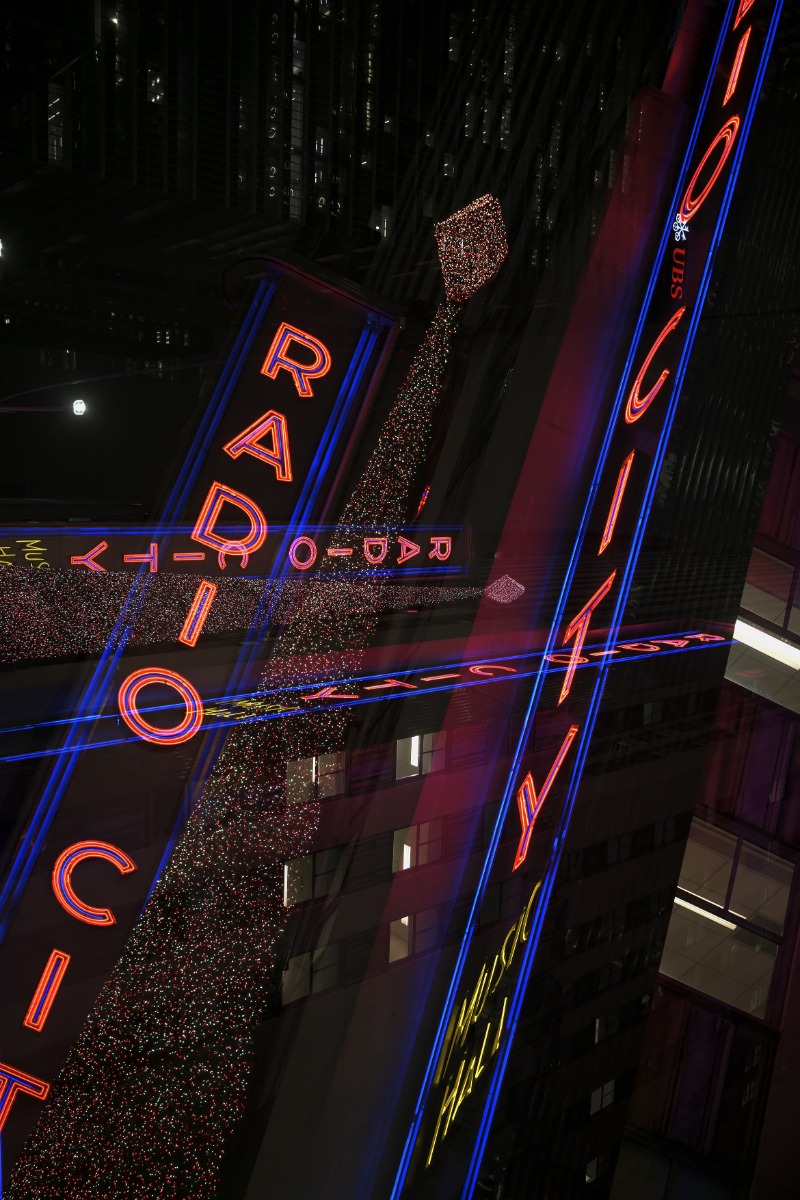
TAMRON 28-75mm F2.8 G2 (Model A063) Focal length: 28mm Exposure: F2.8 Shutter Speed: 1/125sec ISO: 400
Multiple exposure combines two or more frames into a single image inside the camera, and many interchangeable-lens cameras offer it somewhere in the menu system.
The pairing that works best for this subject is sharp plus soft. Take the first frame with the display properly in focus, then take the second with focus deliberately thrown well off, and combine them. The sharp frame supplies structure and detail; the defocused frame lays large soft discs of colour over the top, sitting exactly where the lights are because nothing has moved between the two. The result reads as glow emanating from the lights themselves rather than as a blur laid over them.
It takes experimenting. Vary how far you defocus, and vary the exposure of each frame — underexposing the sharp one slightly stops the combination from clipping.
A few lens characteristics matter more than usual for this subject.
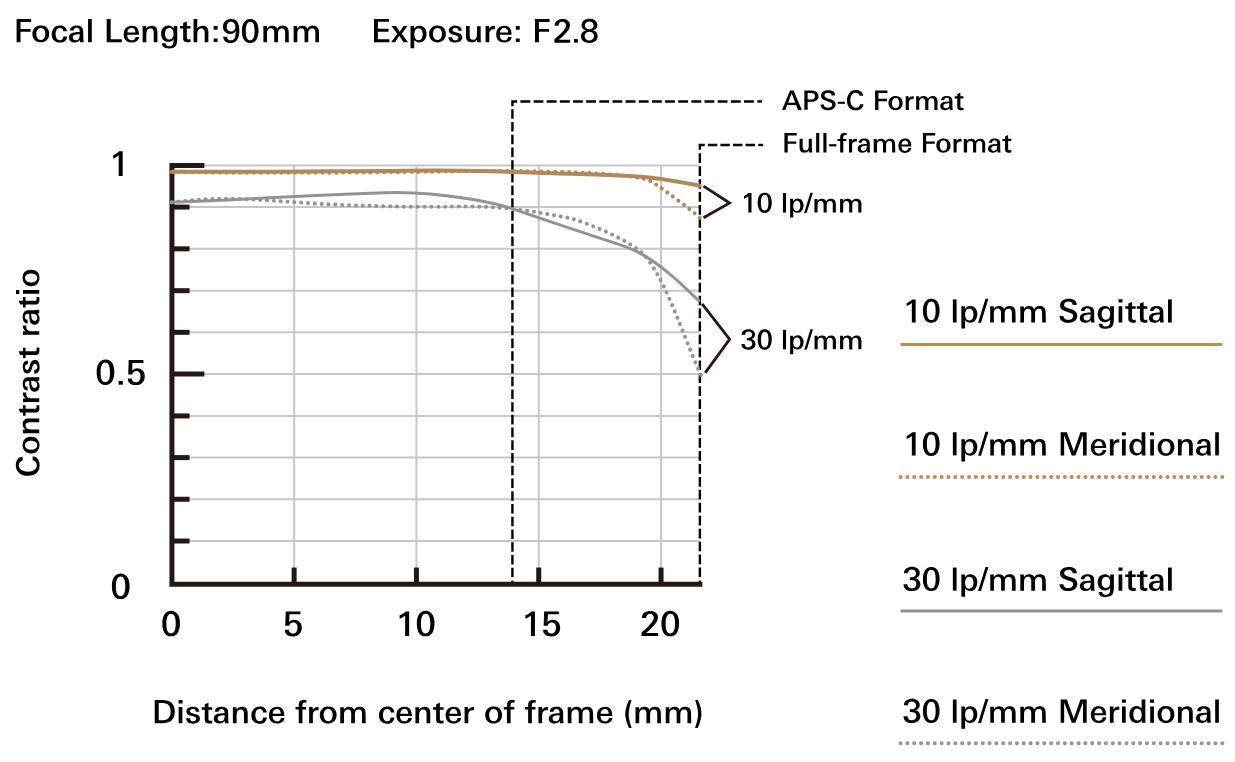
The most useful thing a lens can offer here is a low maximum f-number — F1.4, F2 or F2.8 — which means a wide maximum aperture and considerably more light reaching the sensor.
That buys two things at once. Usable shutter speeds after dark without pushing ISO to the point of noise, and the shallow depth of field that makes ball bokeh possible. For a subject that is defined by shooting in the dark and blurring points of light, no other specification does as much.
Wide-angle covers the display and its surroundings, which is what you want for establishing frames and for anywhere you cannot step back. Standard, around 50mm, is the better choice for portraits and for individual details.
On an APS-C body, divide by roughly 1.5 to find the equivalent — a 23mm lens frames like 35mm on full frame, and 33mm frames like a 50mm standard.
This subject involves standing about in the dark for hours, often walking between several displays in one evening, and frequently carrying a tripod as well. Weight tells over that kind of night far more than it does over a short shoot.
A lighter lens also helps directly with image quality here, because it is easier to hold steady at the slow shutter speeds this subject keeps producing.
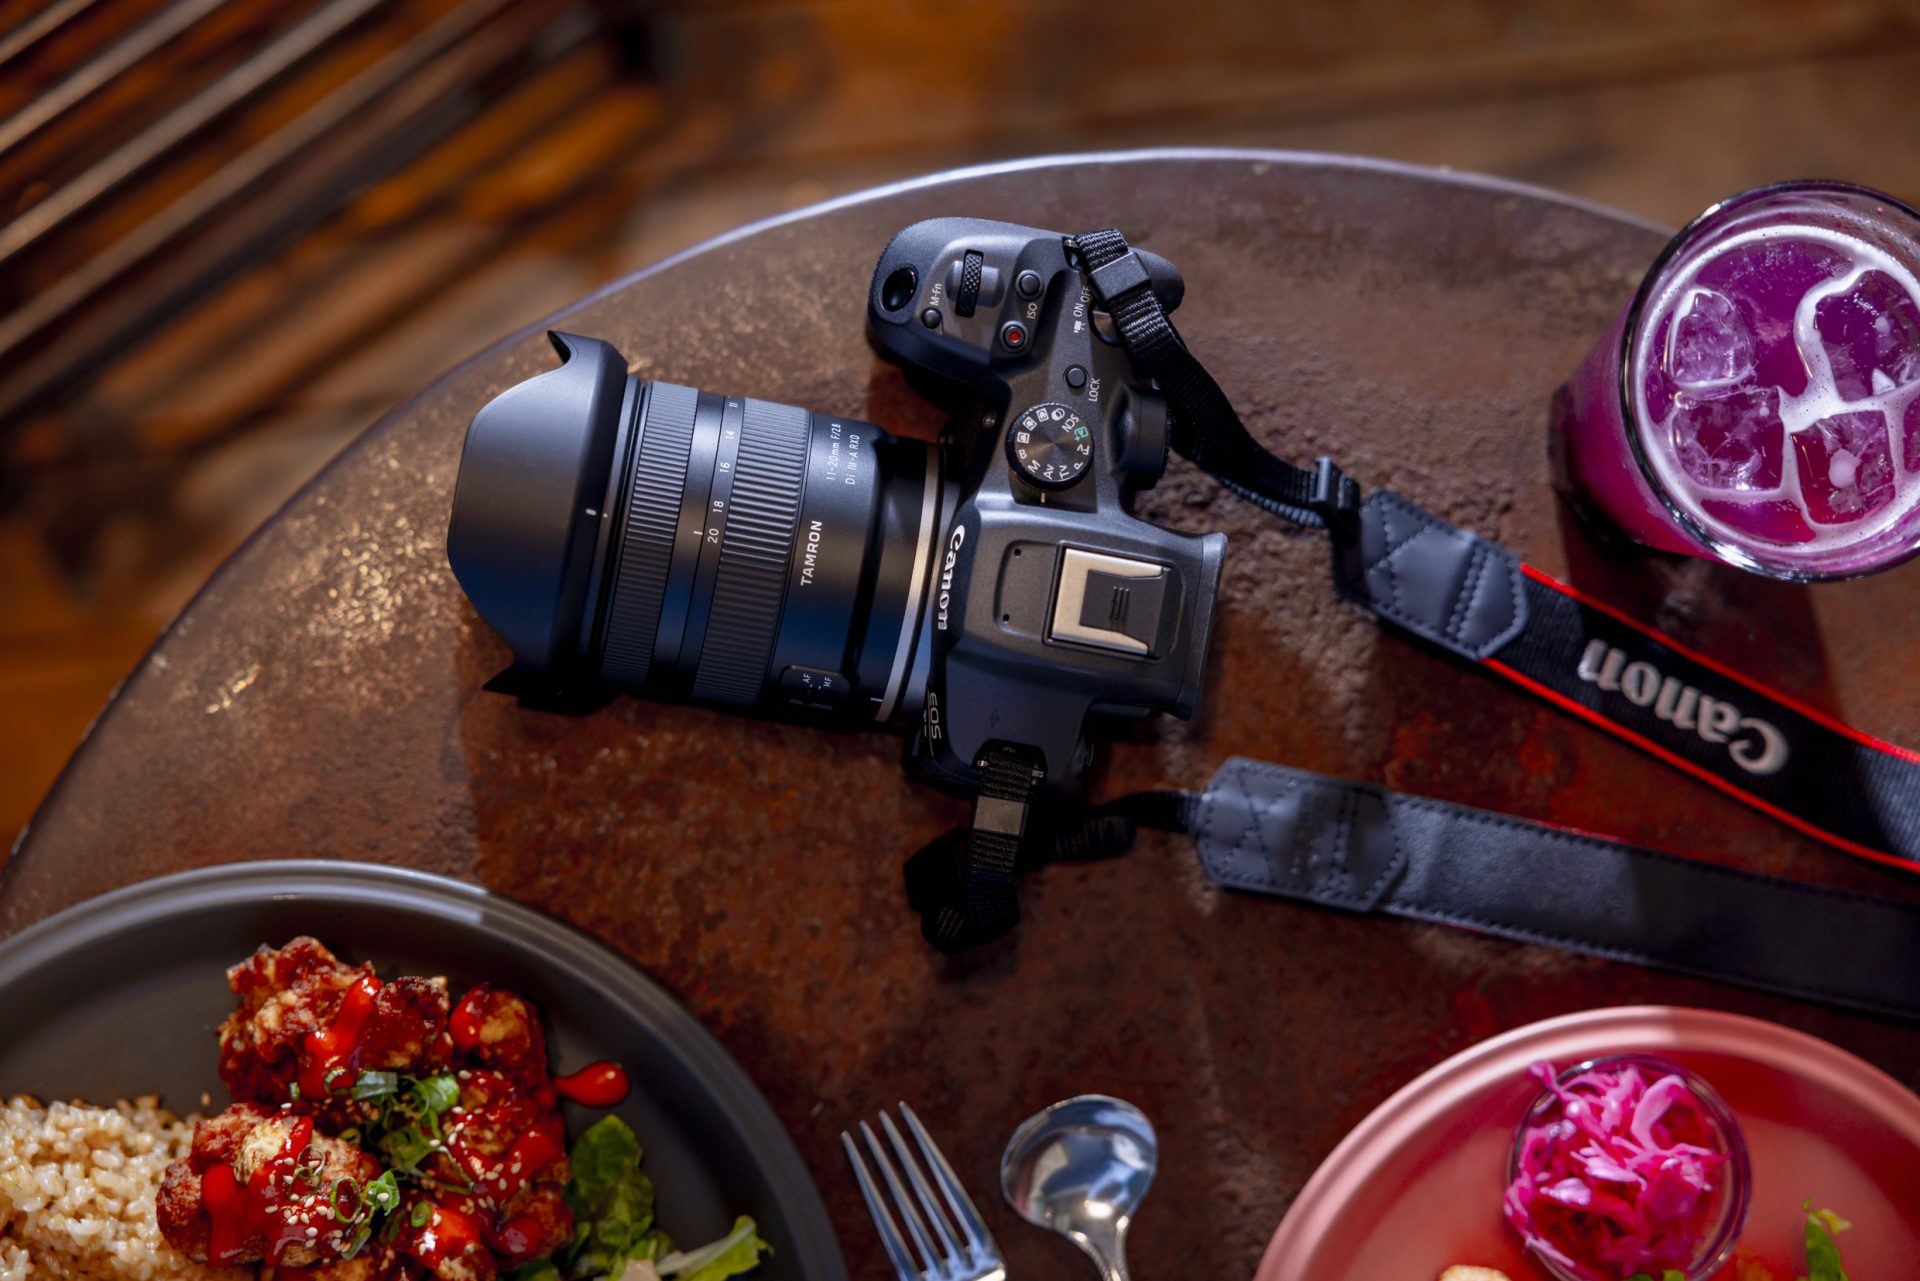
Autofocus needs contrast to work, and a dark scene supplies very little of it. Focus performance in low light is therefore the autofocus specification that matters for this subject specifically, rather than tracking speed.
Even a capable system will hunt sometimes, so know your manual fallback. Focus on the brightest point in the scene and recompose, or switch to manual and set focus using magnified live view. A focus ring with enough resistance to hold its position makes that far easier. Our autofocus article covers the modes and areas in full.
Stabilisation compensates for hand movement and buys back several stops of shutter speed, which is exactly what a dark subject needs. Tamron's system is branded VC.
One detail worth checking is whether the effect can be adjusted or switched off. It should be off when the camera is on a tripod, where stabilisation can occasionally introduce movement rather than correct it, and switching it off is also the starting point for any deliberate camera-movement technique.
None of this is difficult, and the barrier to entry is lower than the settings list suggests. Aperture priority, a wide aperture, +1EV of exposure compensation and an hour after sunset will already produce photographs worth keeping.
Build from there. Add a tripod and try a long exposure. Find a display with distance behind it and work on ball bokeh. Take a portrait against the lights, then a second one with the exposure lifted. Come back on an evening after a thunderstorm and shoot the reflections.
The real constraint in South Africa is time rather than technique. The lights are up for a few weeks, full darkness arrives late, and the deep blue sky that makes the best frames lasts about twenty minutes a night. Plan around that, get there before you need to, and the rest follows easily.