| September 18, 2026
 South Africa's #1 Mobile Protection Brand
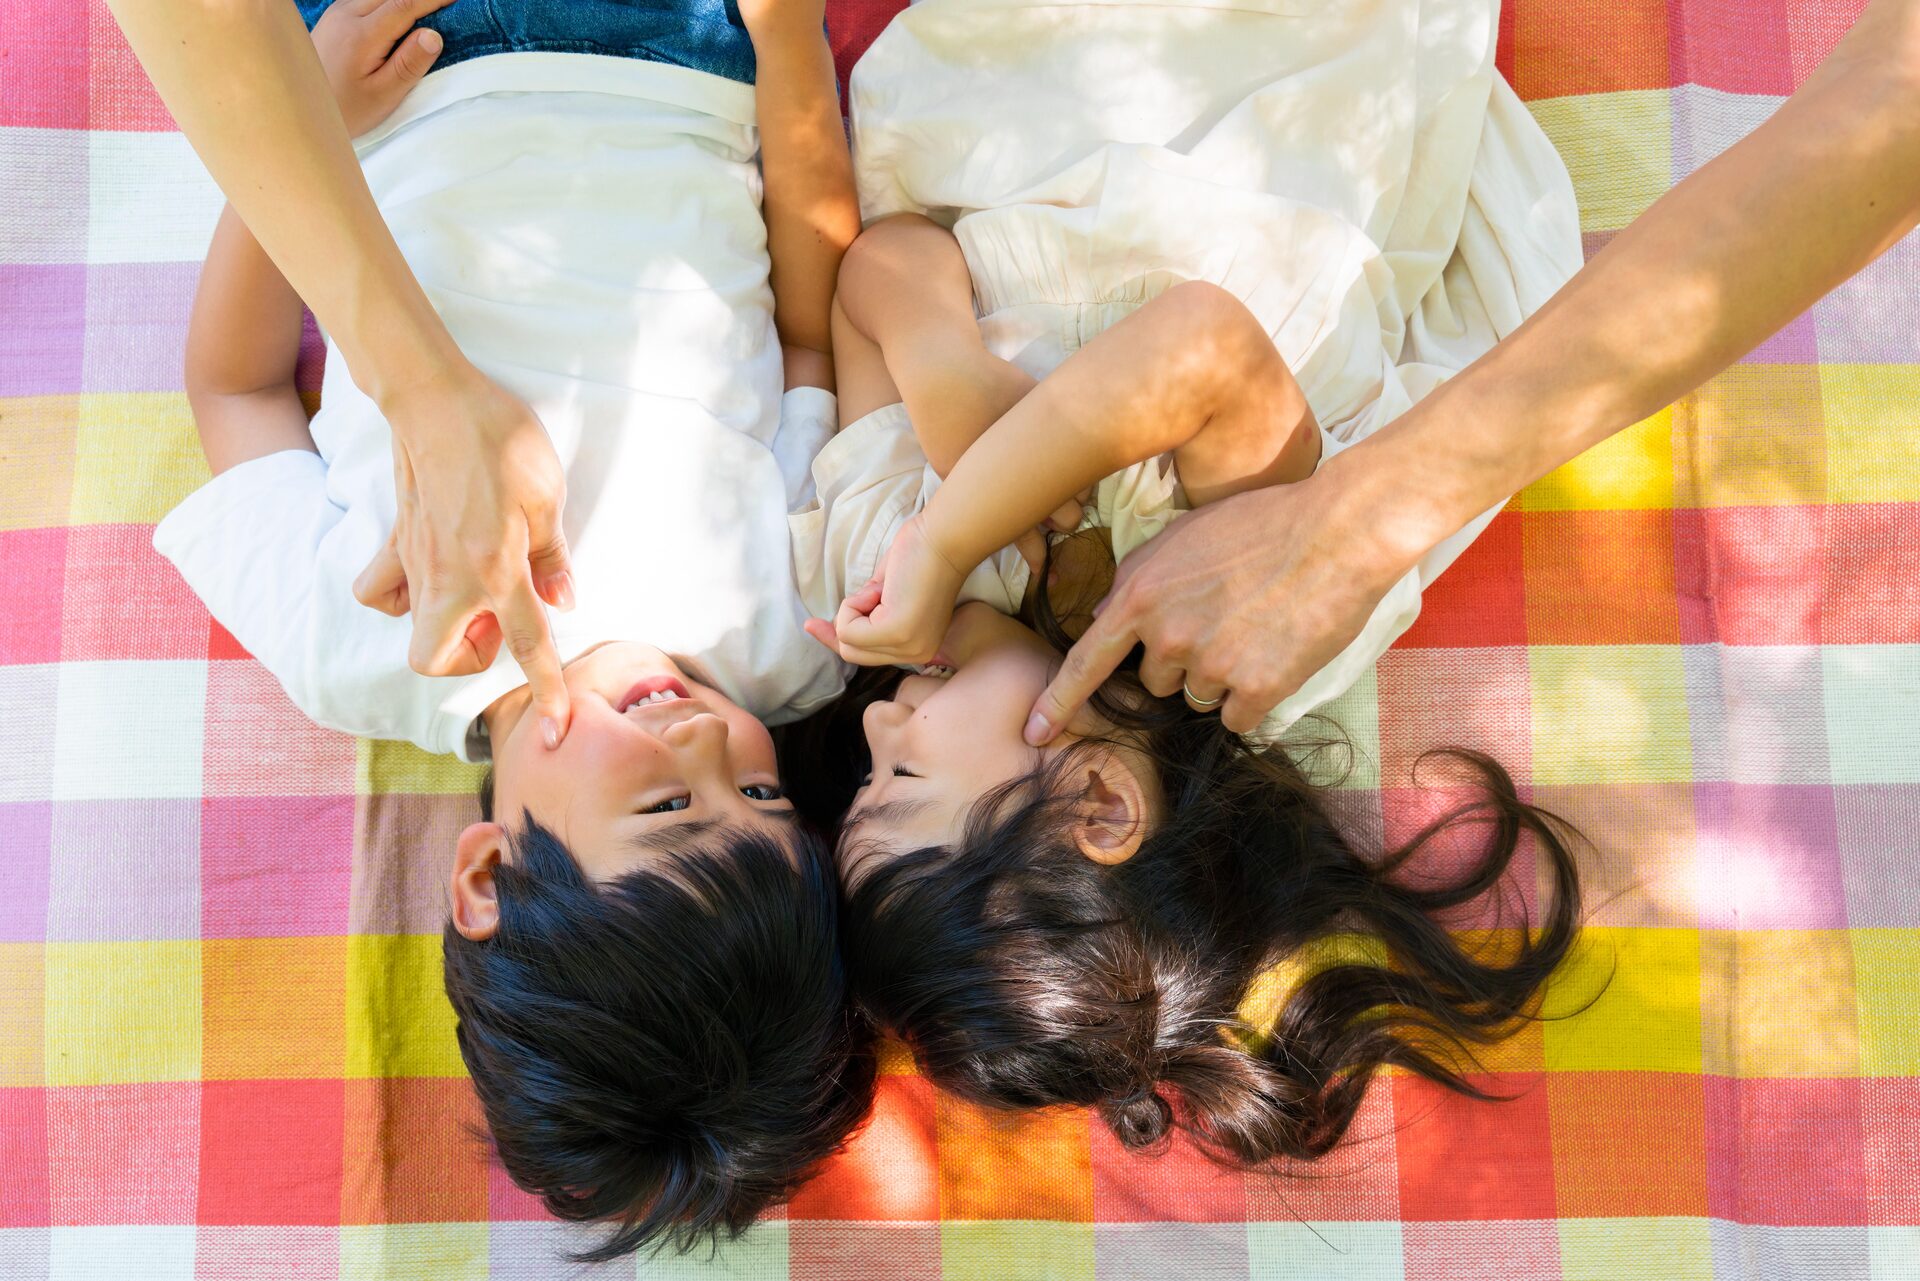
You bought an interchangeable lens camera to take better photos of your children, and somehow the pictures on your phone still look better. It is a common complaint, and it usually comes down to a handful of settings rather than the gear itself. Photographing children well means getting exposure and depth of field to work in your favour, positioning yourself where the light and the eye contact are, and choosing a lens that suits the moment. This guide walks through the settings that matter, the shooting approaches that work in South African conditions, and how to pick a lens for the way your family actually spends its time.
There is no single setting that makes children's photos work. It is a combination of exposure, position, focus and light, and each one is worth understanding on its own. These six make the biggest difference.
Getting exposure right
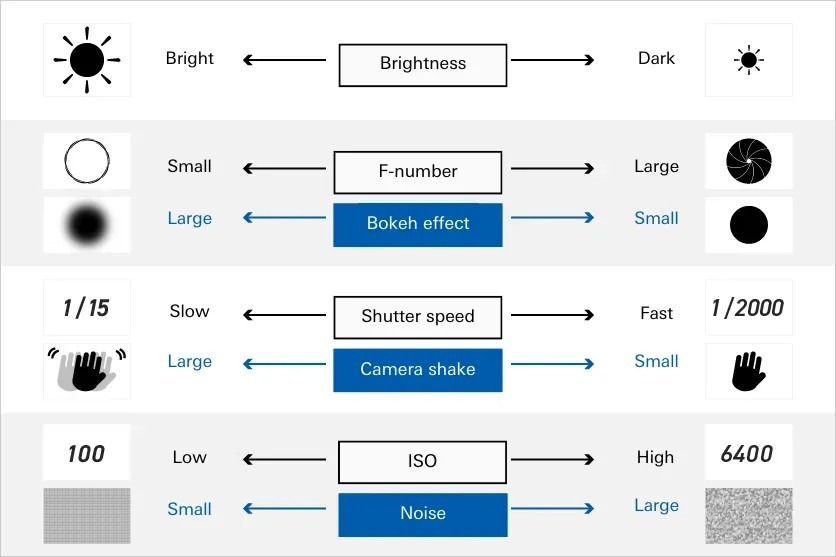
Everything starts with exposure. Get it wrong and a lovely expression disappears into shadow or washes out in the sun — and South African light is bright enough that the second problem is the more common one. Three controls determine exposure: aperture, shutter speed and ISO sensitivity.
The f-stop is a number describing how wide the lens aperture is opened. Confusingly, a smaller number means a wider opening: f/2.8 lets in far more light than f/8. A wider aperture also gives you shallower depth of field, which is what produces the soft, blurred background — bokeh — that separates a child from a cluttered lounge or a busy park. Every lens has a maximum aperture, the widest it can go, and this varies from lens to lens. If soft backgrounds matter to you, look for a lens with a large maximum aperture, meaning a low f-number.
In practice, shooting close to a lens's maximum aperture — around f/2.8 — flatters a child's face. The background falls away, the light feels soft, and attention goes where you want it. The same setting rescues you in dim conditions: a shaded stoep on a hot afternoon, or a lounge on an overcast winter morning, where every extra bit of light counts.
Stop down to a narrower aperture — f/5.6 or f/8 — when the setting is part of the story. A child running along the beach at Muizenberg is better served by a photo where the water and the painted bathing boxes are recognisable. Narrower apertures also give you more depth of field to work with, so a child who will not stay put is more likely to land inside the zone of sharp focus.
Shutter speed is how long the sensor is exposed to light, written as a fraction of a second: 1/100 sec, 1/1000 sec and so on. The larger the bottom number, the shorter the exposure and the more motion you freeze.
Children rarely hold still, so a reasonably quick shutter speed is your default. The trade-off is brightness — a shorter exposure means less light reaching the sensor, so you will need a wider aperture or a higher ISO to compensate.
As a rough starting point, 1/100 to 1/200 sec will stop most ordinary movement as well as any wobble in your hands, though the longer your lens, the faster you need to go. If frames still come out soft, push higher. For a sleeping baby or a toddler absorbed in a puzzle, 1/50 sec or slower is perfectly adequate and lets you keep ISO down.
The sensor converts light into an electrical signal, and ISO sensitivity sets how much that signal is amplified. It is the third lever, and the one to reach for last.
Raising ISO brightens the image but adds noise, a grainy texture that softens fine detail. Shooting in the brightest light available and keeping ISO low will always give you the cleanest files.
That said, noise beats a blurred photo every time. Indoors on a winter afternoon in Johannesburg, or under the trees at Walter Sisulu National Botanical Garden, you may already be at your widest aperture and still need 1/500 sec to freeze a moving child. Raise the ISO without hesitation — current sensors handle ISO 3200 and beyond far better than most people expect.
Your camera offers several exposure modes: program auto, aperture priority, shutter priority and manual. For photographing children, aperture priority and shutter priority give you control over the thing that matters while the camera handles the rest.
In aperture priority you choose the f-stop and the camera sets a matching shutter speed. Use it when the look of the background is your priority.
In shutter priority you choose the shutter speed and the camera picks the aperture. Use it when freezing movement is the priority.
So: aperture priority for a quiet portrait on the stoep, shutter priority for a child on the swings at Zoo Lake or charging around a mini-cricket field. Once both feel automatic, manual mode is worth exploring — it is the only way to keep exposure consistent across a series of frames when the light keeps shifting.
Shoot from their eye level (position and angle)
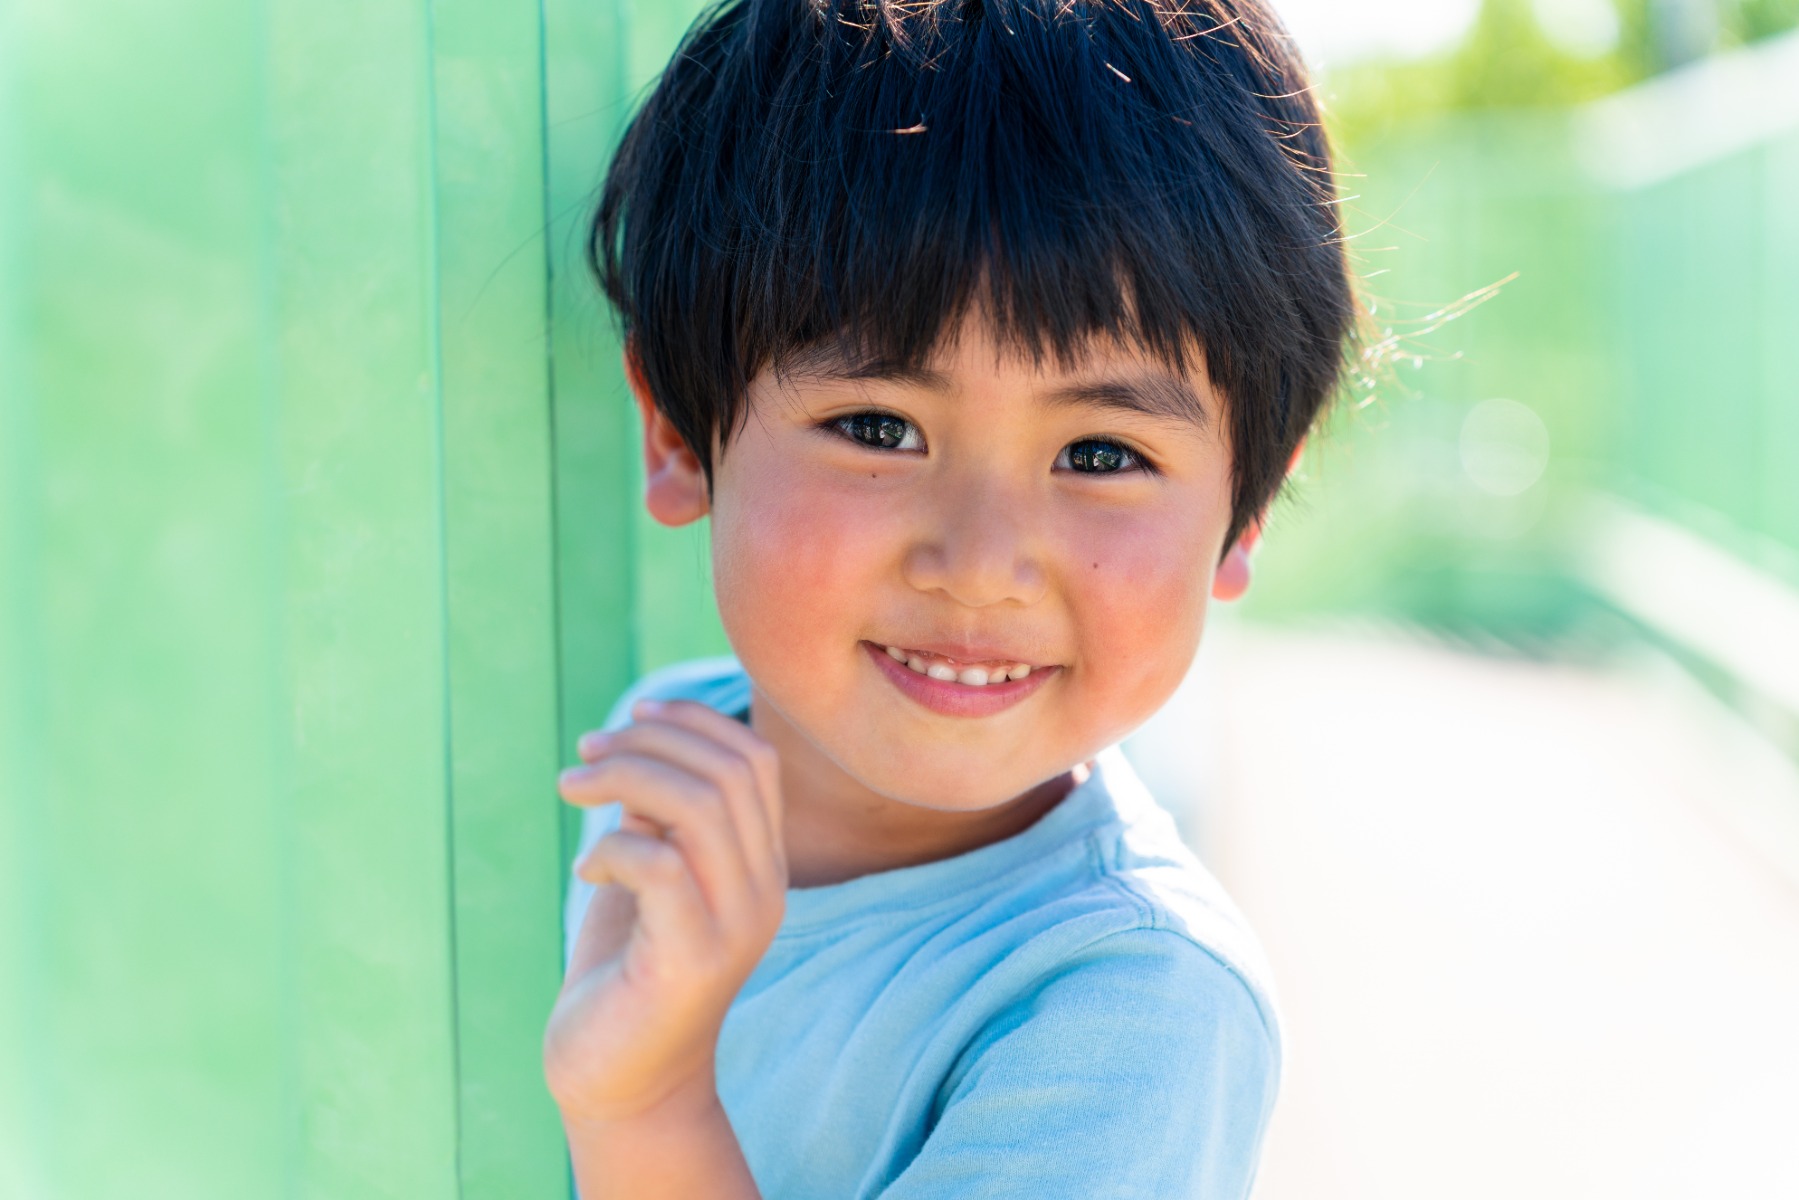
Focal length: 75mm Exposure: F2.8 Shutter Speed: 1/640sec ISO: 100
The single fastest improvement most parents can make is to stop shooting from standing height. Drop to a crouch, sit down, lie on the grass — get the camera to the child's eye level. Photographing children from above shrinks them in the frame and hides their expression. At eye level you see the face properly, and the photo feels as though it was taken by someone inside the scene rather than someone watching it.
Shoot from their eye level (position and angle)
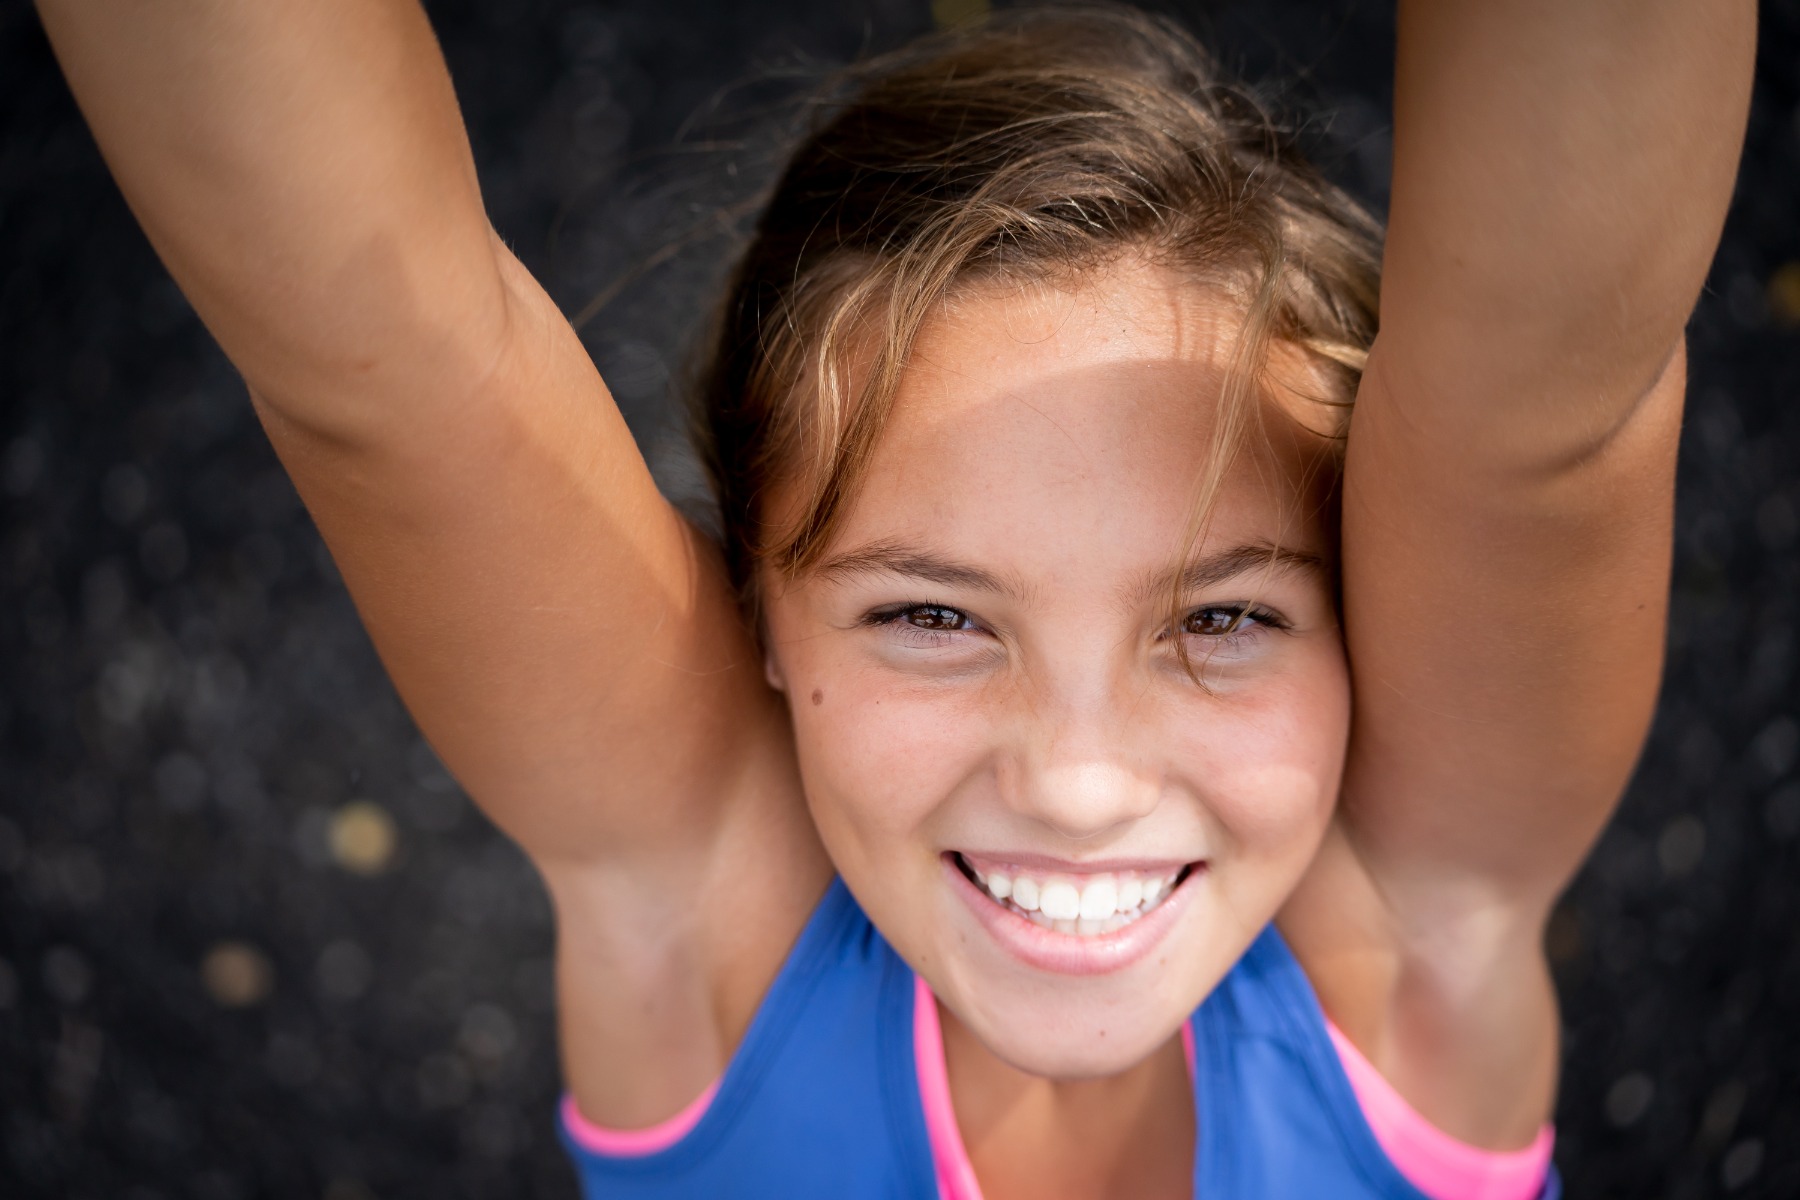
Focal length: 56mm Exposure: F4 Shutter Speed: 1/800sec ISO: 200
That said, a high angle has its uses. Shooting down on a child lying in the grass at De Waal Park, surrounded by fallen jacaranda blossom or a scattering of toys, turns the background into a pattern and gives the frame a sense of depth. Move around, try both, and see which version you keep.
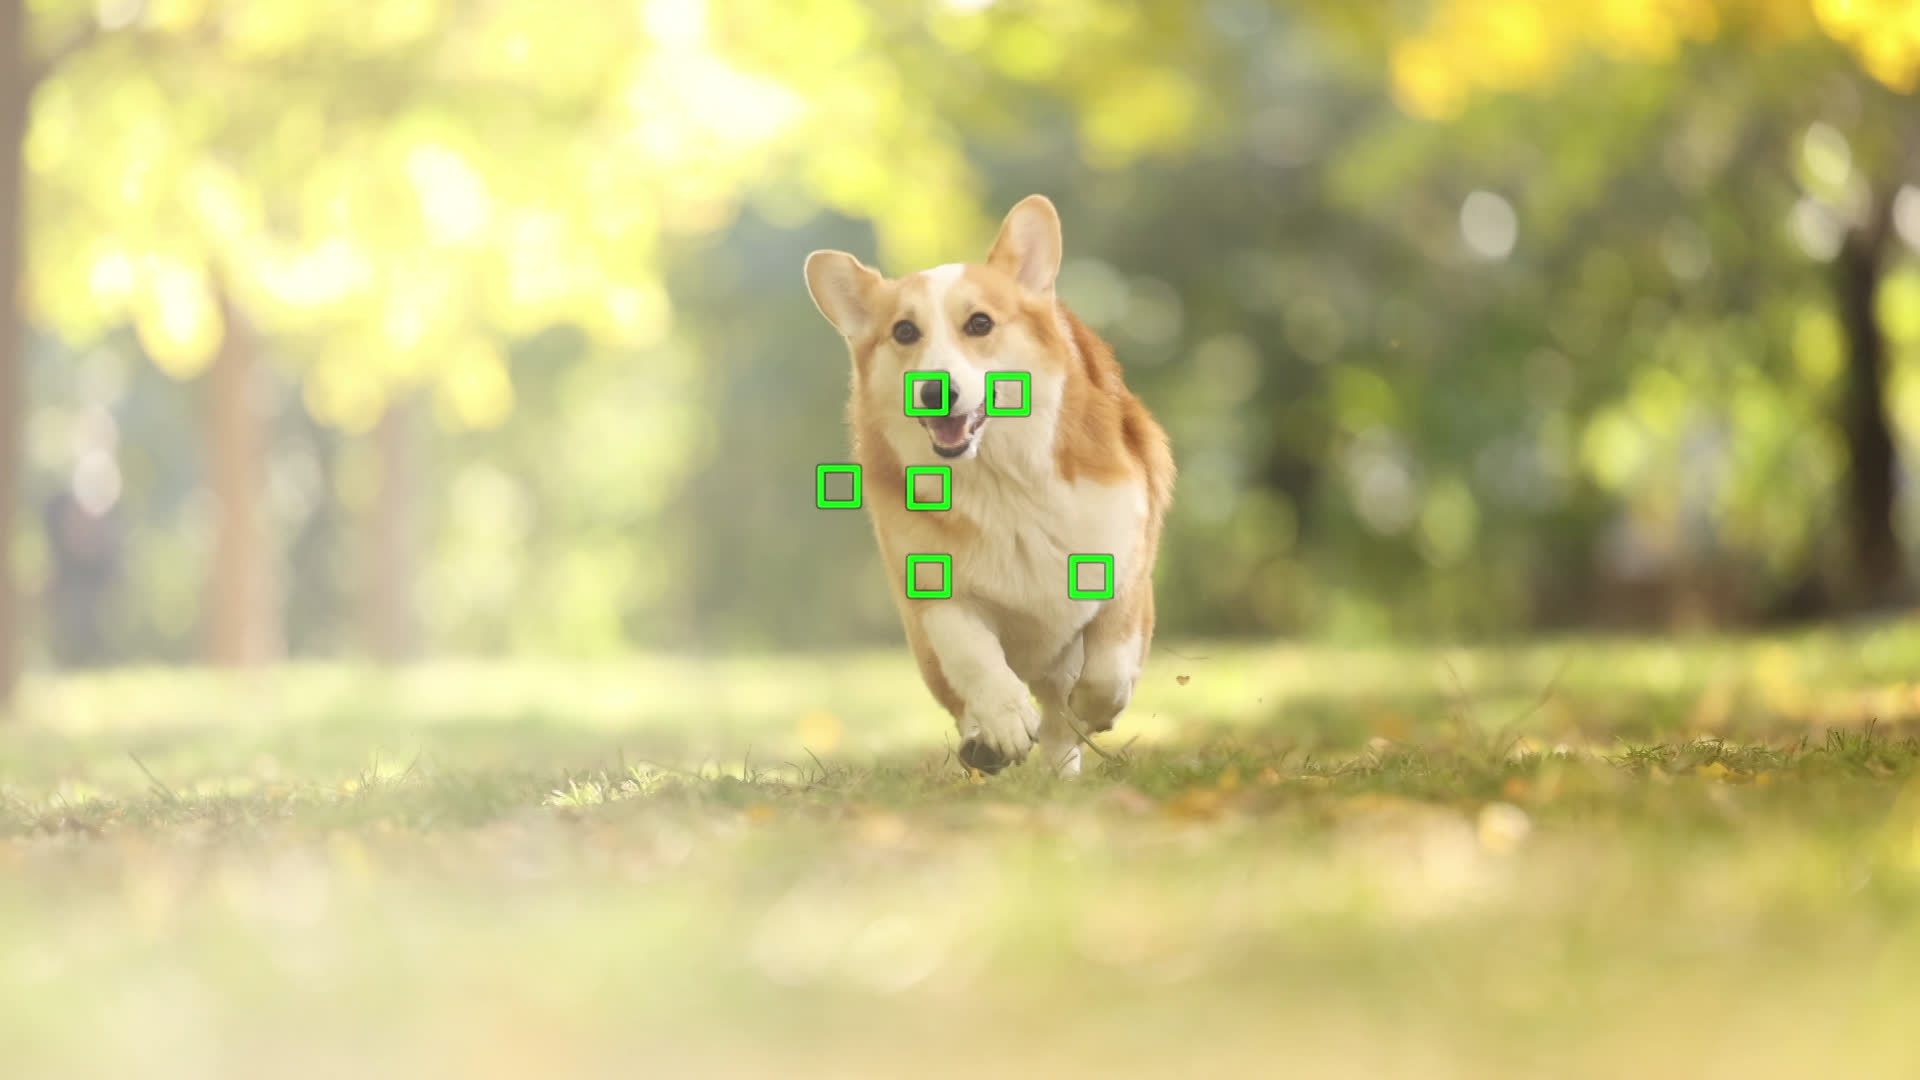
Most current mirrorless bodies include Eye AF, which finds a subject's eye and holds focus on it. It is the feature that makes wide-aperture photography of children practical: at f/1.8 the sharp zone can be a couple of centimetres deep, and no human reflex is quick enough to keep that on a moving toddler's eye. Switch it on, leave it on, and check your camera's menu for a subject-detection setting that treats people separately from animals or vehicles — several manufacturers now let you choose.
Expressions change in a fraction of a second, and the frame you planned is rarely the frame you keep. Photographers who shoot children professionally take hundreds of images for a handful of usable ones, and there is no reason to work differently at home. Set the camera to continuous shooting, hold the button down through the moment rather than trying to time it, and edit ruthlessly afterwards. Memory cards are cheap; a two-year-old's laugh happens once.
Where the light comes from changes the mood of a photograph more than any camera setting does. There are three basic directions: front light, where the sun is behind you; back light, where it is behind the subject; and side light, where it comes across the scene at an angle.
Change the direction of the light
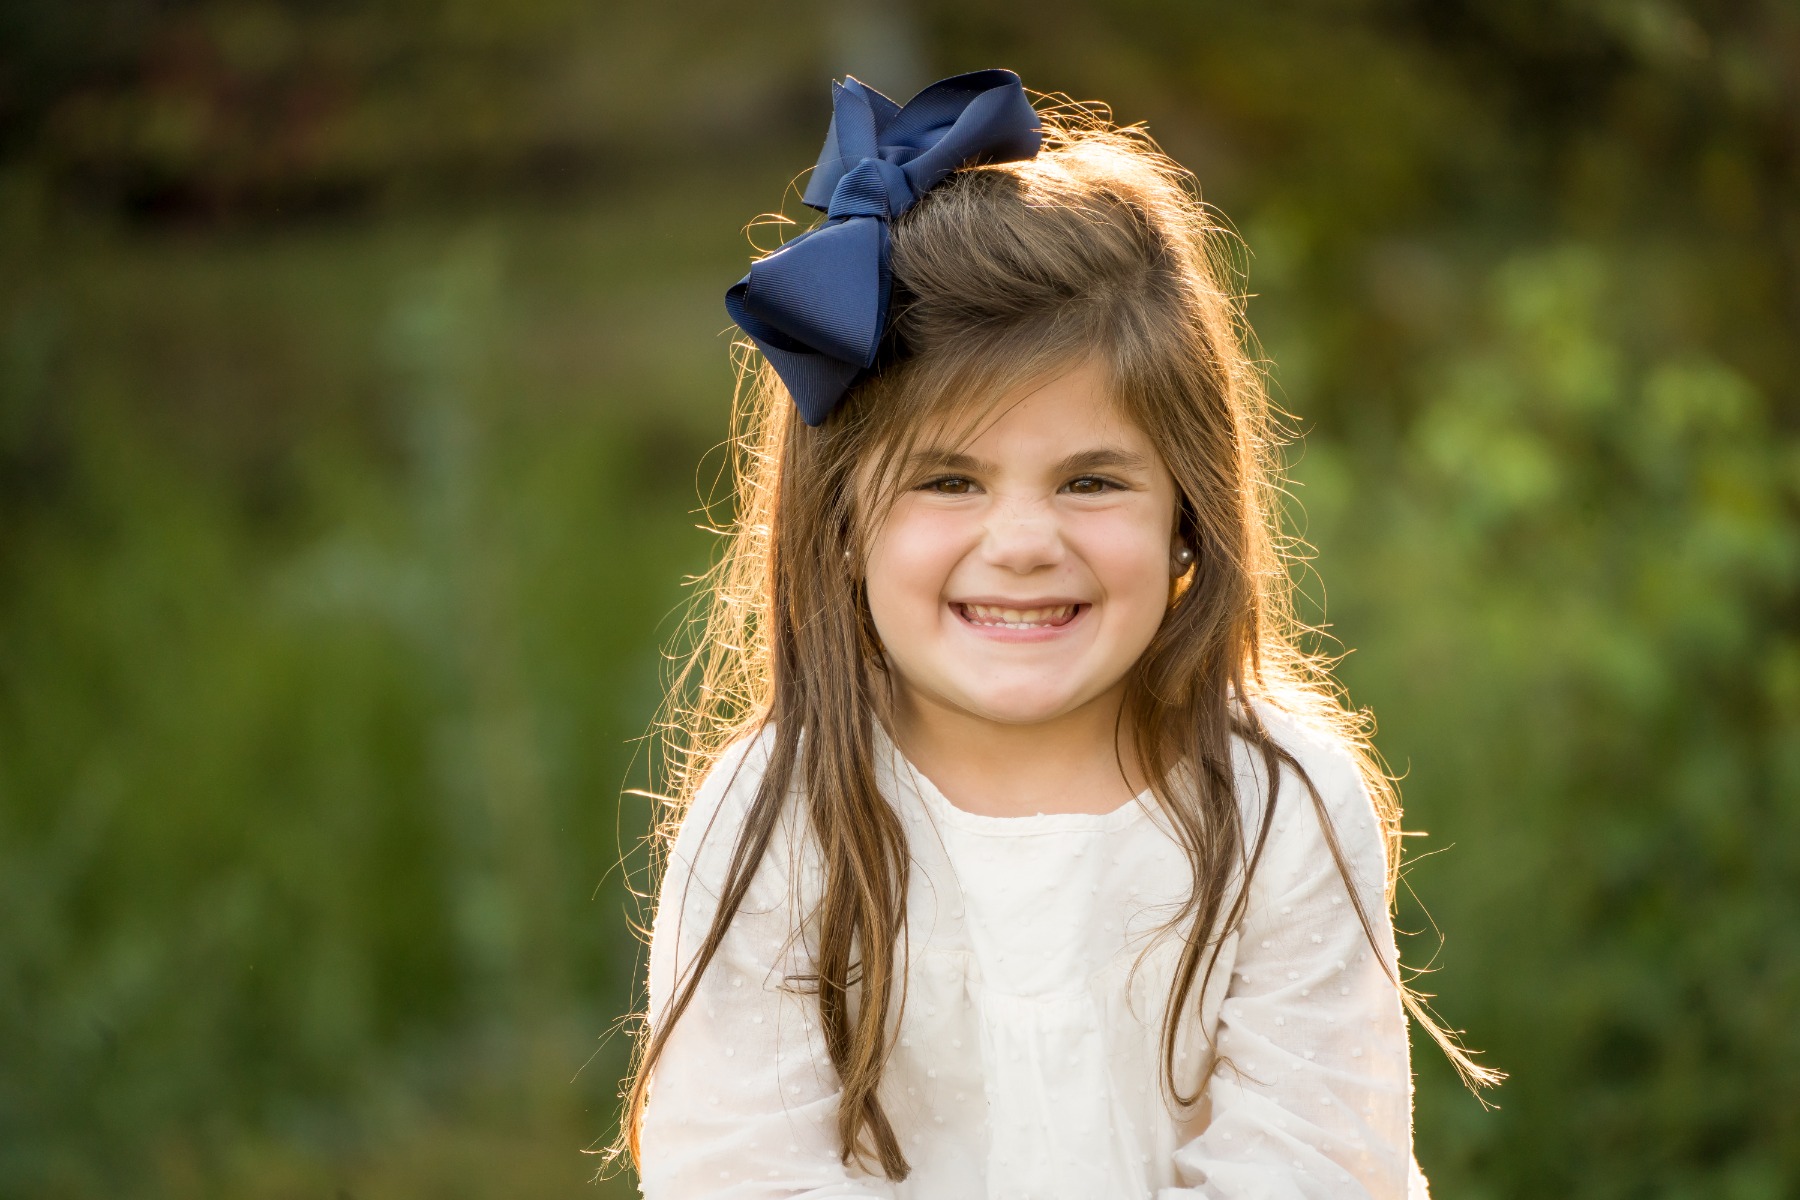
Focal length: 300mm Exposure: F6.3 Shutter Speed: 1/1000sec ISO: 400
Front light gives you bright, evenly lit faces with clean colour, which is why it is the safe choice. The catch in South Africa is intensity — between roughly 10:00 and 15:00 in summer, direct sun makes children squint and casts hard shadows under the eyes. Move into open shade under a tree at Emmarentia Dam, or wait for the light to soften towards the end of the day.
Back light wraps a child in a rim of glow and is the easiest way to get a gentle, emotional image. Faces fall into shadow, so add 0.5 to 1.0 stops of exposure compensation to bring them back. Late afternoon works best, and because South Africa keeps SAST all year with no daylight saving, the timing stays predictable: the sun sets close to 20:00 in Cape Town in late December and nearer 19:00 in Durban, pulling back to roughly 17:45 and 17:05 in June.
Side light rakes across the face and brings out texture and shape, with clear shadow edges. It suits a more graphic, serious photograph — a child concentrating on a drawing, or a frame where you want strong contrast rather than softness.
The real pleasure of an interchangeable lens camera is being able to change the angle of view. Many people photograph their children entirely on the standard zoom that came with the body, which is a capable lens but only one look. Adding a wide-angle or a telephoto opens up two very different ways of photographing children.
Wide-angle lenses for big, open scenes
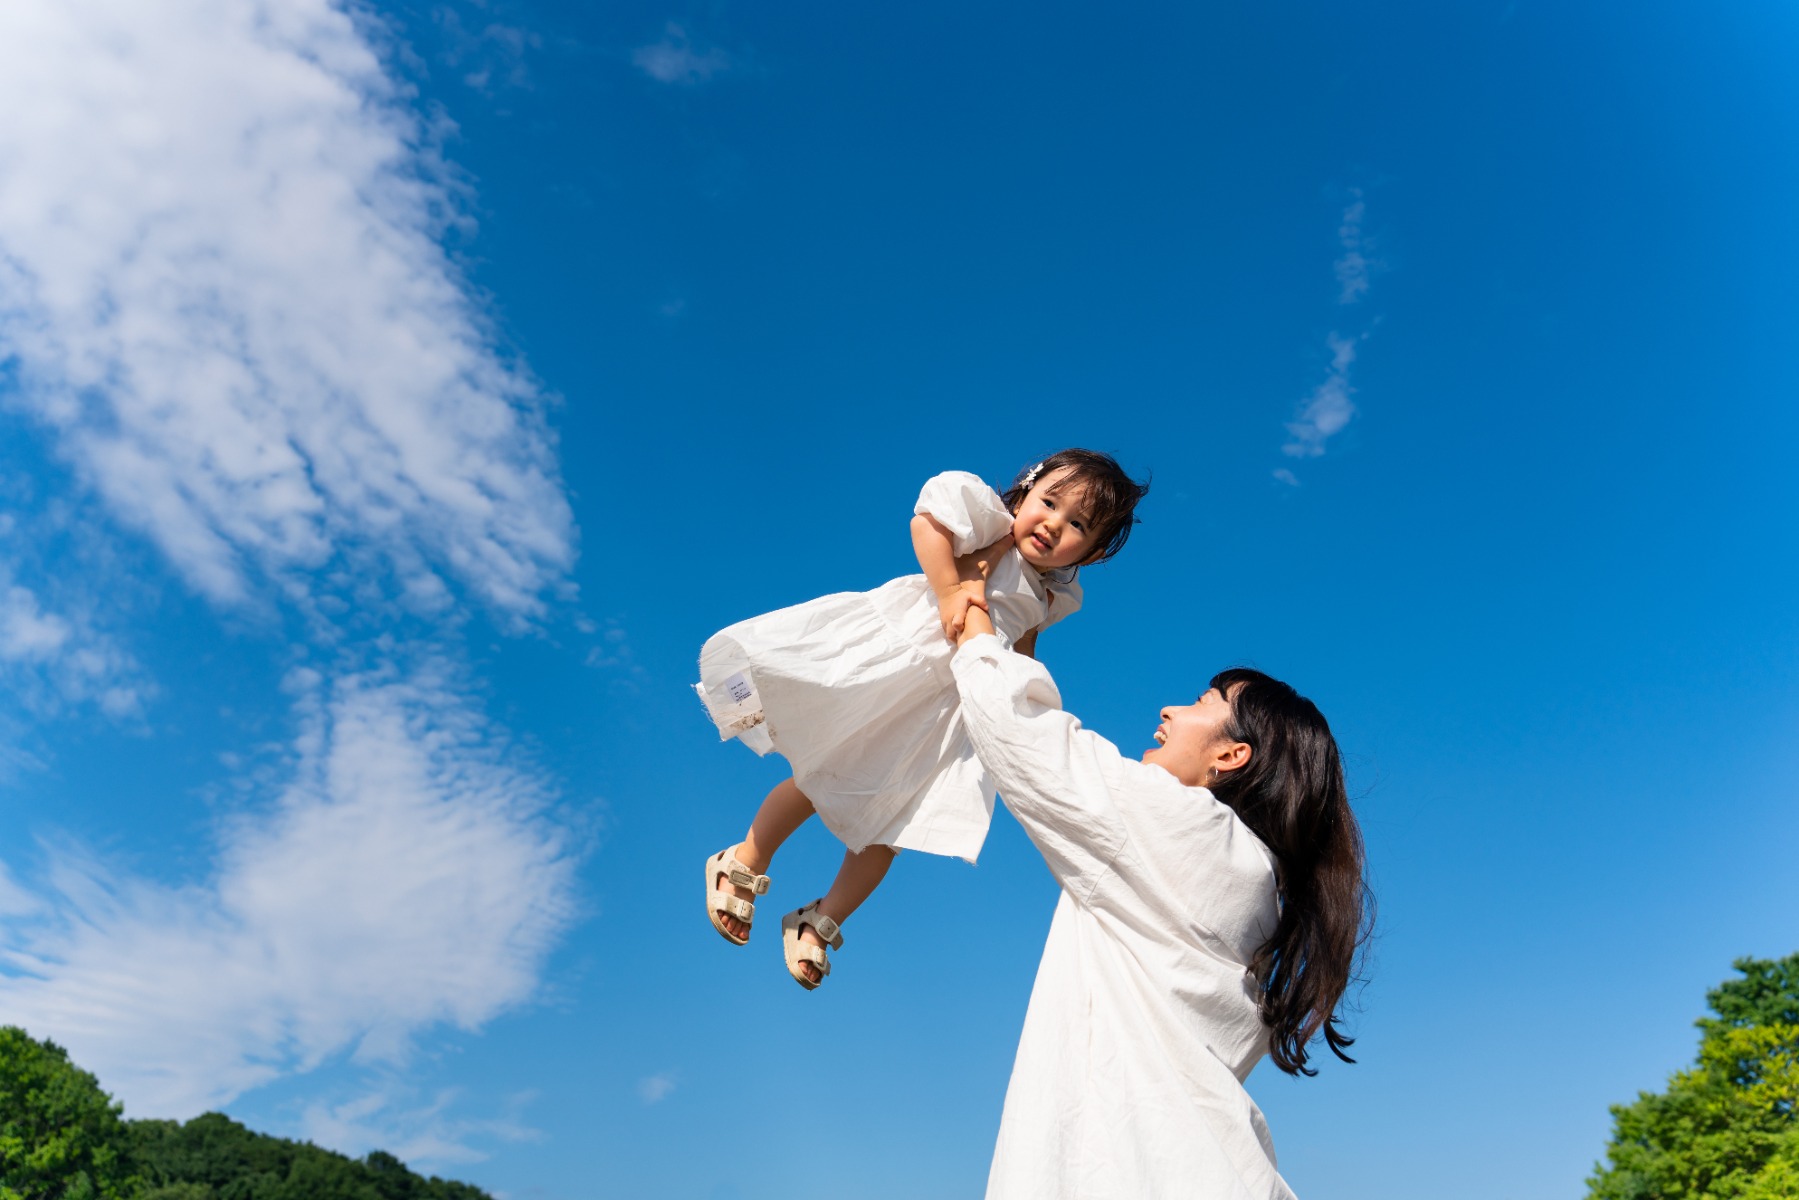
Focal length: 28mm Exposure: F4 Shutter Speed: 1/2000sec ISO: 100
A wide-angle lens is broadly anything around 35mm or shorter. It has generous depth of field, so foreground and background stay sharp together, and it exaggerates perspective — near things loom larger, distant things recede.
That makes it the lens for holidays and big landscapes: a child dwarfed by the dunes north of Ballito, or set against the sweep of Table Mountain from Green Point Urban Park. The environment becomes half the story rather than a backdrop.
Wide-angle lenses also focus close, so you can get right up to a child and shoot from a low position angled slightly upwards. It is a dynamic, faintly comic perspective that suits small children and is difficult to achieve any other way.
Telephoto lenses for athletics days, galas and school concerts
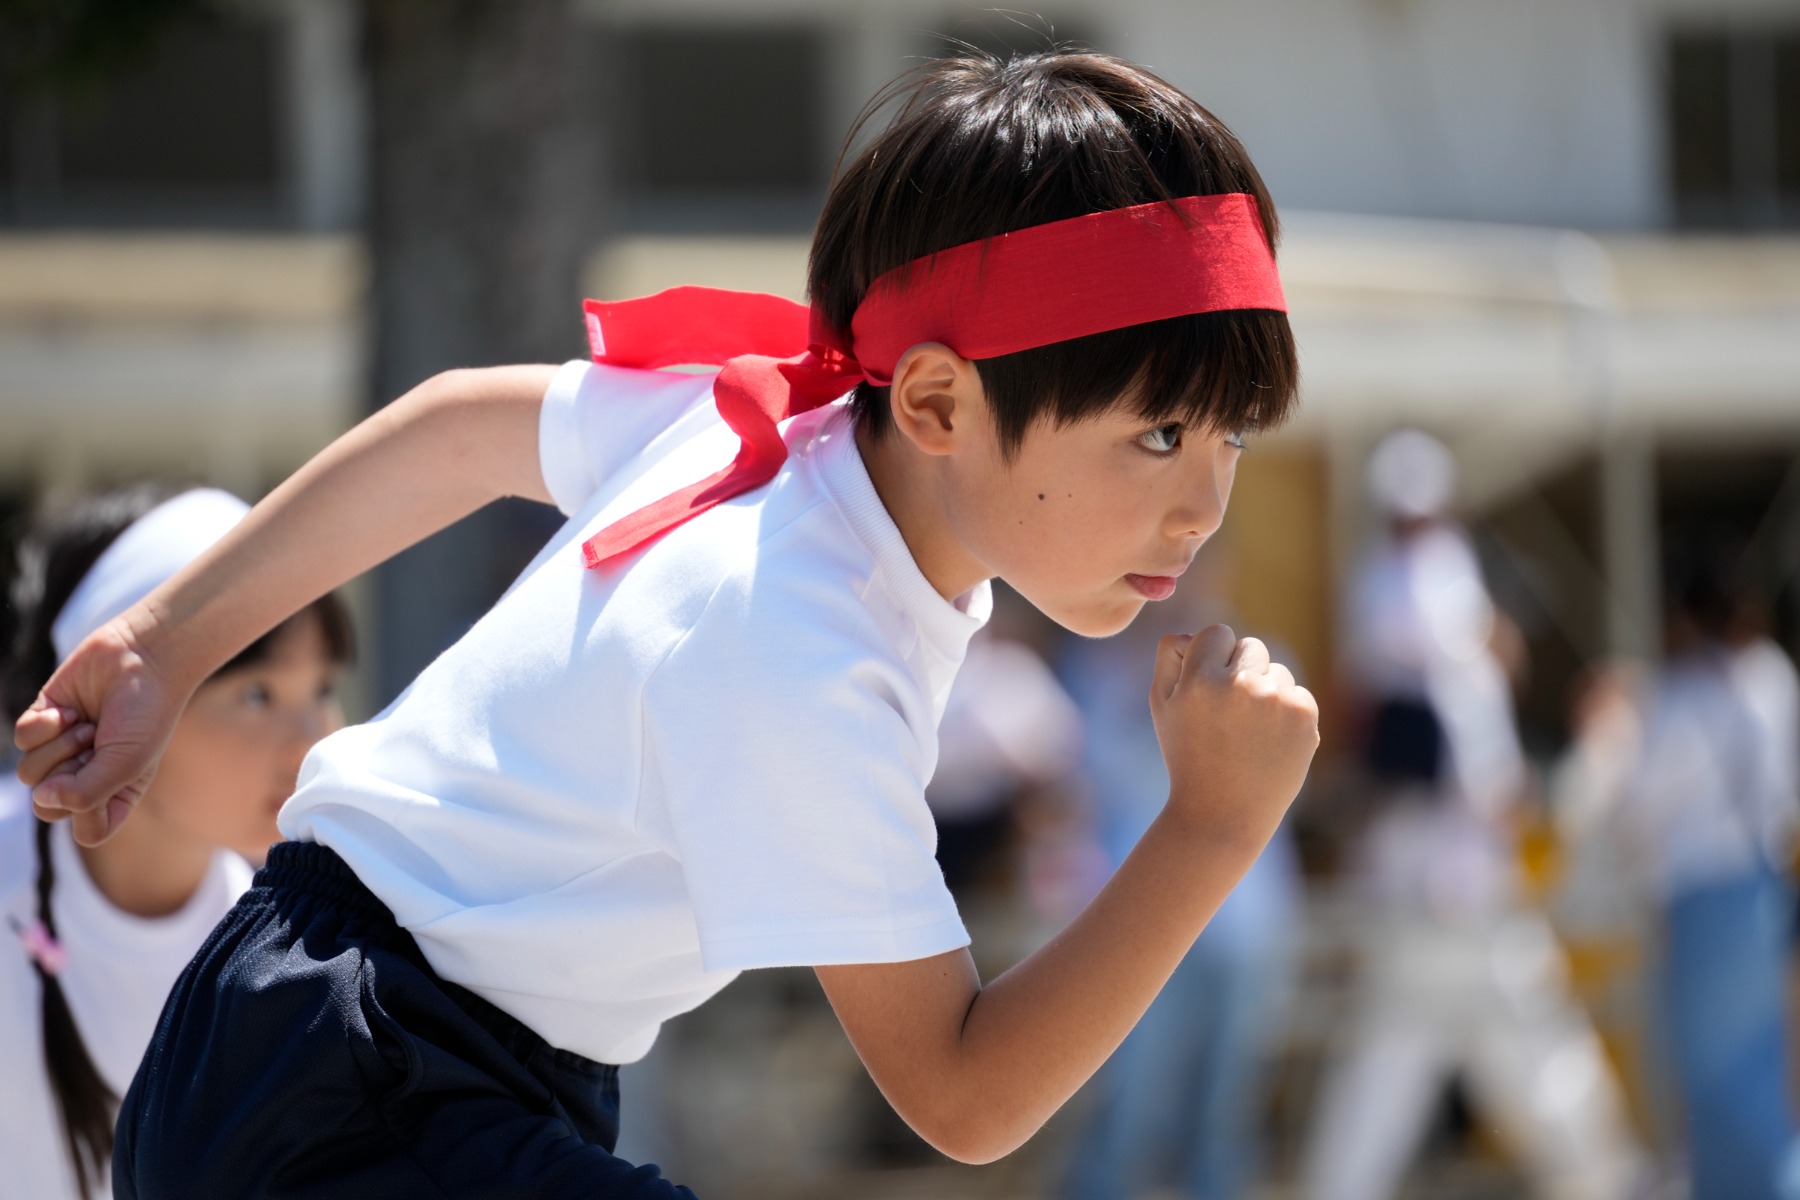
Focal length: 300mm Exposure: F6.3 Shutter Speed: 1/160sec ISO: 100
A telephoto lens generally starts around 80mm and goes up from there. It magnifies distant subjects, has shallow depth of field at any given aperture, and compresses perspective so background elements appear closer and larger than they look to the eye.
This is the lens for events where you simply cannot get near your child: an inter-house athletics day, a swimming gala, a junior rugby or netball fixture, a school concert where you are stuck in row twelve. A 70-300mm gives you a clean, frame-filling shot of a face from the far side of a field, and the compressed, heavily blurred background turns an ordinary sports photo into a portrait.
Two things to watch. Telephoto lenses magnify camera shake as well as subjects, so use a lens with vibration compensation, a monopod, or a shutter speed comfortably faster than you think you need. And at school events, check the school's photography policy before you post images that include other people's children.
The principles stay the same, but the priorities shift depending on where you are. Here is how to approach the three situations most families run into.
Outdoors, in bright South African light
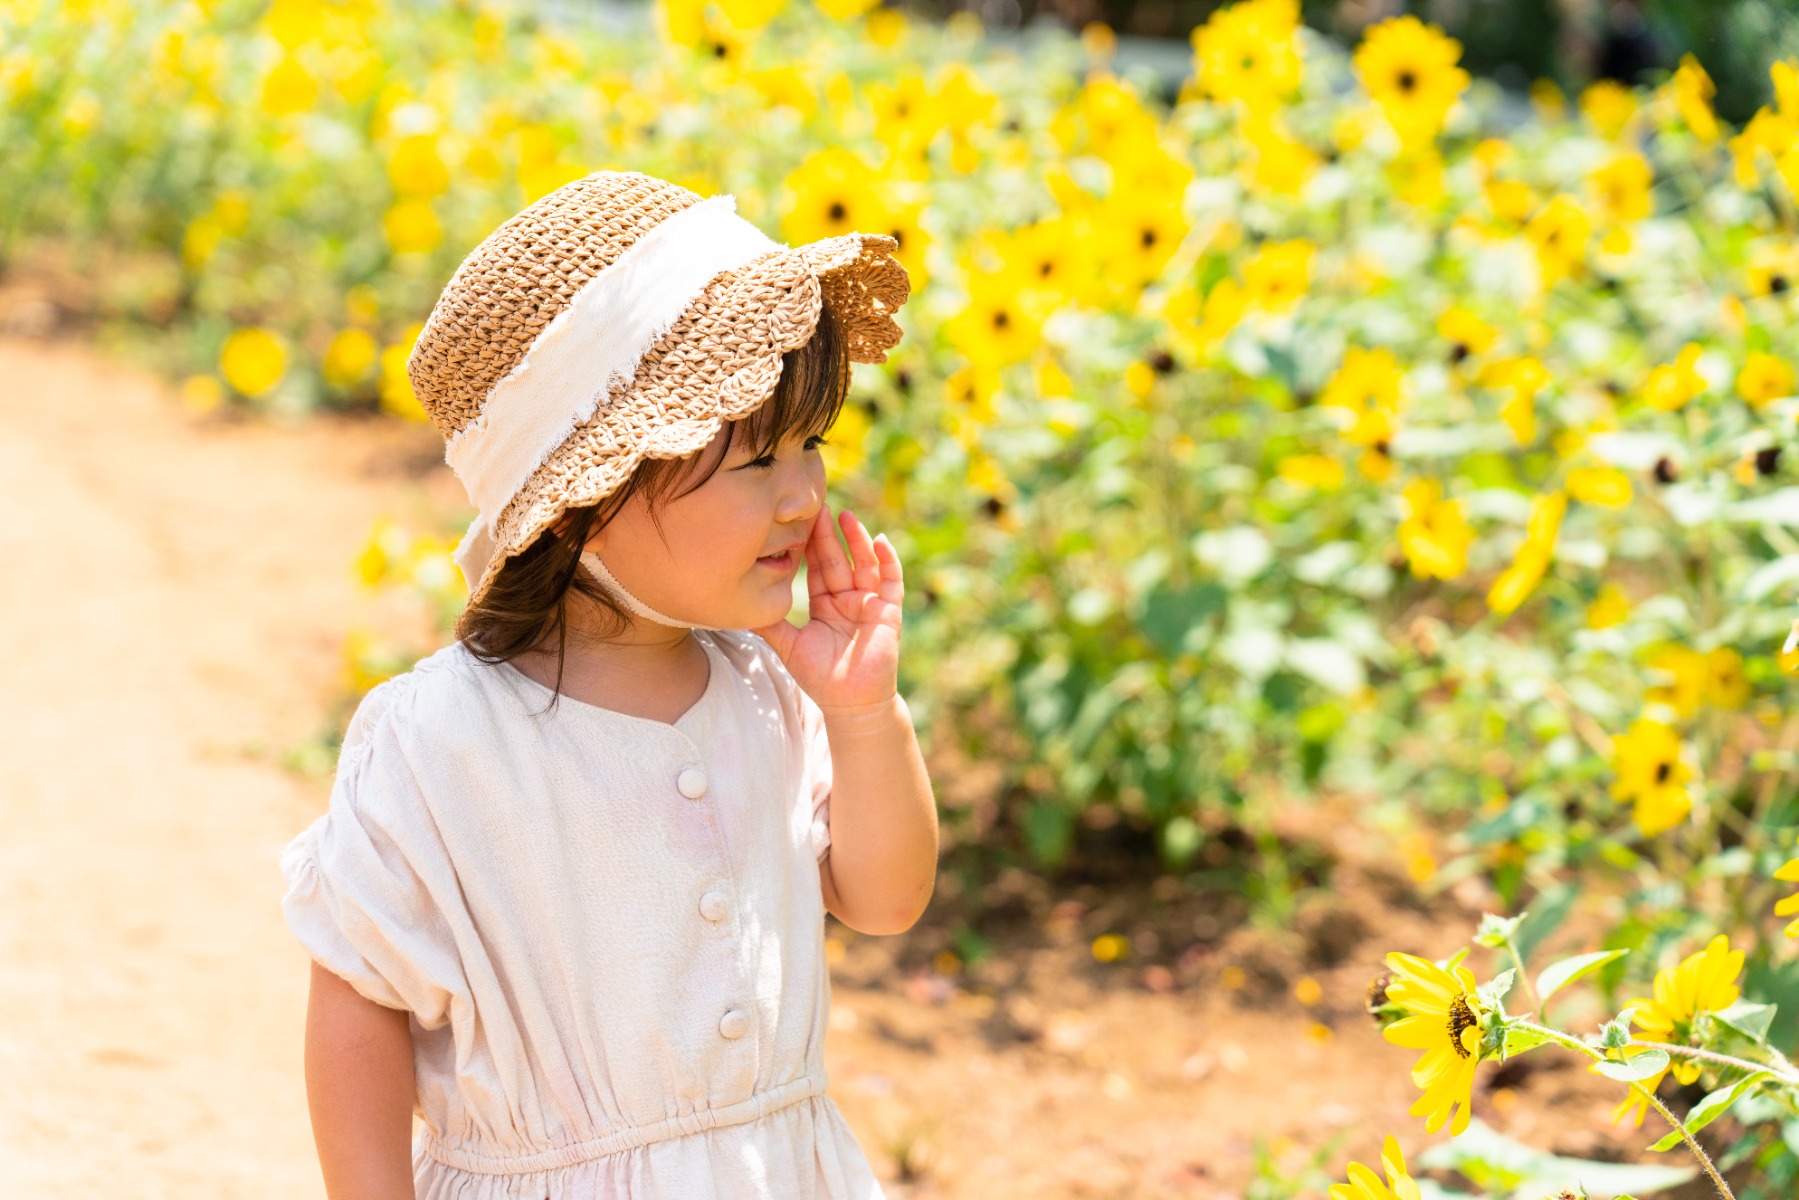
Focal length: 28mm Exposure: F4 Shutter Speed: 1/2000sec ISO: 100
Outdoors, start with a fast shutter speed — 1/500 sec, or quicker if children are running — and open the aperture when you want the background to soften. There is usually plenty of light to work with, so brightness is rarely the limiting factor.
Think about where the sun is before you think about settings. Front light for clear expressions, back light for warmth and atmosphere, side light for drama. Overcast days, which the Cape gets plenty of in winter, act like an enormous softbox and are far kinder to faces than a cloudless December afternoon at 32°C.
Composition changes a photograph as much as exposure does. Build in something from the surroundings — a bicycle on the Sea Point promenade, proteas and fynbos on the paths at Kirstenbosch, the water's edge at Zoo Lake — and you come home with a set of pictures that has variety, rather than twenty versions of the same head-and-shoulders shot.
Indoors and in shade
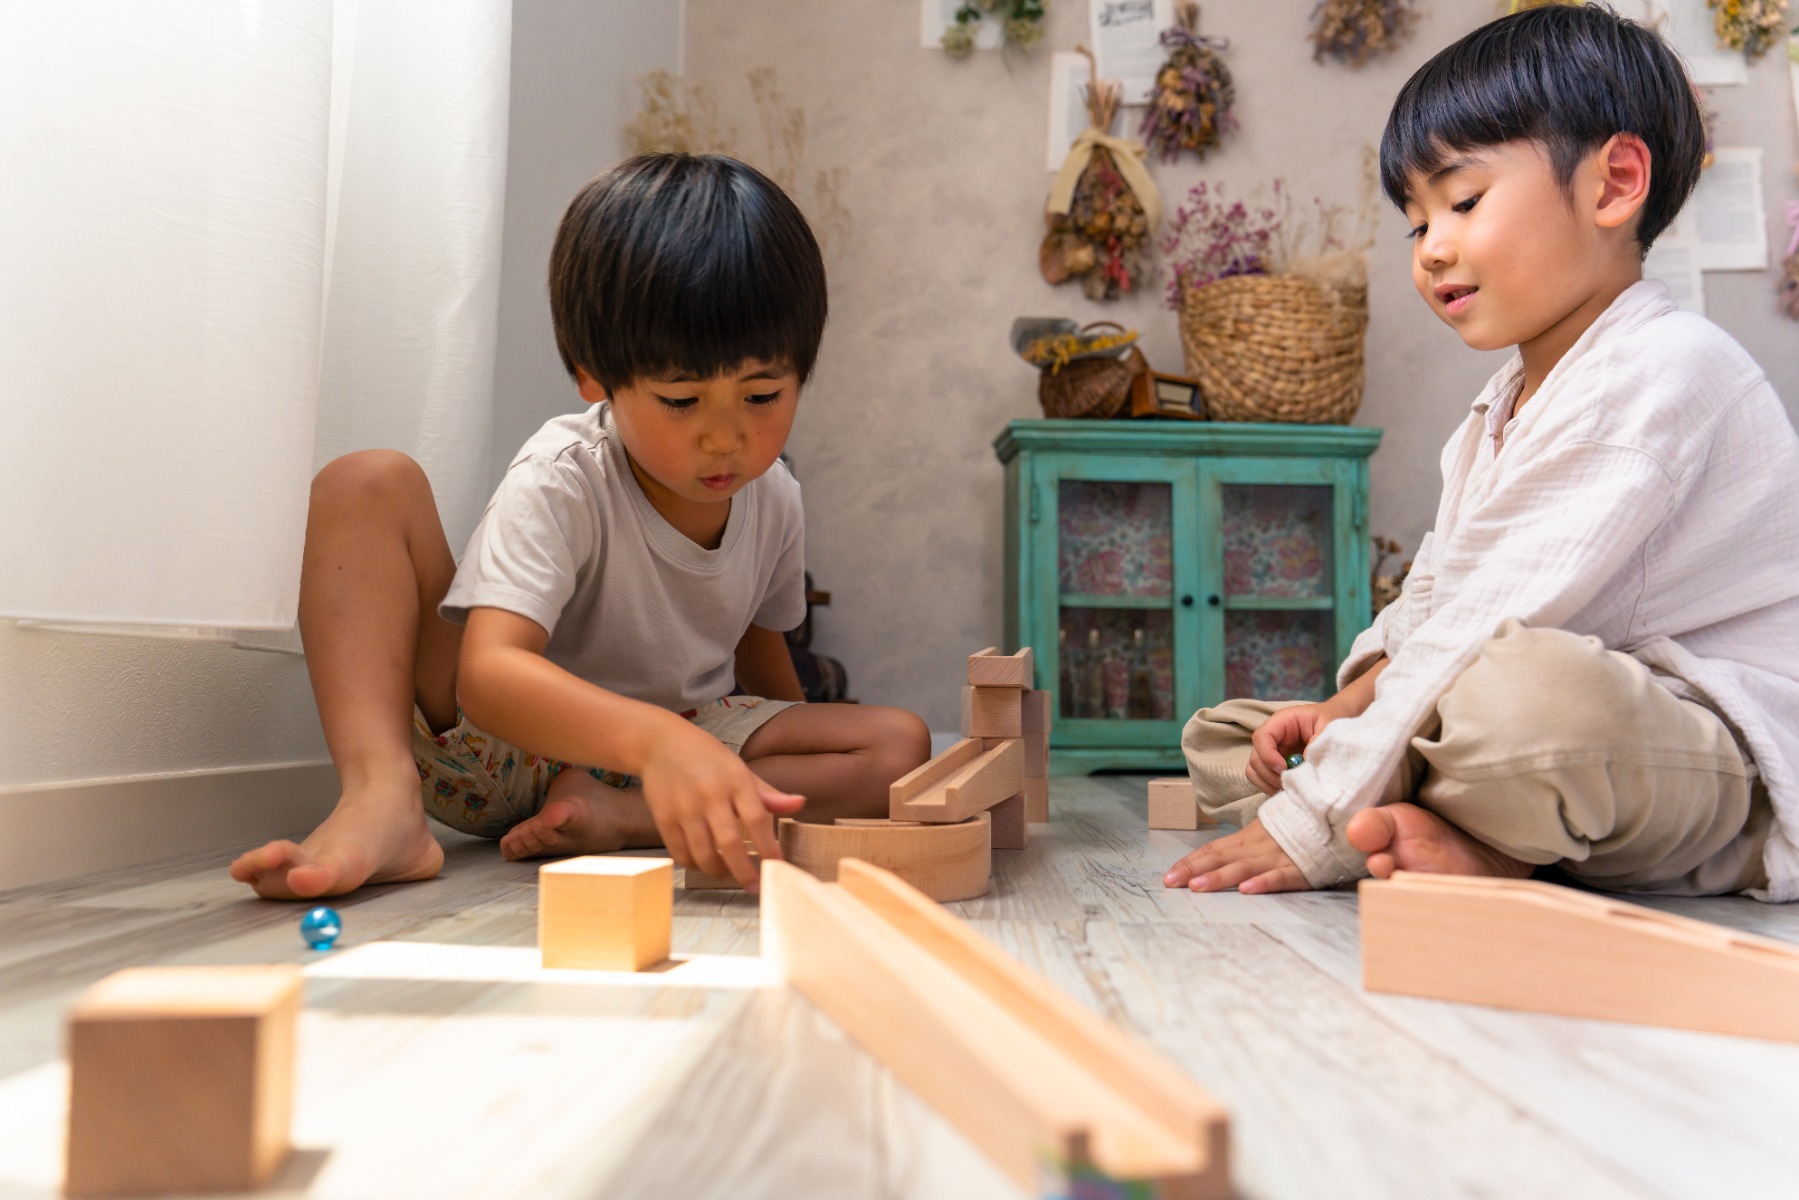
Focal length: 28mm Exposure: F4 Shutter Speed: 1/1253sec ISO: 400
Indoors, light is the constraint. Position your child near a window, ideally a large one that is not taking direct sun, and switch off the overhead lights so you are working with a single clean source. A pale wall opposite the window bounces light back and lifts the shadow side of the face at no cost.
Open the aperture as wide as it will go, and if that still is not enough, raise ISO rather than letting the shutter speed drop too far. A short minimum object distance also earns its keep indoors, where you often cannot back up — it lets you fill the frame with a child sitting across the kitchen table without having to move your chair.
Indoors and in shade
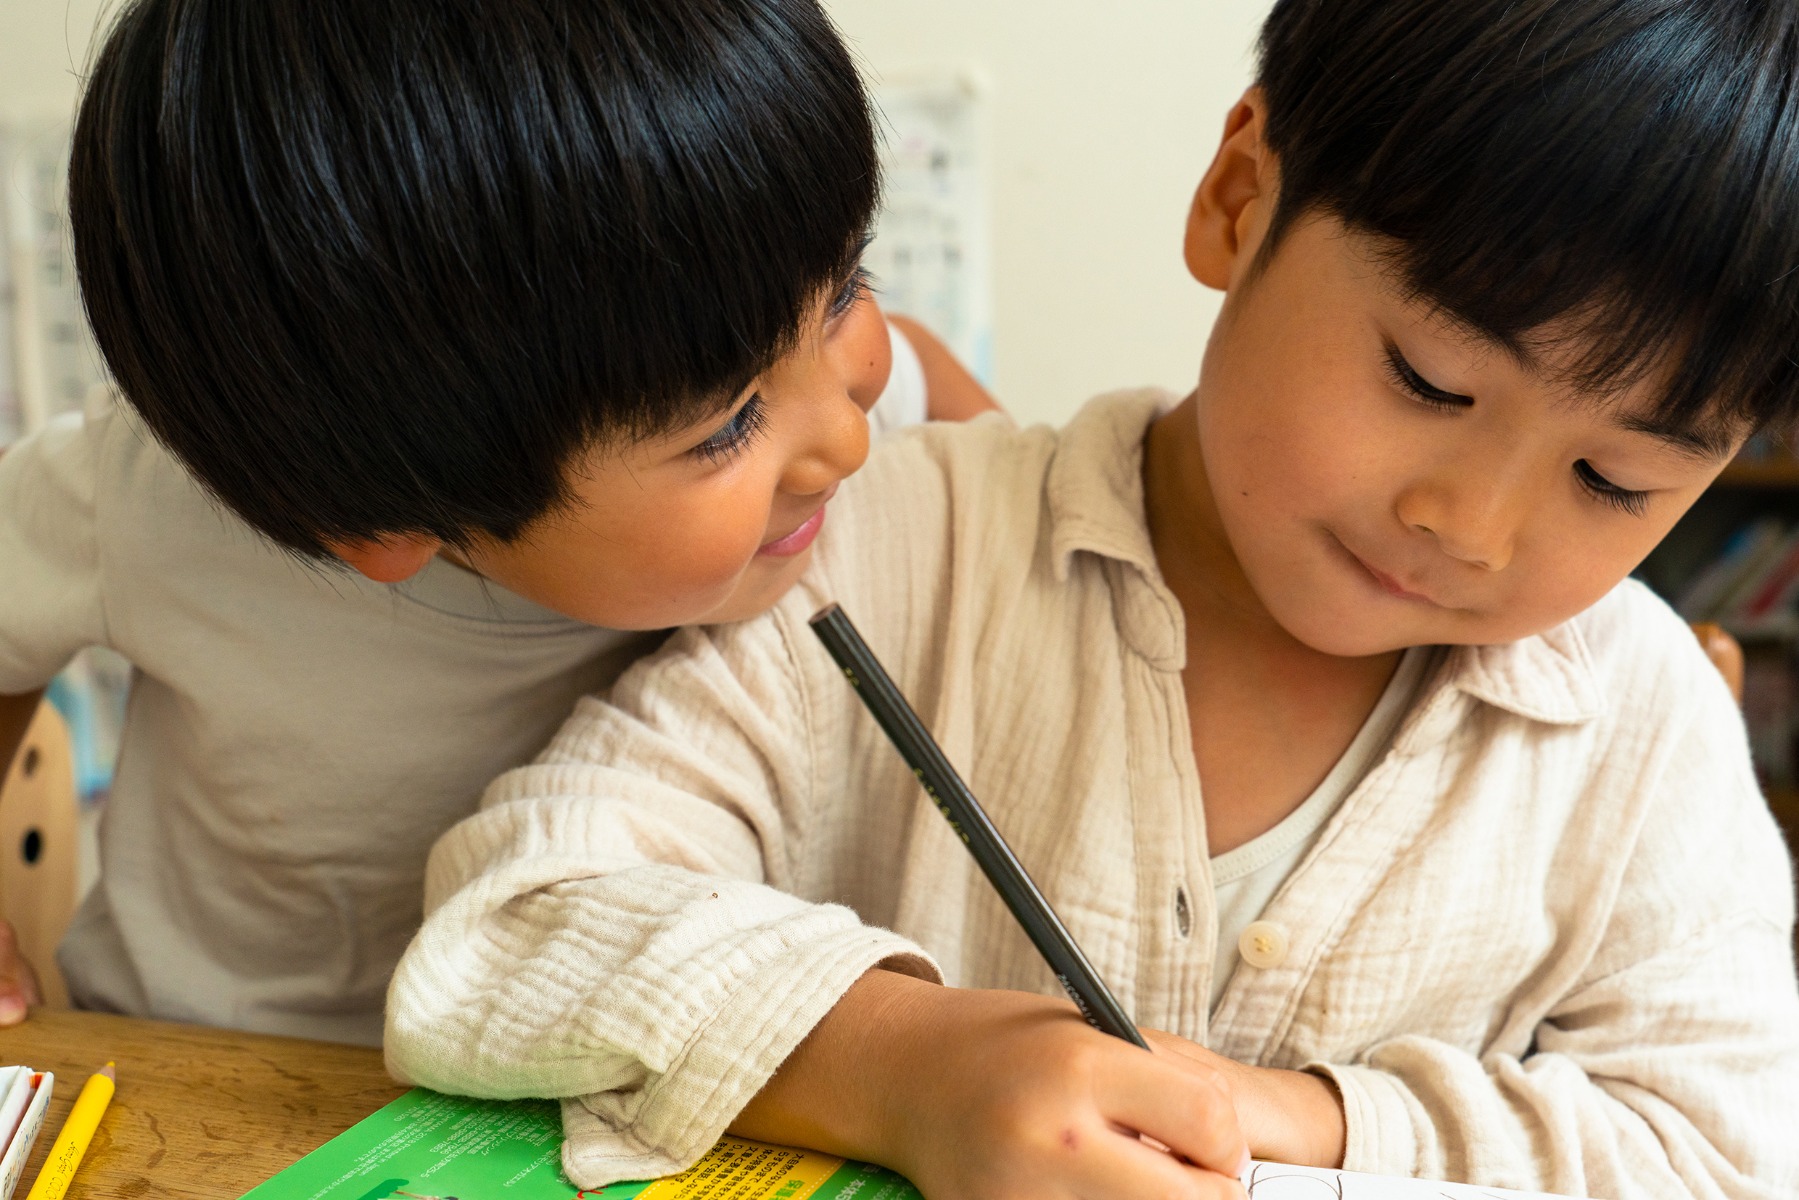
Focal length: 43mm Exposure: F5.6 Shutter Speed: 1/125sec ISO: 800
Athletics days, galas and other fast-moving scenes
Focal length: 129mm Exposure: F6.3 Shutter Speed: 1/1600sec ISO: 1000
For anything happening at a distance and at speed, reach for the telephoto. Raise the shutter speed until motion stops cleanly — 1/1000 sec or faster for sprinting, swimming and ball sports — and combine continuous autofocus with burst shooting so you catch the moment itself rather than the half-second after it.
Indoor venues are harder. School halls and covered pools are usually far dimmer than they feel, and you are often shooting from the back. Open the aperture fully, accept a higher ISO than you would normally choose, and if you must slow the shutter, time your frames for the natural pauses — the turn at the wall, the top of a jump, the beat before a line is delivered.
Lens choice comes down to how and where you shoot rather than to specifications on paper. These are the five things worth weighing up.
Portability
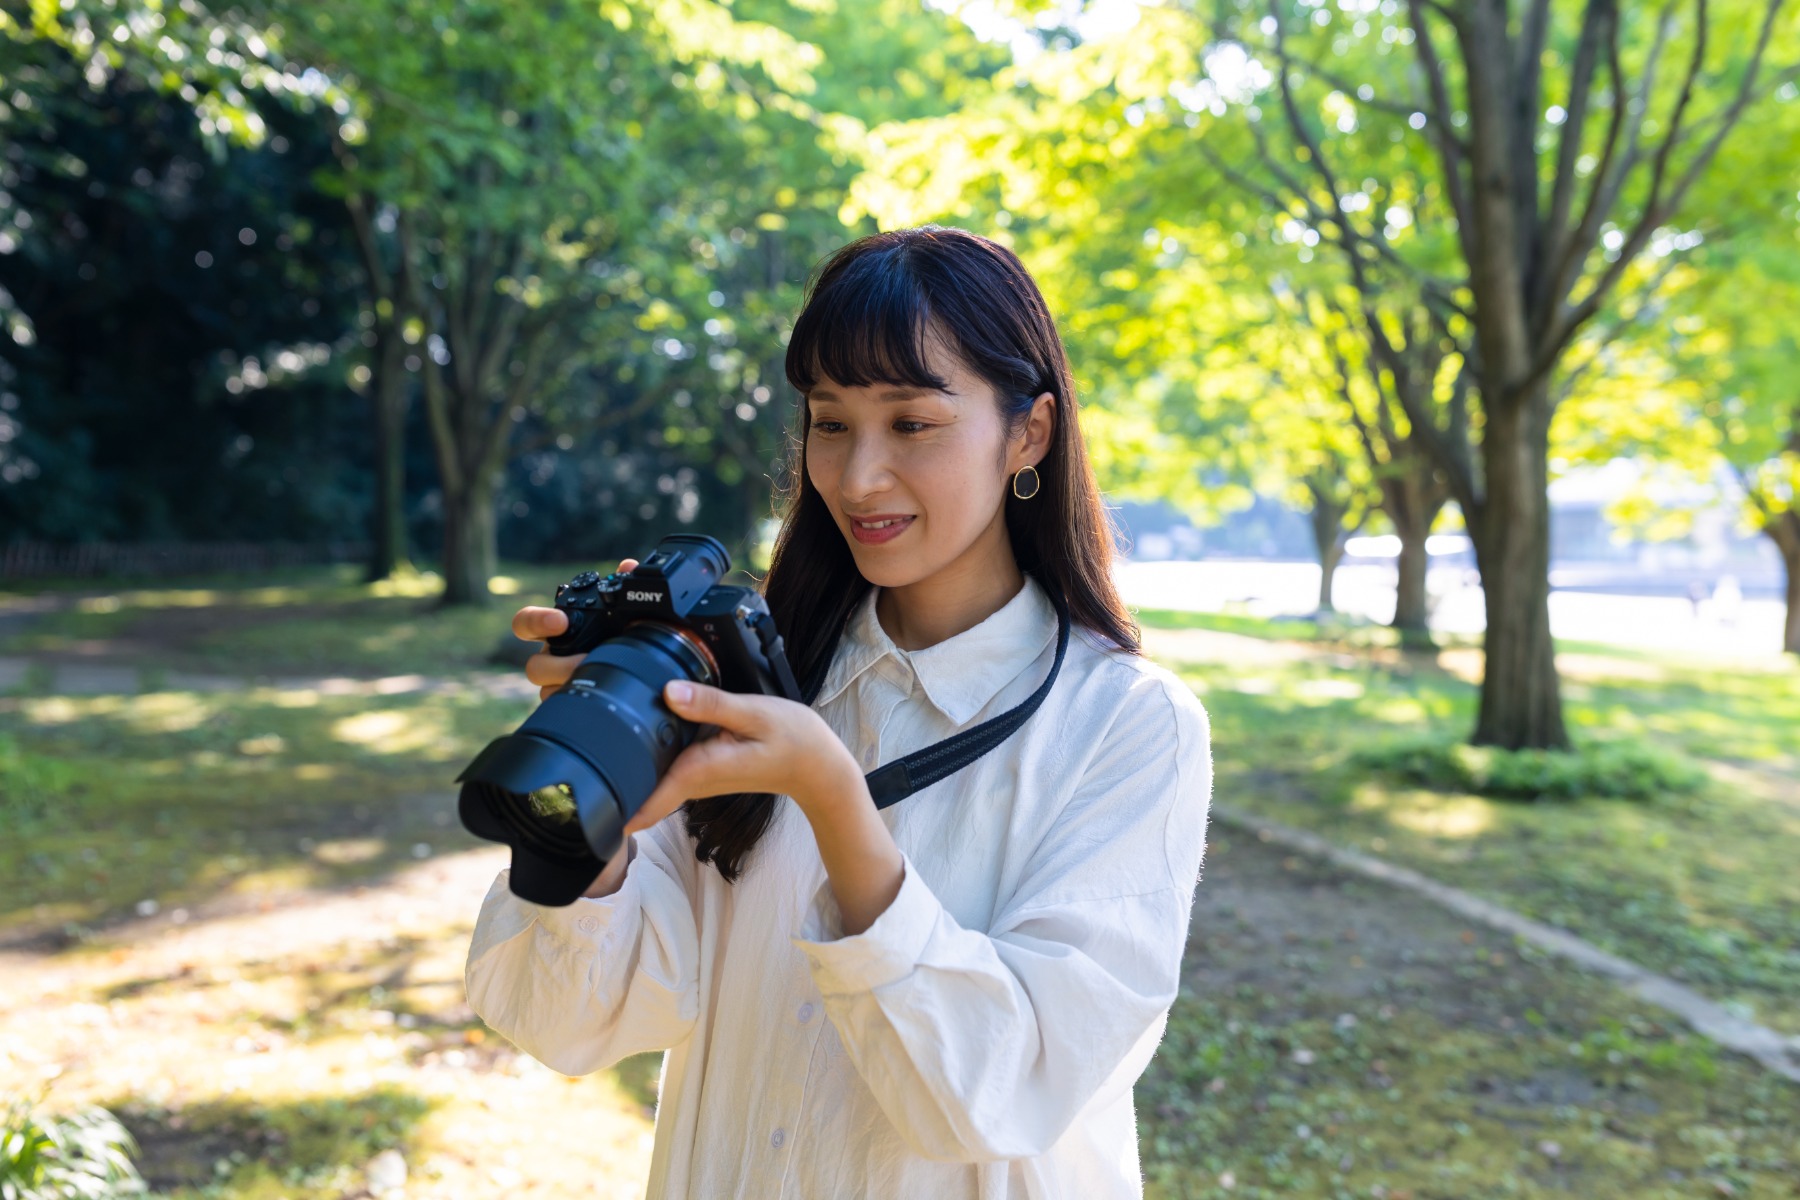
You are already carrying more than you would on your own — bags, water, snacks, somebody's jersey. A lens that is compact and light is a lens you will actually bring, and one you can hold at arm's length or from a crouch without your arms giving out ten minutes in. Weight matters more here than in almost any other kind of photography.
A large maximum aperture gathers more light, which lets you keep shutter speeds high in dim conditions without pushing ISO too far. It also delivers the shallow depth of field that lifts a child cleanly off a busy background — the look that makes a photograph obviously not a phone snap. If you are buying one lens on specification alone, buy the fast one.
Check that a lens focuses quickly and accurately, tracks a moving subject without hunting, and supports your camera's Eye AF. Focusing motor noise matters too: at a school concert or a prize-giving, a lens that whirrs audibly is a genuine nuisance, so quiet stepping-motor designs are worth seeking out.
Vibration compensation is the other thing to look for, particularly on telephoto lenses. It steadies the frame at slower shutter speeds and makes handheld shooting at 300mm practical, which matters when you are standing on a field boundary with no tripod and no time to set one up.
Minimum object distance
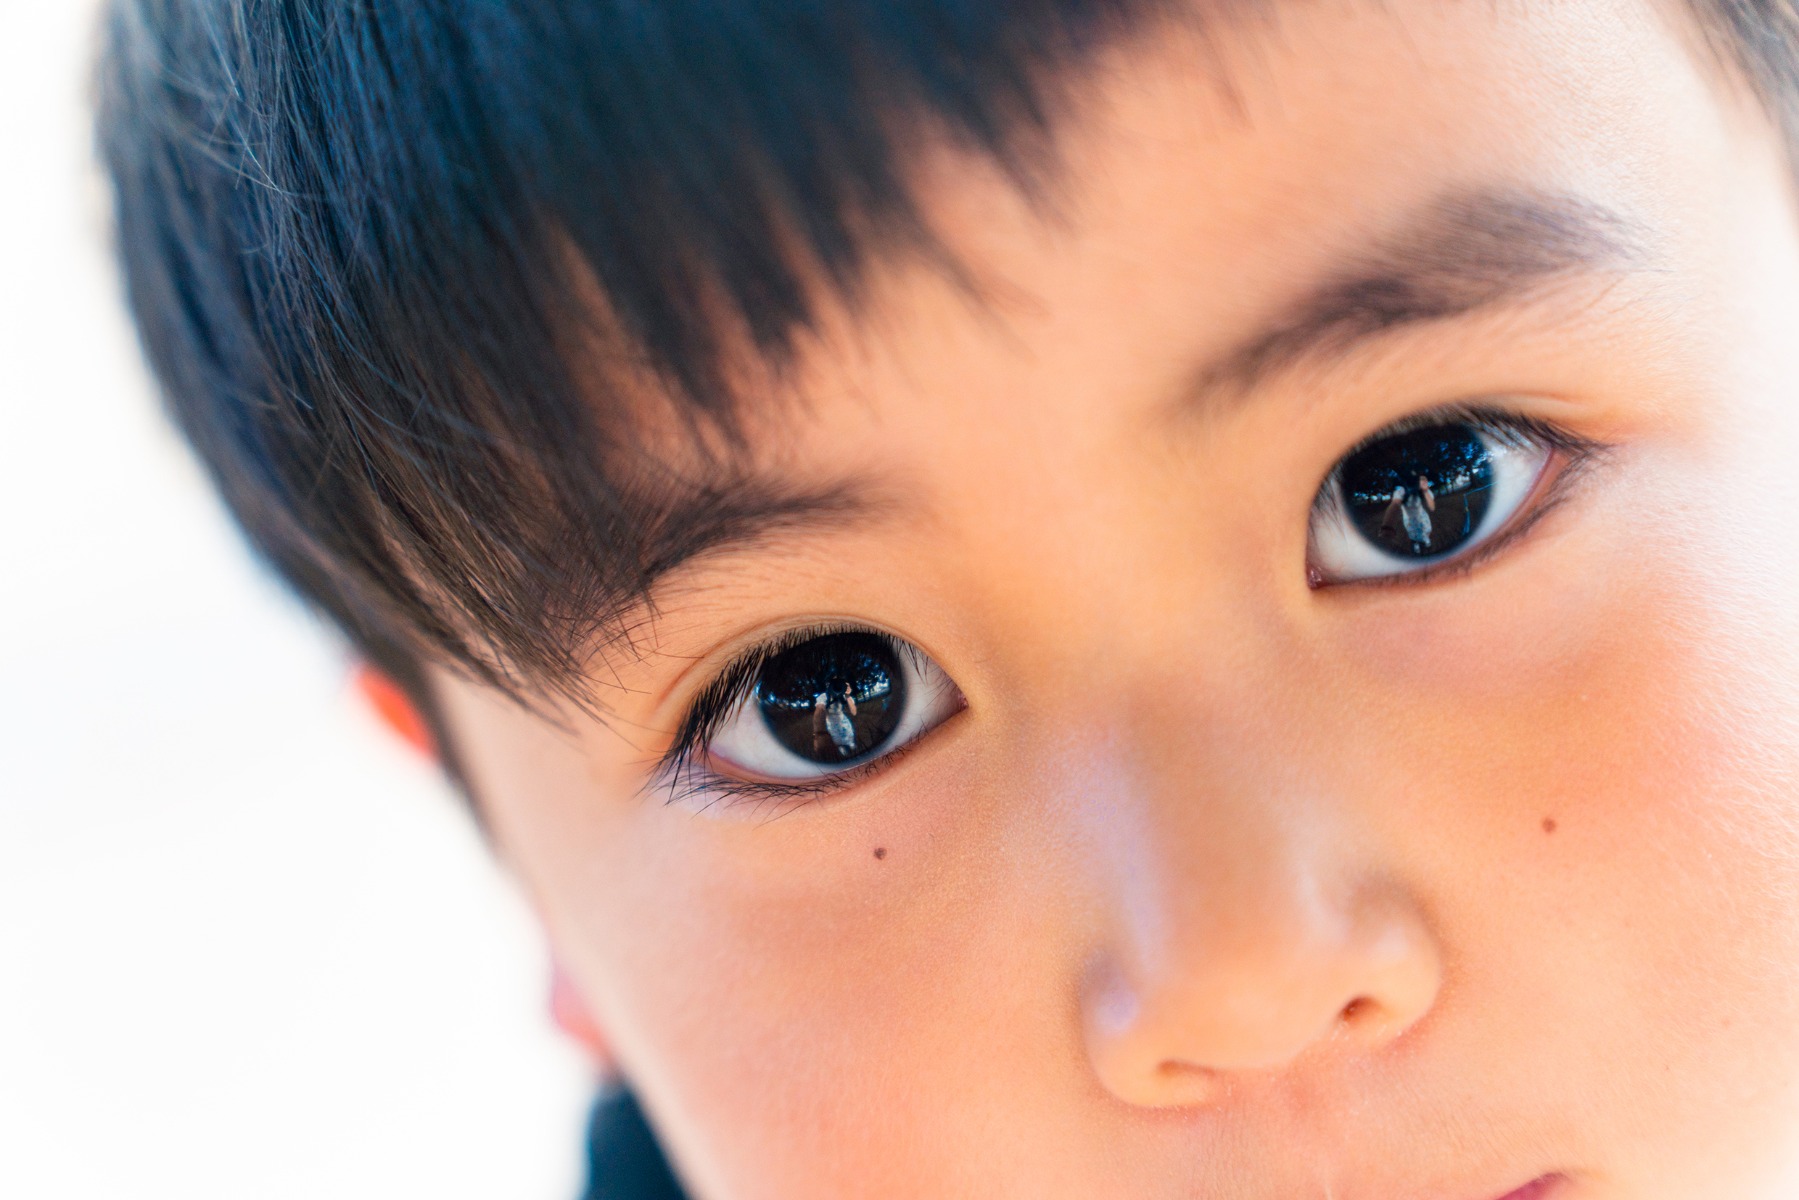
Focal length: 75mm Exposure: F2.8 Shutter Speed: 1/200sec ISO: 160
Minimum object distance is the closest a lens can focus, measured from the subject to the camera's sensor. Move nearer than that and the lens simply will not lock on.
A short minimum object distance is quietly one of the most useful features for photographing children. It lets you photograph a toddler while still holding their hand, fill the frame with small fingers and shoes, or shoot across a narrow lounge — all without stepping backwards and losing the moment while you do it.
Photographing children happens in places that are hard on equipment: a beach at Umhlanga, a splash pool, a garden caught by a Highveld thunderstorm, the edge of a braai. TAMRON lenses use moisture-resistant seals at the mount and along the barrel to keep water and dust out, and the front element carries a fluorine coating that shrugs off fingerprints and wipes clean easily — useful, given that a curious child will reach for the shiny glass at the first opportunity.
Photographing children well is mostly a matter of practice and attention: watching where the light falls, getting down to their level, and knowing which control to reach for when a picture is not working. Experiment with aperture, shutter speed and composition and you will build an instinct for it faster than you expect. Above all, keep shooting. Take far more photographs than you think you need, on ordinary Tuesday afternoons as much as at the gala or the birthday party. Children change month by month, and the frames you are glad to have in ten years' time are rarely the posed ones.