| September 18, 2026
 South Africa's #1 Mobile Protection Brand
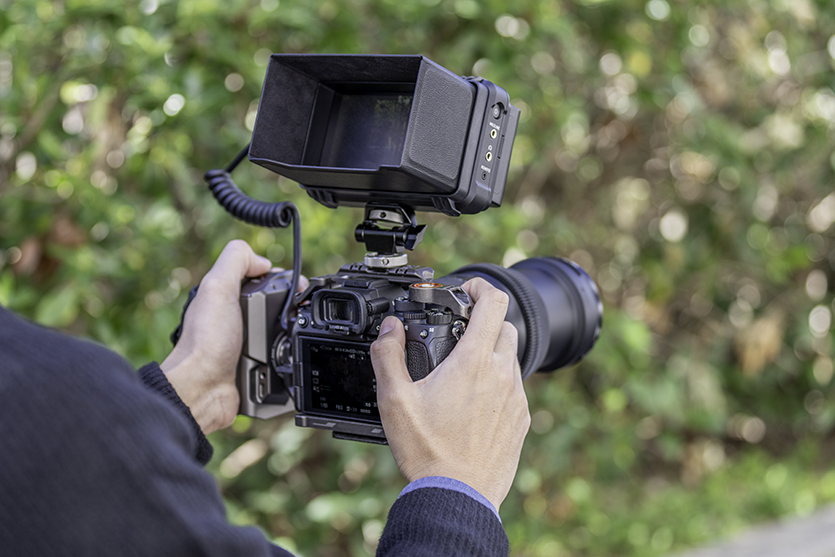
You bought an interchangeable lens camera for stills. The video button is right there, and most of the time you still reach for your phone instead — because the first few clips you shot with the camera came out flat, or juddery, or blown out, and the phone simply handled it better.
That gap is not a hardware problem. Phone video is heavily processed to look acceptable in any condition. Mirrorless video hands you the controls and expects you to set them. Once you understand what those controls actually do, the footage pulls decisively ahead.
This guide covers three things: the terms behind every video setting and what each one controls, how to configure the camera in the right order, and how to choose a lens that holds up in the field. It is written for South African conditions, which matters more than it sounds — summer light here is intense enough that the standard exposure advice written for other markets does not work without adjustment. That point comes up repeatedly below.
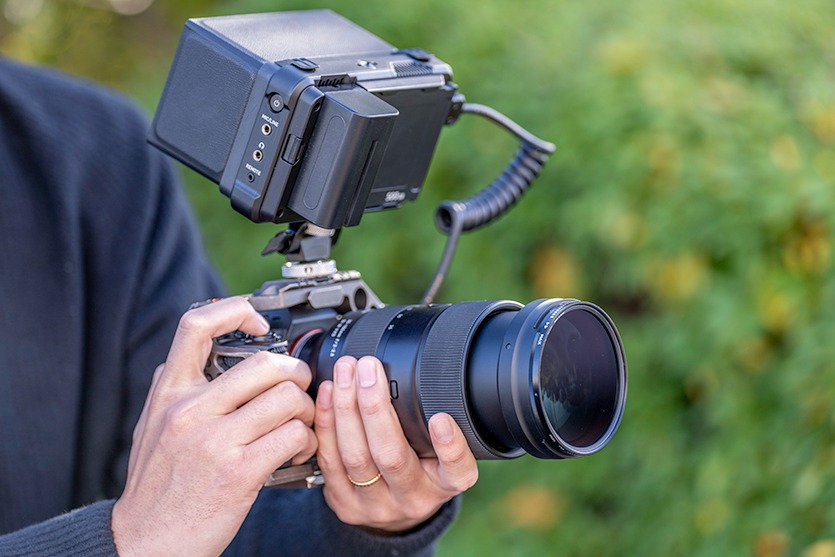
The sensor does most of the work. A mirrorless camera’s sensor is many times the surface area of the one in your phone, so it collects far more light per frame. In practice that means usable footage in conditions where a phone starts to smear and crawl with noise: a netball court under indoor lighting, a coastal walk forty minutes after sunset, a room lit only by what comes through the window. The camera also records genuine 1080p and 4K without the aggressive sharpening and noise reduction phones apply to compensate for their optics.
Then there is the lens mount. Changing focal length on a phone means switching between fixed modules. On a mirrorless body it means fitting a different lens, with a different rendering, a different maximum aperture and a different working distance. A wide-angle lens gives you the full sweep of a coastal ridge line with the foreground still reading as foreground. A telephoto compresses a line of hills into stacked layers and lets you fill the frame with a subject two hundred metres away. Neither look is available to computational processing.
The third advantage is that the camera is a starting point rather than a finished object. Audio is the usual first upgrade — an external microphone will improve a video more than any sensor ever will, because viewers forgive soft footage and abandon bad sound. Stabilisation comes next: a tripod for anything static, a gimbal for anything moving. Beyond that sit cages, follow-focus units and external monitors, which start to matter once you are doing deliberate focus work rather than pointing and recording.
None of it helps if the settings are wrong, which is where most people stall.
Every setting discussed later in this article depends on the six or seven ideas below. They are worth reading in order, because each one feeds into the next.
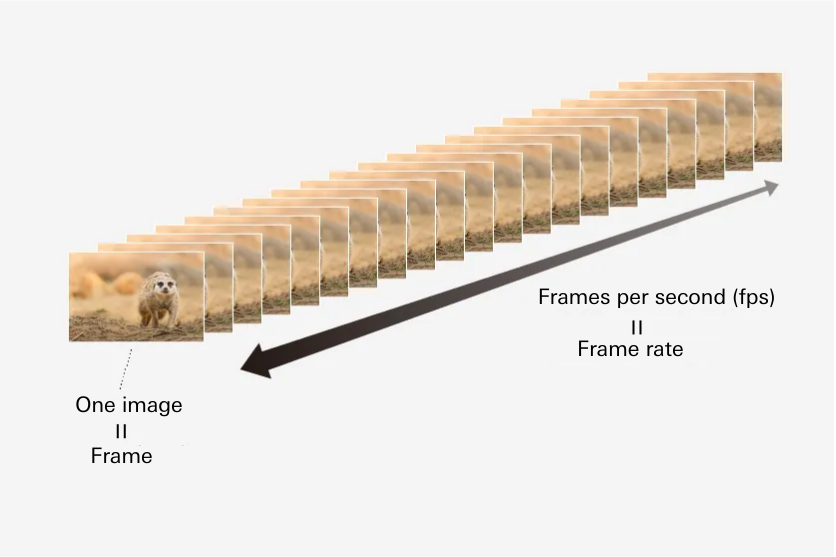
Frame rate is the number of individual images the camera records every second, written as fps. At 120 fps the camera captures 120 frames per second; at 24 fps it captures 24. Depending on the menu, your camera may express this as 24p, 30p or 60p instead.
The right frame rate depends on where the video will be seen rather than on what you are filming.
|
Frame rate |
Typically used for |
|
24 fps |
Feature films and anything aiming at a cinematic look |
|
30 fps |
Streaming, online video and general-purpose footage |
|
60 fps |
Broadcast sport, fast action, and footage you intend to slow slightly |
|
120 fps |
Action capture, gaming footage and pronounced slow motion |
Higher frame rates look smoother, but they cost you light. More frames per second means each frame is exposed for less time, so a 120 fps clip needs considerably more light than a 30 fps clip of the same scene. Filming at a high frame rate indoors or late in the day usually means opening the aperture, raising ISO, or both — each of which brings its own trade-off, covered below.
Slow motion and quick motion both come from a deliberate mismatch between the frame rate you record at and the frame rate you play back at.
Record at 120 fps and play back at 30p and the footage runs at a quarter speed — four times slower than life. Drop the recording rate to 8 fps and play back at that same 30p and the footage runs 3.75 times faster than life.
Subjects that reward slow motion: jacaranda blossom coming off the trees in Gauteng through October and November; fynbos moving in wind on a Western Cape slope; flame and smoke over a braai, which at 120 fps becomes far more interesting than it looks in real time.
Slow motion also hides camera shake, which makes it useful with long lenses. A handheld telephoto clip that looks unusable at normal speed often steadies out considerably once slowed. Worth knowing if you shoot handheld more often than not.
Shutter speed is how long each individual frame is exposed. In stills you choose it to freeze or blur motion. In video that logic inverts: shutter speed is determined by the frame rate, not by the subject.
The convention is to set the shutter to roughly double the frame rate. At 24 fps that means 1/50 sec; at 30 fps, 1/60 sec; at 60 fps, 1/125 sec. This produces the amount of motion blur within each frame that the eye reads as natural movement.
Set the shutter much faster and every frame becomes individually sharp, which sounds desirable and looks wrong — motion turns stuttery and hard-edged. Set it much slower and movement smears into itself.
The order matters: choose the frame rate for the delivery, derive the shutter speed from it, then control exposure with aperture, ISO and neutral density. In video, shutter speed is not an exposure control.
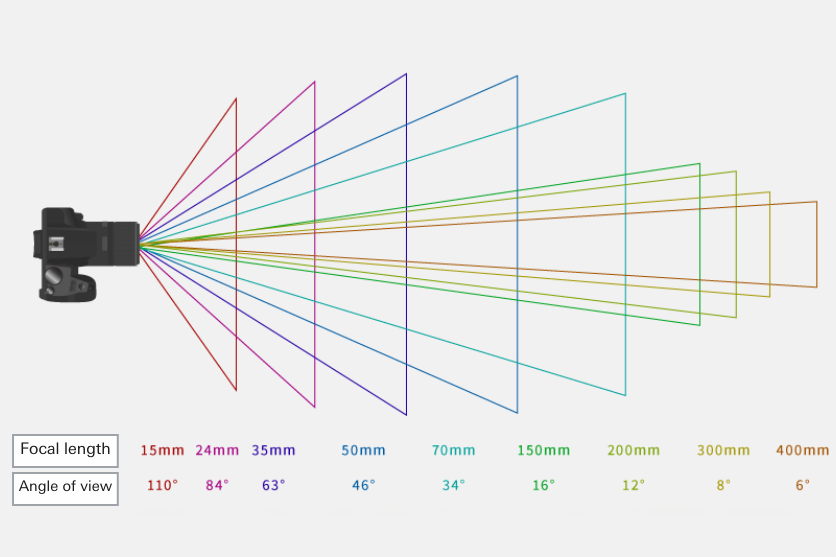
Angle of view is how much of a scene the lens takes in, expressed as an angle. Focal length sets it.
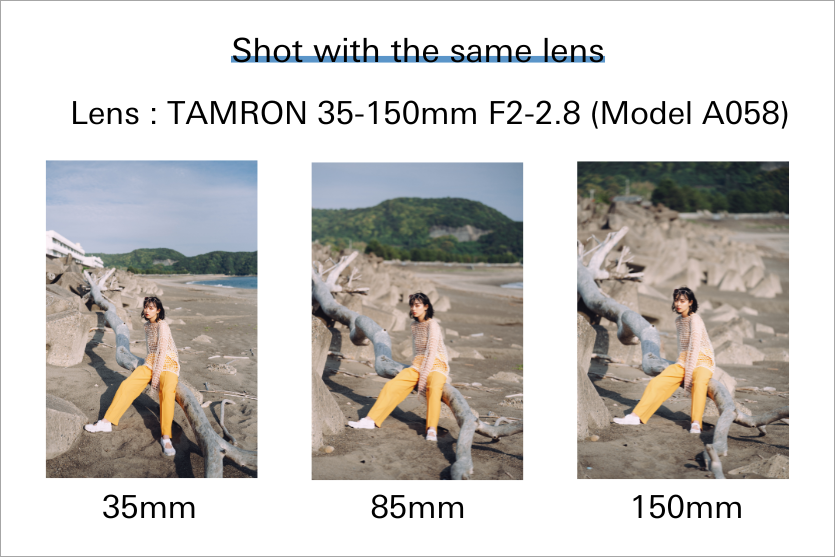
A short focal length gives a wide angle of view. A wide lens will take in the escarpment, the sea below it and the sky above in a single frame, and still keep the rock you are standing behind reading as foreground rather than as clutter.
A long focal length gives a narrow angle of view. A telephoto reaches across distance and isolates: pointed at the Midlands hill country in KwaZulu-Natal, it will stack successive ridge lines into flat layers that the unaided eye never quite sees.
Focal length does more than change how much fits in the frame. It changes the relationship between near and far, which is the next point.
Perspective is the effect whereby near objects appear larger than distant ones. Every lens shows it. What changes is how strongly.
A wide-angle lens exaggerates it. Because you have to stand close to fill the frame, near objects become dramatically large and the background falls away, so distance feels greater than it is. A telephoto does the opposite — shooting from well back compresses the apparent gap between foreground and background, stacking elements together.
Same ridge line, two lenses, two entirely different pictures. Shot wide from close in, the foreground rock dominates and the sea looks a long way down. Shot long from further back, rock and sea sit almost on the same plane. Neither version is more accurate. Choose the one that says what you want the shot to say.
On a highveld street the same effect applies to buildings: a long lens will pile a row of facades into a single dense wall, compressing a block into what looks like a single frontage.
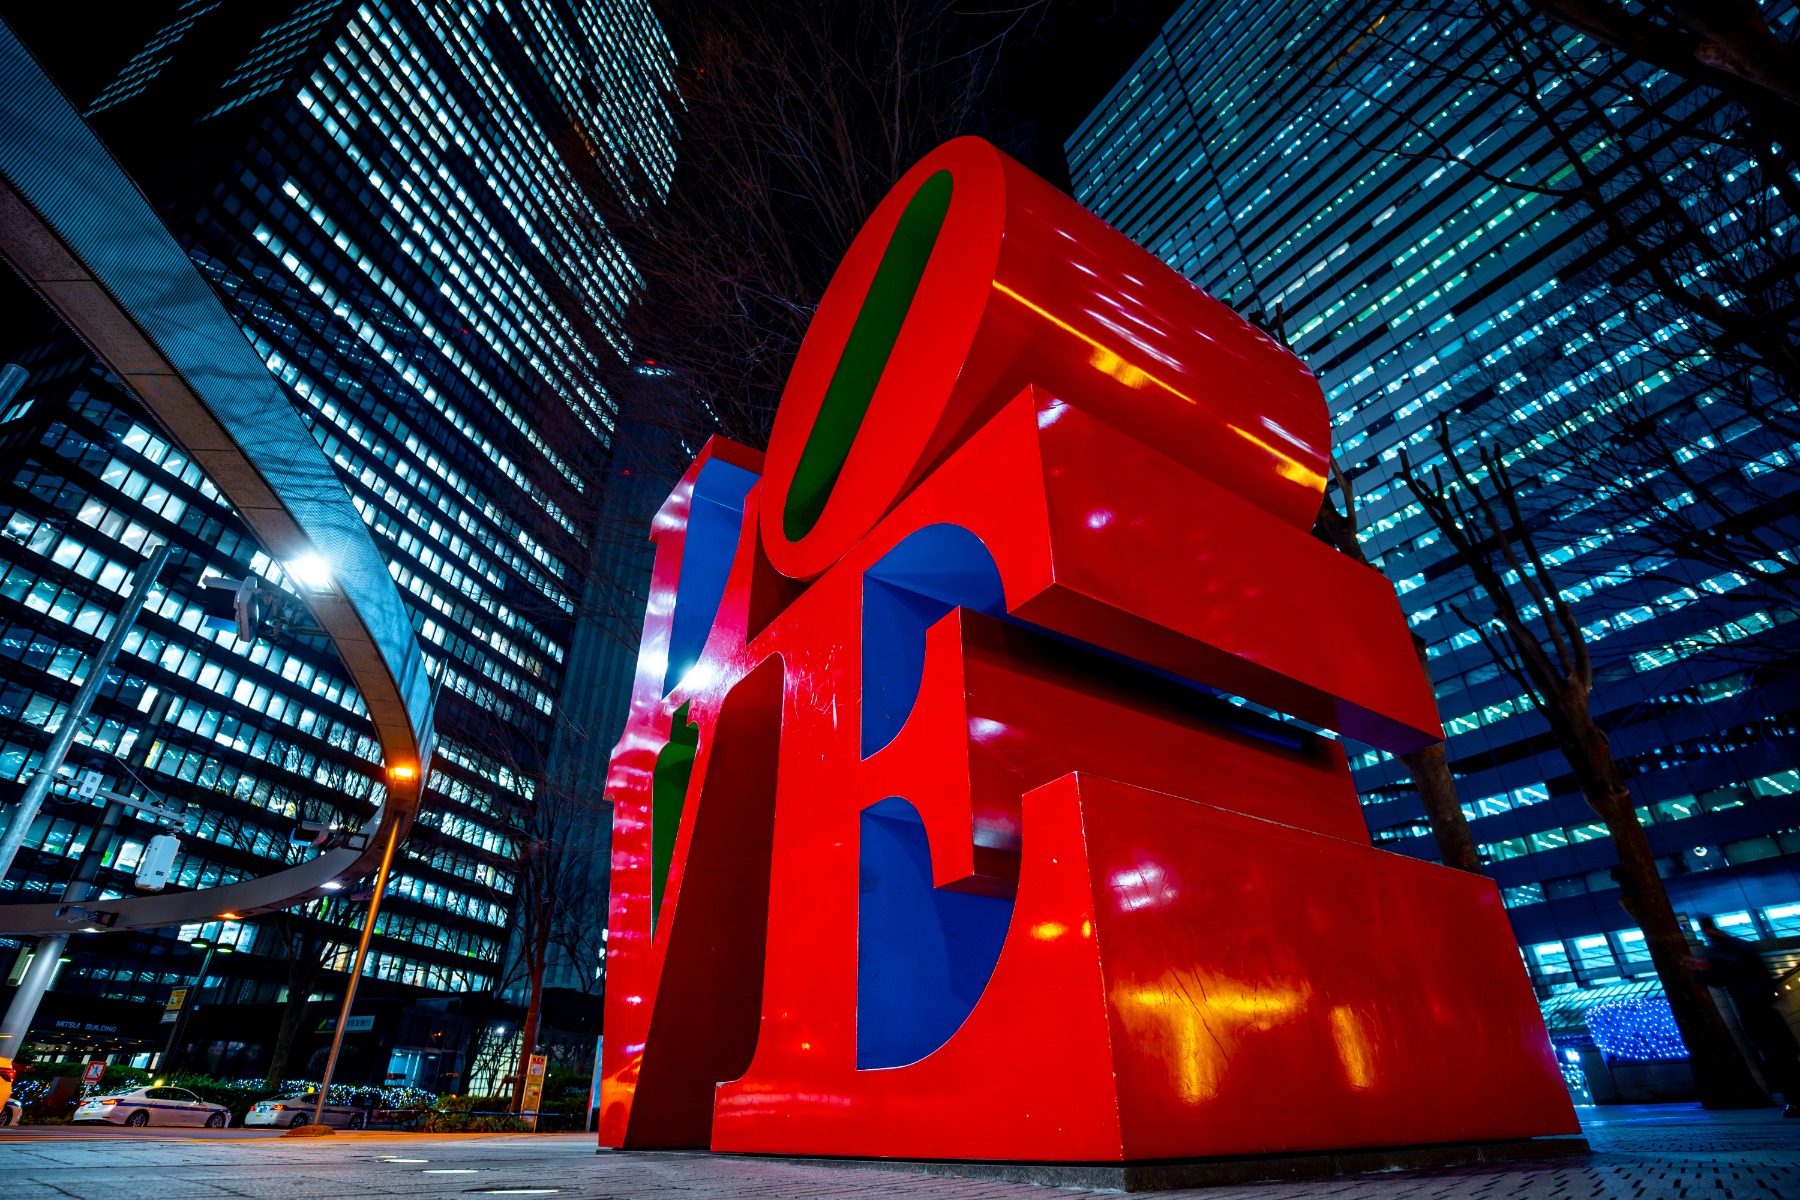
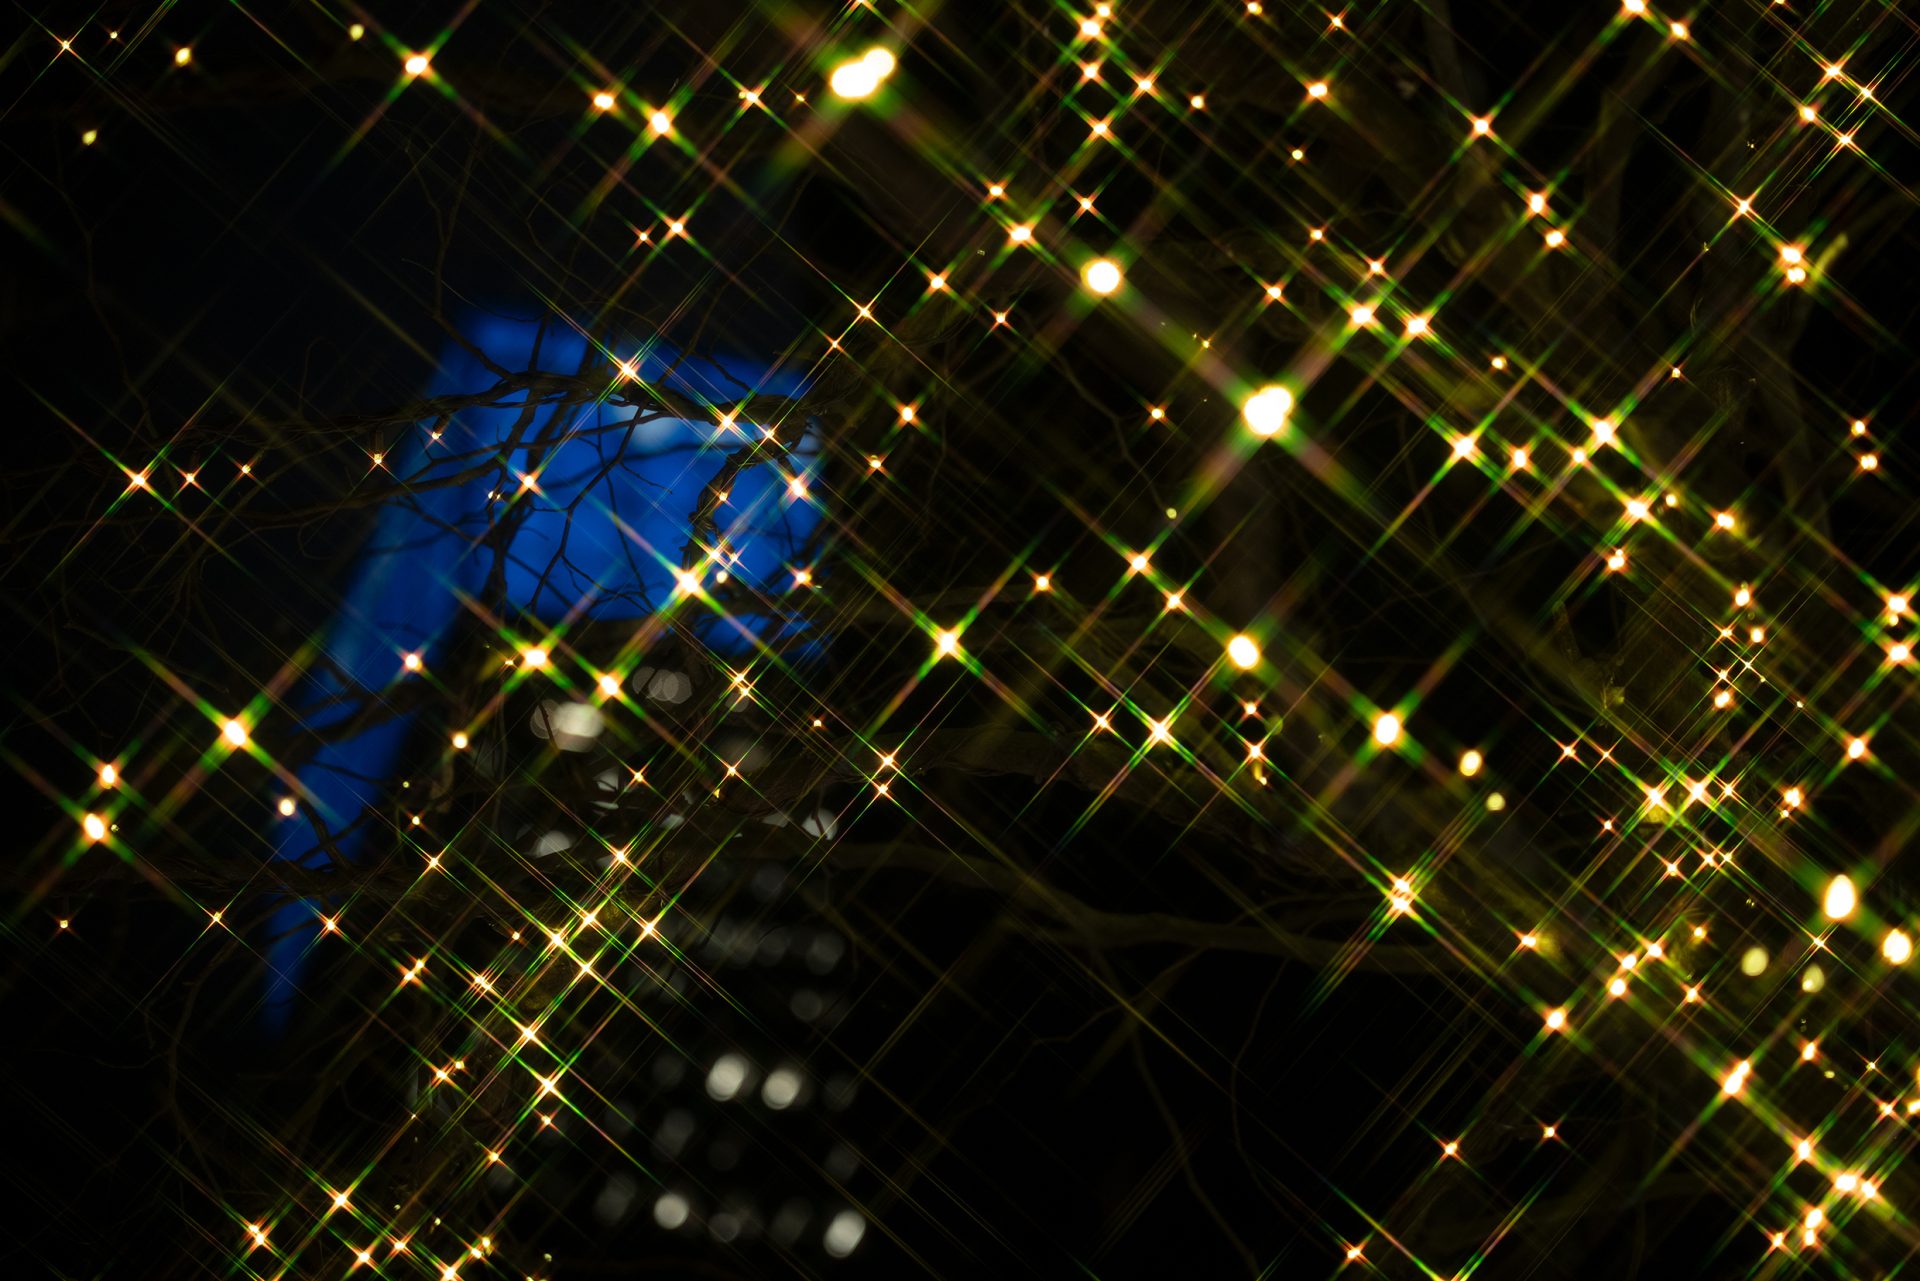
TAMRON 11-20mm F2.8 (Model B060) Focal length: 11mm Exposure: F2.8 Shutter Speed: 1/4sec ISO: 100
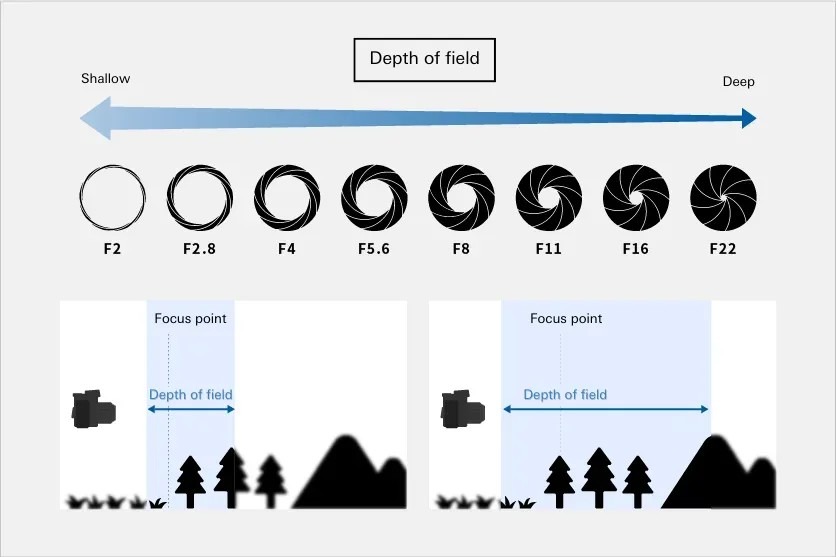
Depth of field is how much of the scene, front to back, is acceptably sharp. Aperture controls it. Wide open gives a shallow band of focus with everything outside it falling into bokeh; stopping down extends that band.
Video adds a practical wrinkle that stills photographers tend to underestimate. A still subject only has to be in focus at one instant. A video subject moves, and if your depth of field is a few centimetres deep they will walk straight out of it. Filming someone at F1.8 while they talk and shift their weight produces a clip that drifts in and out of focus for its entire length. F2.8 or F4 is often the more useful choice, even though it looks less impressive written down.
The F-number describes the size of the lens opening relative to focal length. It governs two things at once: how much light reaches the sensor, and how much depth of field you get.
A lower F-number means a wider opening — more light, shallower depth of field, more bokeh. A higher F-number means a narrower opening — less light, more depth.
Advice written for other markets often recommends shooting at or near maximum aperture to make the most of what a larger sensor offers. Locally that needs qualifying. Under full summer sun, wide open at the shutter speed your frame rate demands will blow out the frame with ISO already sitting at its base value, and there is no exposure headroom left to remove. Wide apertures here are for low light, interiors and subject separation when conditions allow. They are not for the middle of a clear December afternoon unless you have a filter on the front.
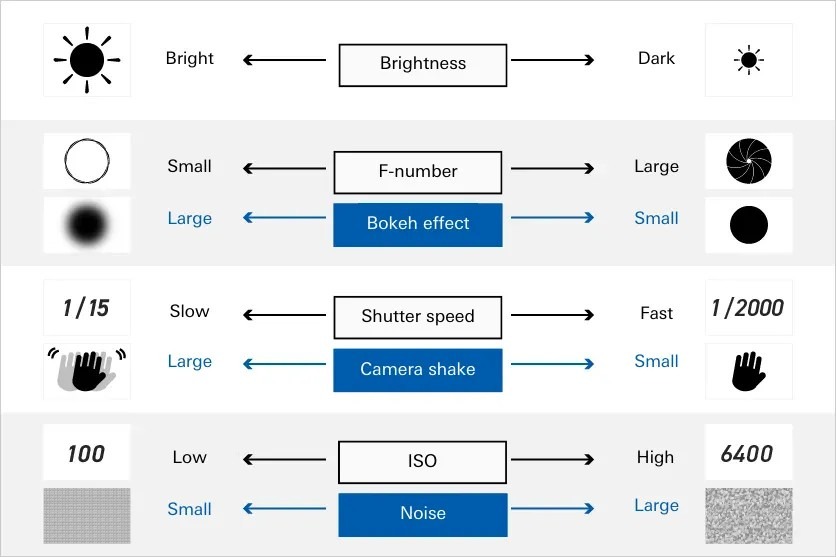
ISO is how sensitive the sensor is to the light reaching it. Raise it and the image brightens. Raise it too far and noise appears, fine detail smears, and colour in the shadows degrades.
In video, ISO is the adjustment of last resort. You set the frame rate, derive the shutter speed, choose the aperture for the look you want, and use ISO to close whatever gap remains.
Outdoors in daylight you will sit at base ISO and be fighting to reduce exposure rather than increase it. Indoors — a netball court, a school hall, an interior late in the afternoon — you will be pushing ISO upwards, and it is worth finding out in advance where your particular camera stops producing footage you are happy with. Most current sensors handle a moderate lift without difficulty, and the failure point is usually higher than beginners assume. Testing it beforehand is considerably better than discovering it during something you cannot reshoot.
Here is the order to work in. Each step depends on the one before it, and working out of sequence is the main reason video settings feel more confusing than they are. Set the exposure mode, then the frame rate, then the shutter speed, then the aperture, then ISO or neutral density.
Most cameras offer aperture priority and shutter priority alongside manual. For stills, aperture priority is the usual default. For video it causes a specific problem: with the aperture fixed, the camera compensates for changing light by moving the shutter speed — and the moment it does that, the relationship between shutter speed and frame rate breaks. Pan from a bright foreshore into shade and the shutter will shift several stops. The motion rendering changes mid-shot, and it is visible.
Manual mode is the answer. You set everything, and nothing moves unless you move it. Auto ISO is a reasonable halfway house if you want one variable handled for you, because ISO changes are far less visually disruptive than shutter changes.
Most general-purpose video is shot at 30 fps. Choose 60 fps when motion is fast, or when you want the option to slow the clip slightly in the edit. Choose 24 fps when you are after a cinematic look.
Then double it for the shutter: 1/50 sec at 24 fps, 1/60 sec at 30 fps, 1/125 sec at 60 fps.
Two practical footnotes. Some camera systems offer 1/48 sec, the exact double of 24 fps; others round to the nearest available speed, and the difference is not visible in the footage. And under some artificial lighting you may see flicker or rolling bands across the frame — many systems provide a flicker-reduction or fine shutter adjustment setting that lets you dial the shutter to a value matching the mains frequency. Find it in the menu before you film indoors under fluorescent or LED lighting, particularly in older halls and sports venues.
Once frame rate and shutter speed are locked, exposure is controlled by aperture, ISO and neutral density.
In low light, open the aperture as far as your depth of field allows, then raise ISO to cover the rest.
In daylight the problem runs the other way, and it runs harder here than in most markets. Between roughly 10h00 and 15h00 SAST in summer, with the sun high and the air clear, the light falling on an open coastal or highveld scene is intense enough that base ISO at 1/60 sec is already several stops over-exposed at any aperture you would actually want to use. You cannot lower ISO below base. You cannot raise the shutter without breaking the frame rate relationship. Stopping down to F16 fixes the exposure and softens the image through diffraction.
The answer is an ND filter, and locally it is not an accessory. Treat it as part of the camera rather than as something you add for unusual conditions.
White balance corrects the colour cast that different light sources produce, so that white in the scene reads as white in the file.
Auto white balance is convenient and mostly competent, but it re-evaluates continuously, which is a problem in video. Pan from harsh open sunlight into the shade of a building and auto will shift colour temperature partway through the movement — a visible, distracting swing that no amount of editing fully removes. Mixed lighting causes the same thing indoors, where daylight through a window and warm artificial light fight each other and the camera keeps changing its mind about which one to believe.
Set it manually instead. Choose a value for the light you are in, lock it, and reset only when you move to genuinely different conditions.
These two get used interchangeably and are not the same thing.
Colour correction is repair. Exposure, white balance, contrast and saturation are adjusted to bring the footage back towards how the scene actually looked.
Colour grading is interpretation, applied after correction — pushing the image towards a particular mood or palette through tint, highlight and shadow adjustments.
Correction first, then grading. Both depend on what you captured: footage recorded with the white balance drifting from shot to shot cannot be graded consistently, because every clip starts from a different place. That is the practical reason the previous section matters.
Settings aside, three changes in working method will do more for your footage than any equipment purchase.
The most common mistake is treating video settings as a set of independent dials to be balanced against each other. They are not independent, and there is a correct order.
Frame rate for the delivery. Shutter speed at double the frame rate. Aperture for the depth of field you need. ISO or ND for whatever exposure gap remains. Once that sequence becomes automatic, setting up for a shot takes seconds rather than minutes of fiddling.
This is the third time neutral density has come up, which is deliberate. Under local daylight it is the filter that makes the rest of the workflow possible.
Fixed ND filters come in set strengths, usually described in stops — an ND8 cuts three stops, an ND64 cuts six. They are optically clean and relatively inexpensive, but you need several to cover a range of conditions and you change them physically.
A variable ND covers a range in a single filter by rotating a ring, which is far more practical when the light is changing. Cheaper ones introduce colour casts and a dark X-shaped band across the frame at their strongest settings; better ones do not. If you film outdoors here with any regularity, a good variable ND in your most common filter thread is one of the more worthwhile purchases you will make.
Two related habits. The first is to stop moving the camera. Beginners follow the subject constantly, and the resulting drift and correction reads as unsteadiness even when nothing dramatic is happening. Plant yourself, frame wider than feels necessary, and let the subject move through the frame.
The second is to stop zooming while recording. Zooming mid-shot rarely looks intentional. If you need both a wide and a tight view of something, shoot them as separate takes and cut between them in the edit. Two clean shots beat one shot that wanders.
The principles above apply everywhere. How they play out depends on what you are filming and where.
Somewhere between 35mm and 50mm is the useful range. Wider distorts features at close working distances; longer forces you to back off further than most rooms allow. In that range the perspective reads as natural and the working distance stays comfortable for both the person filming and the person on camera.
Indoors, natural light does most of the work. A window at roughly 45 degrees to your subject will produce better results than most improvised artificial setups. On a stoep in the late afternoon you get soft directional light and a background that falls away nicely at a moderate aperture. Midday sun is the one to avoid for faces — it comes from directly overhead and drops hard shadow into the eye sockets.
For something to practise on, a braai or a potjie being prepared is one of the better handheld sequences available. There is movement to follow, steam and flame that reward slow motion, hands working at close range that let you rehearse focus, and a group of faces reacting. Shoot it as a run of short deliberate clips rather than one long take.
If you want shallow depth of field outdoors, remember the exposure problem. Wide open in bright light needs an ND filter on the front, or the frame will simply blow out.
A single fixed wide shot of a landscape goes monotonous quickly. Vary the focal length and cut between views.
In the Western Cape the coastline gives you the strongest material: cliffs dropping into the sea, mountain passes where the road stacks back on itself, and winelands valleys where a long lens compresses rows of vines into bands of texture. Shoot wide for the sweep and long for the layers, as two separate takes.
On the highveld in Gauteng, the summer storm build-up through the afternoon is one of the most filmable things in the country — towering cloud development over open grassland, changing fast enough to justify a time-lapse and dramatic enough to carry a long static frame. Jacaranda-lined suburban streets in October and November give you a completely different register: colour overhead, and a strong case for a wide lens looking up.
In KwaZulu-Natal the subtropical coastline and the Midlands hill country sit close enough together to film in one day. Off the coast in June and July, surface activity during the sardine run — birds working the water, disturbance breaking the surface — gives you something moving in an otherwise still seascape, and it slows beautifully at a high frame rate.
Use a tripod for anything static. Wind is the practical enemy, so hang your bag from the centre column if the legs are light.
And note that the seasons run the other way from most photography writing you will find online. Summer is December to February, winter is June to August, and the low directional light that landscape work depends on arrives from around 17h00 SAST in midwinter rather than late in the evening. All times are SAST year-round; there is no daylight saving adjustment to account for.
Set 60 fps. Motion stays smooth, and you keep the option of slowing a passage of play in the edit without it turning to mush.
Reach is the main constraint. Rugby and football from the touchline at club level are manageable with a moderate telephoto; from a raised or set-back position you will want considerably more. Cricket demands the most reach of all, since the action happens at two points on a very large field and you rarely get to choose where you stand.
Netball and other indoor codes present the opposite problem. You are close enough, but the light is poor, so ISO climbs and you may end up opening the aperture further than your depth of field really allows. Test the venue lighting before a fixture if you can.
Athletics and road running are good for practising two specific things: panning smoothly with a subject crossing the frame, and slow-motion finishes, where 120 fps turns the last few metres into something worth watching twice.
Surfing on either coast is the extreme case — maximum reach from the beach, severe glare off the water that needs ND even behind a long lens, and salt spray that will find its way onto the front element regardless of how careful you are.
Long lenses amplify camera shake, so use VC where the lens has it, and a tripod where you can. A proper video head is worth having over a stills ball head: it pans and tilts smoothly under load, which is exactly what tracking a subject requires.
Check the access rules before the day. Many grounds restrict tripods, and school and club fixtures often require permission to film, particularly where minors are involved. Sorting that out in advance is considerably easier than negotiating it at the gate with a bag of equipment.
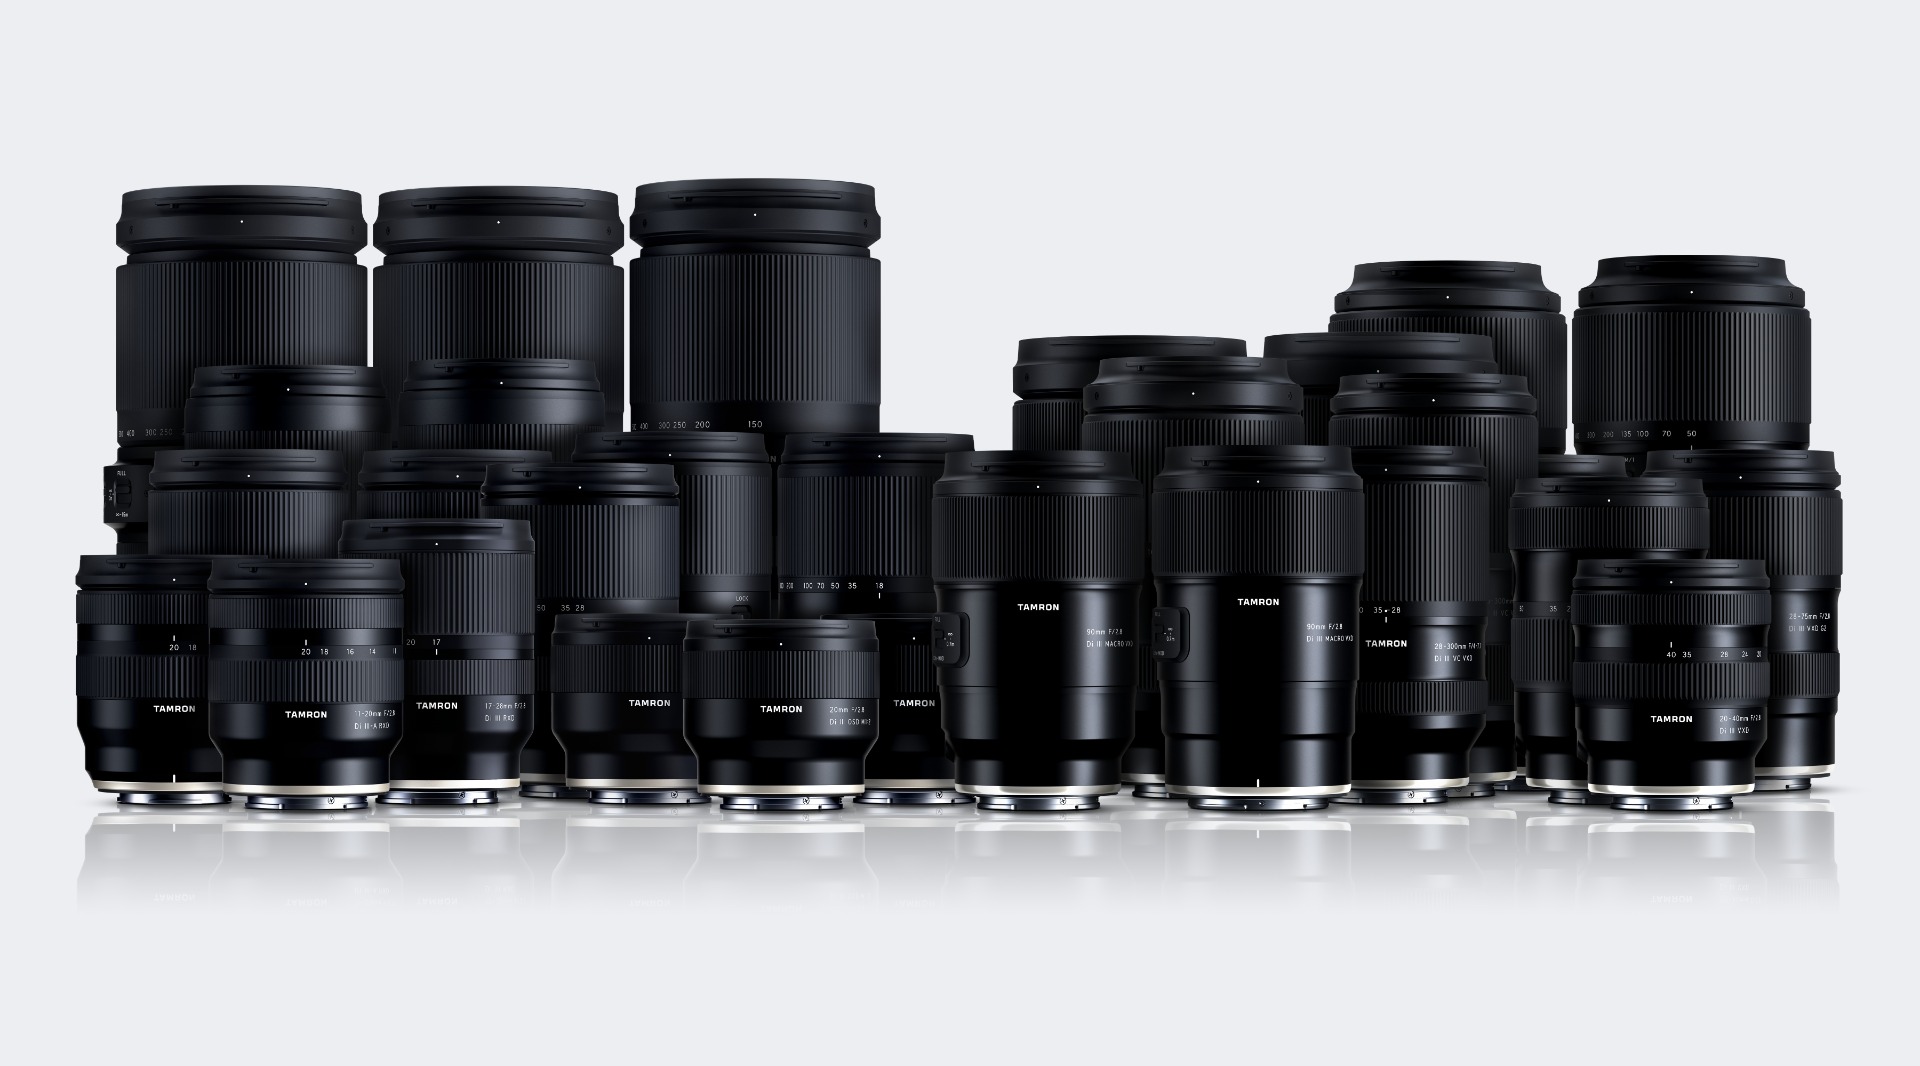
Nine things are worth checking before a lens joins your video kit. Some matter more for video than they ever did for stills.
A fast lens — F2.8 or wider — buys you two things: usable footage in low light, and the ability to separate a subject from its background.
Both matter, but note the asymmetry in local conditions. Outdoors here the constraint is usually too much light rather than too little, so a fast lens does nothing for you at midday. It earns its cost indoors, at dusk, at indoor sports venues, and whenever you want the background to fall away. Buy it for those reasons rather than as a general-purpose upgrade.
Two lenses with identical specifications can render quite differently — colour, contrast, and the way out-of-focus areas break up.
This becomes an editing problem the moment you cut between them. If one lens runs warmer and higher in contrast than the other, every cut is visible as a shift in the image, and matching them in the grade takes time you would rather spend elsewhere. Staying within one manufacturer’s range gives you more consistency across a multi-lens shoot.
Focus breathing is a change in angle of view as focus moves — the image appears to zoom slightly as you rack from near to far.
It matters because racking focus is a standard video technique: pull from a foreground subject to the landscape behind them and the shot gains depth. If the lens breathes, that pull arrives with an unwanted zoom, and instead of a clean shift of attention you get a shot that appears to move. Lenses designed with video in mind keep breathing to a minimum.
Two separate problems that often get run together.
Zoom shift is a misalignment of the optical axis between the wide and telephoto ends of a zoom — your framing drifts off-centre as you zoom through the range.
Focus shift is losing focus when you change focal length. A lens that holds focus throughout the zoom range is described as parfocal, and most modern zooms are not.
For video this means you cannot reliably zoom between takes and expect focus to hold. Check both behaviours before depending on a zoom for shot-to-shot work.
Three separate checks are worth running.
• How cleanly it tracks a subject moving across the frame.
• How it behaves when a subject moves towards and away from the camera — whether it hunts, overshoots, or settles.
• How much noise the focus motor makes.
That last one gets overlooked. The focus motor sits close to the on-camera microphone, and audible racking will end up in your audio track. If you record sound in camera at all — vlogging, interviews, anything with speech — it is not a minor consideration.
Stabilisation built into the lens reduces the effect of hand movement on the image.
It earns its place in handheld telephoto work, which is exactly the sport and coastal filming described above. On many systems, in-lens and in-body image stabilisation work together and are more effective in combination than either is alone. The longer the focal length, the more obvious the difference becomes.
This is more relevant locally than a specification sheet makes it sound.
• Coastal filming means salt spray — fine, persistent, and difficult to keep off the front of a lens.
• Highveld summer afternoons produce rain with very little warning.
• Low-angle work near water puts the lens somewhere you would not otherwise choose to put it.
Moisture-Resistant Construction does not make a lens waterproof, but it means a sudden shower or an unexpected wave does not end the session. If you film outdoors regularly, it changes what you are willing to attempt in the first place.
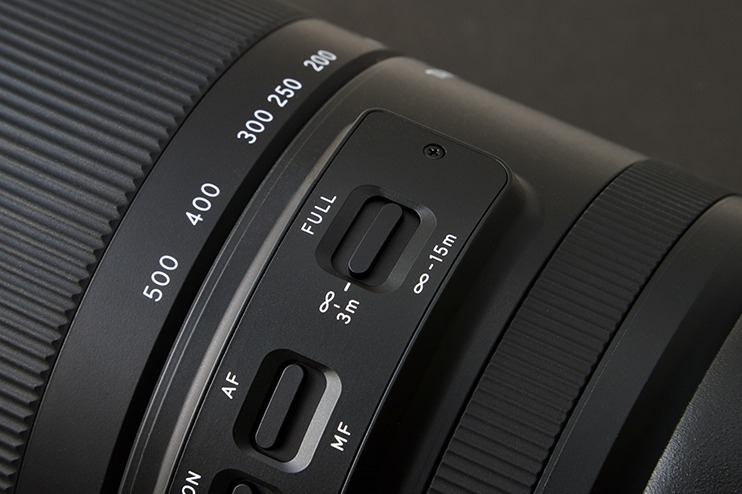
Check how the focus ring and zoom ring feel — the resistance, the smoothness, whether the ring moves evenly through its travel or catches slightly at one point.
This matters most for manual focus pulls, where a ring that is too loose or slightly uneven makes a smooth pull impossible no matter how good your technique is. Also check where the AF/MF switch sits and whether you can reach it without taking your eye from the viewfinder, and whether the lens uses a filter thread size you already own ND filters in. A kit with mixed thread sizes means step-up rings and fumbling.
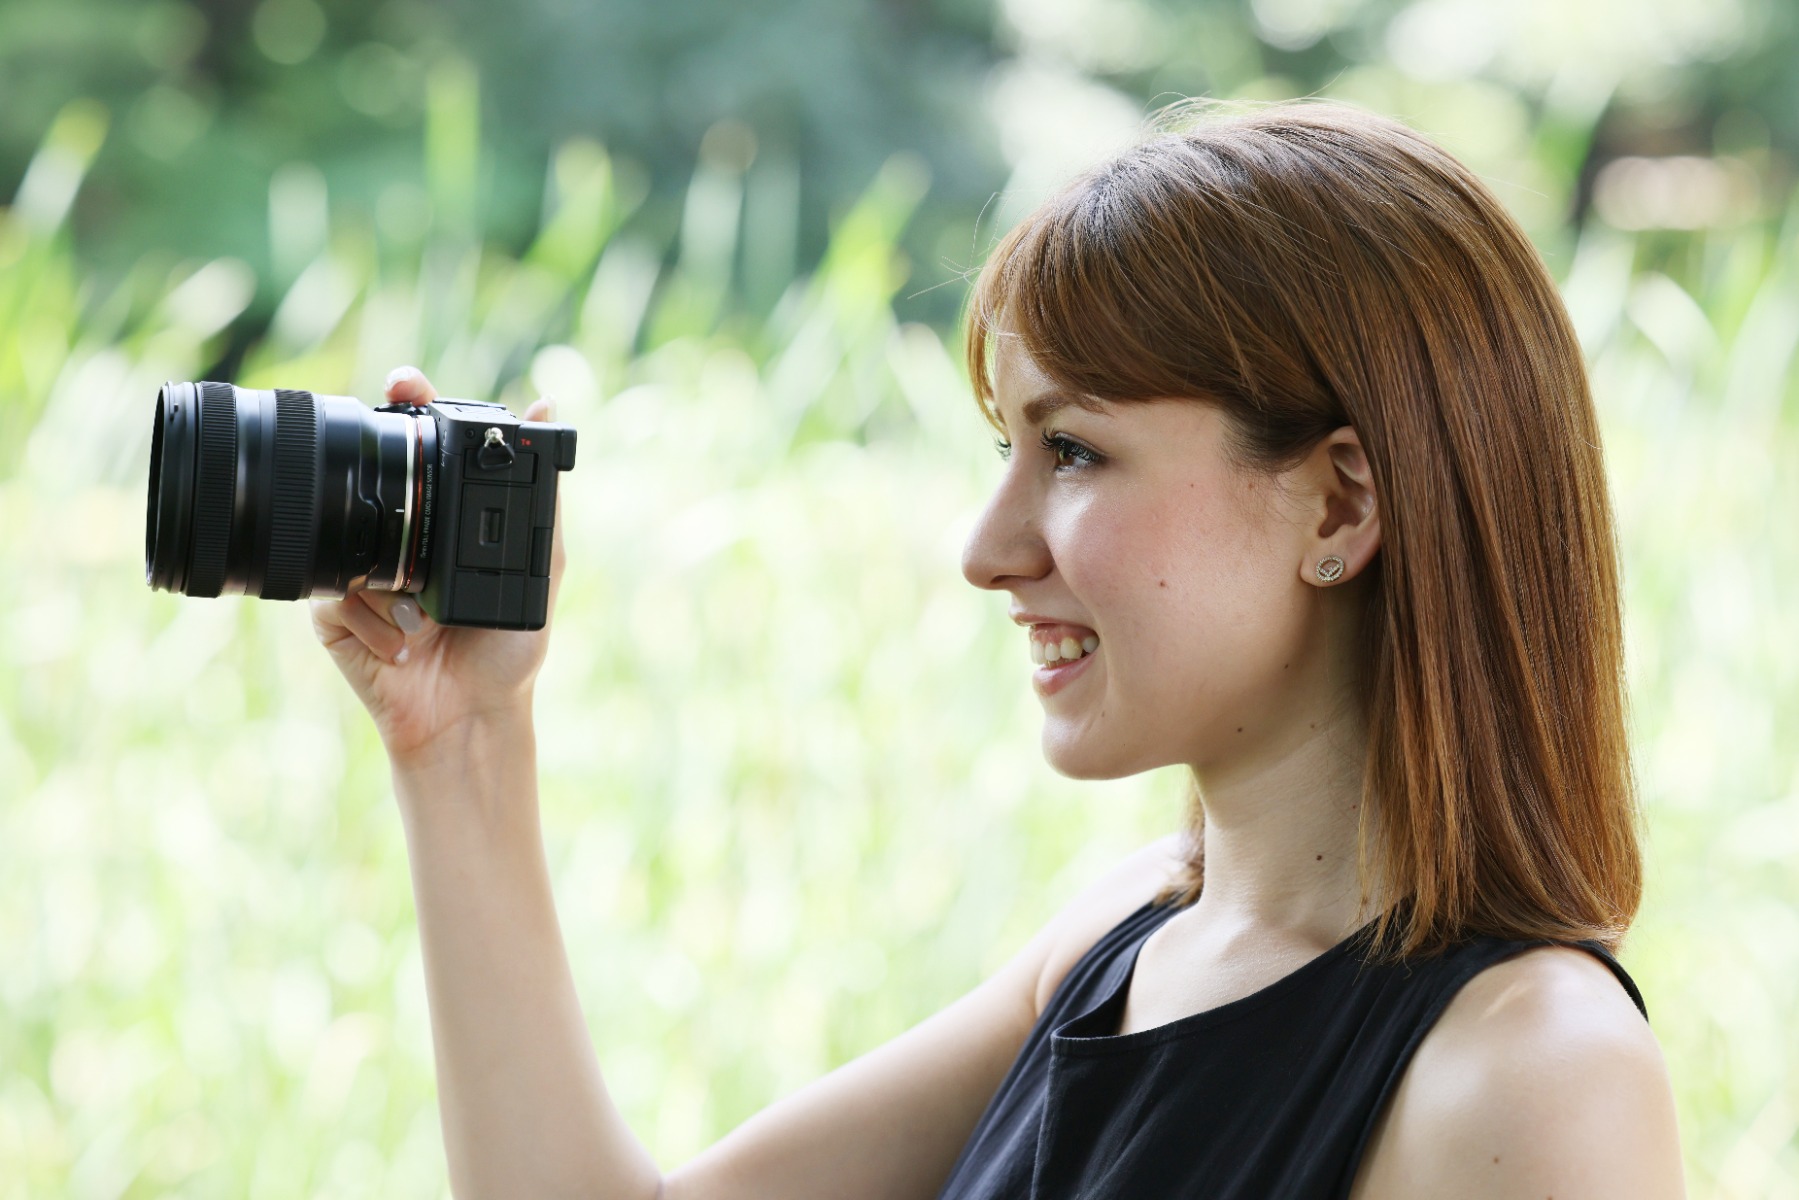
A lighter lens is easier to hold steady, easier to shoot from awkward angles, and easier to keep working with over a long session.
It also determines what you can put on a gimbal. Every gimbal has a payload limit, and a heavy lens will either exceed it or leave the motors struggling to hold balance. If you intend to shoot moving handheld footage, check the combined weight of body and lens against the gimbal rating before buying either.
For travel the calculation is simpler: a lens you will actually carry produces more footage than a better one left at home.
TAMRON Lens Utility is an application that lets you assign functions to compatible lenses from a smartphone or computer, putting controls into the lens that would otherwise need additional hardware. It was used extensively in the short film Findley, which demonstrates the features in practice.
Here is what it does.
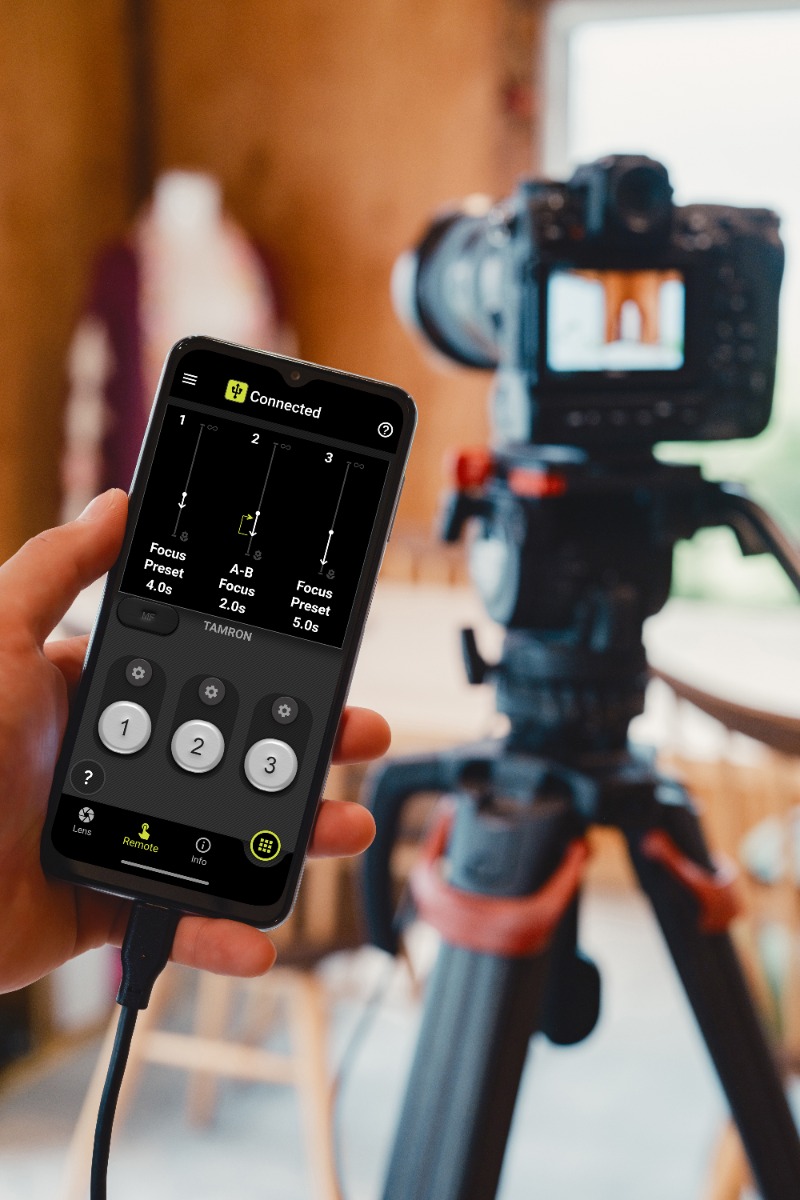
Set markers on the focus and aperture rings, then move to those positions instantly with a single tap on the Digital Follow Focus screen.
This solves repeatable focus pulls without a follow-focus rig. You set your two points, and you hit them exactly on every take rather than approximately on most of them.
* Aperture control via the DFF including Iris Marker and Focus (FC)/Iris Marker Link is not supported on Nikon Z mount.
Works with the camera’s interval shooting to shift the focus position gradually across a time-lapse sequence.
Highveld cloud build-up on a summer afternoon is a natural fit. The sequence already has movement in it, and a slow focus shift across the frame adds a second layer of change to something that would otherwise be a single effect.
* Nikon Z mount is not supported.
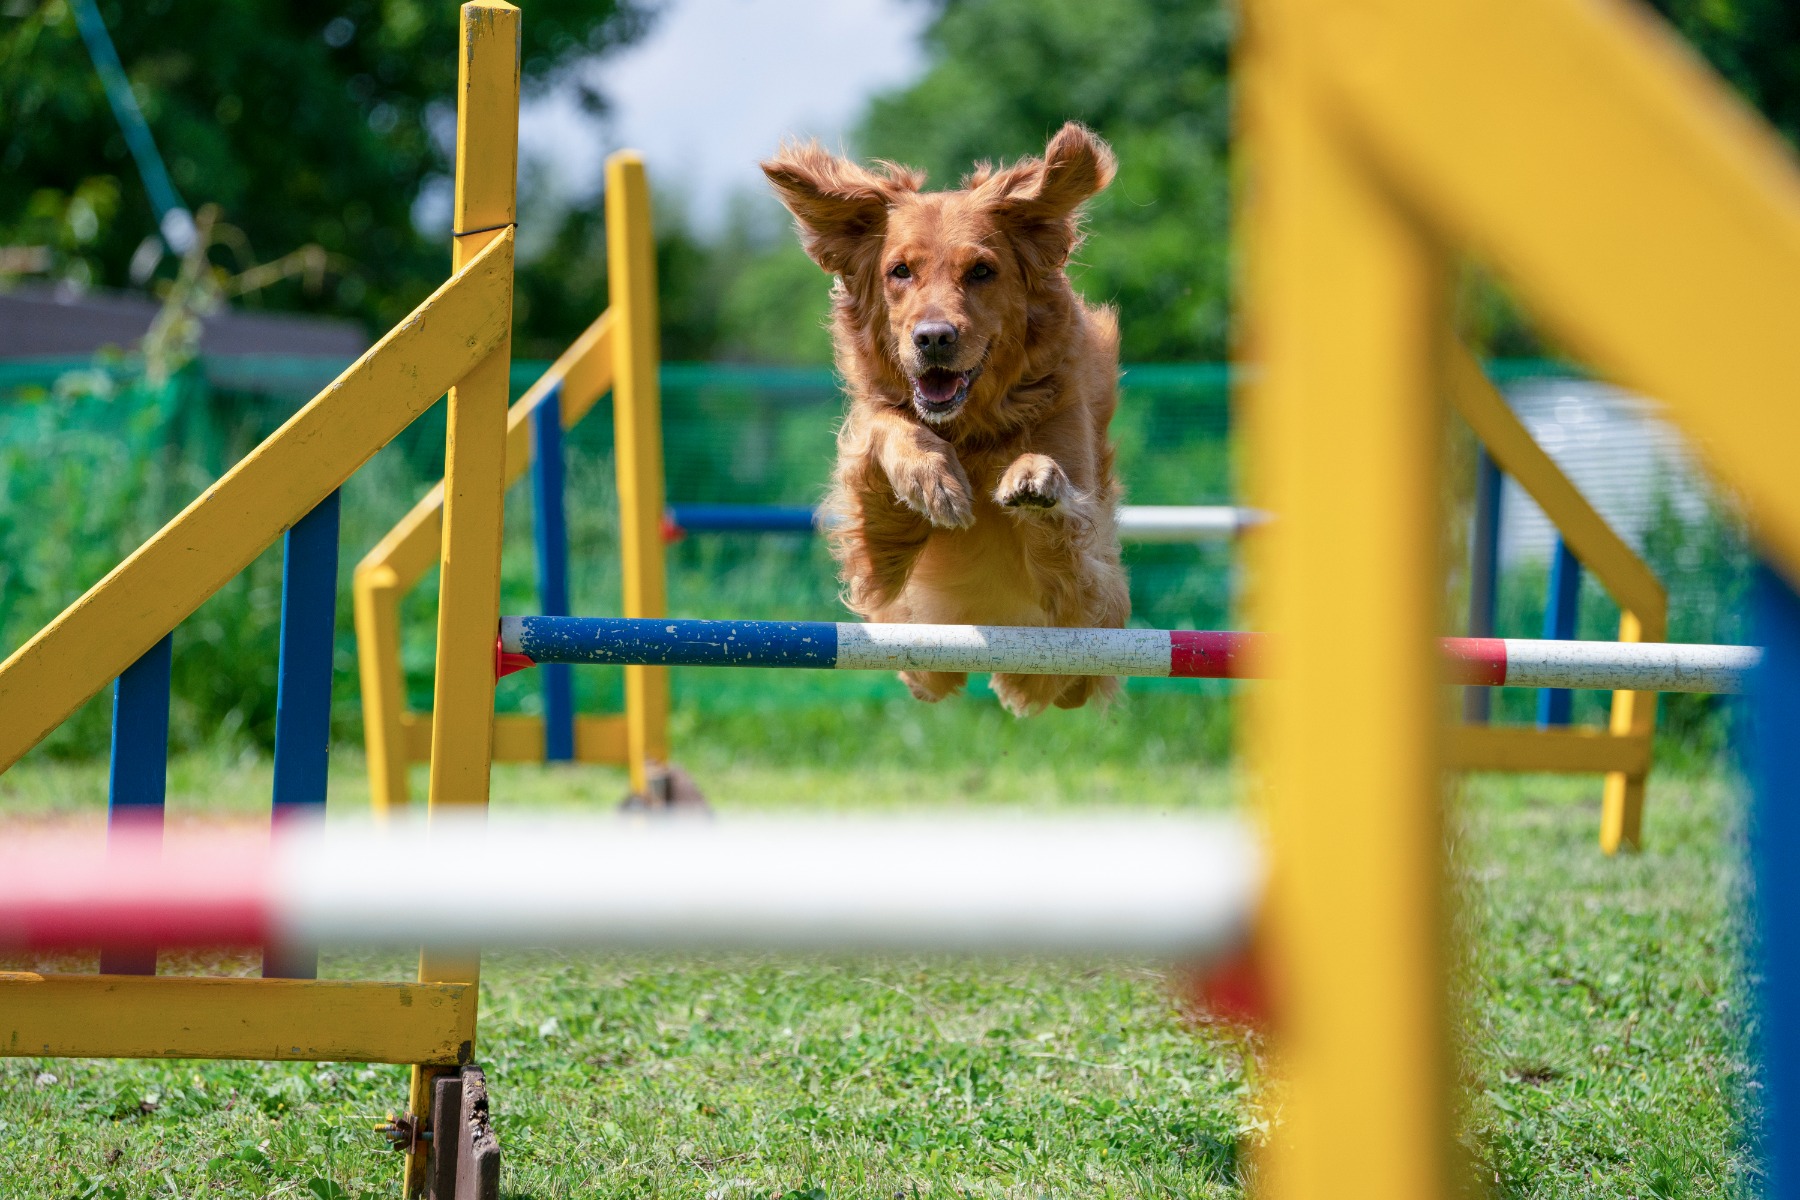
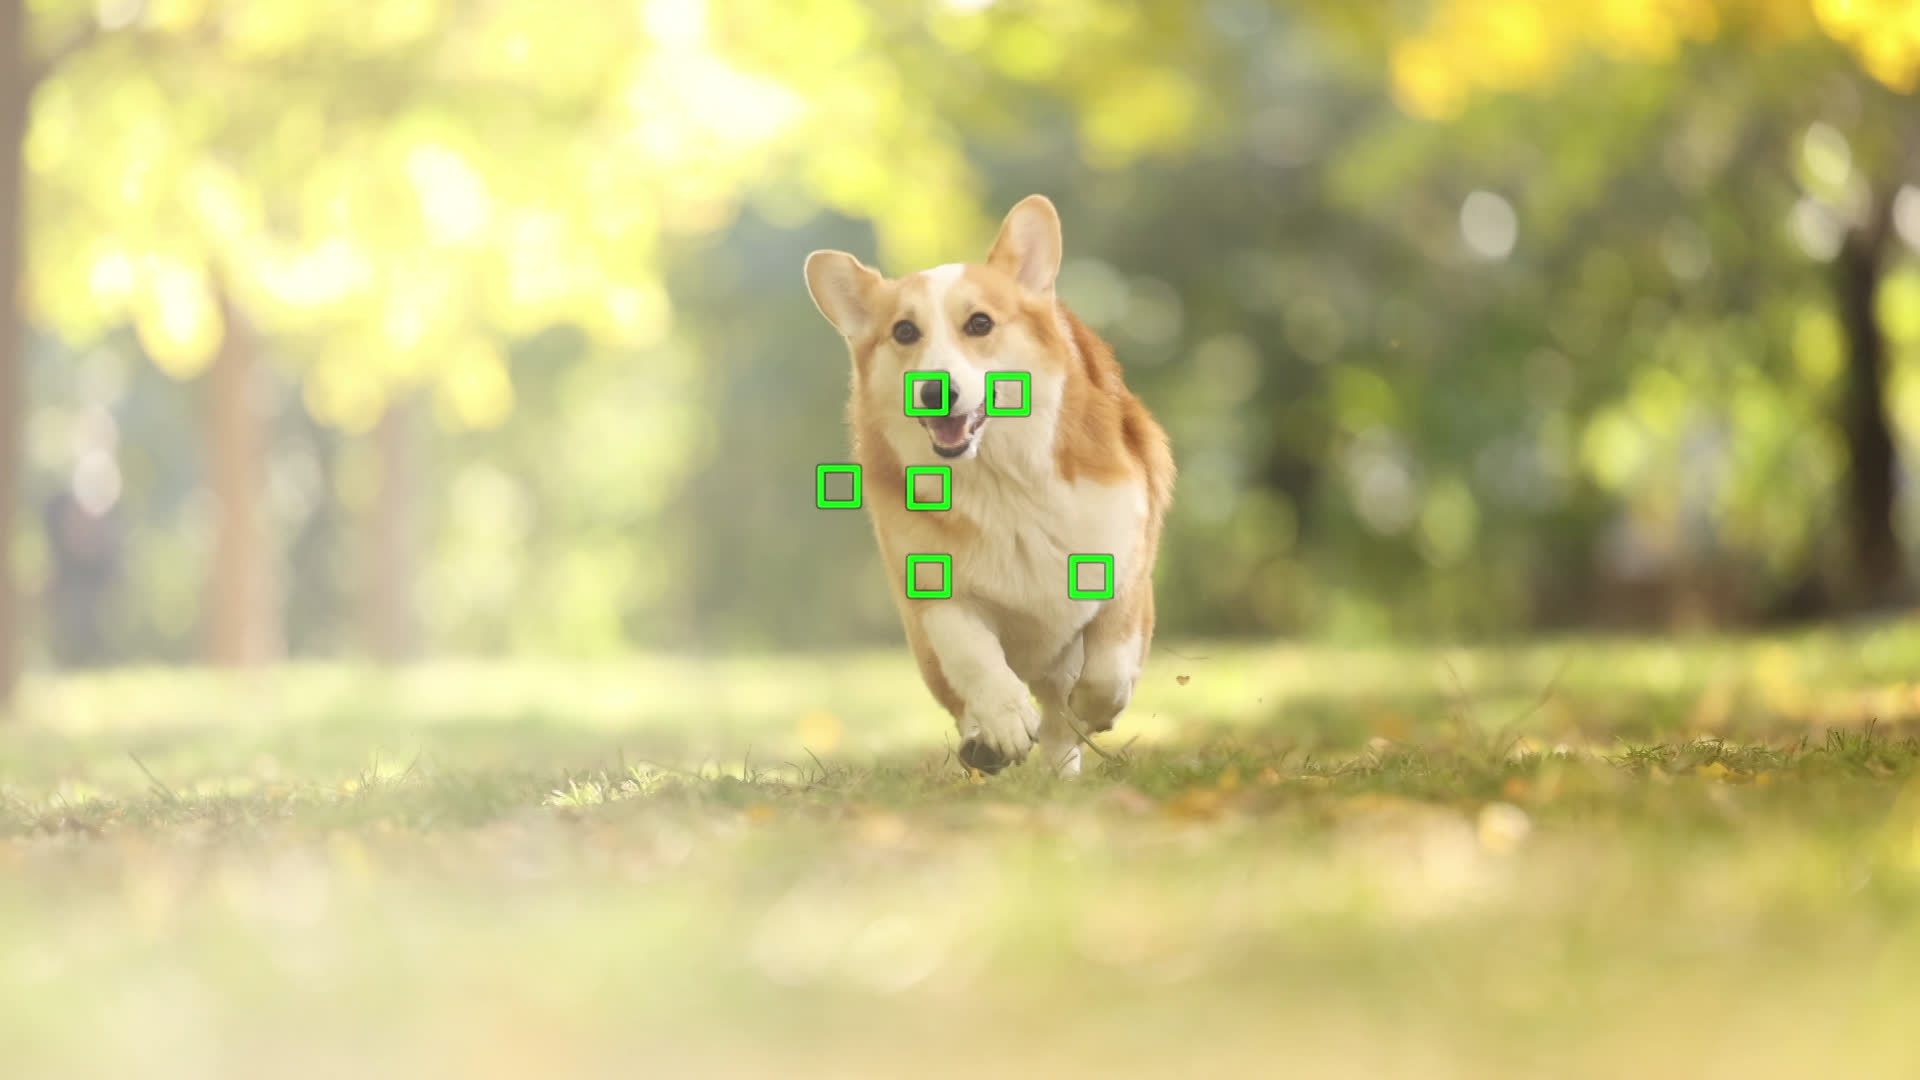
TAMRON 50-400mm F4.5-6.3 (Model A067) Focal length: 227mm Exposure: F6.3 Shutter Speed: 1/2500sec ISO: 640
Restricts the focus range so the lens does not hunt across its full travel.
• Instantly switch between "Full" and "Limit" by pressing the Focus Set Button.
• You can also set "Full" range while pressing the button and "Limit" range while pressing the button.
• Select your preferred limited distance.
This connects directly to the sport filming described earlier. A long lens that loses its subject and racks all the way to infinity mid-play costs you the passage entirely. Limiting the range to the distances you are actually working at prevents that from happening.
Changes how the focus ring behaves in manual focus. Non-linear means the amount of focus movement depends on how fast you turn the ring. Linear means it depends only on how far you turn it.
Linear is what you want for video, because it makes focus pulls repeatable — the same rotation always produces the same movement. The rotation angle is adjustable as well: 270 degrees for fine cinematic control, or around 180 degrees when you need faster pulls.
Assigns AF/MF switching to the Focus Set Button on lenses without a dedicated switch. Straightforward, and useful when you are moving between the two modes often during a shoot.
Most video problems come from choosing settings in the wrong order. Decide the frame rate based on where the video will be seen, double it for the shutter speed, choose the aperture for the depth of field you need, and then balance the exposure with ISO or an ND filter. That sequence covers the large majority of what you will film.
Lens choice is the other half. Maximum aperture, autofocus behaviour, focus breathing and moisture resistance all change what you can realistically attempt — and locally, weather sealing and a good ND filter matter rather more than the specification sheets suggest.
Camera video shooting rewards preparation more than it rewards equipment. Learn the order, test your settings before the day, and the camera stops being the limiting factor. Where the lens itself can be customised as well, as it can with the TAMRON Lens Utility, the range of what you can attempt widens further still.