| September 18, 2026
 South Africa's #1 Mobile Protection Brand
Magic hour photography in South Africa rewards anyone willing to plan. Twilight at our latitudes is short. The light that turns the Karoo amber, or drops a deep blue behind the Sandton skyline, arrives quickly and leaves just as fast. Get the timing right and an ordinary street corner in Braamfontein or a stretch of shoreline near Umhlanga becomes something worth printing.
This guide covers what happens to the light during the golden and blue hours, which camera settings suit each, how to compose while the light is falling, and what to look for in a lens when the window is measured in minutes.
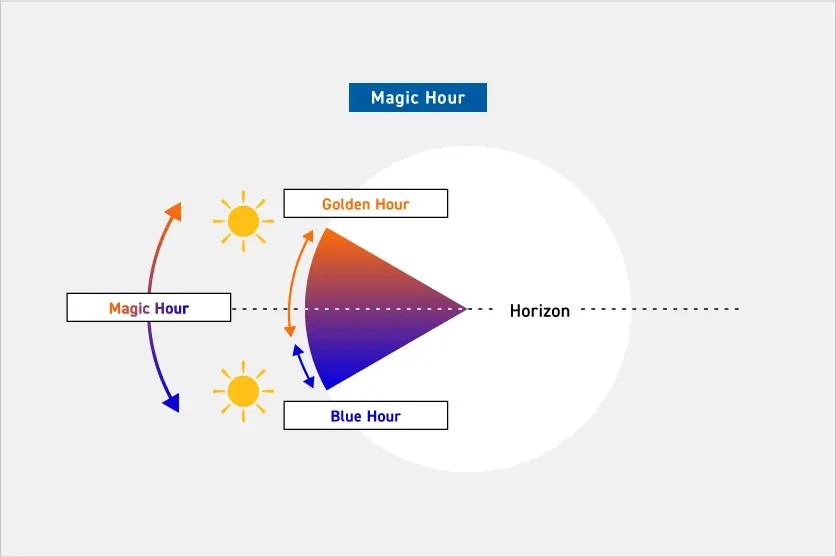
Magic hour photography covers two connected windows: the golden hour and the blue hour. Each produces its own gradient across the sky, and each asks something different of your camera. The golden hour gives you warmth, long shadows and a soft glow around your subject. The blue hour trades that for cool, even light and a sky deep enough to make artificial lighting count.
One thing worth knowing before you plan around either. South Africa sits between roughly 22 and 35 degrees south, so the sun drops towards the horizon at a steeper angle than it does across Europe or northern Japan. Twilight here is genuinely brief, and the further north you shoot, the faster it goes.
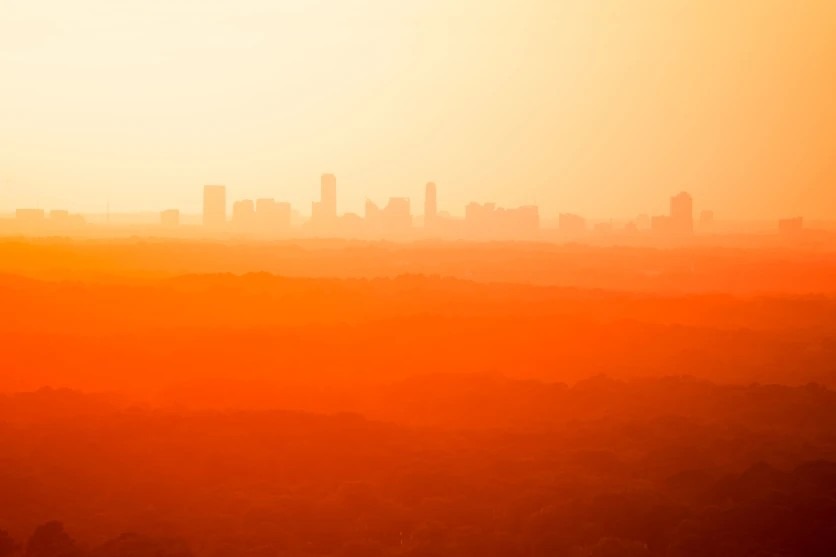
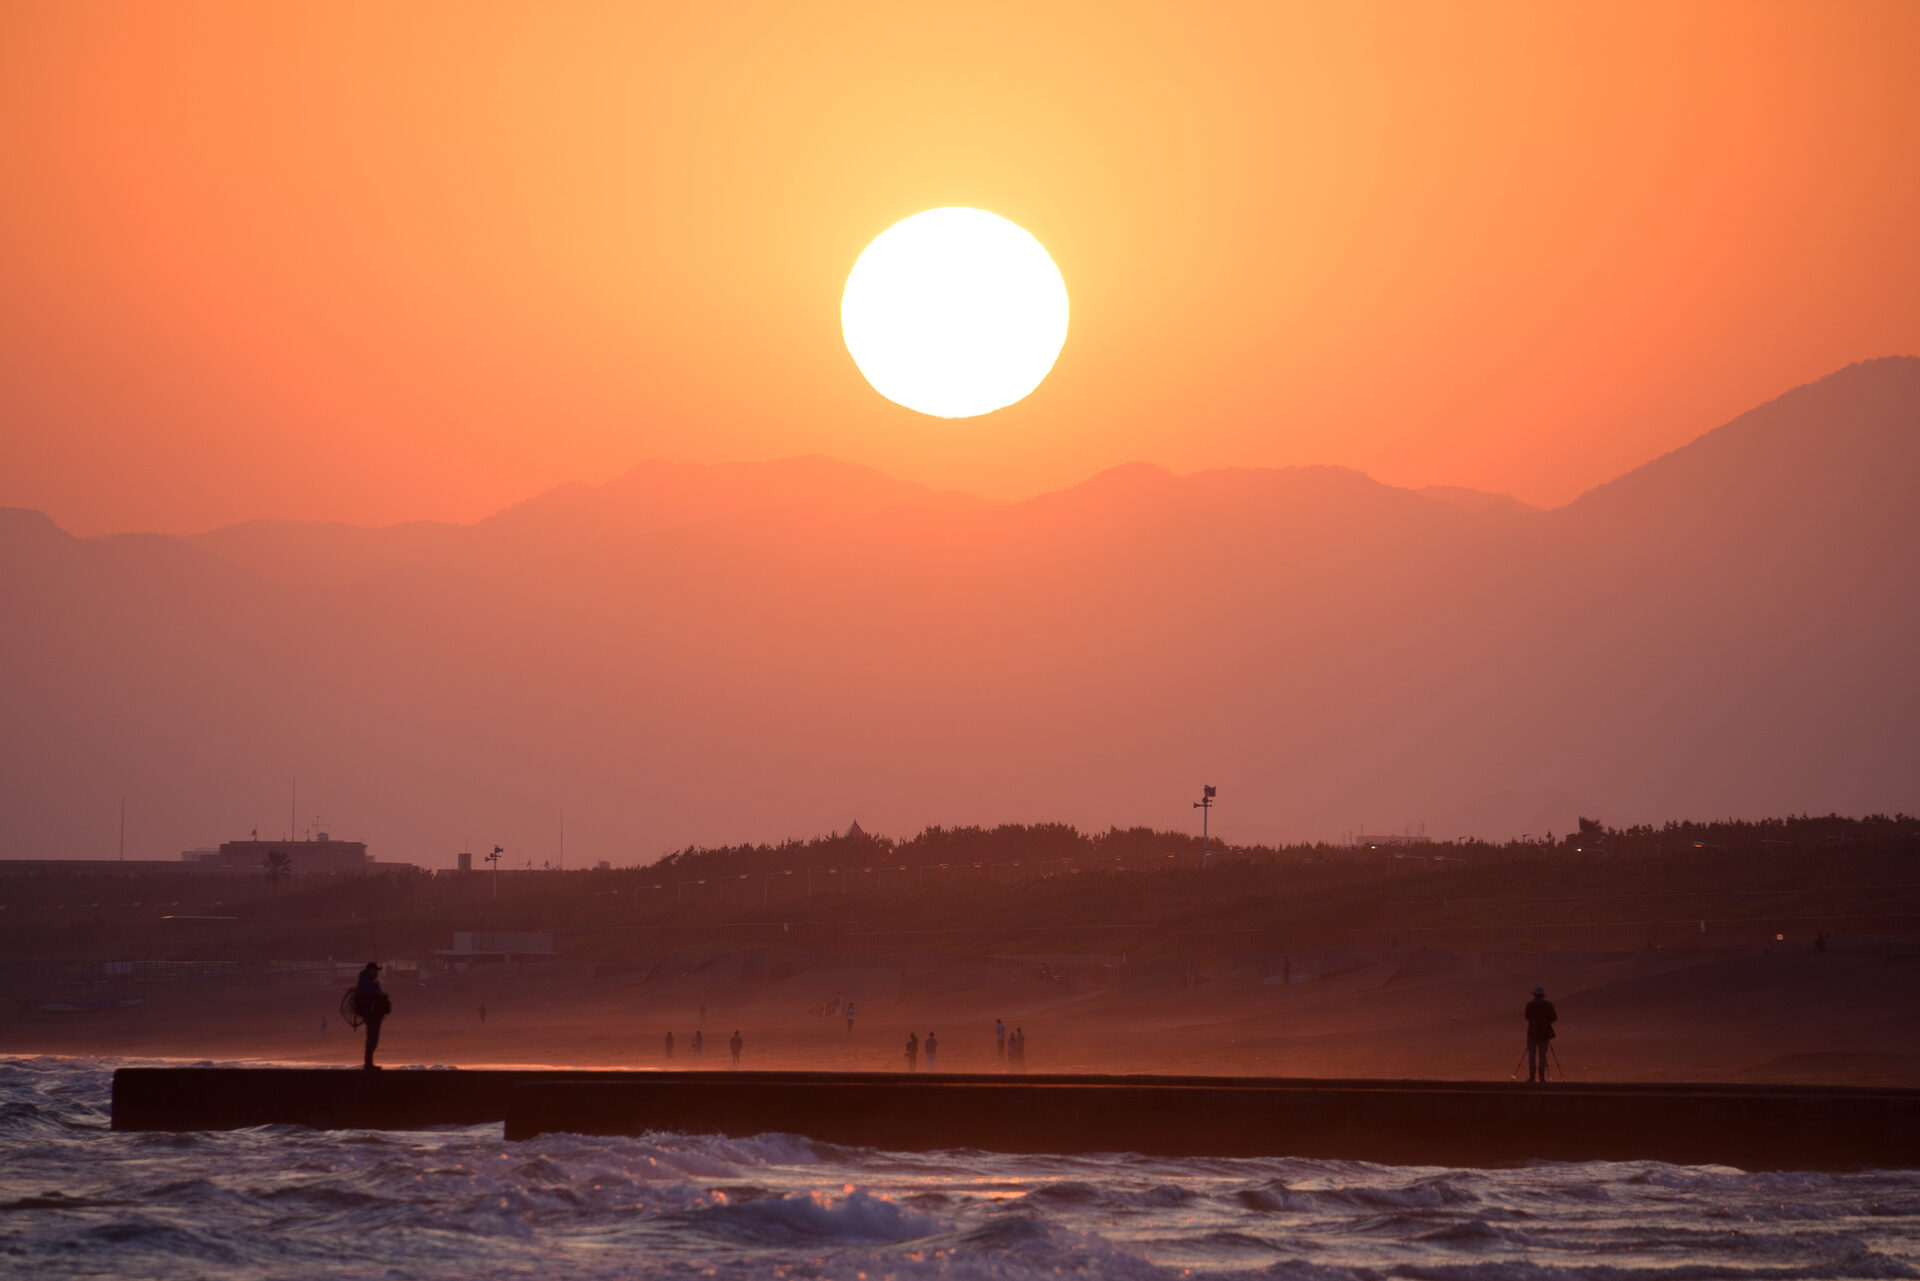
TAMRON 70-300mm F4.5-6.3 (Model A047) Focal length: 300mm Exposure: F6.3 Shutter Speed: 1/100sec ISO: 160
The golden hour falls on either side of sunrise and sunset, while the sun still sits low. Light travelling at that angle passes through far more atmosphere than it does at midday, and the shorter blue wavelengths scatter out along the way. What reaches your sensor is what is left over: warm, reddish and soft-edged.
Most international guides put this window at about an hour before and after. In practice, at Cape latitudes you have closer to 40 or 50 minutes of genuinely usable light, and less than that on the KwaZulu-Natal coast.
The low sun also throws long shadows, and that is where magic hour photography gets its sense of depth. A single windpump on a Karoo plain reads as flat and featureless at midday. At six in the evening it casts a shadow twice its own length across the veld, and the whole frame gains dimension.
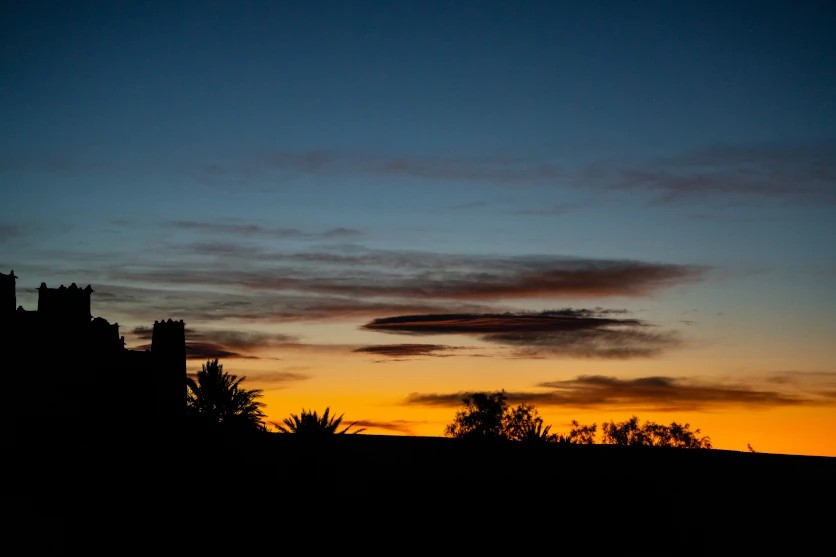
TAMRON 28-200mm F2.8-5.6 (Model A071) Focal length: 101mm Exposure: F4.5 Shutter Speed: 1/125sec ISO: 4000
Once the sun is below the horizon, direct light disappears and the blue light scattered through the upper atmosphere takes over. The sky shifts through deep blue into purple, and everything beneath it is lit softly and evenly, with almost no shadow at all.
This is the best window for cityscapes, because the brightness of the sky briefly matches the brightness of the lighting below it. Windows in the Sandton towers, the beachfront lighting along Durban's Golden Mile, floodlit facades in the Cape Town CBD: during the blue hour these sit in balance with the sky instead of burning out against a black background.
Expect somewhere between 20 and 30 minutes of it. If you are photographing a skyline, be set up, framed and focused before the sun goes down, not after.
The light will not wait for you. These are the practical points that decide whether you go home with the shot.
Scout the location before the day you intend to shoot it. Work out where the sun will sit relative to your subject and which direction you will be facing. This matters more here than most sources allow for, because our coastlines run in different directions. The Atlantic seaboard faces west and gives you sunsets over open water, while the KwaZulu-Natal coast faces east, so the equivalent shot there is a sunrise.
South Africa stays on SAST all year with no daylight saving, so once you know the sunrise and sunset times for a location, they shift gradually and predictably rather than jumping by an hour twice a year. Any sun position app will give you both the times and the angle.
Arrive 30 to 60 minutes early. Check the forecast as well, because local conditions change the light considerably. The south-easter pushes cloud over Table Mountain and can shut down a Cape sunset entirely. Highveld dust haze through the dry winter months warms the light further. Coastal humidity in KwaZulu-Natal softens everything it touches.
Light levels fall continuously through the magic hour, sometimes noticeably between one frame and the next. Treat the following as a starting point and keep adjusting as you go.
Begin in aperture priority. You choose the f-number and the camera works out the shutter speed, which leaves you free to concentrate on focus and framing while the light drops around you. Once the sequence feels familiar, switch to manual and take control of both. That is the only way to keep exposure consistent across a series of frames.
There is less light available than the sky suggests, so check your exposure before committing to a small aperture. Stopping down too far in a fading window leaves you with underexposed frames, or shutter speeds too slow to hold steady.
For landscapes, where you want the whole scene sharp, F8 to F11 is the usual range. For portraits, opening up to F2.8 or F4 separates the subject from the background and gives you the soft bokeh that low light renders so well.
Handheld, stay between 1/125 and 1/250 second to keep frames sharp and avoid camera shake. On a tripod you can go far slower, several seconds at a time, which is what makes long exposures of city lighting and traffic trails possible. The nightscapes section below puts this to use.
ISO 100 to 400 keeps noise low and detail clean, and will carry you through the first part of the golden hour. You will move past it sooner than you expect. By late blue hour, ISO 1600 to 3200 is normal rather than a compromise, and a slightly noisy sharp frame beats a clean blurred one every time.
Backlit scenes are common at this time of day, and the meter tends to read the bright sky rather than the subject in front of it. If a face is coming out too dark, dial in positive compensation to bring the detail back. If you would rather have a clean silhouette against the sky, go the other way and apply negative compensation.
Work through this in three steps. Start with auto white balance, which handles most magic hour scenes sensibly and gives you a natural rendering to judge everything else against.
Then try the presets. Cloudy pushes the frame warmer and exaggerates the reds and oranges particular to the golden hour. Tungsten pulls in the opposite direction, deepening the blues, which suits blue hour work.
Finally, shoot RAW if you are working towards a finished piece. White balance and exposure both stay adjustable afterwards, which matters when the light changed halfway through your sequence.
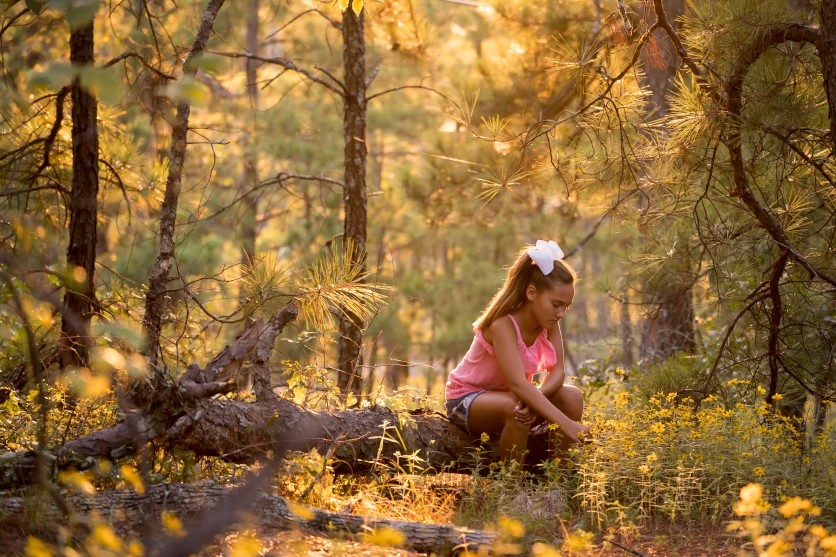
TAMRON 70-300mm F4.5-6.3 (Model A047) Focal length: 136mm Exposure: F5.6 Shutter Speed: 1/60sec ISO: 1000
Placing your subject between the camera and the low sun is the most reliable way to use this light. During the golden hour it scatters around the edges of the subject and produces a visible glow. That works on portraits, and it works just as well on architecture. The colonnade of the Union Buildings backlit at the end of the day, or the cable geometry of the Nelson Mandela Bridge with the sun behind it, both give you a strong outline with warm light spilling around the edges.
In the blue hour, backlighting behaves differently. The deep blue sky becomes the background, and any light source behind the subject traces its outline instead of flooding it. Street lighting along Bree Street or Florida Road at that moment gives you enough separation to hold the subject without flattening the sky behind it.
Good light does not compose the frame for you. These three approaches suit magic hour subjects particularly well.
Divide the frame into thirds and place your key elements along those lines, or where they cross. Photographing a sunset from Blouberg with Table Mountain across the bay, dropping the horizon onto the lower third gives the colour in the sky the room it needs.
The same principle applies at the other end of the day and the other end of the country. On the KwaZulu-Natal coast the sun rises out of the Indian Ocean, so at Umhlanga you are working with a sunrise rather than a sunset. Same composition, opposite schedule.
Running your subject along a diagonal adds depth and movement. Roads, ridgelines and shadows all do this naturally. The curve of Chapman's Peak Drive pulls the eye through the frame towards the water, and the layered sandstone ridges of the Cederberg do much the same across an open landscape.
Direction changes the feeling. A diagonal rising from left to right opens the frame up and suggests movement, while one falling from left to right settles it and reads as more stable. Choose according to what you want the image to do.
Placing the subject dead centre is direct, and it works. A sun sitting low over the Atlantic, or the profile of Lion's Head reduced to a silhouette against a colour gradient, needs no cleverness in the framing. The centre of the frame is where the strength of the subject shows.
Different subjects draw different things out of the same light. Here is how the window works across five of them.

TAMRON 70-300mm F4.5-6.3 (Model A047) Focal length: 300mm Exposure: F6.3 Shutter Speed: 1/320sec ISO: 800
Shoot into the light. Hair and shoulders catch a gold edge, and what reaches the face is soft enough to render skin without harsh shadow across it. If the face falls too dark, correct with exposure compensation rather than repositioning the subject.
Give the frame room to breathe. Placing the subject on a third with open space beside them, whether that is a stretch of shoreline at Camps Bay or the shadowed length of a stoep in a Karoo dorp, works for full silhouettes and for close work alike.
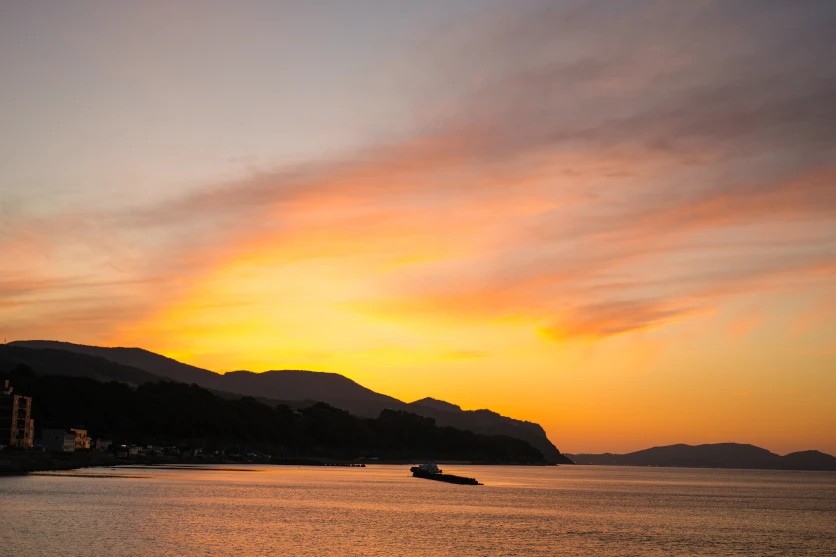
TAMRON 17-50mm F4 (Model A068) Focal length: 50mm Exposure: F4 Shutter Speed: 1/200sec ISO: 400
A wide-angle lens captures the full gradient of the sky along with the land beneath it. Depth comes from whatever you put in the foreground: a koppie or a windpump in the Karoo, sandstone formations in the Cederberg, a single acacia on Highveld grassland.
Season matters here too. Jacarandas across Pretoria flower through October and November, and purple canopies against a blue hour sky is one of the few genuinely time-limited shots in the country.
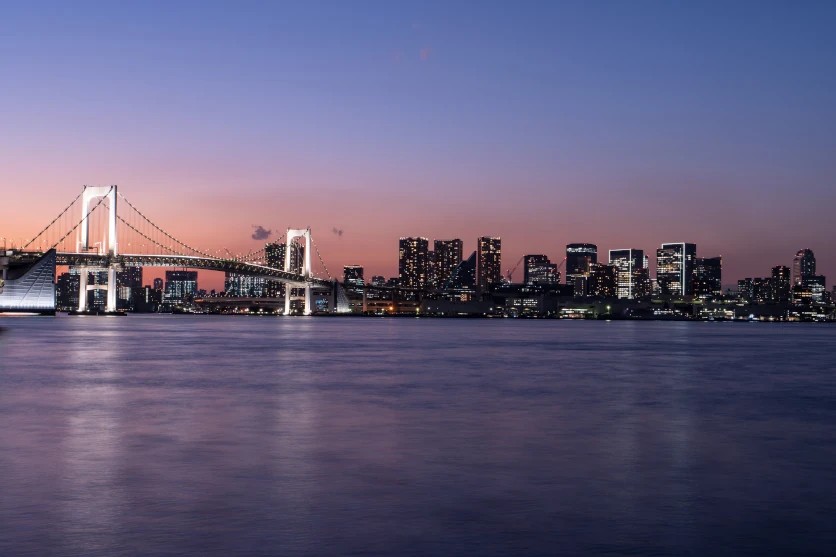
TAMRON 17-50mm F4 (Model A068) Focal length: 50mm Exposure: F11 Shutter Speed: 6sec ISO: 100
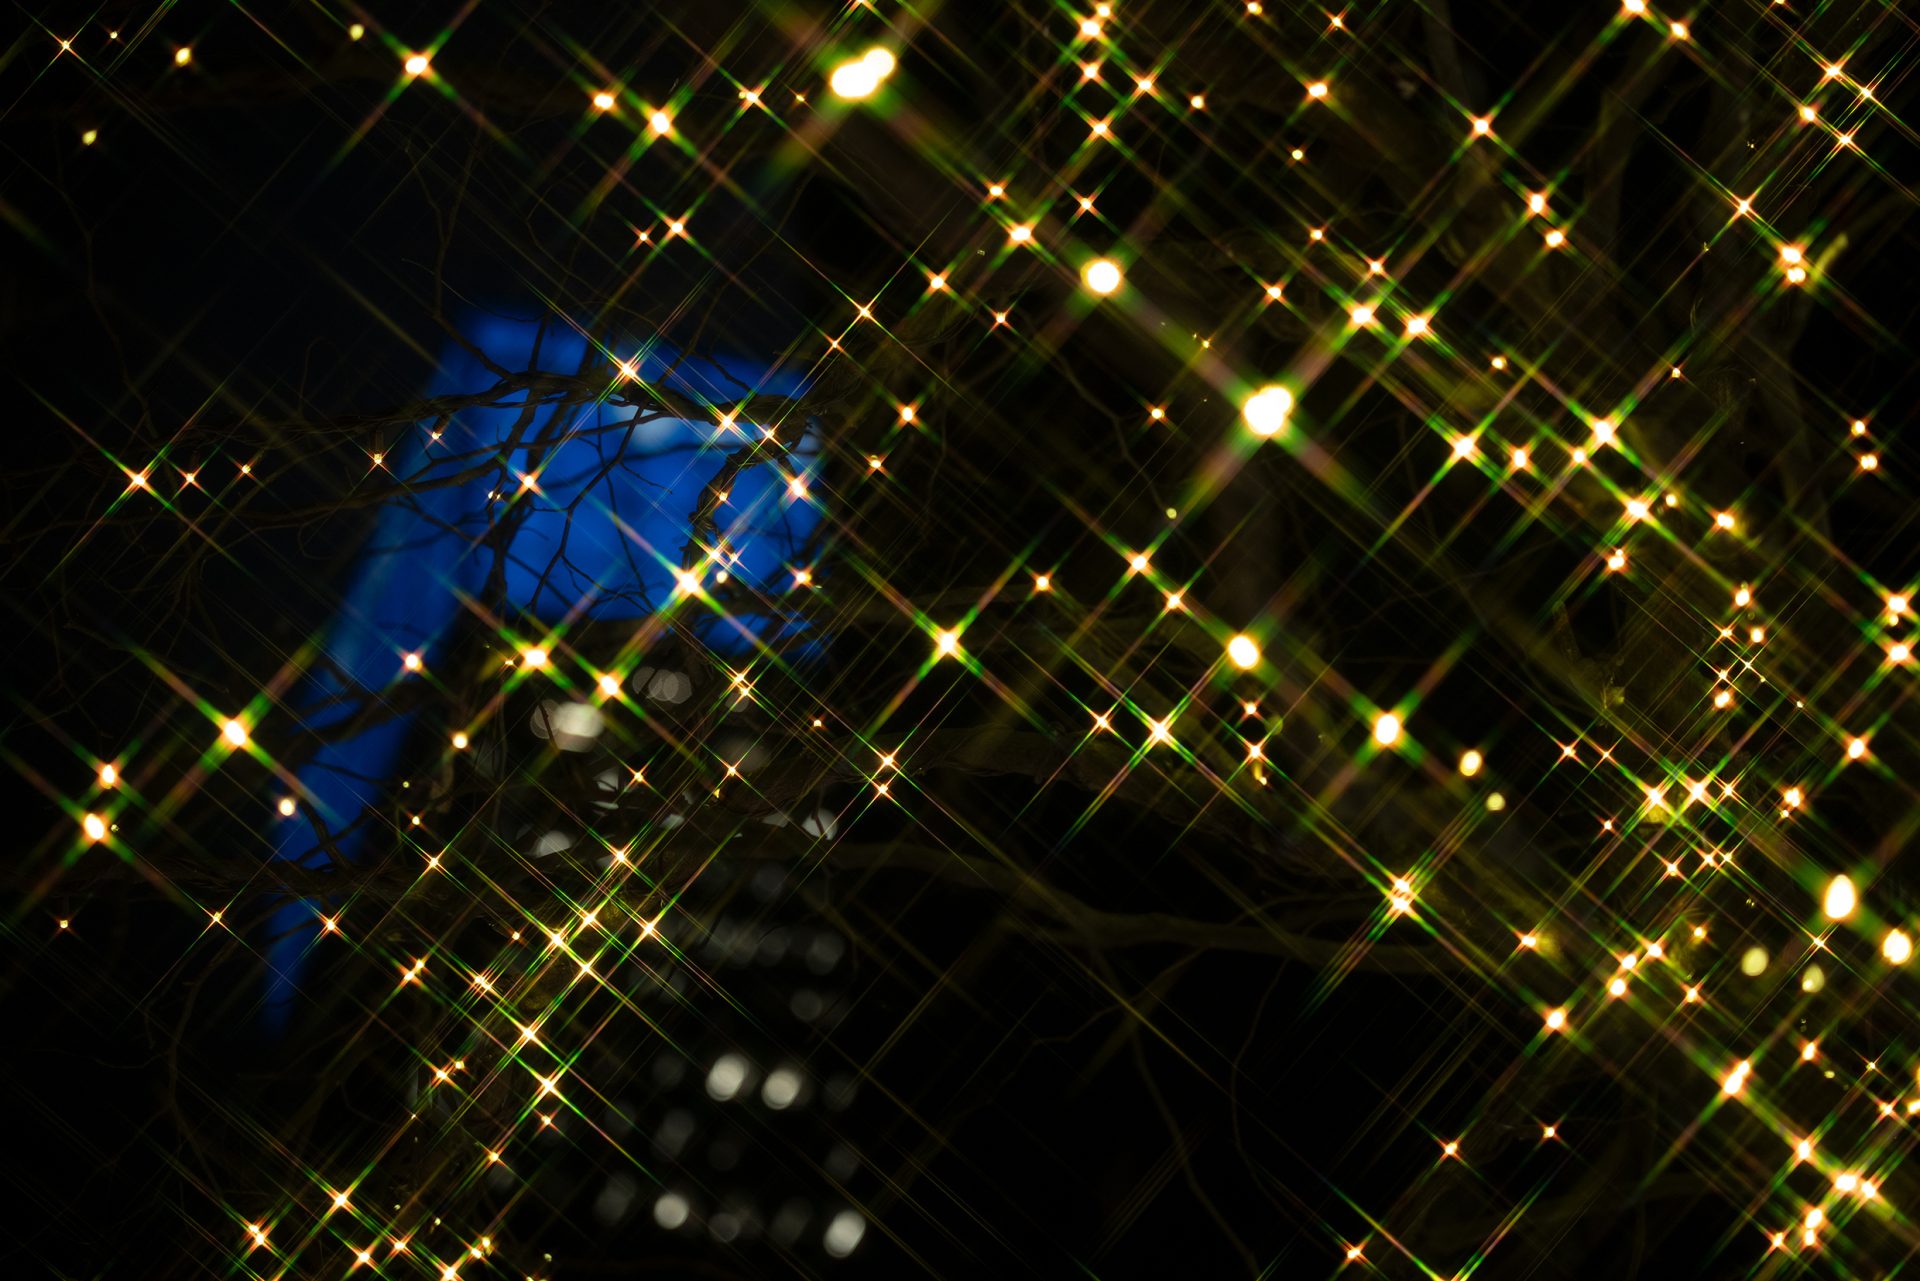
Watch the balance between building lights and the colour still left in the sky. That balance is the whole point, and it holds for a few minutes only. A tripod and a long exposure will register light too faint to see with the naked eye, and will turn traffic on the M1 through Johannesburg into continuous trails. The V&A Waterfront and the Durban beachfront both give you water to work with, which doubles every light source in the frame.
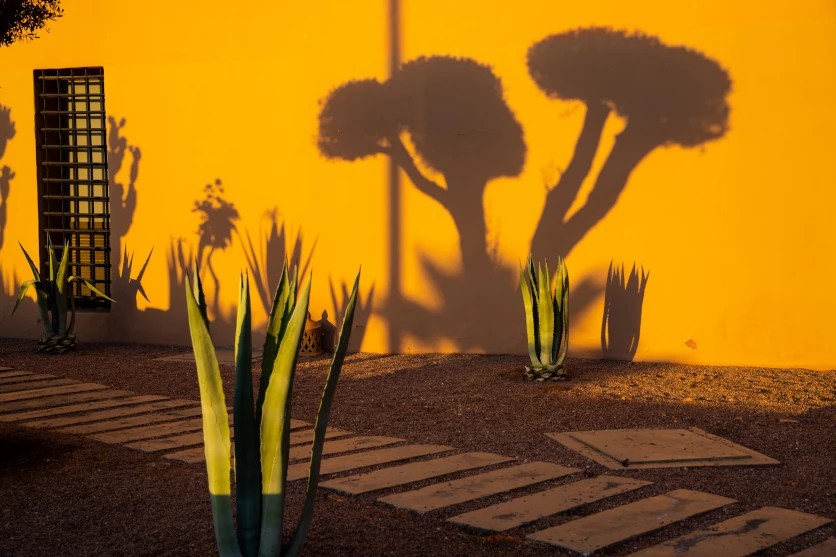
TAMRON 28-200mm F2.8-5.6 (Model A071) Focal length: 47mm Exposure: F8 Shutter Speed: 1/90sec ISO: 100
Look at what the low sun is doing to the surfaces around you. Side light rakes across facades and picks out texture that midday flattens completely: the shopfronts along Long Street, the painted brickwork in Maboneng, the restored buildings on Florida Road.
Silhouettes work well here as well. A figure against warm light at the end of a street, with a long shadow reaching back towards the camera, gives the frame a narrative that a daytime version of the same scene simply will not have.
Magic hour light suits hard surfaces. Angled light picks out the contours of a car body and gives paintwork a depth it never has under flat midday light. A coastal pass at dusk, whether that is Chapman's Peak or the R44 along the Whale Coast, gives you the vehicle and the setting together in one frame.
Aircraft work particularly well. The sunset reflects off the fuselage, and at OR Tambo or Cape Town International the runway and approach lighting coming up against the last colour in the sky adds movement to what is otherwise a still scene.
The window is short and the light is low. Both facts should shape what you put on the camera.
A lens that opens to f/2.8 gathers more light, which keeps your shutter speed usable for longer as the light falls. That is worth more here than in places with a longer twilight. Wide open, it also produces the large, soft background blur that suits portraits at this time of day.
Match the focal length to the scene. Wide-angle for the landscape work above, with full skies and open ground. Telephoto to isolate distant subjects, whether that is an aircraft, a building catching the last of the light, or a portrait with a compressed background. Standard focal lengths give the most natural perspective and are the easiest choice for street work.
You may be moving between viewpoints while the light changes: up Signal Hill, along Chapman's Peak, from one end of a beachfront to the other. A lighter, more compact lens makes that practical, and makes a real difference on travel days when you are carrying everything with you.
Autofocus that stays accurate and quick as light levels drop is worth prioritising, because this is exactly the point at which slower systems start hunting. If you are photographing anything moving, from vehicles and aircraft to people on a street, tracking performance matters as much as initial acquisition.
Stabilisation buys you shutter speeds you could not otherwise hold, which is the constant compromise of magic hour photography. It also helps when you are shooting from an awkward position, low to the ground or held high overhead, where you cannot brace yourself properly.
The magic hour hands you a short, reliable window of the best light of the day, twice over: warm and directional at one end, cool and even at the other. Plan for it, because it will not wait, and remember that the same location will give you something different in February than it does in July. Start with somewhere you already know well, and shoot it at the right time.