| September 18, 2026
 South Africa's #1 Mobile Protection Brand
A macro lens is built for one thing and quietly good at several others. The name describes what it does at its closest focusing distance — render a small subject at life size on the sensor — but it says nothing about the rest of its range, where it behaves like a very sharp short telephoto. That makes a macro lens for landscape photography a far more sensible proposition than most people assume. This article covers both halves: how to shoot landscapes with a macro lens, and how to use one to produce the circular highlights known as bokeh balls.
Macro lenses are usually primes, and they focus far closer than an ordinary lens of the same focal length. That is the whole point of them: a lens that will fill the frame with the stamens of a protea, the compound eye of a dragonfly, or the surface tension holding a drop of water on a blade of grass. Detail the eye cannot resolve unaided becomes the subject.
What gets overlooked is that the lens does not stop being useful once you focus past a metre. Macro designs are optically demanding — they have to hold resolution across a flat field at very close range — and that engineering pays off at every other distance too. A 90mm macro used at infinity is simply a very sharp 90mm prime.
Which opens up the third use: taking a piece out of a landscape rather than photographing all of it. The narrow angle of view isolates a ridge, a stand of trees, a single flowering shrub on a hillside. Combined with the shallow depth of field the lens can produce, it lets you build an image out of a fragment.
Getting the most out of the lens starts with understanding what makes it different from the standard zoom already in your bag. Three things matter: how close it focuses, how you focus it, and how you keep it steady.
Minimum object distance and maximum magnification
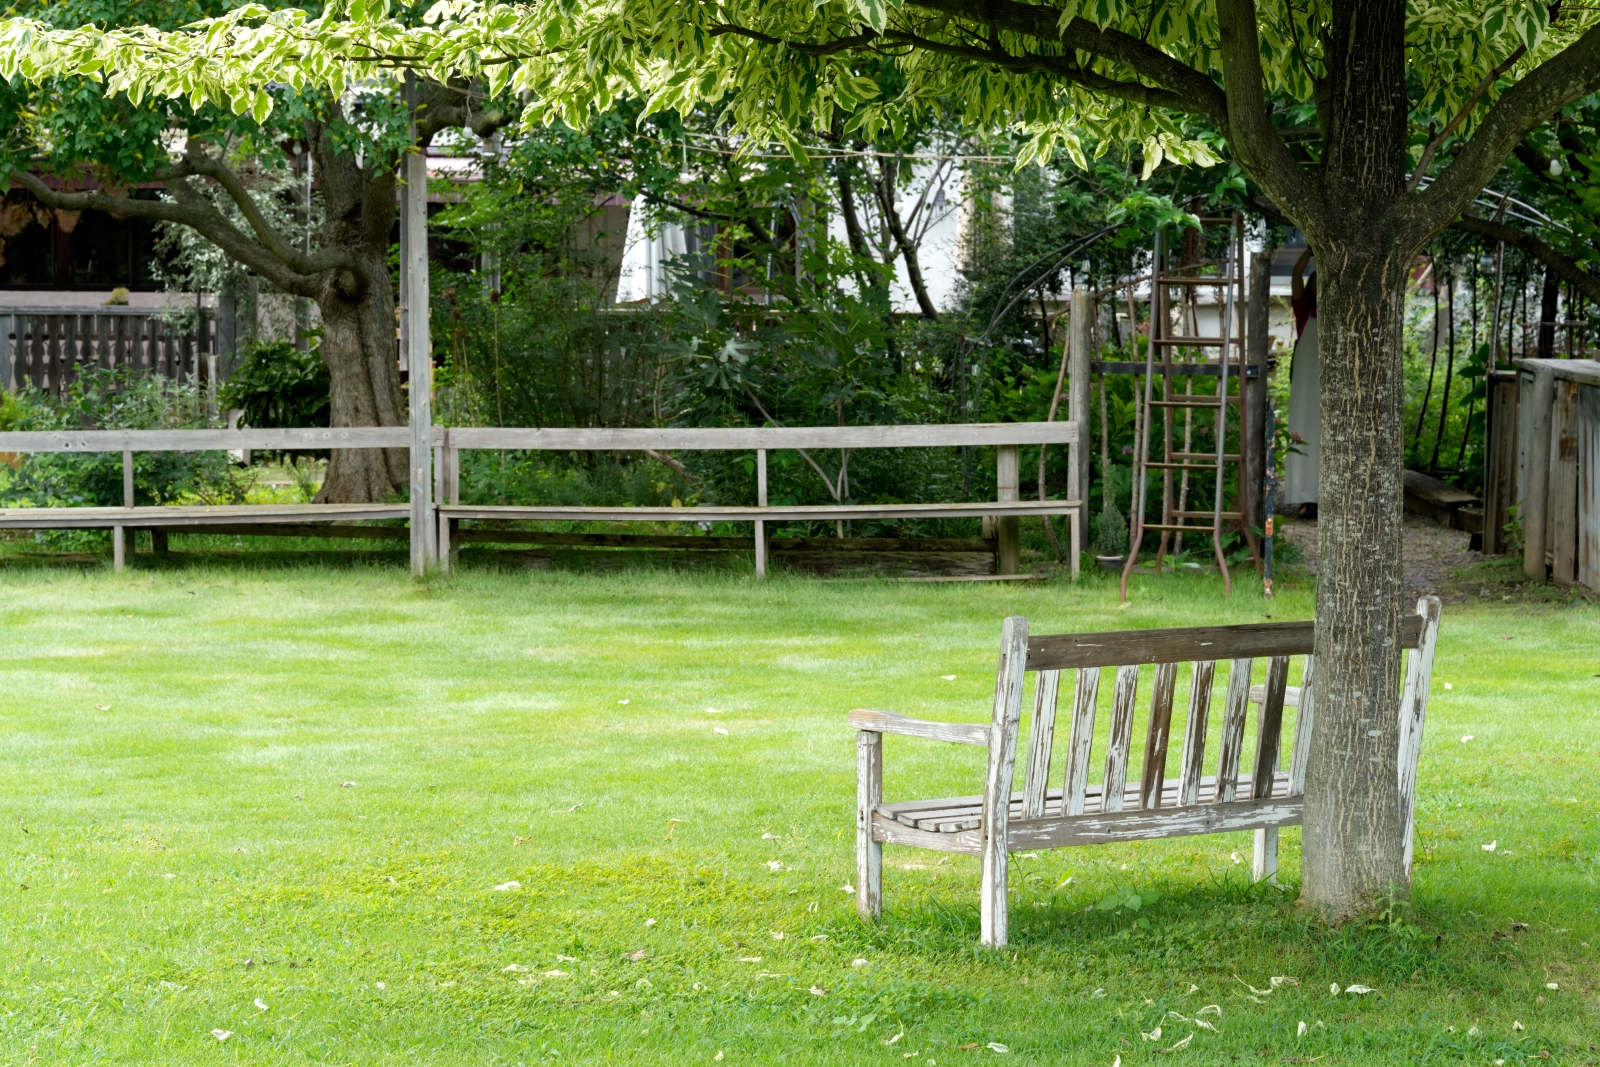
TAMRON 90mm F2.8 MACRO (Model F072) Focal length: 90mm Exposure: F2.8 Shutter Speed: 1/1600sec ISO: 640
Minimum object distance is the shortest distance at which a lens can achieve focus, measured from the subject to the camera's sensor. Macro lenses have a very short one, and that is what lets you work close enough for magnification to matter at all.
Maximum magnification describes how large a subject appears on the sensor at that closest distance. A true macro lens reaches 1:1 — life size, meaning a ten-millimetre insect rendered ten millimetres across on the sensor. That figure is what the word macro properly refers to.
A lens that reaches 1:2 is a half-macro. It cannot go as close, but that is not purely a loss: a half-macro takes in more of the surroundings at its closest distance, which suits work where you want both the subject and some sense of where it is sitting.
How to focus
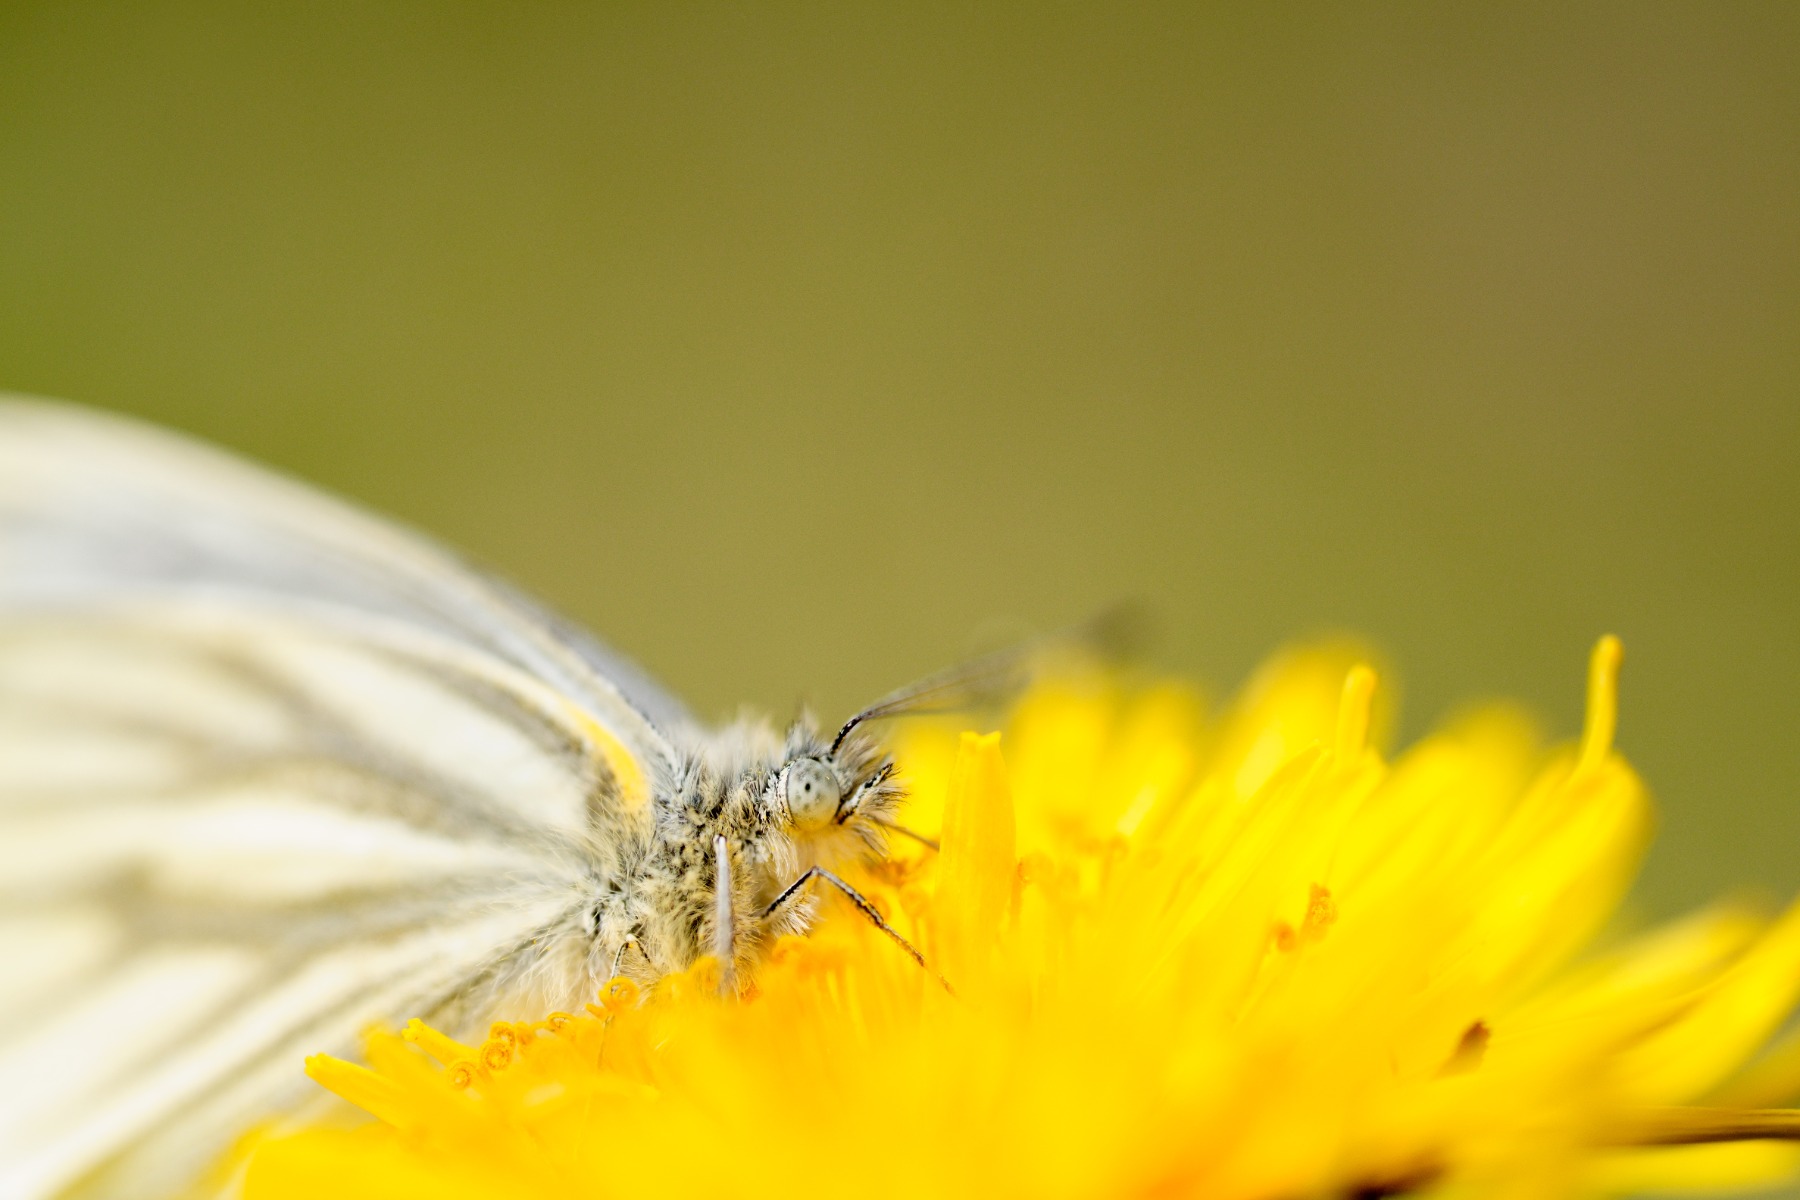
TAMRON 90mm F2.8 MACRO (Model F072) Focal length: 90mm Exposure: F5.6 Shutter Speed: 1/160sec ISO: 800
Depth of field collapses as you get closer. At 1:1 the zone of sharp focus can be a millimetre or two even at moderate apertures, so “focus on the flower” stops being a useful instruction. You have to decide which part of the flower, and place the focus there deliberately.
Autofocus struggles at those distances. It hunts, it grabs the wrong plane, and on a subject with fine repeating detail it often cannot decide at all. Manual focus is the answer, and the technique most macro photographers settle on is to set focus roughly and then move the camera — rocking forward and back by millimetres until the plane lands where you want it.
Two things make this easier. A higher f-number deepens the sharp zone and gives you margin for error. A tripod removes your own movement from the equation, which at these magnifications is otherwise the dominant variable.
Magnification amplifies movement. A hand tremor that would be invisible at ordinary distances becomes obvious at 1:1, because the same physical displacement covers far more of the frame. A faster shutter speed than you would otherwise choose is the first defence, with a tripod and a narrower aperture behind it.
Wind is the larger problem here, and the cause of most failed macro frames in this country. A flower moving a few millimetres in a breeze is moving a long way within the frame, and no tripod helps with that. The Cape south-easter makes summer afternoons close to unusable for flower work at high magnification. Shoot early, before the wind gets up; watch for the lulls and shoot into them; and raise the shutter speed well beyond what camera shake alone would require.
With the close-up behaviour understood, the landscape side is more straightforward. The lens is sharp, the angle of view is narrow, and the main decisions are exposure and what to leave out of the frame.
These are starting points rather than rules. The right settings depend on the light, the subject and how much of the scene you want sharp, and you will refine them as you shoot.
Aperture priority. You set the f-number, the camera works out the shutter speed, and depth of field — which is the thing you are actually controlling in both macro and landscape work — stays exactly where you put it.
For a landscape where you want the whole scene sharp, stop down to somewhere between f/8 and f/11. Most lenses are at their sharpest in that region, and the depth of field is deep enough to carry foreground and distance together. Going much past f/16 starts costing you sharpness to diffraction rather than gaining you anything.
For landscape work at f/8 to f/11, ordinary shutter speeds are fine — the aperture is doing the work, and a tripod covers you if the light drops and the exposure runs long.
Close-up work is different. Somewhere between 1/200 and 1/1000 sec is the usual range, chosen to stop magnified camera shake rather than to freeze a subject that is mostly stationary.
Then add wind. If anything in the frame is moving — and outdoors, something almost always is — the shutter speed has to stop that movement too, which often means working at the upper end of the range or beyond it. Check a frame at full magnification before you move on. Wind blur is easy to miss on a small screen and impossible to fix afterwards.
Keep ISO as low as the light allows. Macro work rewards clean files, because the fine detail you went to the trouble of capturing is exactly what noise erodes first.
When a frame comes out dark, you have two ways to lift it: raise ISO, or add positive exposure compensation. Both have limits. ISO brings noise; exposure compensation pushed too far blows out highlights that cannot be recovered, and it can shift the colour of the whole frame in a way that looks wrong without being obviously wrong.
The situation where this bites hardest here is bright sun on pale petals. A white arum or a cream protea under midday summer light will clip long before the rest of the frame is properly exposed. Open shade, an overcast day, or a diffuser between the sun and the subject solves it far better than any adjustment made in camera.
Narrow angles of view make composition unforgiving — there is less in the frame, so every element carries more weight. The rule of thirds is the standard starting point: divide the frame into three horizontally and vertically, then place the subject on a line or at an intersection rather than dead centre.
A four-part division works similarly and suits scenes with strong horizontal structure — a horizon, a ridge, a treeline. Neither is a rule so much as a default worth departing from deliberately. Knowing where the balance sits makes it obvious when breaking it is the better choice.
The narrow angle of view of a 90mm macro is what makes this possible. Rather than trying to contain a whole scene, you take a piece of it and let that piece stand for the whole.
In practice that means one flowering shrub picked out of a hillside of fynbos, a single line of the Drakensberg escarpment lifted out of the range, a stand of trees on a Highveld ridge or along the Magaliesberg separated from everything around it. The subject is a fragment, and it works because the fragment is legible in a way the panorama is not.
Look before you shoot. Walk the scene, find the part your eye keeps returning to, and photograph that repeatedly from several distances and angles. The frame that works is rarely the first one you take.
The other direction is inwards. A landscape is full of subjects small enough that most people walk straight past them, and the lens that took the wide view will render any of them at life size.
Close in on small subjects
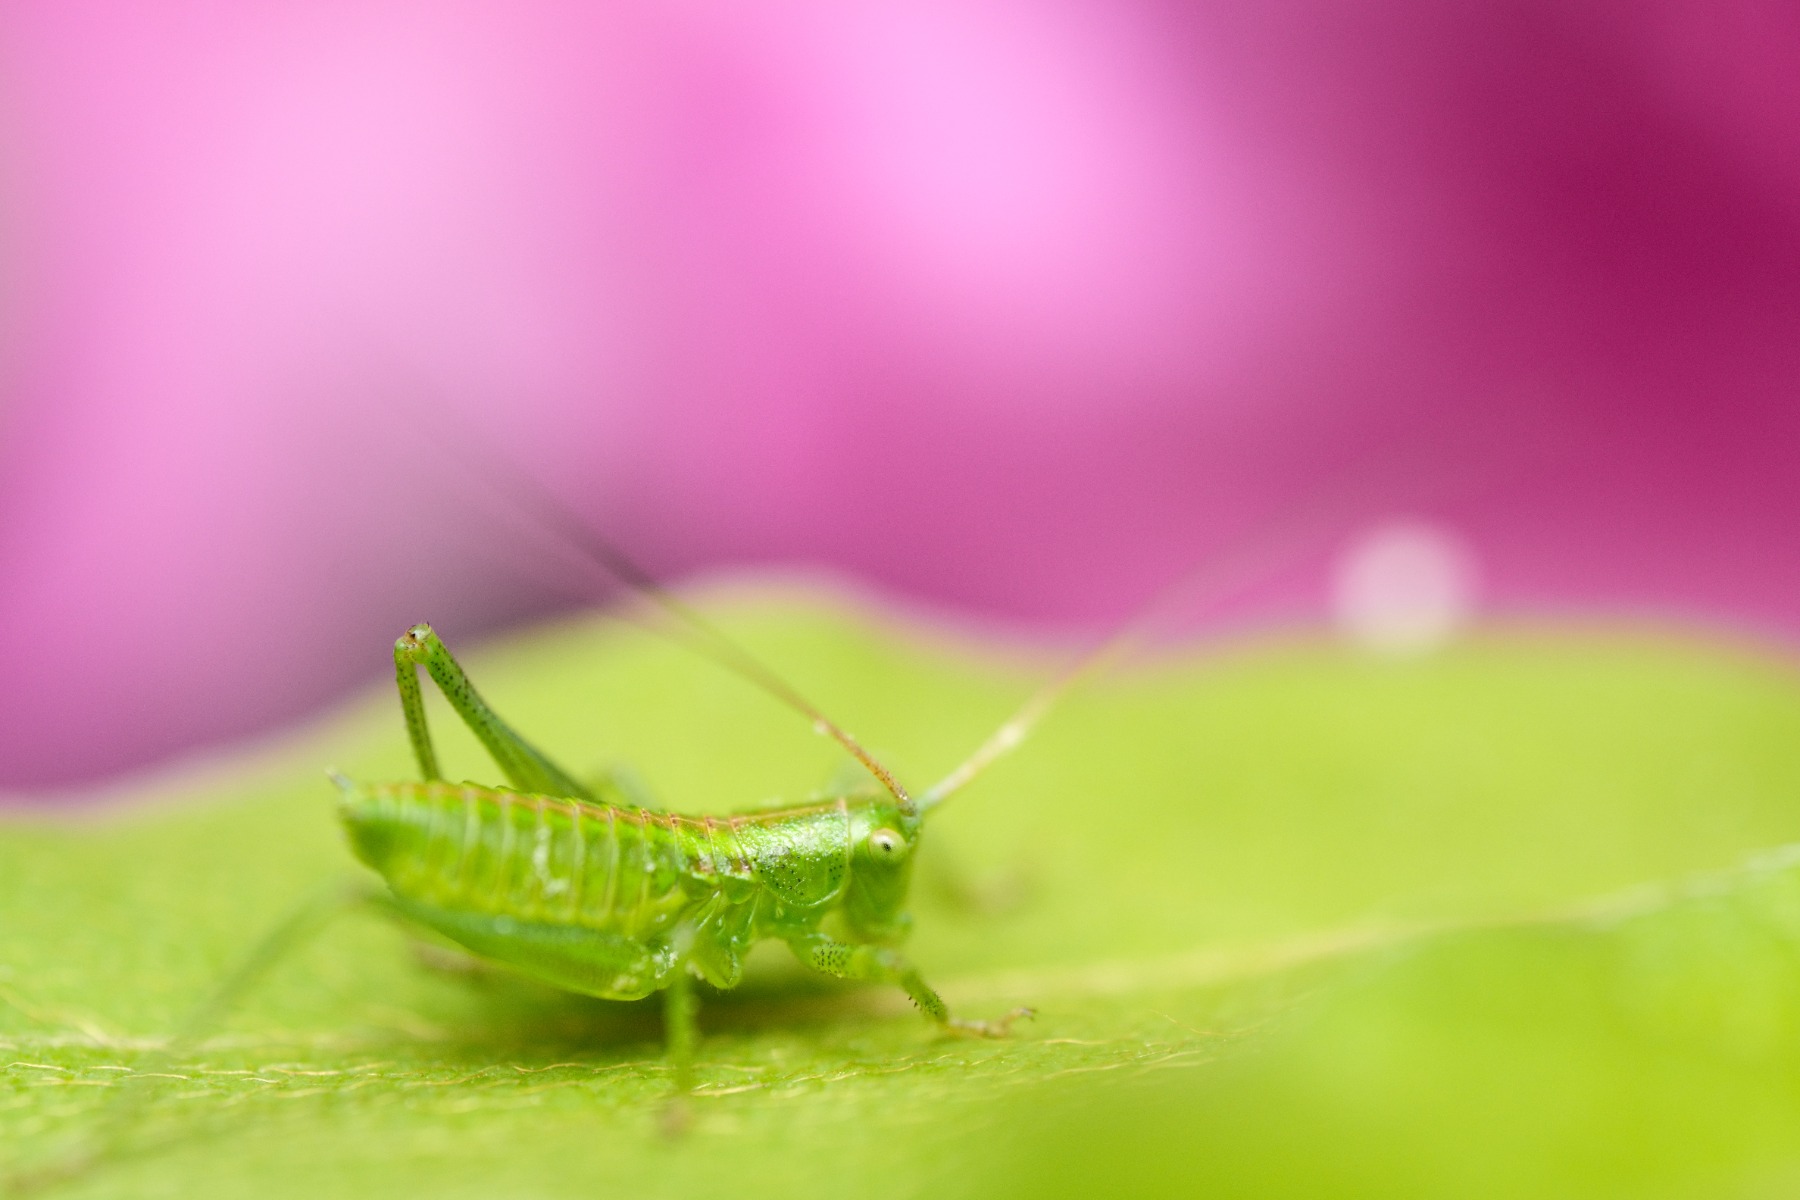
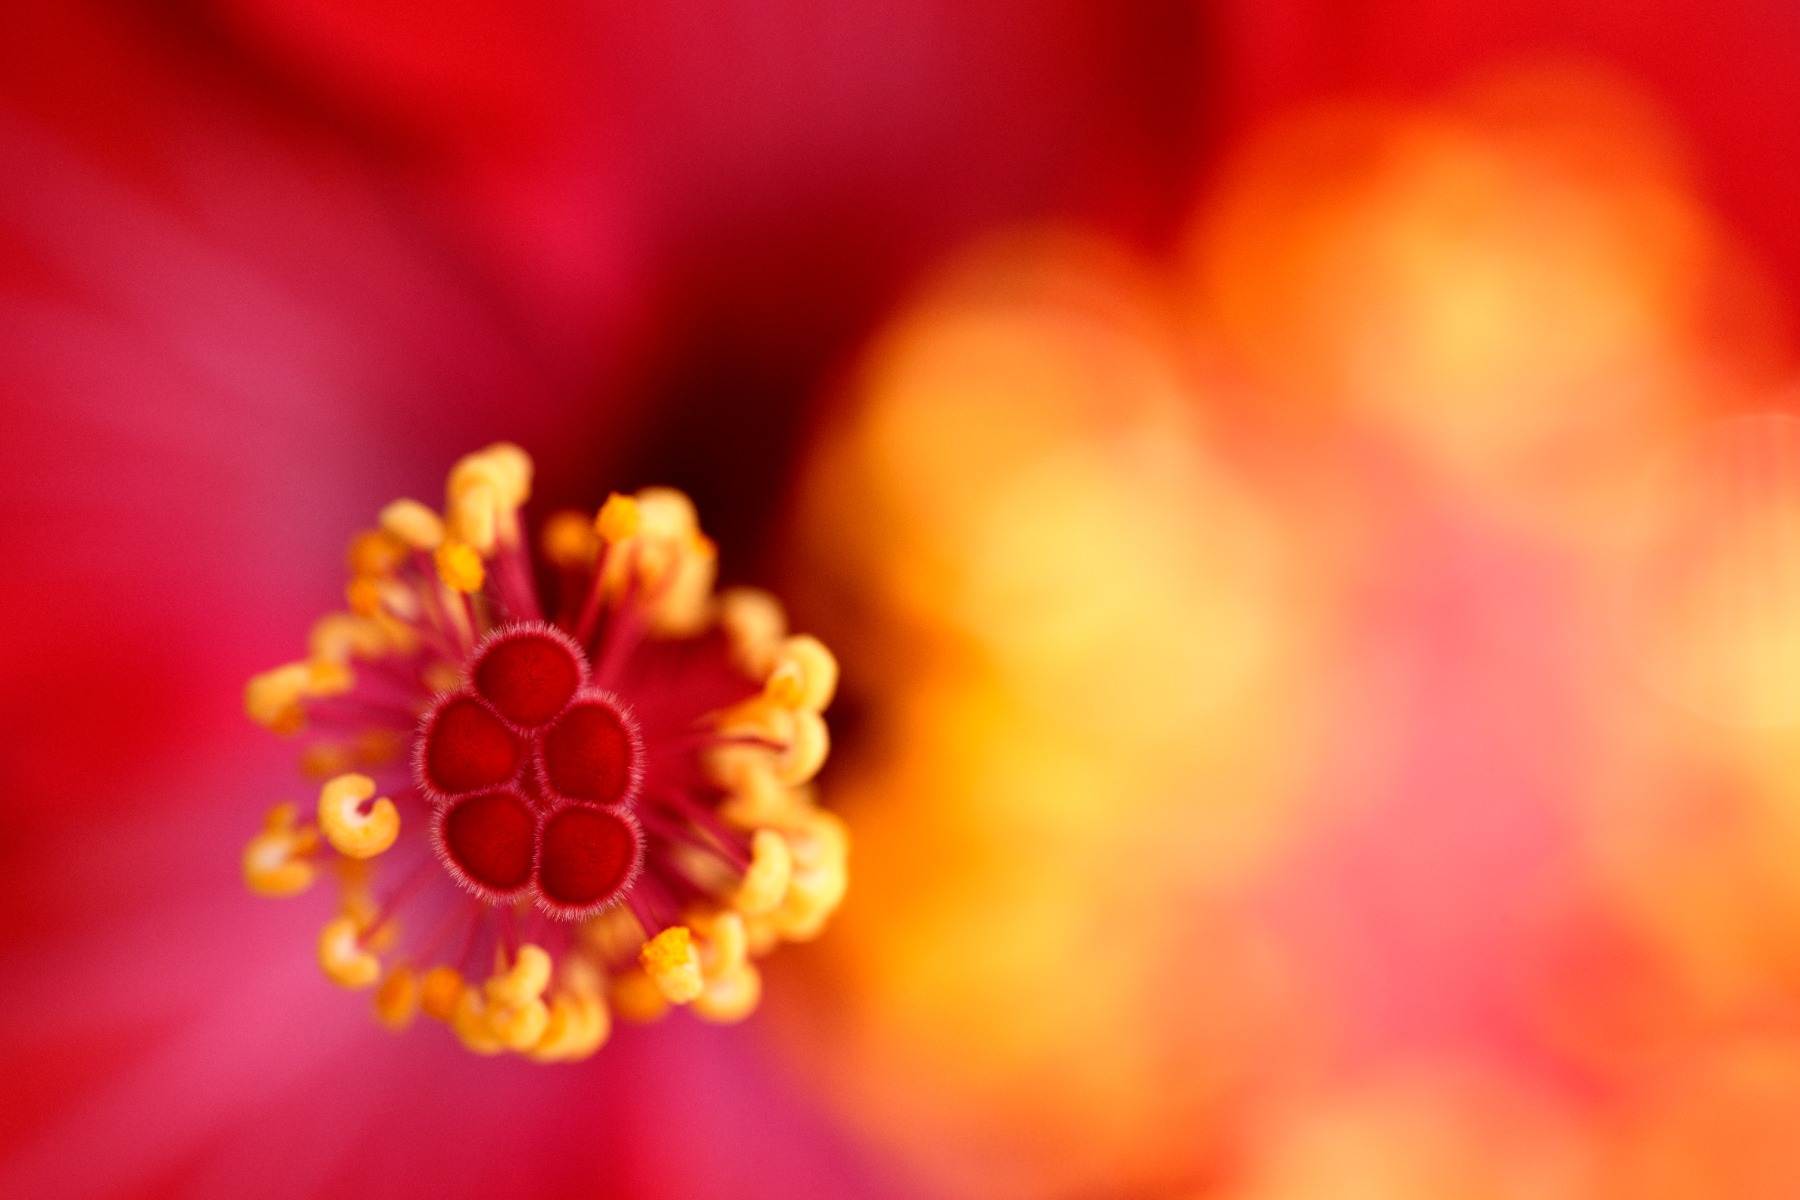
TAMRON 90mm F2.8 MACRO (Model F072) Focal length: 90mm Exposure: F2.8 Shutter Speed: 1/640sec ISO: 800
Flowers, insects, seedheads, water droplets, lichen on a rock, frost on a blade of grass on a winter morning on the Highveld — all of these are components of a landscape until you get close enough for them to become the subject. That shift is the whole appeal of carrying a macro lens on an ordinary walk.
Once you have chosen something, keep going. The first frame is usually the obvious one; the interesting frames come after you have spent five minutes looking at a single flower and noticed the texture of the petal surface, the arrangement of the stamens, the way a drop of water sits in a fold. Detail rewards patience more than it rewards technique.
Backgrounds and angles change everything
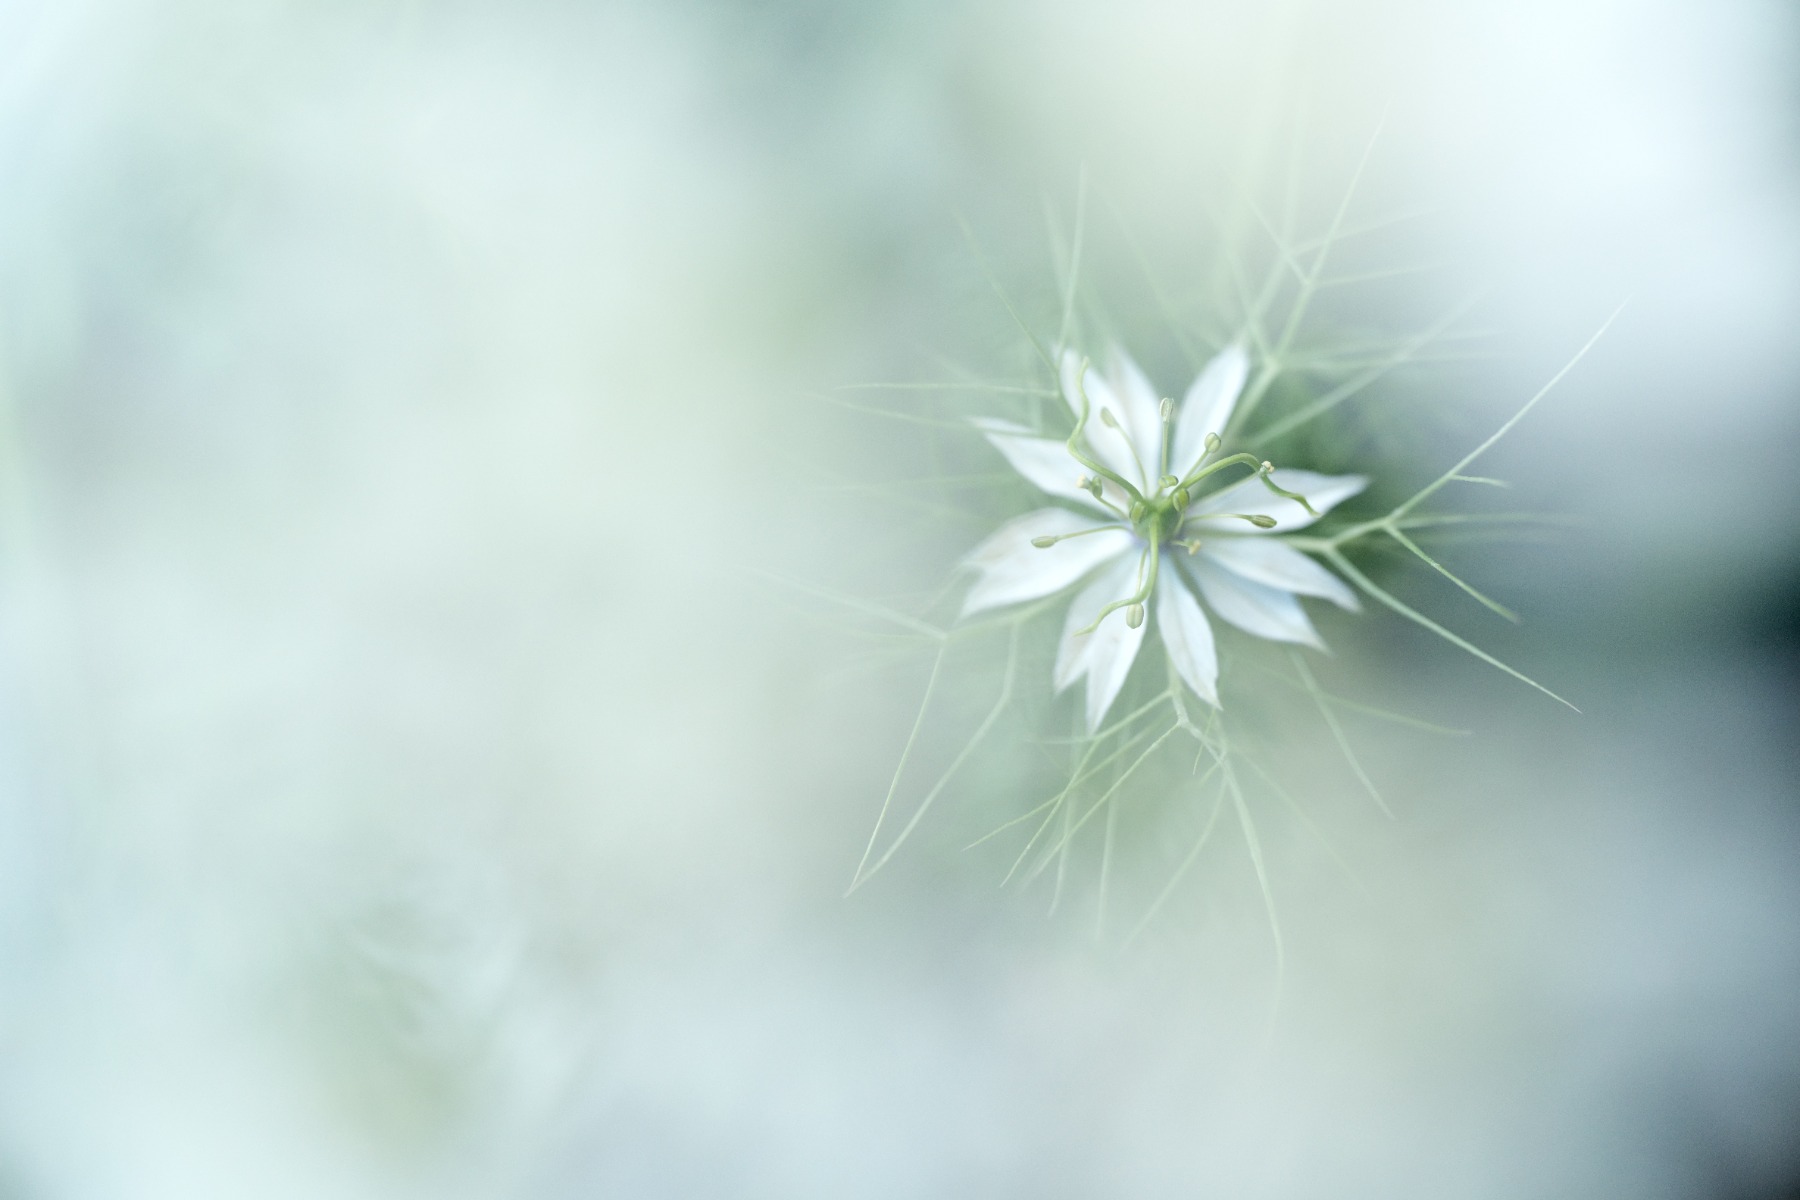
TAMRON 90mm F2.8 MACRO (Model F072) Focal length: 90mm Exposure: F2.8 Shutter Speed: 1/400sec ISO: 800
In close-up work the background occupies most of the frame even though it is entirely out of focus, so choosing it is not optional.
A background in a similar tone to the subject gives a soft, quiet image where the subject emerges gradually. A contrasting background does the opposite — the subject snaps forward and the detail reads hard and clear. Neither is better; they are different photographs of the same thing.
Angle matters as much. Shooting straight down or straight on gives a detached, observational quality, as though you are cataloguing the subject. Dropping to its level, or coming in from below, makes the image feel as though it has a point of view.
The practical approach is to photograph the same subject from four or five positions before deciding anything. Move a few centimetres and the background changes completely, which at these distances is a far larger lever than any setting on the camera.
Circular bokeh and bokeh balls
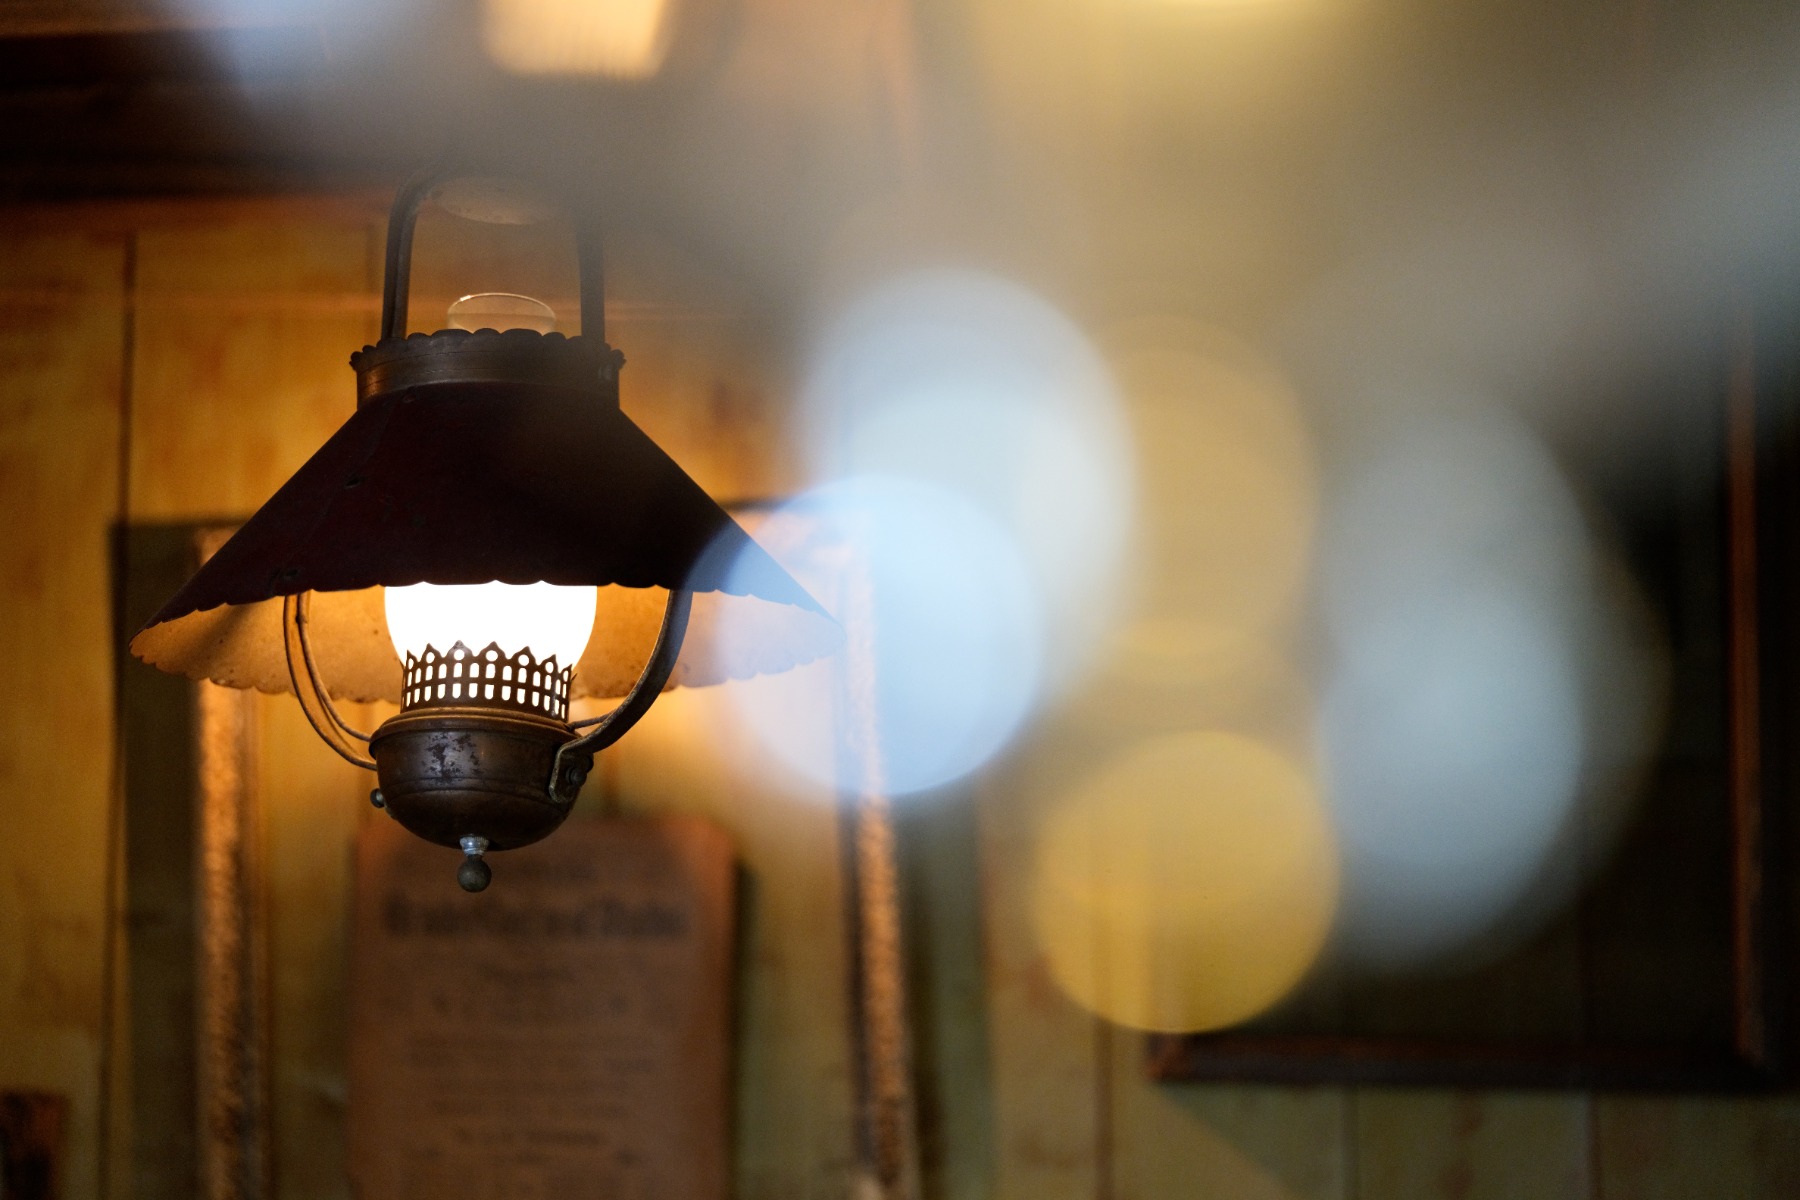
TAMRON 90mm F2.8 MACRO (Model F072) Focal length: 90mm Exposure: F2.8 Shutter Speed: 1/100sec ISO: 1600
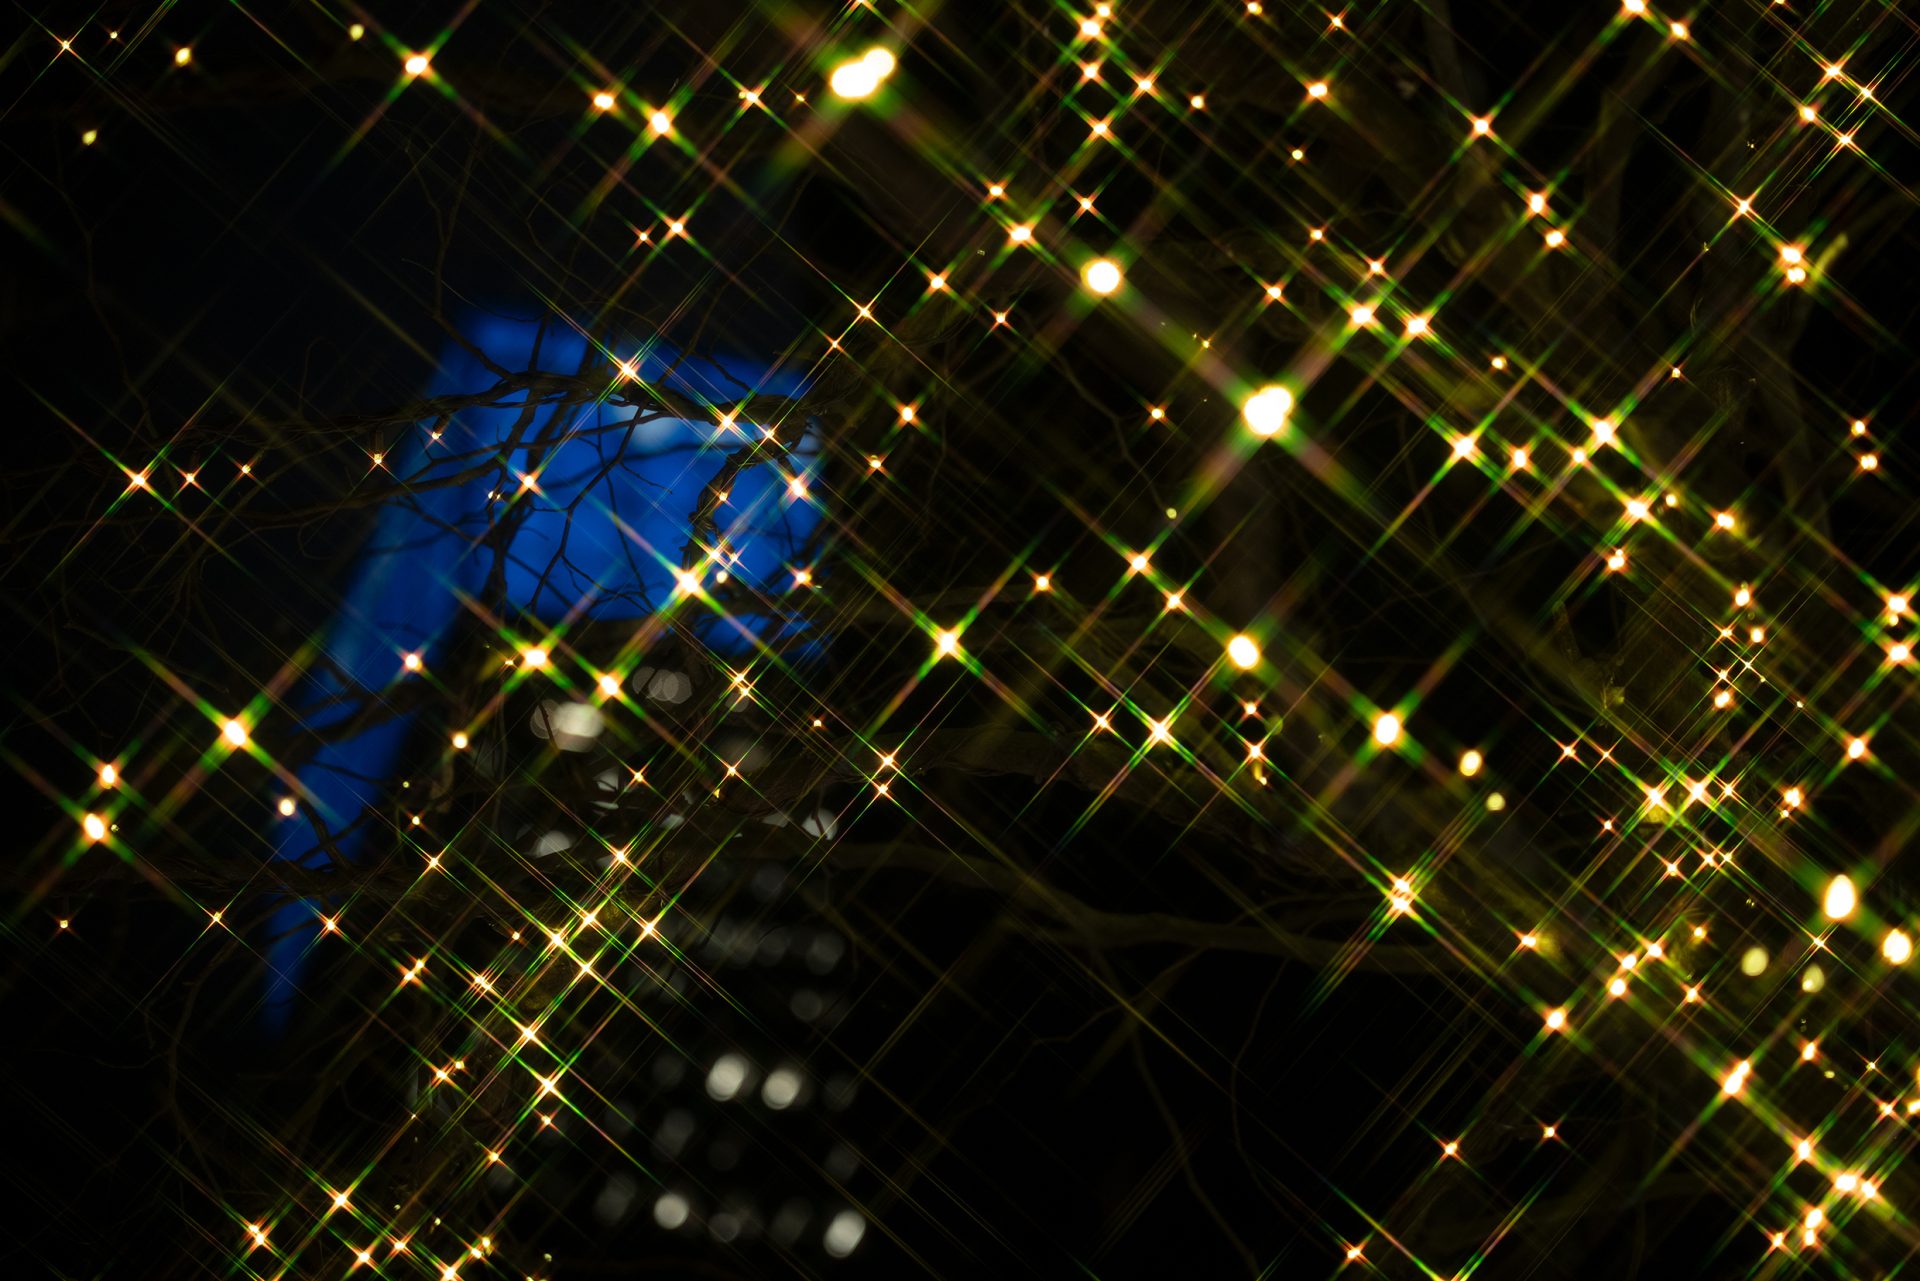
Bokeh balls are what out-of-focus point light sources become. A small bright point, thrown far enough out of focus, spreads into a disc — and a background full of them turns into a field of soft circles that gives a photograph depth and a distinctly lit quality.
They are the single most recognisable thing a fast macro lens produces, and they are more controllable than they look. Three factors determine whether you get them and how large they are.
Everything comes down to finding the right kind of light, putting distance between your subject and that light, and opening the aperture. Each is worth taking in turn.
Bokeh balls need points of light rather than broad light. After dark that is easy — streetlights, headlights and lit windows all work, and any of them behind a subject will render as discs.
In daylight the sun is the only source, so you are looking for places where it becomes a point: sunlight glinting off water, catching the edges of wet leaves, breaking through a canopy in scattered spots, or reflecting off dew on grass behind your subject. Backlighting produces them most reliably, so work with the sun in front of you rather than behind you.
Put distance between subject and background
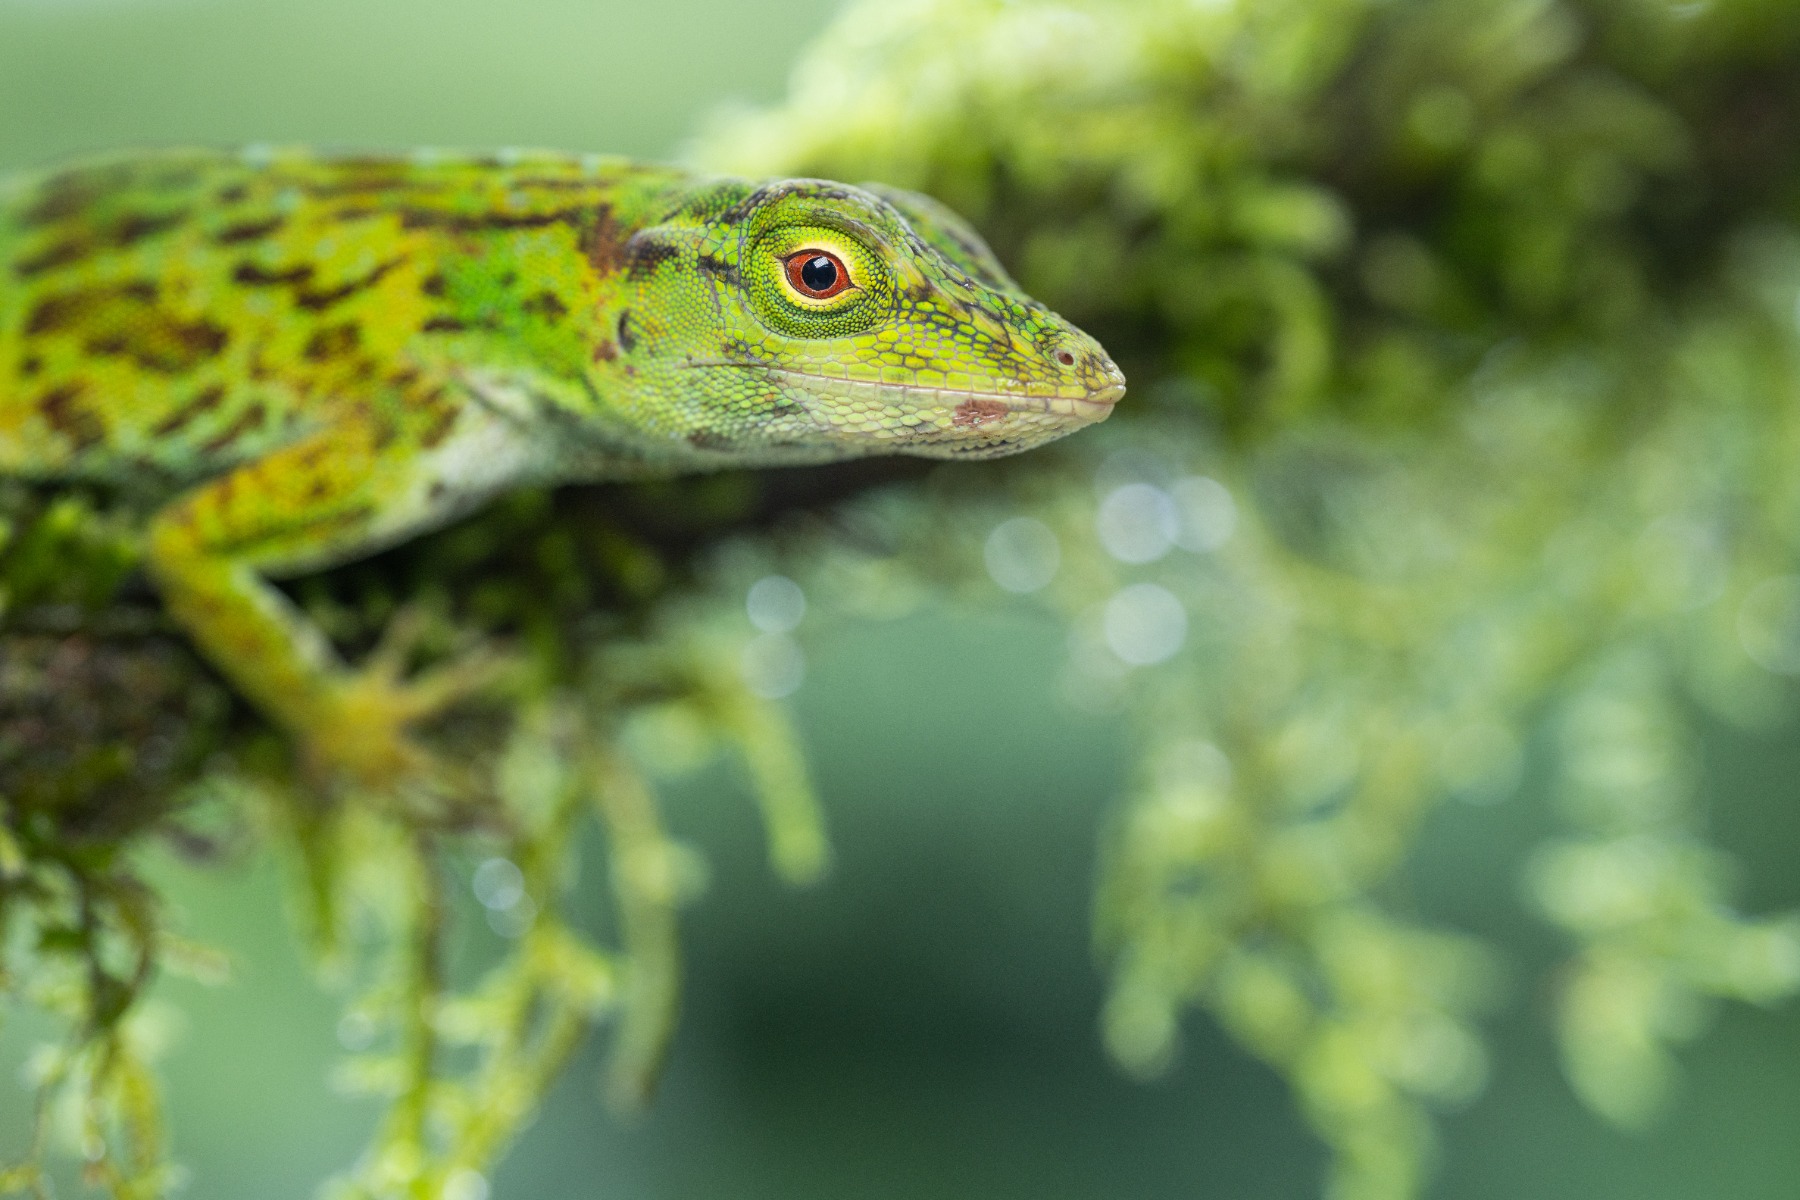
TAMRON 90mm F2.8 MACRO (Model F072) Focal length: 90mm Exposure: F3.5 Shutter Speed: 1/500sec ISO: 400
The further a light source sits behind the point of focus, the further out of focus it falls, and the larger the resulting disc. A long focal length exaggerates this, which is why a 90mm macro produces larger, smoother bokeh balls than a shorter lens at the same aperture.
Moving closer to your subject does the same work from the other end. As you approach, the background recedes relative to the plane of focus and the discs grow. Getting close is therefore doing two jobs at once: magnifying the subject and enlarging the bokeh behind it.
A wide aperture shallows the depth of field, which makes everything outside the plane of focus blur harder and renders the discs larger and softer. Shooting at or near maximum aperture is the standard approach.
The trade-off is that the sharp zone becomes extremely narrow, and at macro distances it can be too narrow to hold the part of the subject you care about. If the subject is not sharp enough, close down a stop or two. Slightly smaller bokeh balls with a sharp subject beats the reverse every time.
Three subjects where bokeh balls do particular work, and how to set each one up.
Flowers
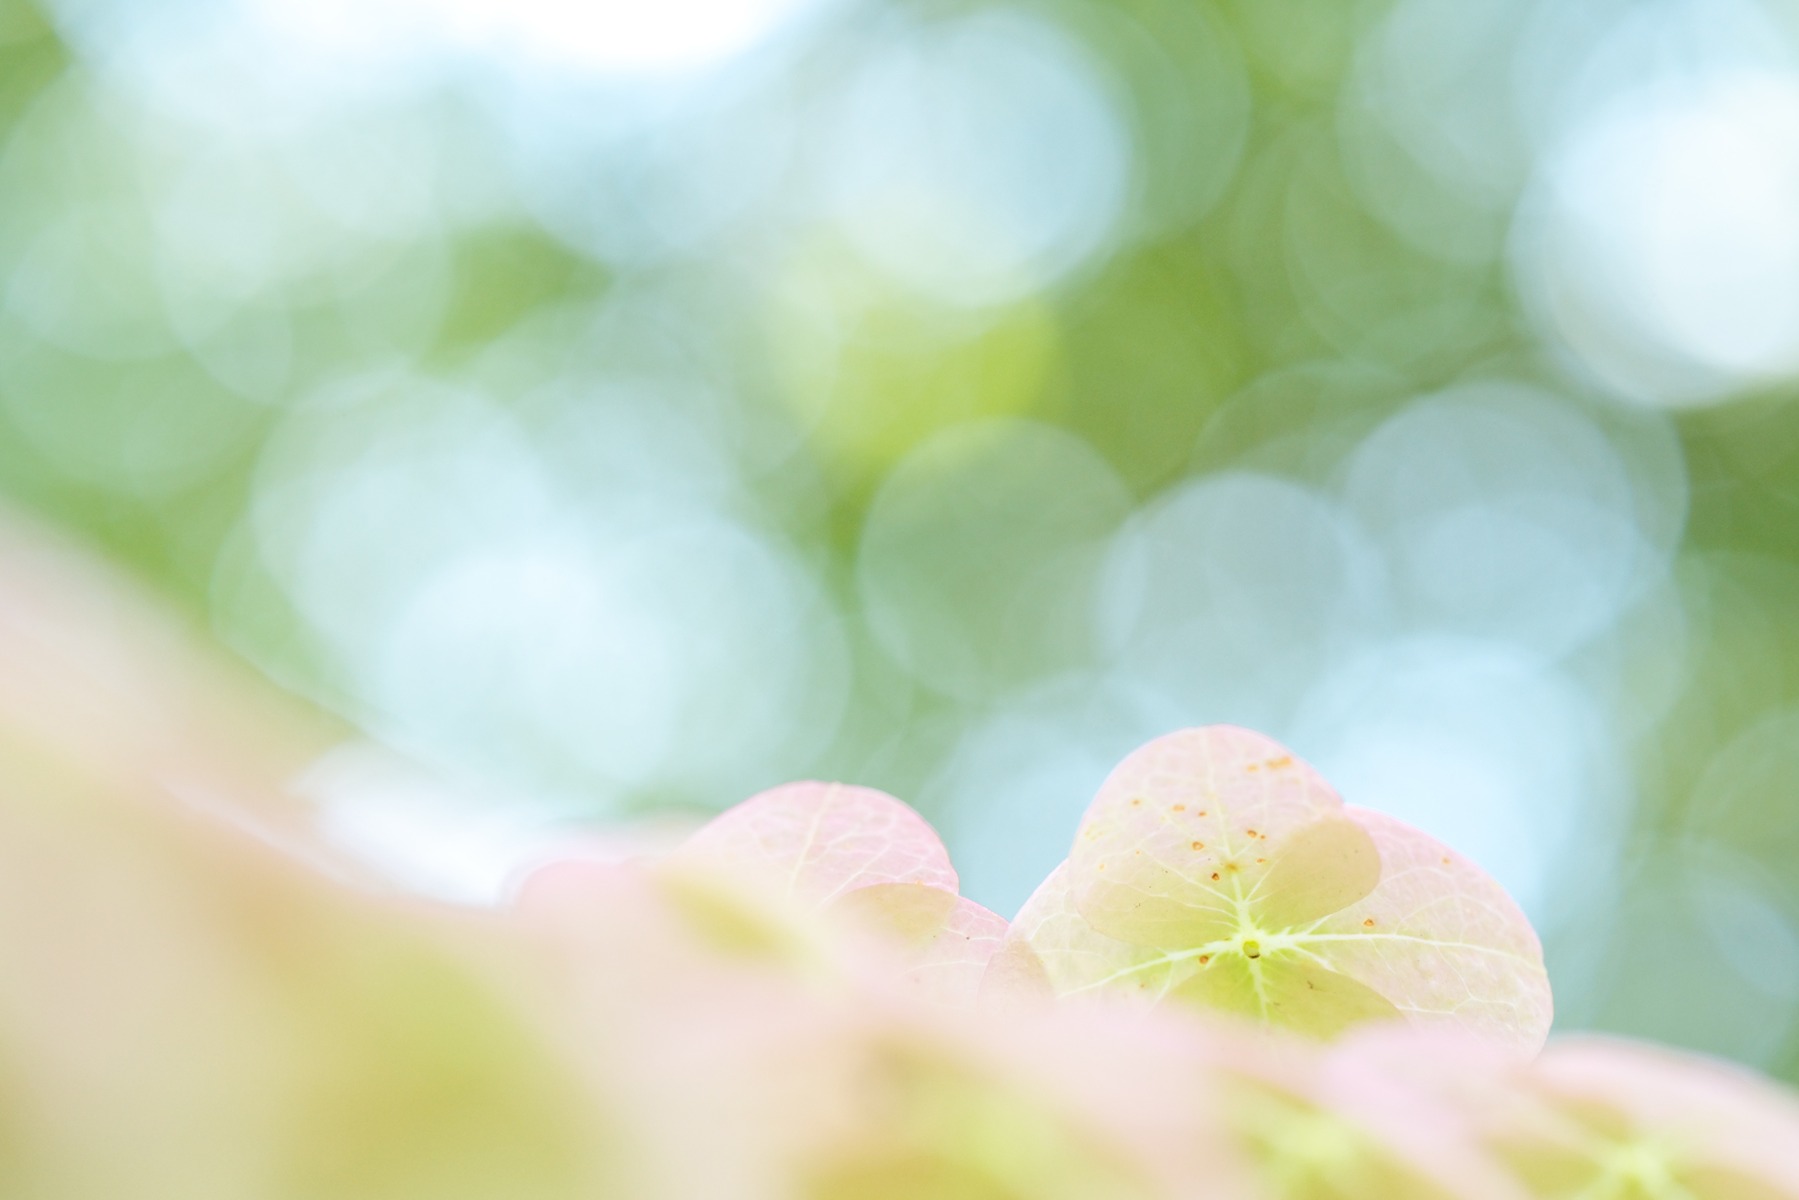
TAMRON 90mm F2.8 MACRO (Model F072) Focal length: 90mm Exposure: F4.5 Shutter Speed: 1/160sec ISO: 1600
Flowers gain vividness from bokeh balls because the discs read as light and warmth around the subject rather than as background clutter.
Petals wet with early dew are the classic case. Focus on a droplet or a petal edge and let the light catching the other droplets behind it break into circles. The dew window before around 08:00 is short but reliable through spring.
The other approach is a flower in front of more flowers. Shooting a single bloom close, with the West Coast spring display or a garden bed receding behind it, turns the whole background into scattered colour and light. Late August into early September is when that scene is at its best.
Water droplets
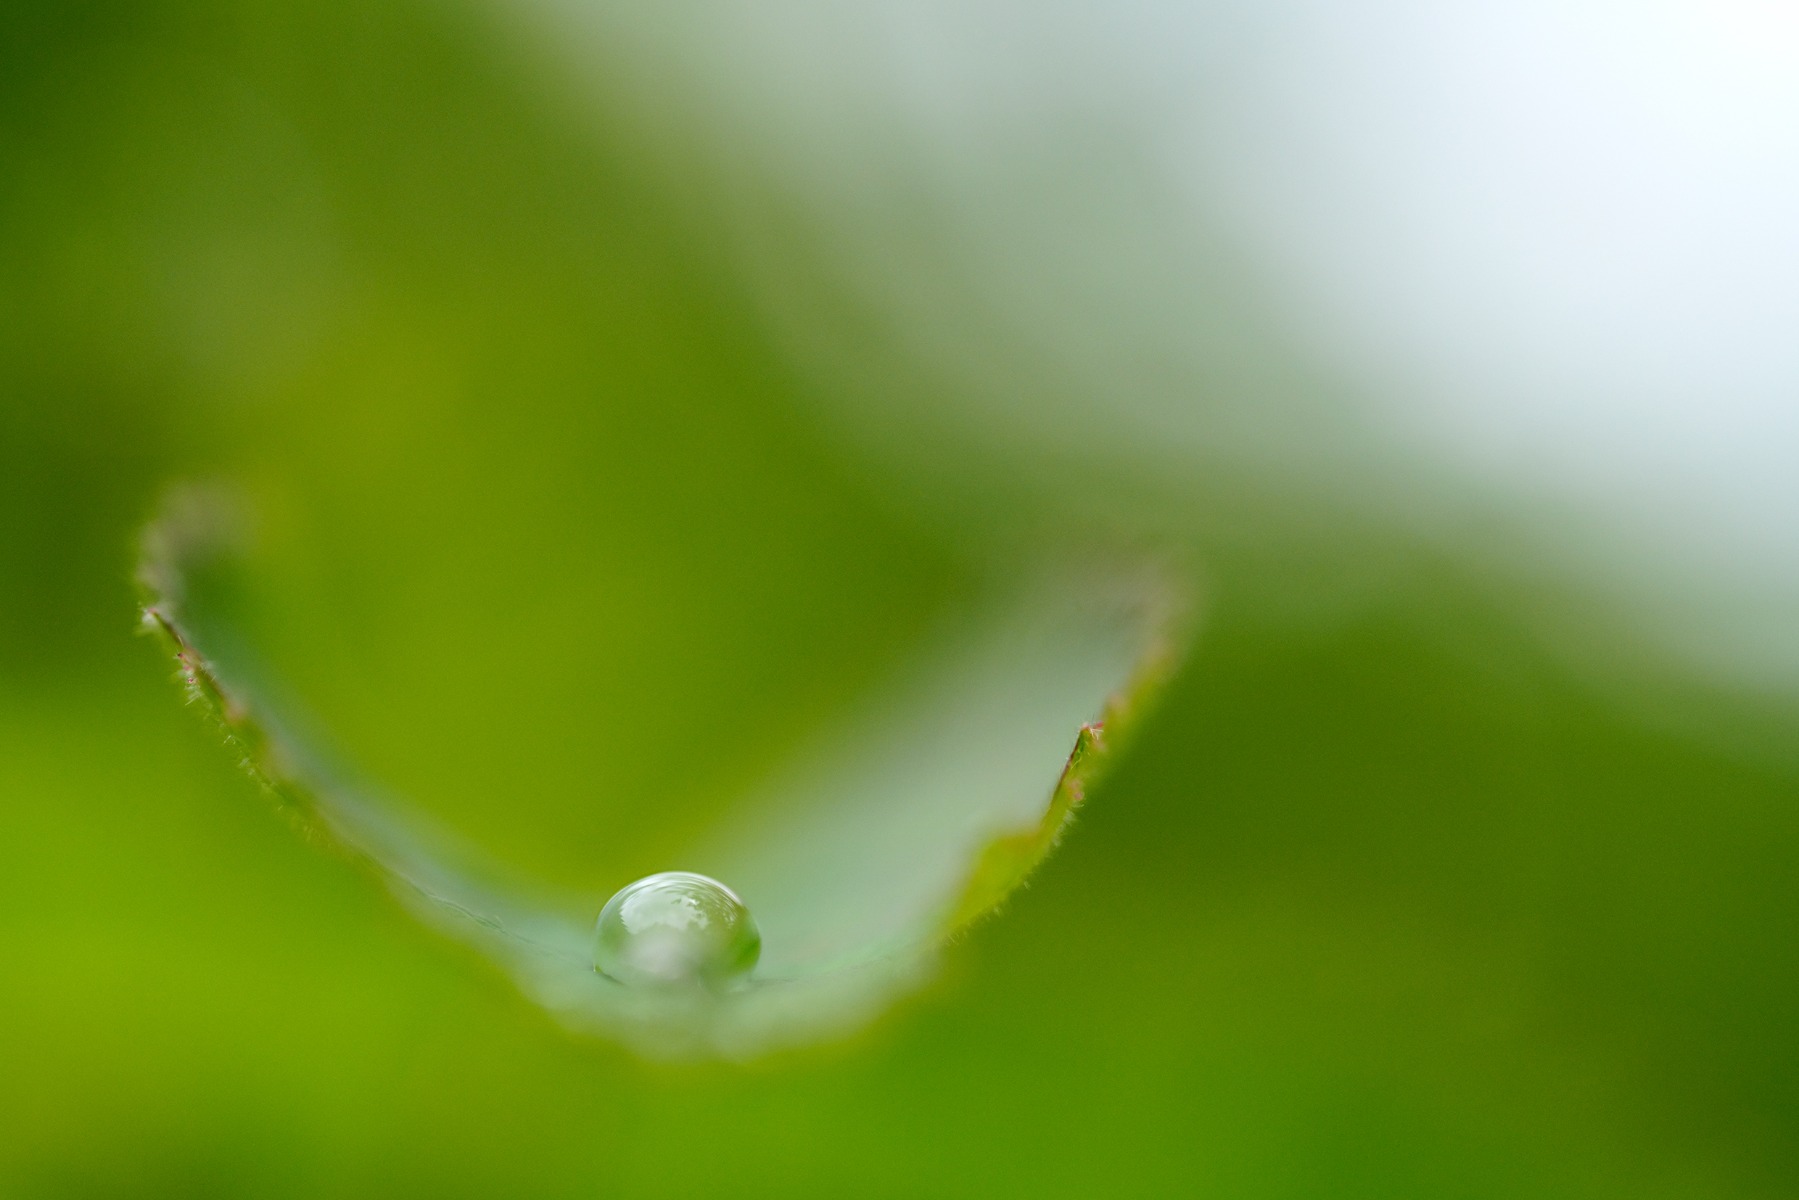
TAMRON 90mm F2.8 MACRO (Model F072) Focal length: 90mm Exposure: F2.8 Shutter Speed: 1/2000sec ISO: 800
Water is both subject and light source. A drop catches light and holds it as a point, so a leaf covered in droplets provides its own bokeh material — focus on one, and the rest become discs.
The strongest version of this is immediately after rain, which on the Highveld means the hour following a summer afternoon thunderstorm, in the Cape means most of the winter, and on the KwaZulu-Natal coast means almost any humid morning. Backlight the leaf so the sun comes through the drops rather than falling on them, and the contrast between the sharp droplet and the soft circles behind gives the frame real depth.
Insects
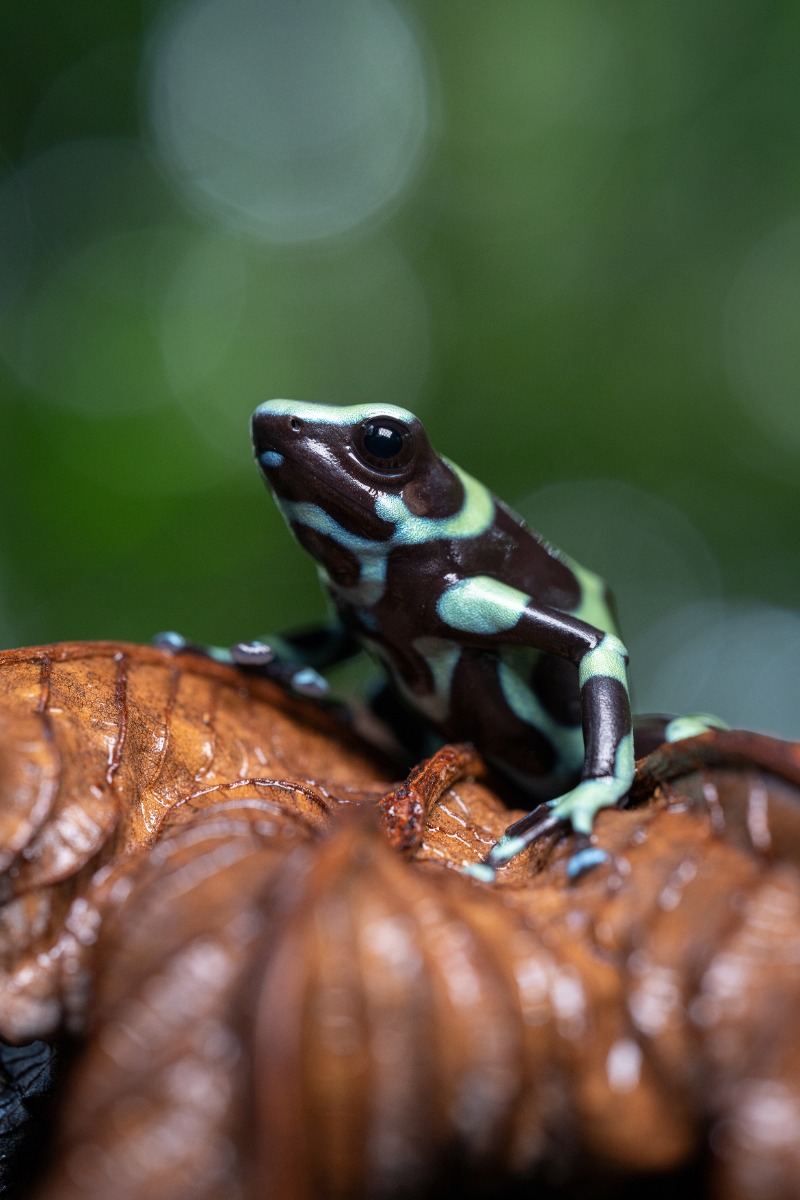
TAMRON 90mm F2.8 MACRO (Model F072) Focal length: 90mm Exposure: F5.6 Shutter Speed: 1/80sec ISO: 800
With insects the bokeh balls do something different: they soften a subject that can otherwise read as clinical. A carpenter bee on a garden flower, or a dragonfly at the edge of a dam in the KwaZulu-Natal Midlands, set against light broken up by leaves behind it, looks like part of a place rather than a specimen on a slide.
Work early. Insects are slower in the cool of the morning and easier to approach, the light is lower and more likely to break into points, and the wind has not started. Approach slowly, and do not handle or move the subject — a frame you had to arrange rarely looks unarranged.
Six things to weigh up, and the balance between them depends on whether you lean towards the close-up work or the landscape use.
Resolving power and bokeh texture
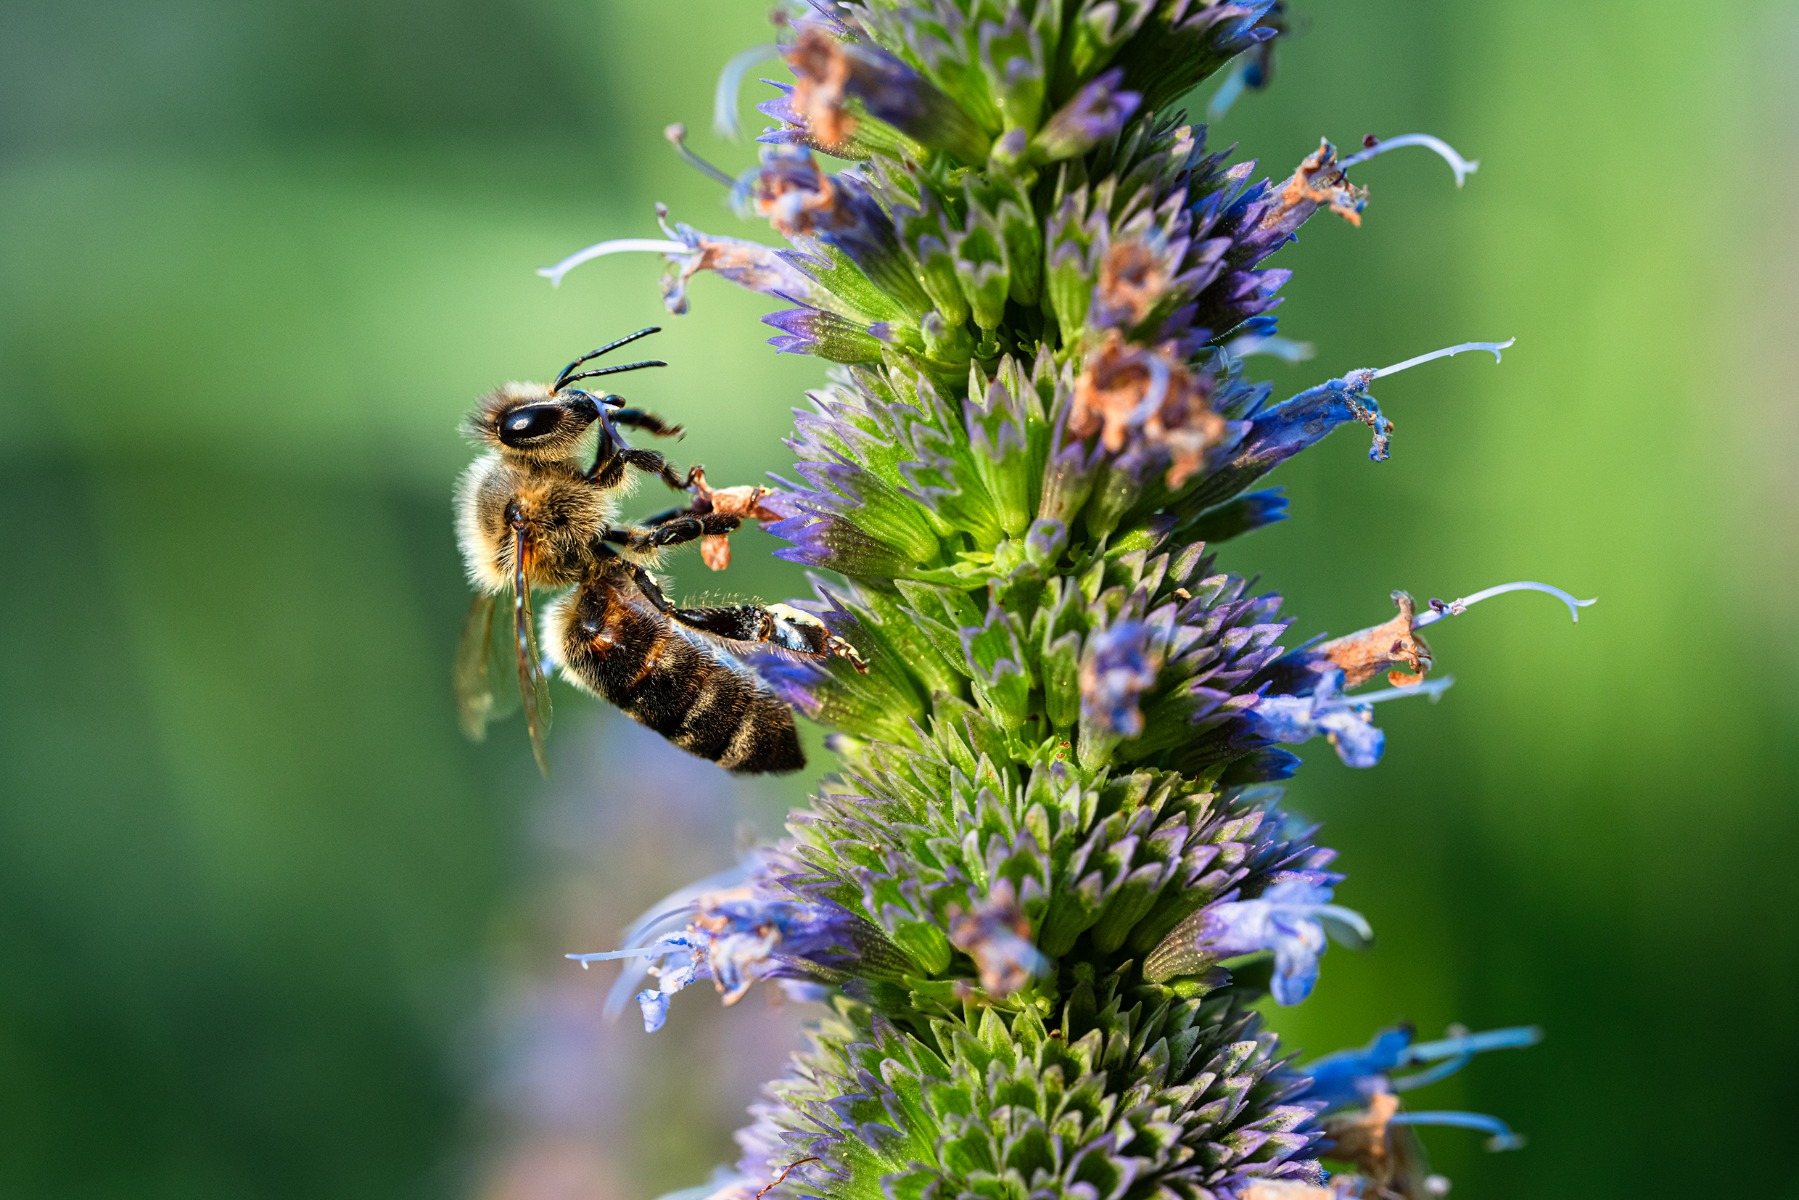
TAMRON 90mm F2.8 MACRO (Model F072) Focal length: 90mm Exposure: F6.3 Shutter Speed: 1/320sec ISO: 2000
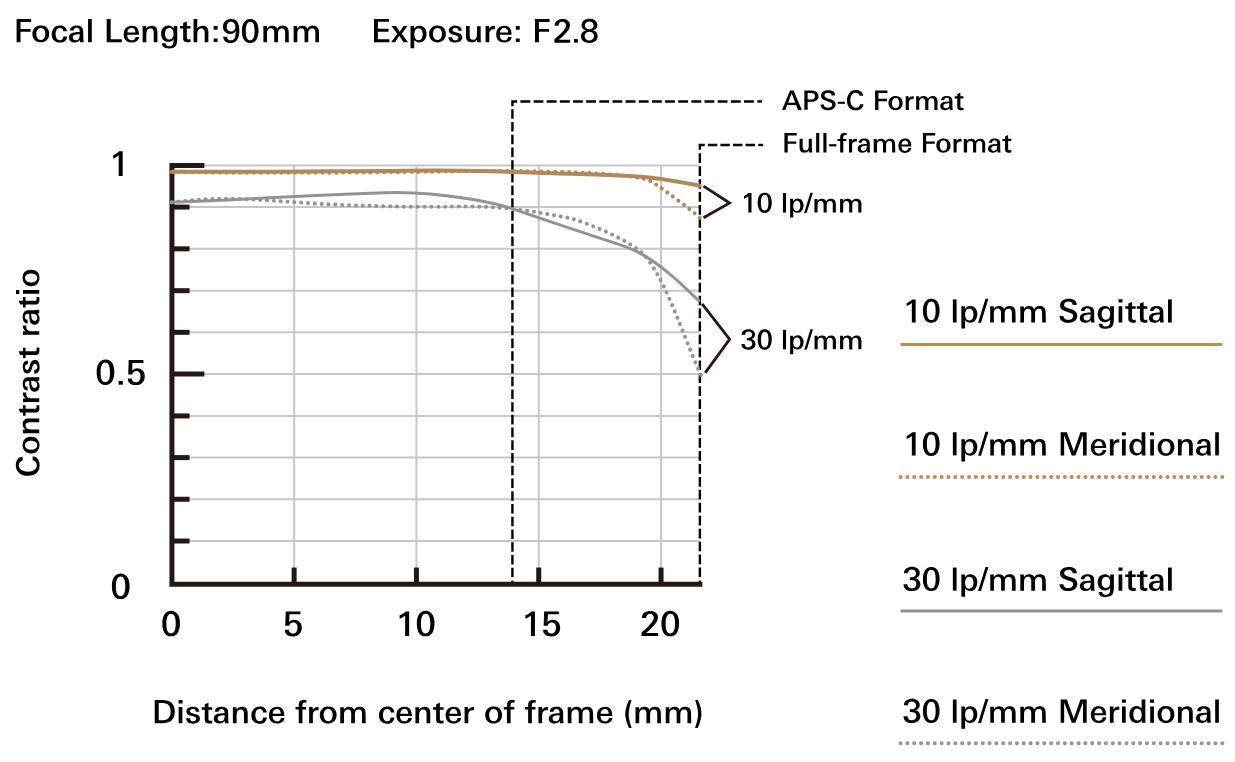
Macro lenses are known for large, smooth out-of-focus rendering, but the character of that blur differs considerably between designs — how the discs are shaped towards the edges of the frame, whether they show internal structure, how gracefully the transition from sharp to soft happens. None of this is captured by a specification, and preferences differ.
If the lens will also do landscape duty, check corner sharpness and field flatness as well, since those matter at infinity in a way they do not at 1:1. Handling the lens yourself is the only real test. Failing that, sample images and reviews shot at both extremes of the focus range will tell you more than a specification sheet.
A longer focal length macro gives you working distance — you can stay further from an insect and still fill the frame, which matters because most insects leave when something large approaches. It also doubles more comfortably as a landscape lens.
A shorter focal length macro lets you get physically closer, which suits flowers, small objects and tabletop work where nothing is going to fly away. Magnification of 1:1 or greater is what allows a small subject to fill the frame entirely.
A large maximum aperture admits more light, which supports the fast shutter speeds macro work demands and helps in the dim conditions you often end up in — early morning, deep shade, under a canopy.
It also determines how large your bokeh balls can get. If circular bokeh is a significant reason you want the lens, this is the specification that matters most.
Check that autofocus is quick and decisive at ordinary distances, and that it tracks reasonably well, since the lens will do general duty alongside its close-up work.
For the macro work itself, the focus ring matters more. Most close-up shooting is manual, and a ring with enough rotation to make genuinely fine adjustments — rather than one that lurches from one plane to the next — is the difference between a lens that is pleasant to use and one that fights you.
Macro work means crouching, kneeling, lying down and repositioning constantly, often on uneven ground. A compact lens is easier to place and easier to hold steady in awkward positions.
Lighter also means steadier handheld, which given how much magnification amplifies movement is not a minor point. And a lens light enough to carry on an ordinary walk is a lens that is with you when you find something worth photographing.
Macro subjects are frequently wet ones — dew on grass, drops on leaves, spray at the edge of water, a garden immediately after rain. That puts the lens in conditions where moisture is the norm rather than the exception. TAMRON's moisture-resistant construction seals the barrel and mount against water and dust, which means an early start in heavy dew, or carrying on through light rain, becomes a decision about the photograph rather than about the equipment.
A macro lens is a narrower tool than a zoom and a far more capable one than its name suggests. It will render a dew drop at life size, take a clean fragment out of a mountain range, and turn scattered light behind a subject into a field of bokeh balls — often within the same morning's walk. Pick the focal length that matches how you shoot, learn to move the camera rather than the focus ring, and pay as much attention to what sits behind the subject as to the subject itself.