| September 18, 2026
 South Africa's #1 Mobile Protection Brand
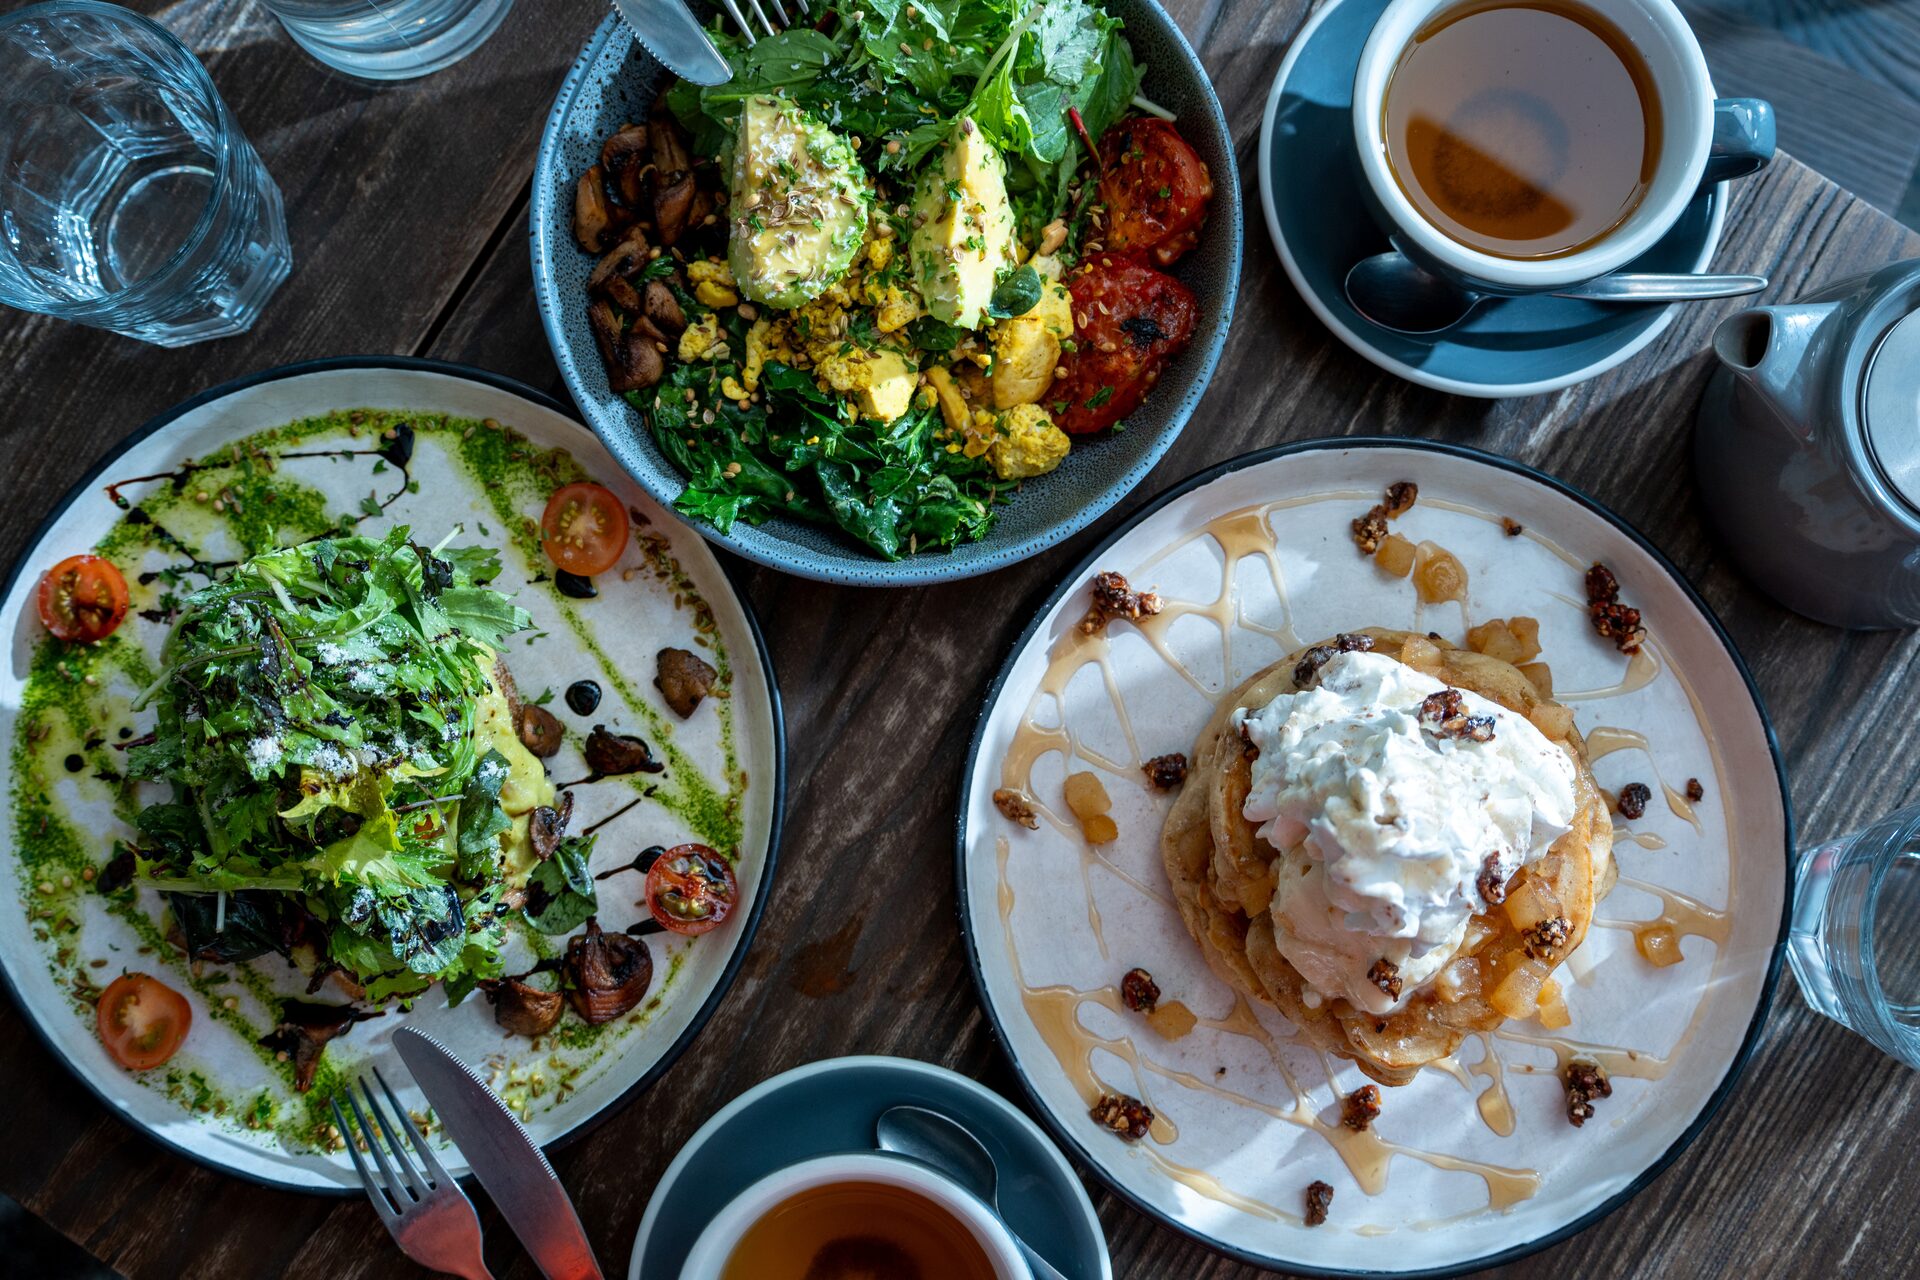
A plate of something excellent arrives — lamb off the braai, a slice of melktert, a bowl of curry still steaming — and the phone or camera comes out almost automatically. The frustration is what happens next. The dish looked extraordinary on the table and somehow looks dull, dark and flat on the screen. This guide covers the fundamentals of food photography for beginners: how to read the light, what to set, how to frame it, and which lens will actually help.
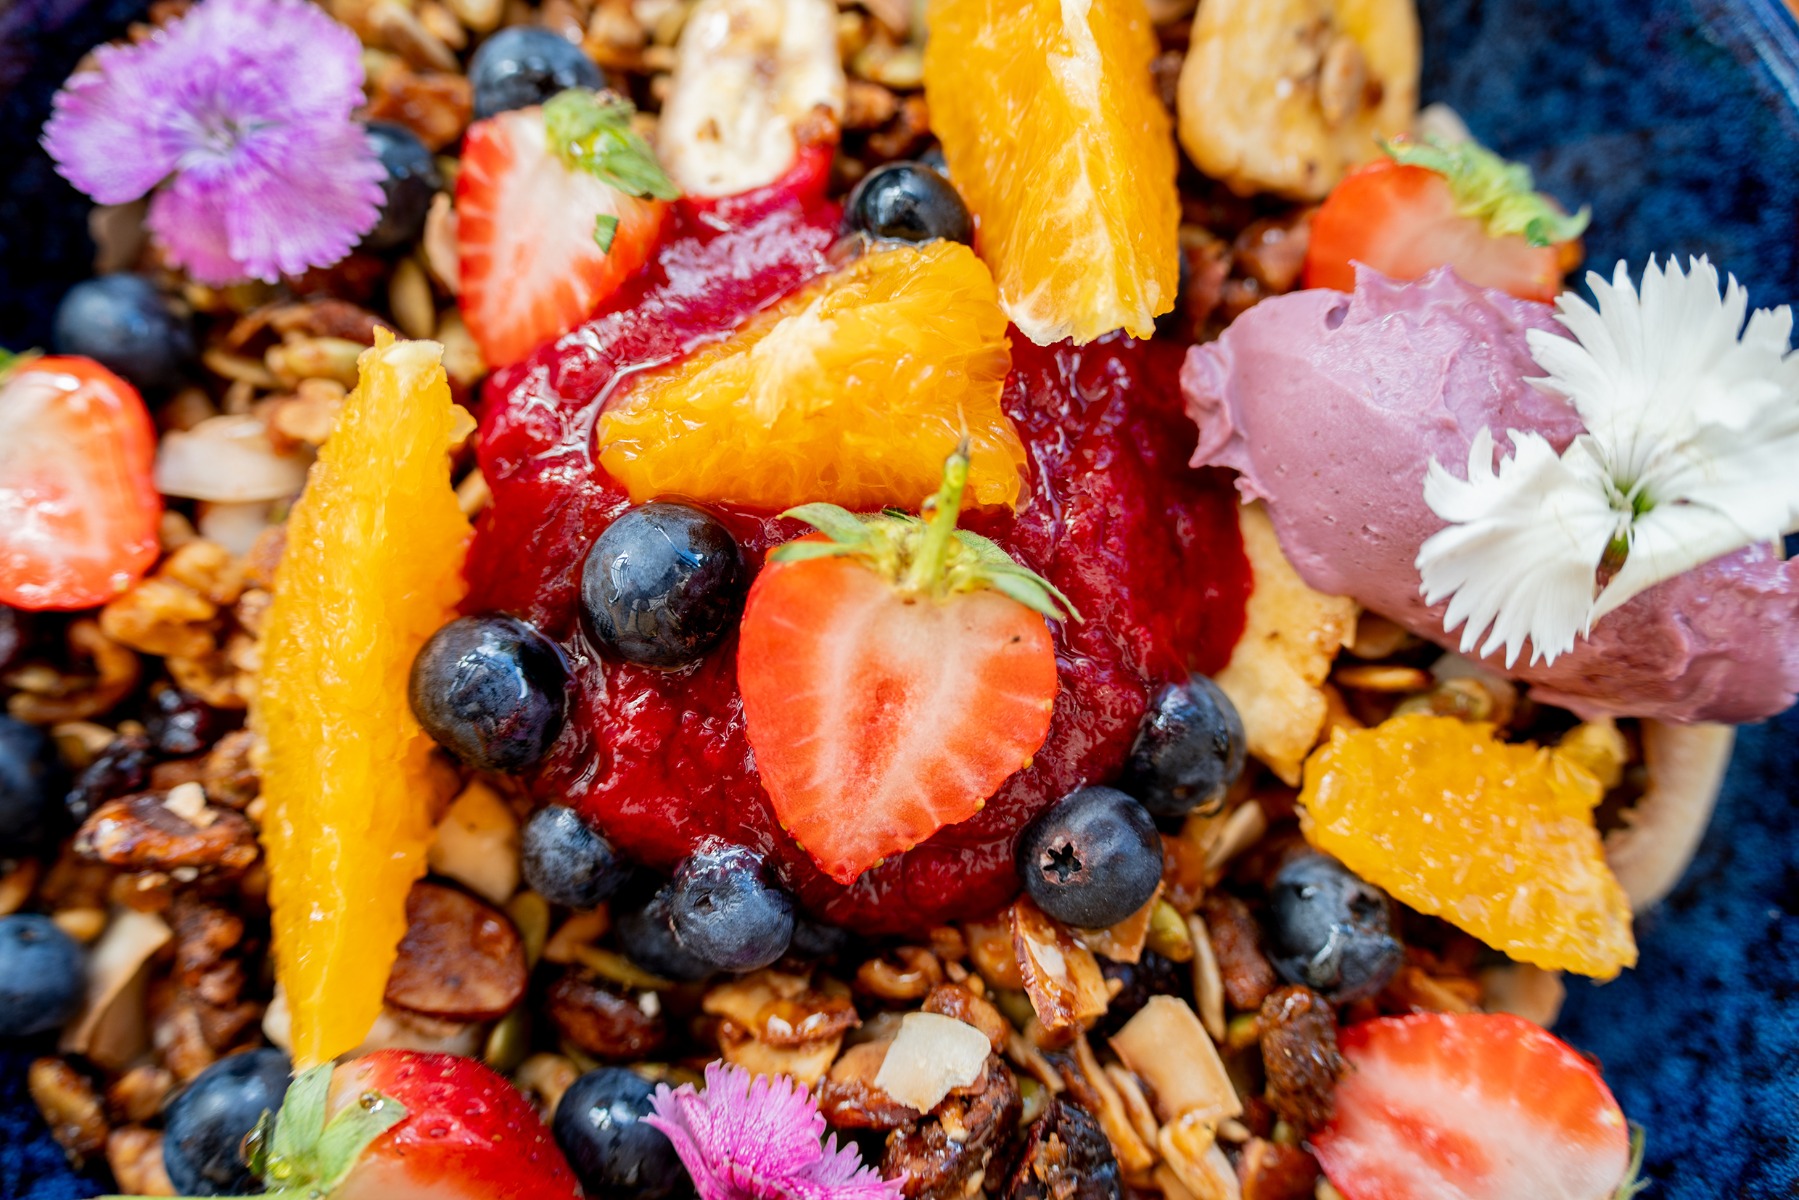
TAMRON 28-300mm F4-7.1 (Model A074) | Focal length: 28mm | Exposure: F4 | Shutter Speed: 1/50sec | ISO: 100
Good food photography is really about doing justice to something that already looks good. Almost everything else follows from two decisions: where your light is coming from, and whether you have enough of it.
Window light does more for a plate of food than any amount of editing. It renders colour honestly and shows texture the way your eye actually sees it. The softer light of early morning and late afternoon is the easiest to work with — which matters here, because midday sun through a window in most of the country is fierce enough to blow out a white plate before you have focused.
When the room is genuinely dark, a reflector or a flash will get you there, though both need handling with some care. There is more on that further down.
Direction is the part most beginners miss. Light arriving from in front of the camera hits the food flat-on and kills every shadow, and shadows are what tell the viewer that a dish has height, texture and substance. Move so the light comes from the side or from behind the plate and the same food suddenly reads as three-dimensional.
Background matters more than it seems. A plain white, cream or pale wood surface keeps attention where it belongs. A cluttered table pulls the eye in six directions at once.
Then there is timing, which no amount of technique compensates for. Steam lasts about ninety seconds. Herbs wilt. Sauces skin over. Ice melts and dilutes a drink into something cloudy. Get set up before the food arrives, not after.
For most food photography, a lens around the 50mm mark is the natural place to begin. That focal length renders perspective close to the way human vision works, so a plate looks like it did when you sat down rather than stretched or compressed.
A maximum aperture around F2.8 helps in two ways: it keeps shutter speeds usable in a dim restaurant, and it gives you the soft background separation that makes a single dish stand out. Also check the minimum focusing distance — café tables are small, you often cannot back up, and a lens that refuses to focus at close range will limit you constantly. If you want to get right into the crumb of a slice of cake or the grain of a piece of fish, a macro lens opens that up entirely.
Exposure is where most food photography goes wrong. Overexpose and colour washes out of the food — a golden crust turns into a white patch with no detail in it. Underexpose and everything goes muddy and unappetising. The right settings shift with the dish, the crockery and the room, so treat what follows as a starting point you adjust from.
Aperture priority is the mode to live in. You choose the F-number, which controls how much of the scene is sharp and how much dissolves behind the dish, and the camera works out the shutter speed. That leaves your attention on the food and the framing, which is where it should be.
When you are shooting a whole table — several dishes, a board of things to share, a spread laid out for a group — close down to around F8 to F11 so everything from the nearest bowl to the far edge stays defined.
For a single hero dish, open up to F2.8 or F4 and let the background go soft. As for where to put the focus point, roughly a third of the way into the plate from the front edge generally works. It gives the eye something sharp to land on immediately while the depth falls away naturally behind it.
Hand-held, start somewhere around 1/60 or 1/125 of a second. Check the result at full magnification rather than trusting the thumbnail, and lift the speed if edges look soft.
On a tripod none of this constrains you, and you can drop to much slower speeds to keep ISO down — worth doing if you are photographing a still setup at home rather than a plate that is cooling in front of you.
Colour fidelity and fine texture are the whole point in food photography, and both degrade as ISO climbs. Start low and stay there while the light allows. Strong daylight through a window will often let you sit at base ISO all session.
In a dim restaurant that is not an option, and pushing to somewhere between 800 and 1600 is entirely reasonable. Modern sensors handle that range well. A slightly noisy photograph of a good dish beats a clean, blurred one.
Backlight is the situation that most often needs a nudge. With light behind the plate, the metering reads all that brightness and darkens the front of the food. Dial in +0.3EV to +0.7EV to bring the surface back.
The opposite problem comes with white crockery under strong light, where the plate itself blows out and takes the edge of the food with it. Pull back to -0.3EV or -0.7EV to hold that detail. Dark crockery flips it again — the camera tries to lift all that black and a small positive compensation usually renders the food more truthfully.
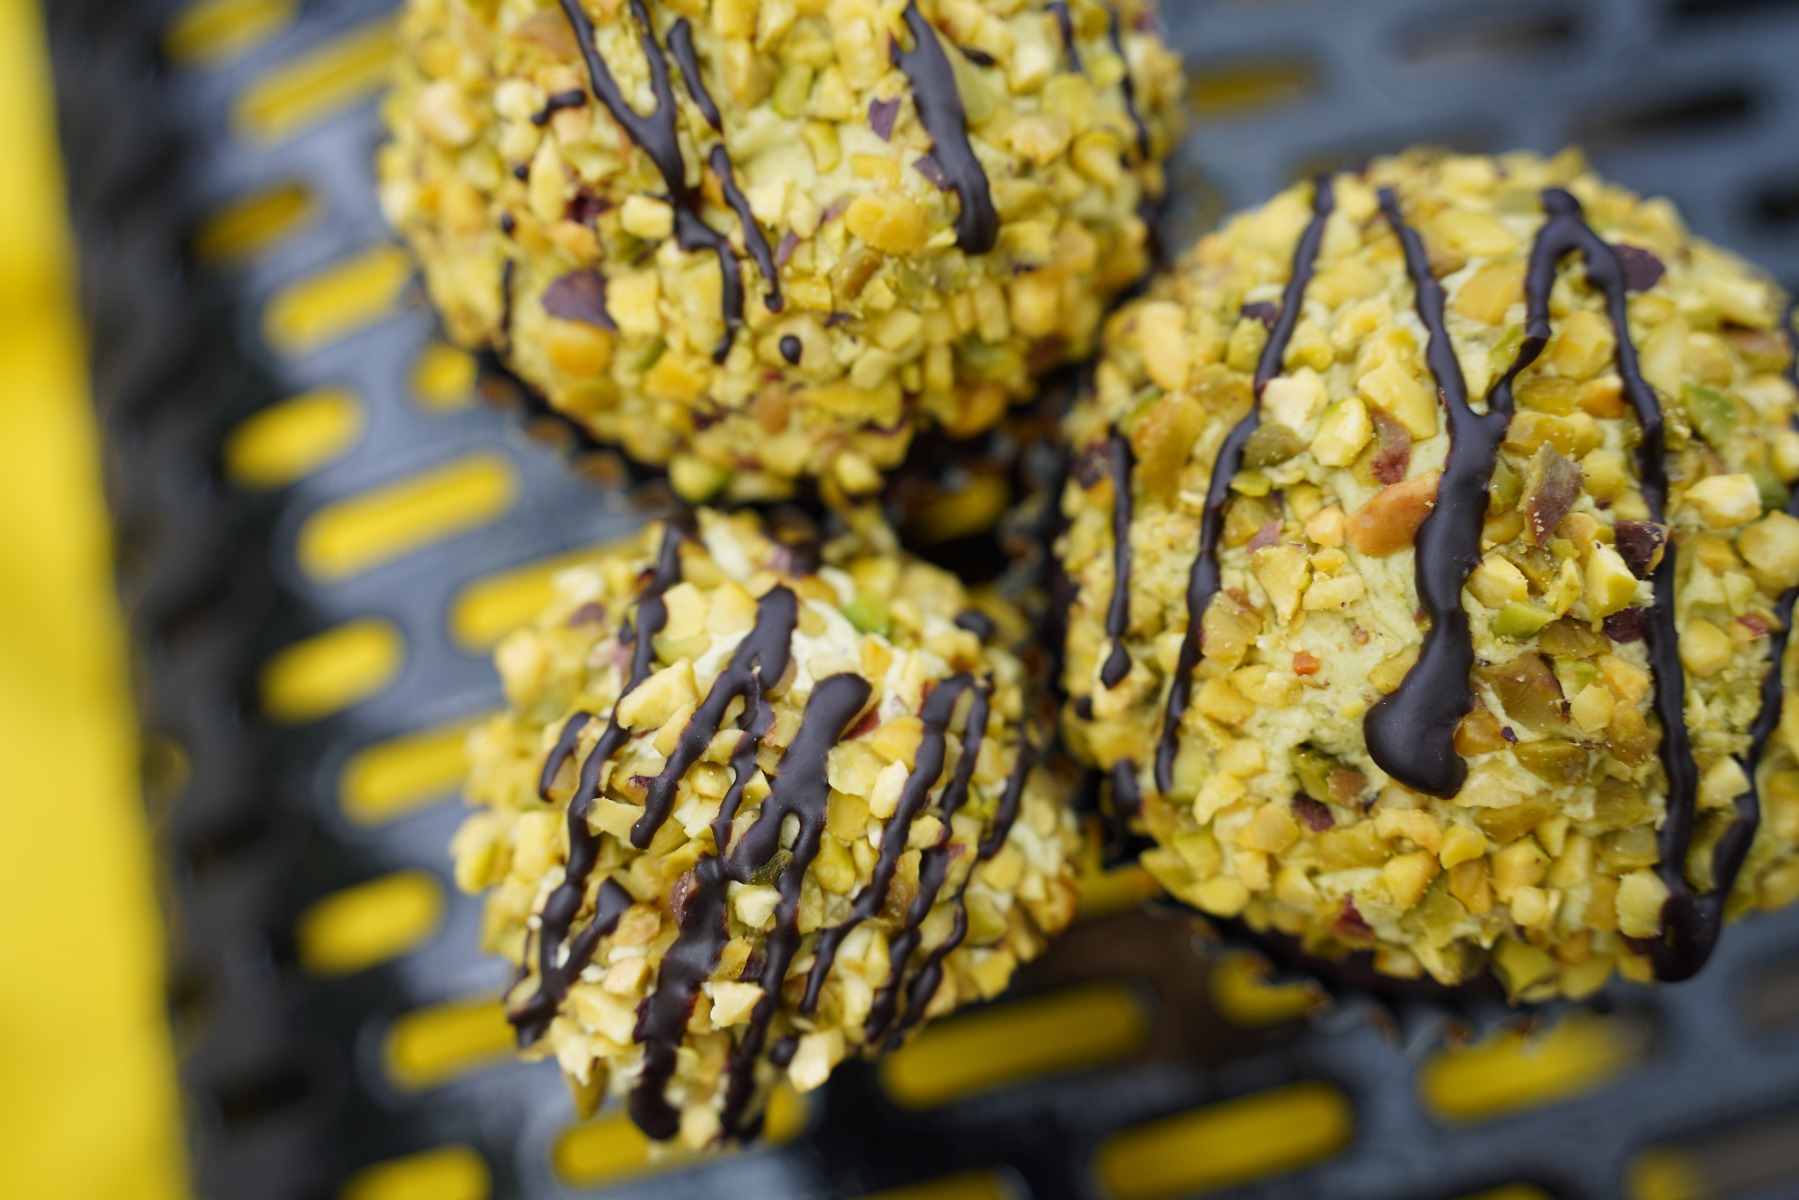
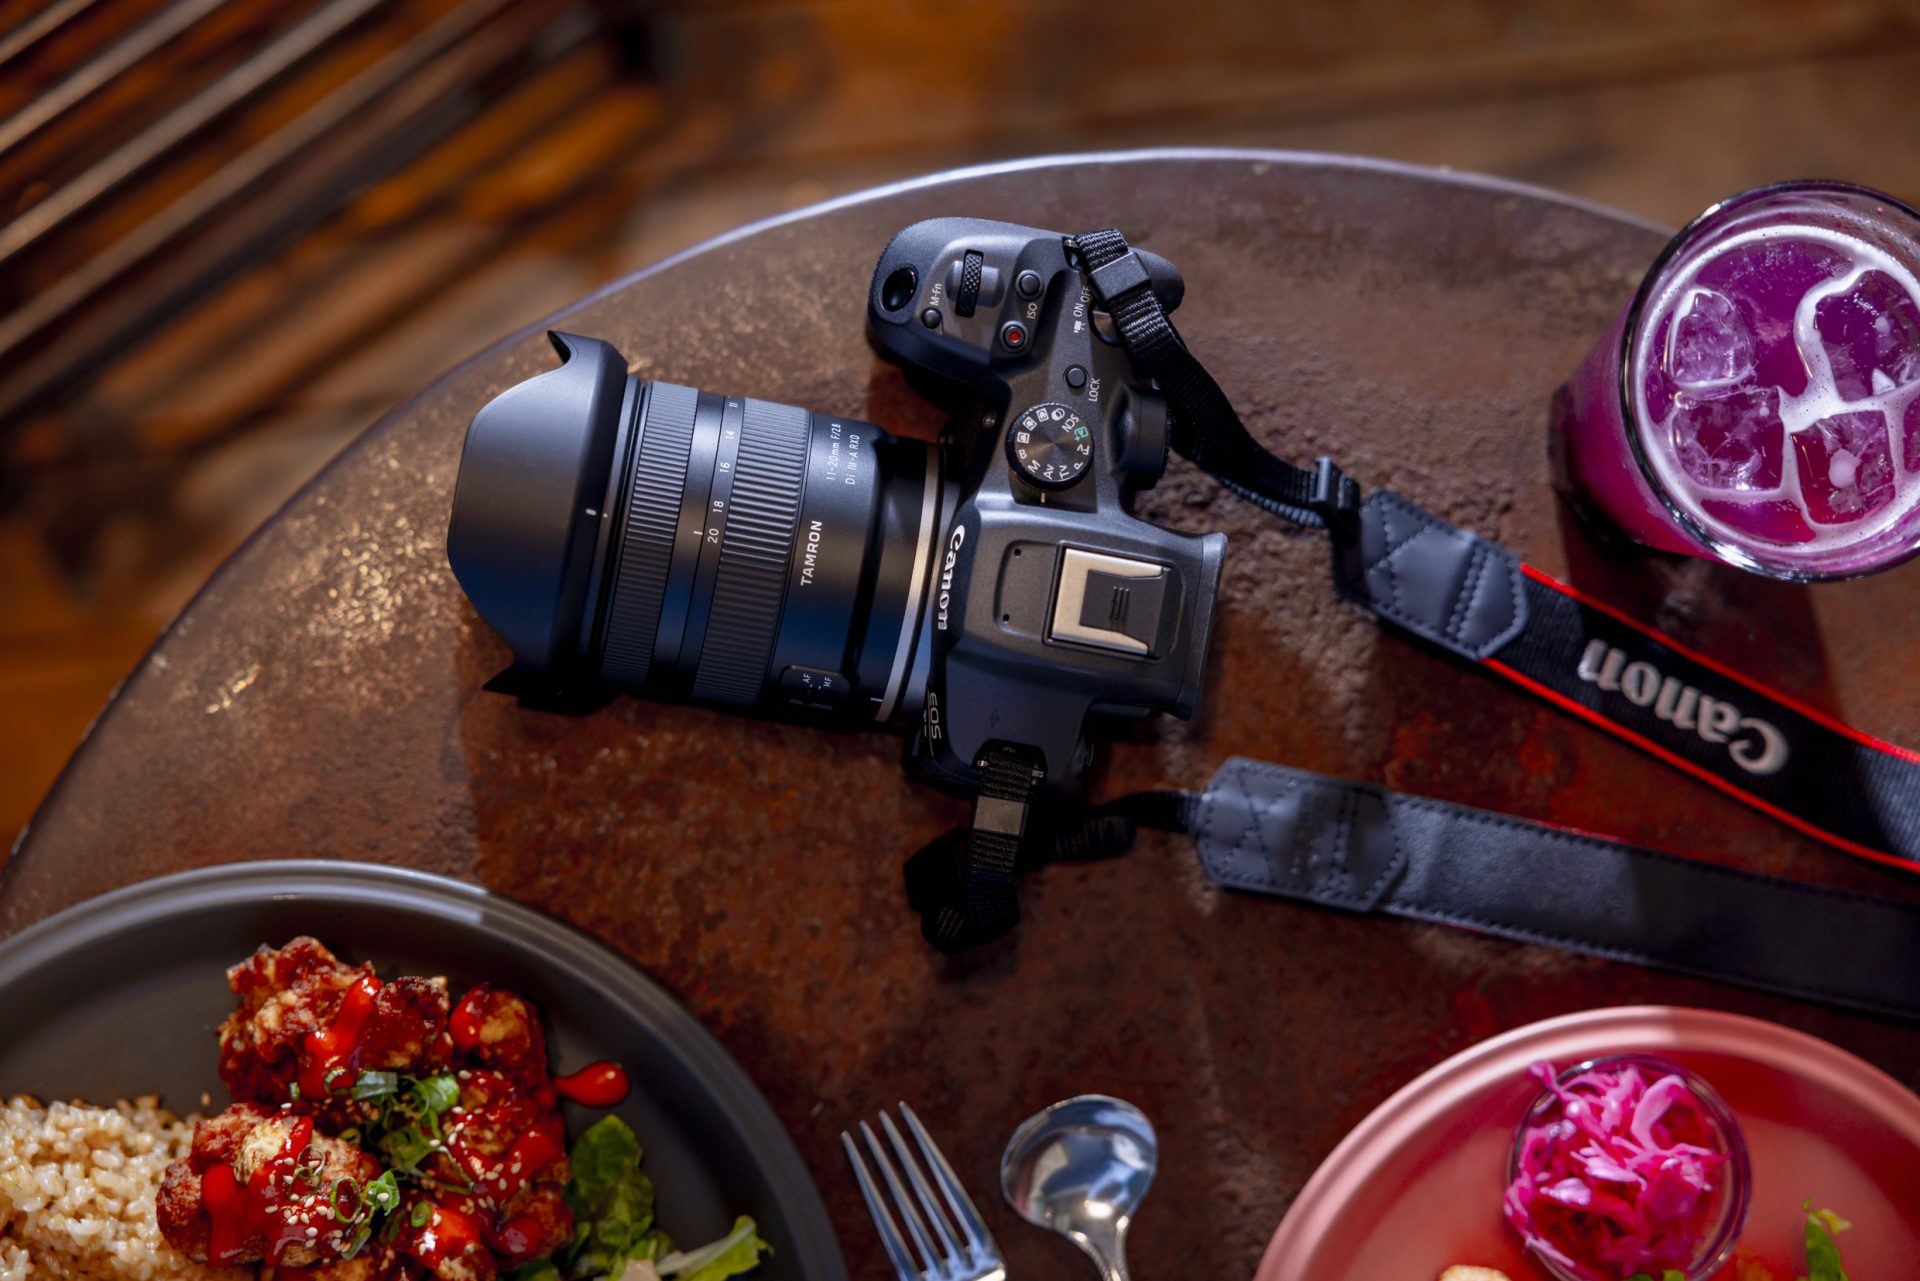
TAMRON 20-40mm F2.8 (Model A062) | Focal length: 33mm | Exposure: F4 | Shutter Speed: 1/250sec | ISO: 100
Colour accuracy carries more weight in food photography than in almost any other subject, because colour is how a viewer judges whether something looks fresh. Auto white balance is a reasonable default and gets it right a good deal of the time.
It struggles under mixed or unusual lighting, though, and the giveaway is food that looks slightly green, orange or blue on screen when it looked fine on the table. The fix is to set white balance to match whatever light is actually dominant — the daylight preset next to a window, or the tungsten or fluorescent preset under a café's overhead fittings. If you shoot raw you can correct this afterwards, but getting it close in camera saves a lot of work.
You can also break the rule on purpose. Warming a shot slightly makes bread, roast meat and baking look richer and more inviting. Cooling it suits fresh salads, seafood and iced drinks. Just make the shift deliberately rather than discovering it later.
A soft background is one of the quickest ways to make a photograph look considered rather than incidental. Shoot near your maximum aperture and the clutter behind the plate — water glasses, someone's elbow, the next table — melts into tone and colour, and the dish carries the frame on its own.
There is a subtler use for it too. Rather than treating blur as an on-off setting, let it build gradually from front to back. Photographing a bowl of curry and rice, for instance, you might hold focus on the nearest few grains and the edge of the meat and allow everything behind to soften progressively. That gradient reads as depth, and it makes a flat bowl of food look like something you could reach into.
If you take one thing from this article, make it this. Front lighting — light coming from behind you, falling flat onto the plate — is what produces those dull, lifeless food photographs everyone has taken. It fills in every shadow, and without shadows there is no texture and no sense of height.
Turn the plate, or move yourself, so the light comes from behind it. Backlight draws a bright rim along the top edges of the food and separates it from the background. Glazes and sauces gain a wet shine. Anything with a translucent edge — a slice of citrus, a leaf of lettuce, a glass of iced rooibos — lights up from within.
Semi-backlight, where the light comes from behind at roughly forty-five degrees, is the more forgiving version and probably the most useful single lighting position in food photography. It rakes across the surface of the food and reveals texture: the char on a chop, the crumb of a scone, the crackle on a piece of crackling.
Both come with the same drawback — the side of the food facing you falls into shadow. That is what a reflector is for, and it is why the section below exists.
Once the light is working, composition is what separates a competent photograph from a good one. There is no universal correct angle; there is a correct angle for each dish.
Straight down from overhead — the flat lay — is the right call when several things are laid out together. A shared table, a spread of bowls and sides, a board of things to pick at: shooting from directly above turns the arrangement itself into the subject and keeps every item legible.
Around forty-five degrees is the versatile default, and it is roughly what you see sitting at the table. It gives food natural depth, shows the surface and the height at the same time, and makes the viewer feel like they have just sat down opposite you. When in doubt, start here.
With a single dish, resist the urge to fit the whole plate in. Framing the full circle of crockery almost always produces something that reads like documentation rather than a photograph — flat, distant, a bit sterile. Move in until the food fills the frame and let the plate run off the edges. Texture and dimension come through immediately.
Two compositional patterns are worth knowing by name. A diagonal arrangement, where the dish and any props run corner to corner rather than square to the frame, adds movement and depth. A triangular arrangement, where three elements form a loose triangle, keeps the eye circulating around the whole image instead of stopping at one point. Both work because they give the viewer a path to follow.
Tall food deserves a low angle. A stacked burger, a milkshake, a layered trifle, a slice of cake on its side — drop the camera to plate level and shoot slightly upward, and the height becomes the story.
The habit worth building is a quick assessment before you shoot: is this dish about arrangement, about texture, or about height? The answer tells you where to put the camera.
For anything more considered than a quick snap, a reflector is the highest-value item you can add, and the cheapest. A white reflector — or a sheet of paper, or a folded serviette — held opposite your light source bounces just enough back to open up the shadow side that backlighting creates. A silver surface throws back a harder, brighter reflection, which is what you want for the sheen on a fillet of yellowtail or condensation running down a cold glass.
Flash is the harder tool. Pointed straight at food it produces the harsh, glaring look of an insurance photograph. Angled up at a pale ceiling or wall instead, it becomes a large soft source and behaves much like window light. Two practical notes: bounce flash picks up the colour of whatever it bounces off, so a cream ceiling will warm your food and a green wall will not do it any favours. And in a restaurant, flash affects everyone around you — in most rooms it is better left in the bag.
Different food asks for different handling. What follows breaks down the approach for the categories you are most likely to be photographing, at home or eating out.
With grilled and roasted food, the appeal is almost entirely in the surface: char lines off the braai grid, the crisp edge on a piece of crackling, the sticky gloss where a basting sauce has caught and caramelised. Those are what make a photograph look good enough to eat.
Shoot from a raised angle rather than square on. Looking slightly down across the surface reveals the unevenness — the ridges, the browning, the places where the heat did its work — which a straight-on view flattens completely. Give the same thought to whatever is served alongside; a scattering of chopped herbs or a bright chakalaka does real work for the colour balance of the frame, provided the light reaches it.
Backlight is almost always the right call here. It picks up the shine on a sauce and the sheen across the meat itself in a way no other lighting direction manages. And if there is steam or a drift of smoke coming off something just off the fire, shoot it immediately — that is the visual shorthand for warmth and aroma, and it is gone within a minute.
Here the goal is freshness and moisture. Water droplets read as just-picked, and there is no reason not to help them along with a spray bottle or wet fingertips. A cold item brought out of the fridge will fog and bead on its own within a minute or two, which looks entirely natural because it is.
Cut fruit rewards a hunt for the right angle on the cross-section, and it rewards backlight even more. Naartjie segments, a halved granadilla, slices of watermelon or pomelo lit from behind glow with the flesh and the seeds visible through the skin. Citrus in particular — which the Cape and Limpopo produce in quantity from about May through September — is one of the easiest wins in food photography. Hold a segment up against a window and you will see immediately what the light does to it.
A photograph can convey temperature, and steam is how. The trick is that steam is only visible against something dark — shoot a steaming bowl against a white wall and it disappears entirely. Set up a dark background, or use dark crockery, and it appears as if you had switched a light on. Backlight it and it becomes genuinely striking: a pot of samp and beans, a fresh potjie coming off the coals, vetkoek straight out of the oil.
Steam also moves constantly and unpredictably, so a single frame is a gamble. Shoot a burst and pick the frame where it forms the best shape. Keep the shutter speed at 1/125 of a second or faster, otherwise the steam smears into a vague grey haze rather than holding its form.
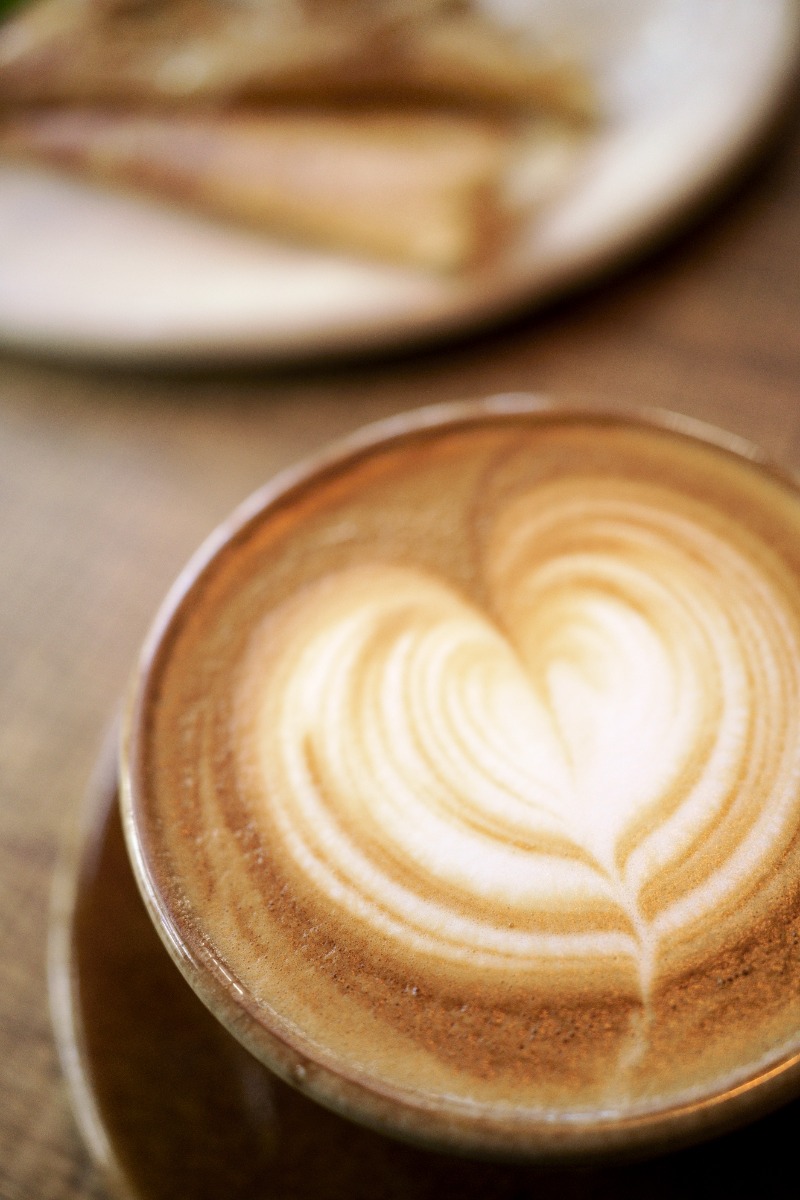
TAMRON 35mm F2.8 (Model F053) | Focal length: 35mm | Exposure: F2.8 | Shutter Speed: 1/100sec | ISO: 800
Café subjects reward matching the angle to the item, and the containers matter as much as the contents. Latte art on a flat white only exists from directly overhead — any other angle loses the pattern completely, so shoot it straight down and shoot it fast, because the design collapses within a couple of minutes.
Anything in glass wants light passing through it. An iced coffee, a glass of rooibos iced tea, a cold-drip — place it so the window is behind or beside it and the ice, the bubbles and the colour gradients all come alive. Backlit glassware is one of the most reliable shots in food photography and it needs no equipment at all.
For baking, let the shape of the item direct the framing. A koeksister or a slice of melktert photographed from a low angle shows the layers and the syrup; a whole cake shot from above shows the decoration. And a macro lens turns the surface of a bake into a subject in its own right — the crumb structure of a scone, sugar crystals catching light, the fold of pastry.
Food photography gear does not need to be extensive, but the lens choice makes a real difference. These are the specifications worth weighing before you buy.
Anything from roughly 35mm to 100mm covers food work comfortably. Around 50mm remains the sweet spot: it matches natural perspective closely, so a plate looks the way it looked when you were sitting in front of it. Go much wider and edges start to distort and near items exaggerate; go much longer and you find yourself standing away from the table in a way that is impractical indoors.
A macro lens is the specialist addition. Once you can fill the frame with a section of a dish rather than the whole thing, texture becomes the subject and an ordinary bake or a piece of fruit turns into something worth a second look.
A wide maximum aperture is what keeps food photography workable in restaurants, which are frequently darker than they feel. It buys you a usable shutter speed without pushing ISO into noise, and it delivers the smooth background separation that isolates a single dish from a busy table.
This specification is checked less often than it should be and matters more than most people expect. Table-top work means close-range shooting almost by definition, and a lens that will not focus nearer than half a metre rules out entire compositions. A short minimum focusing distance also gives you options when you physically cannot move — a booth, a crowded market stall, a table against a wall — because you can change the framing without changing your position.
Compact gear gets used; heavy gear stays at home. That is the practical argument, and for anyone photographing food while travelling or eating out it is decisive.
There is a social argument too. A large lens in a small restaurant draws attention, takes up table space, and is awkward for the people you are eating with. Something discreet lets you work quickly, get the shot and put it down — which is usually the difference between photographing the meal and interrupting it. As a matter of courtesy, it is worth a quick word with staff before shooting in a venue you do not know.
Because so much food photography happens in low light, autofocus that stays accurate in dim conditions is worth paying for. A busy table also confuses many systems — with a dozen overlapping objects at different distances, the camera needs to lock onto the one you actually chose rather than the nearest bright edge.
Manual focus deserves a look as well. At close range, and especially with a macro lens, precise focus placement is often faster by hand than by menu. A focus ring with a smooth action and enough travel makes that a pleasure rather than a chore.
Most food photography is hand-held and much of it happens indoors at slower shutter speeds than you would like. Stabilisation, whether in the lens or the camera body, buys back two or three stops in exactly those conditions — the difference between a sharp frame at 1/30 of a second in a dim café and a soft one.
Everything in this article reduces to a short list. Find good light and put it behind or beside the food rather than in front of it. Get the exposure right in camera instead of hoping to rescue it later. Use aperture to control what the viewer looks at. Choose an angle that suits the particular dish — overhead for a spread, forty-five degrees as a default, low for anything tall. And shoot while it is still hot. Work through those in order and the photographs will start looking like the meal actually looked.