| September 18, 2026
 South Africa's #1 Mobile Protection Brand
A macro lens changes the way you see the ordinary. A pincushion protea on a Cape hillside, a beetle working its way across an aloe leaf, the seed head of a restio catching late afternoon light — all of it becomes worth photographing once you can fill the frame with it. This guide covers the two subjects most South African photographers reach for first, flowers and insects, and sets out what to look for when you buy your first macro lens.
Before getting into technique, it helps to understand what actually separates a macro lens from the rest of your kit. Once those differences are clear, the shooting decisions further down this article start to make a lot more sense.
Two specifications define a macro lens: a high maximum magnification and a short minimum focusing distance. Together they let you work far closer to your subject than any standard lens allows, so a flower head that would sit lost in the middle of a normal frame can instead fill it entirely, rendered with detail you simply cannot reach otherwise.
Macro lenses fall broadly into two camps. True or life-size macro reaches 1:1 magnification. Half macro tops out at 1:2.
Magnification describes the relationship between the size of your subject in real life and the size of its projected image on the sensor. At 1:1, those two measurements match exactly — a 10mm insect is recorded as a 10mm image on the sensor.
For flower work, that 1:1 capability is what lets you resolve the truly small things: the fine hairs along a protea bract, individual grains of pollen on a stamen, the ribbed texture inside an erica bloom.
Half macro will not resolve that level of fine structure, but it earns its place a different way. Because you are working slightly further back, you can hold the subject and its surroundings in better balance — a single orange daisy standing out against the wider Namaqualand carpet behind it, for instance. The result often reads as painterly rather than forensic, and for many photographers that is exactly the point.
Depth of field shrinks dramatically at close focusing distances, which means everything outside your focal plane dissolves into soft wash. Used deliberately, that becomes a compositional tool: pin your focus precisely where it matters, then layer blur in front of and behind the subject until the viewer feels less like they are looking at a photograph and more like they have shrunk down into the scene themselves.
Rendered large, surfaces you have walked past a thousand times turn out to be extraordinary. The faceted eye of a dragonfly, the waxy sheen on a spekboom leaf, the geometry of a flower beetle's wing case — macro lens photography puts structures on display that the naked eye can register but never really see, and that gap between the familiar and the revealed is what makes people stop scrolling.
Photographing flowers well takes more than getting close. This section covers the exposure settings, compositional choices and focusing habits that consistently produce strong results, whether you are working in Kirstenbosch, a Highveld garden, or a patch of coastal fynbos.
When soft background blur is the goal, aperture priority is the mode to reach for. Open up to somewhere near the maximum aperture and the background falls away into smooth, luminous tone with very little effort on your part.
Keep an eye on the resulting shutter speed. Somewhere between 1/200 and 1/500 of a second is a sensible working range — fast enough to arrest both a swaying stem and the small hand movements that get magnified badly at close range.
For ISO, start around 200 to 400 in decent outdoor light. South African sun is strong enough through most of the year that you will often sit comfortably at the lower end of that. Push higher when you are working under cloud, in forest shade, or early and late in the day.
Exposure compensation is your fine adjustment. Bright petals in particular tend to fool metering into underexposing. Treat every figure above as a starting point rather than a rule, check your histogram, and adjust as conditions shift.
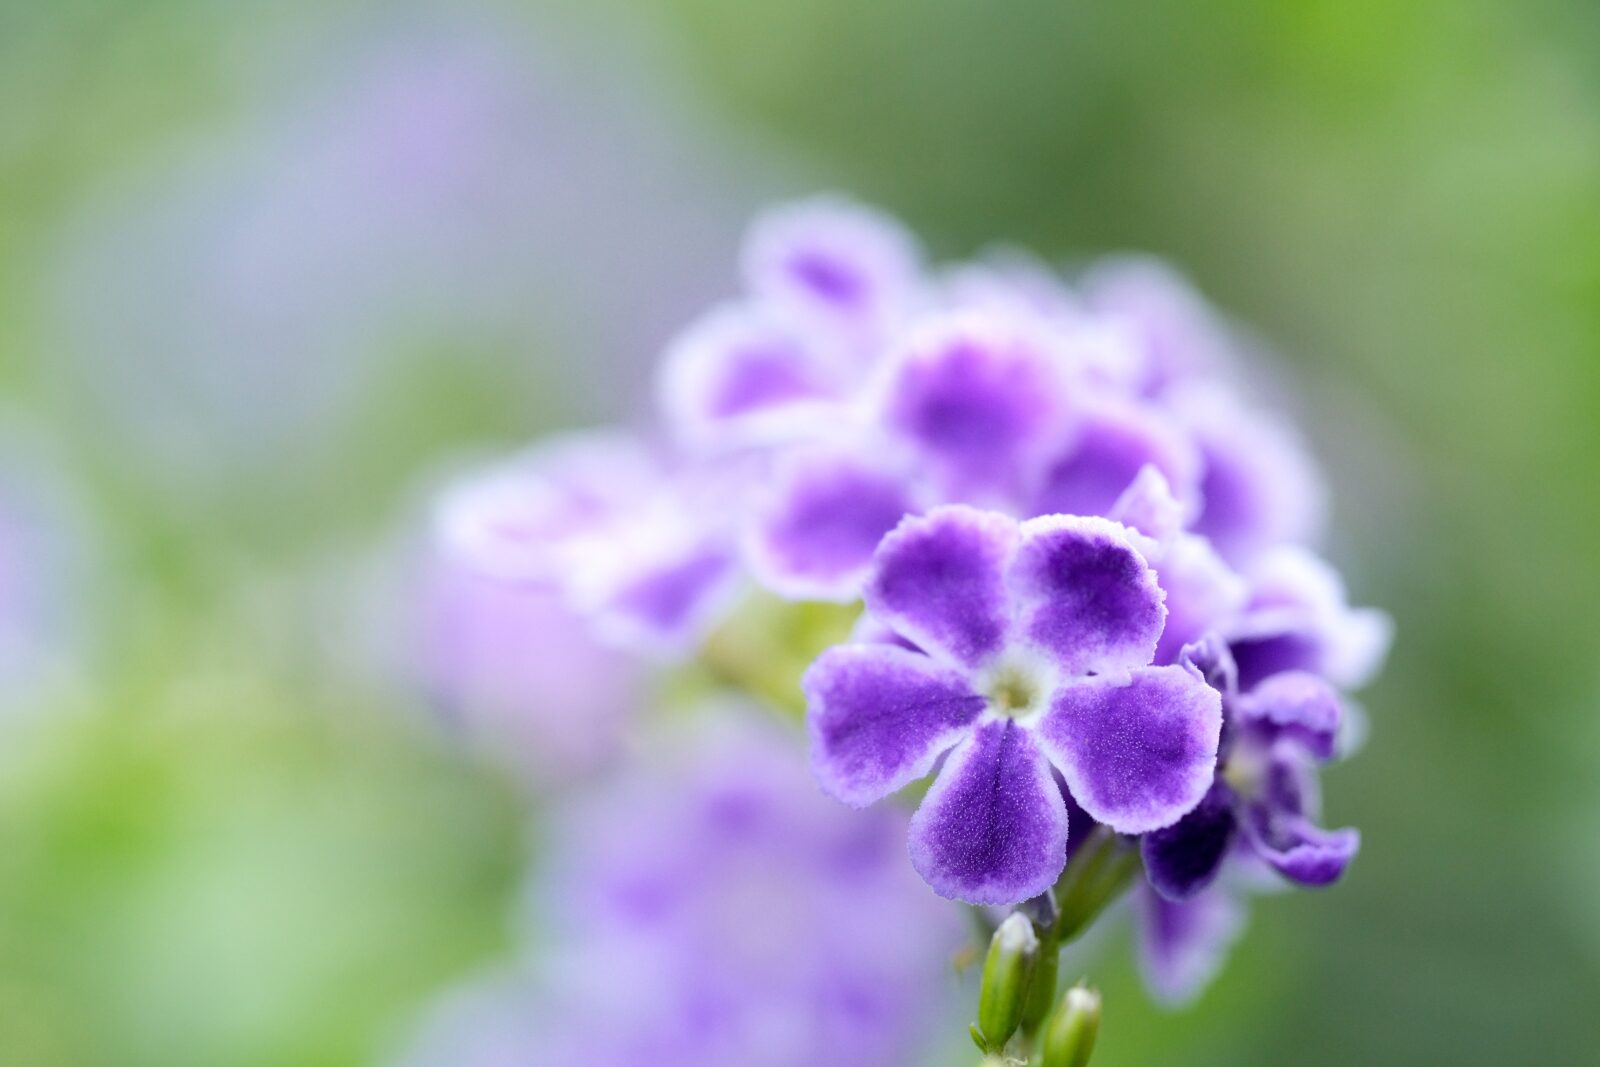
TAMRON 90mm F2.8 MACRO (Model F072) | Focal length: 90mm | Exposure: F5.6 | Shutter Speed: 1/160sec | ISO: 800
Start by deciding what actually drew you to the flower in the first place. The curl of a petal edge, the colour gradient running through a bract, the cluster of stamens at the centre — name it before you raise the camera, because a macro frame has room for one idea, not four.
With depth of field this shallow, wherever you place focus becomes the entire subject of the image, and everything else is atmosphere. Shifting the focal plane by a few millimetres produces a completely different photograph. Slow down, look properly at the plant from several sides, and choose your point deliberately rather than letting autofocus choose for you.
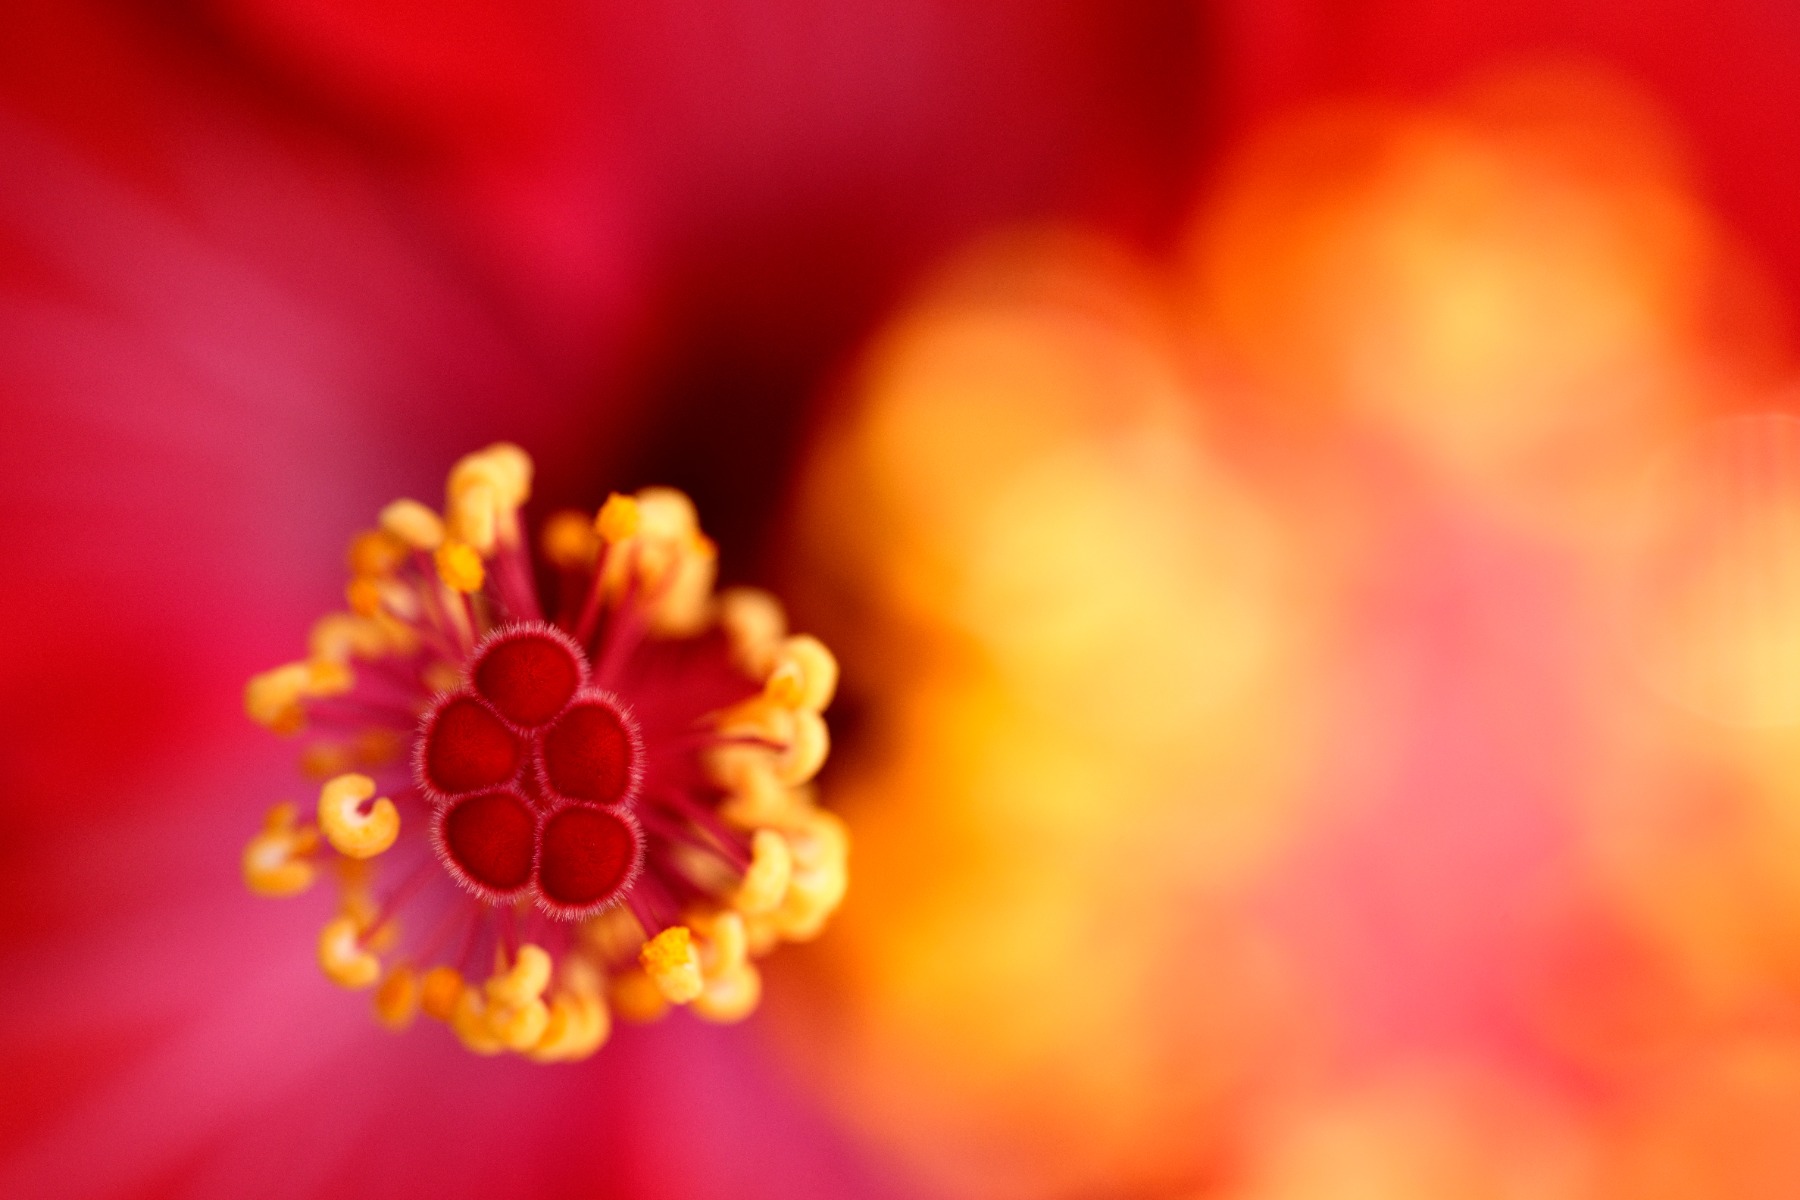
TAMRON 90mm F2.8 MACRO (Model F072) | Focal length: 90mm | Exposure: F2.8 | Shutter Speed: 1/1250sec | ISO: 1600
Composition is what gives a close-up its sense of completeness.
Dropping the flower dead centre in the frame is the instinctive move, and it is easy, but it usually produces something flat. The rule of thirds is a more productive default: place your subject off-centre and let foreground and background blur lead the eye across the frame. Build in a little imbalance and the image gains movement.
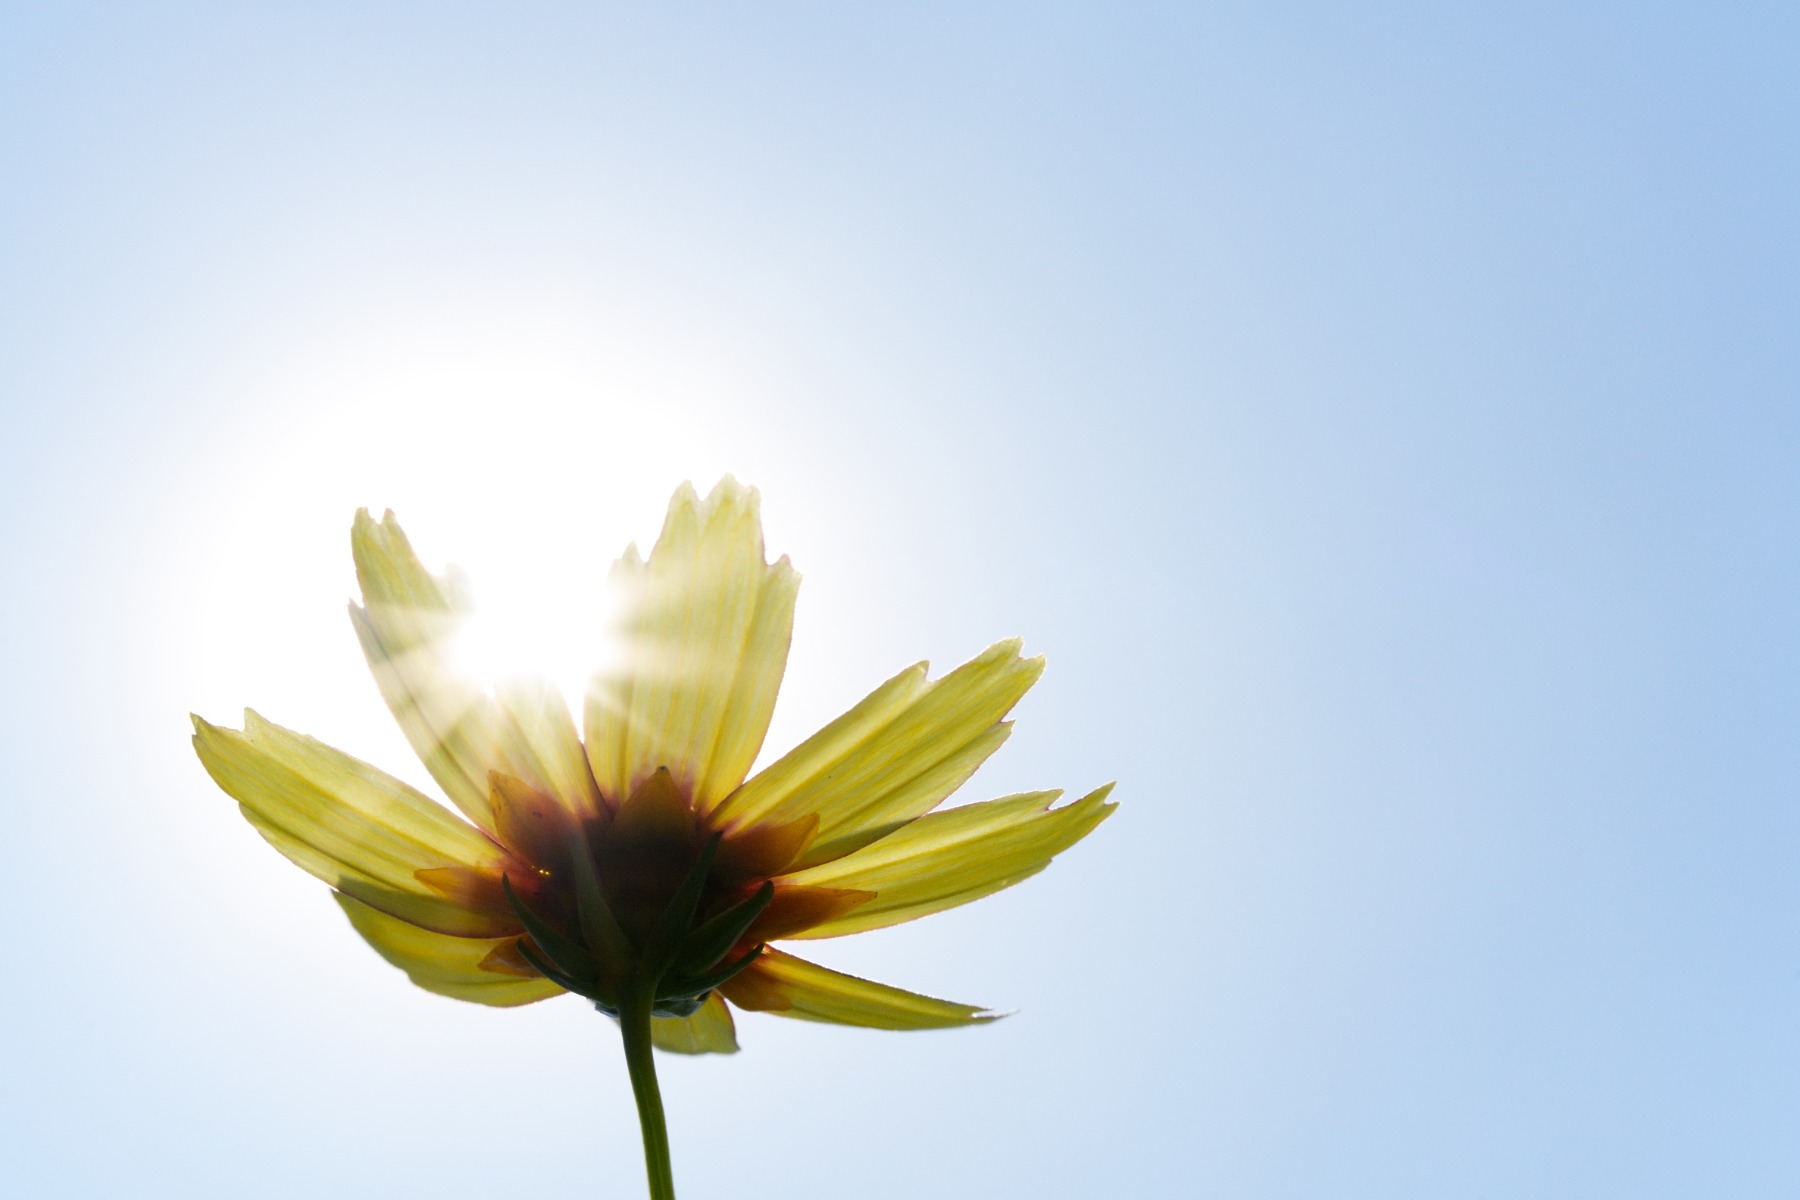
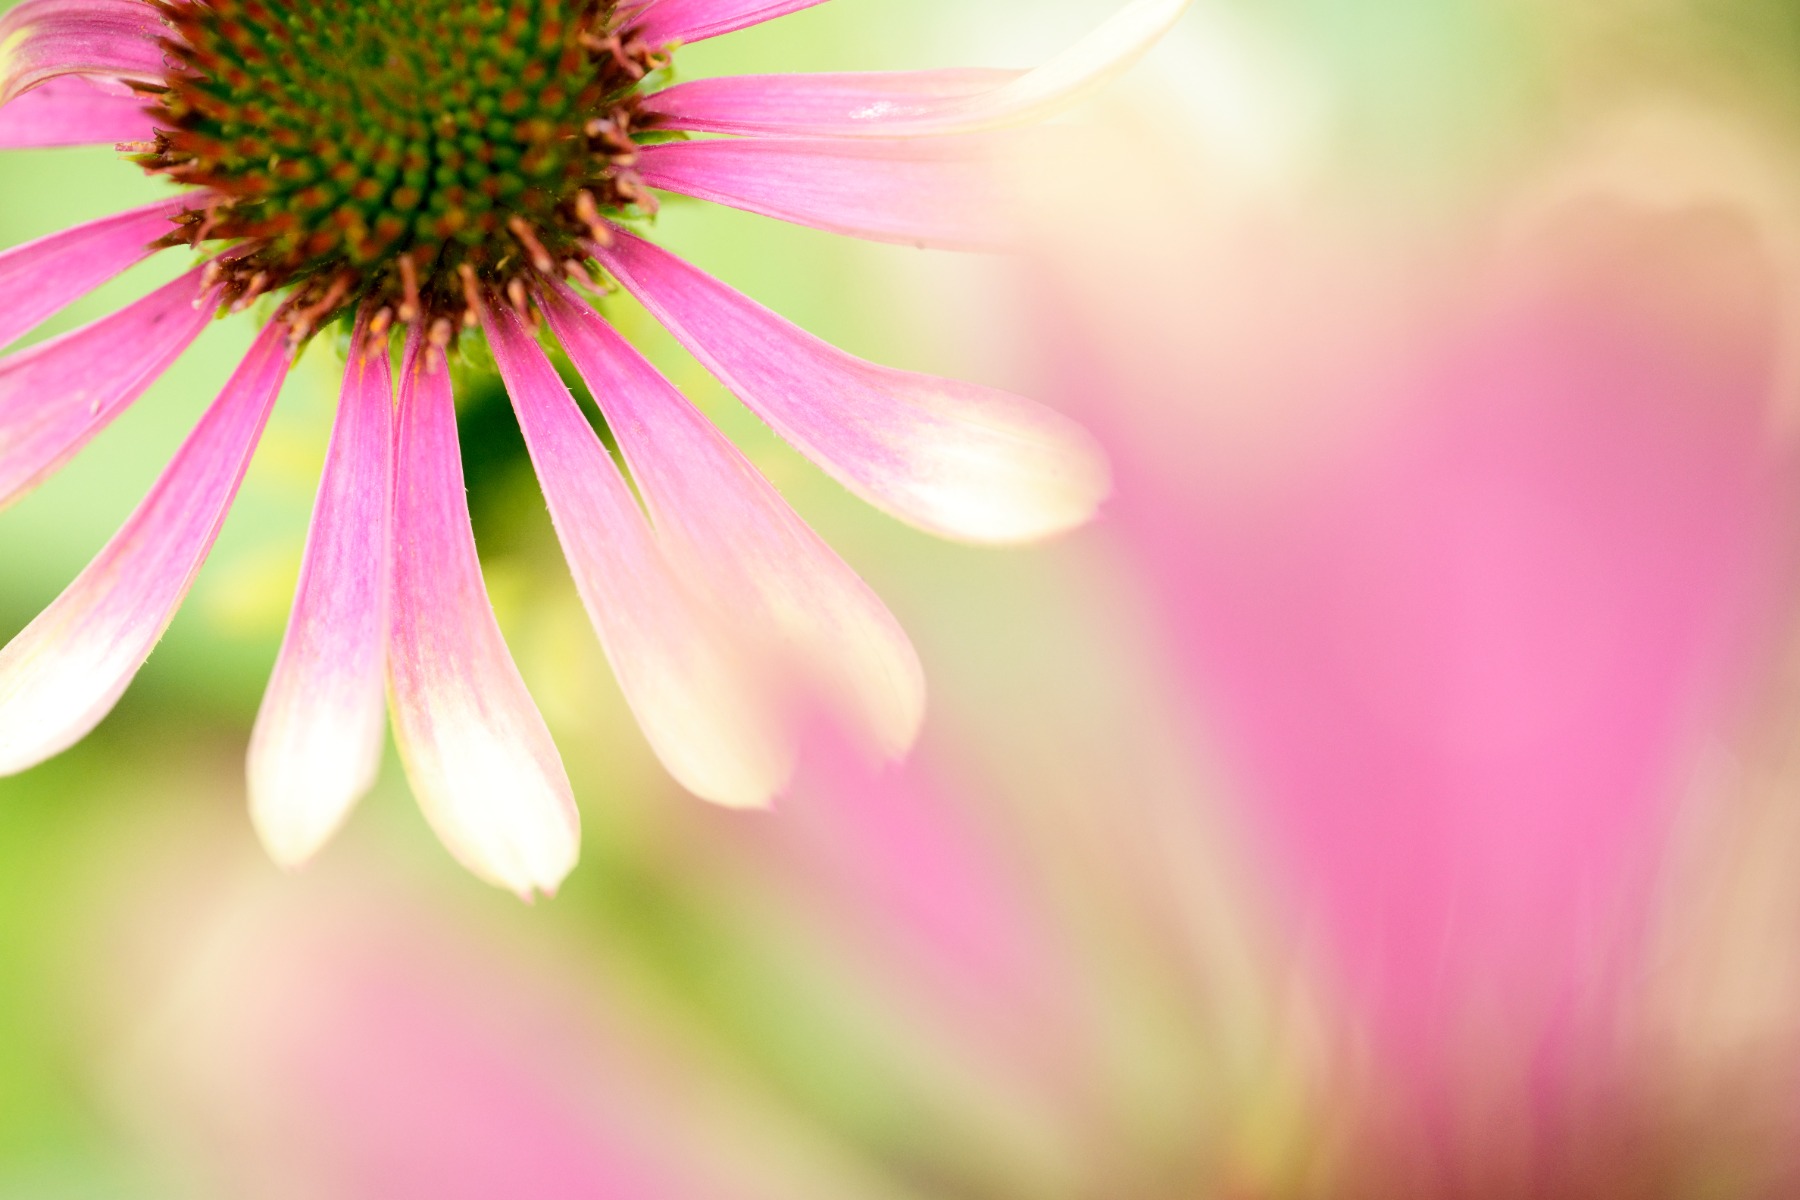
TAMRON 90mm F2.8 MACRO (Model F072) | Focal length: 90mm | Exposure: F16 | Shutter Speed: 1/1000sec | ISO: 800
Most people photograph flowers from standing height, looking down. Resist that. Crouch until you are level with the bloom, or get lower still and shoot upward against the sky — a low viewpoint gives a plant presence and stature that a top-down frame flattens out completely.
A side-on angle can work just as hard, particularly with structural subjects like strelitzia or aloe spikes where the silhouette carries the image. Circle the plant, try three or four positions, and let the flower's own shape tell you which one suits it.
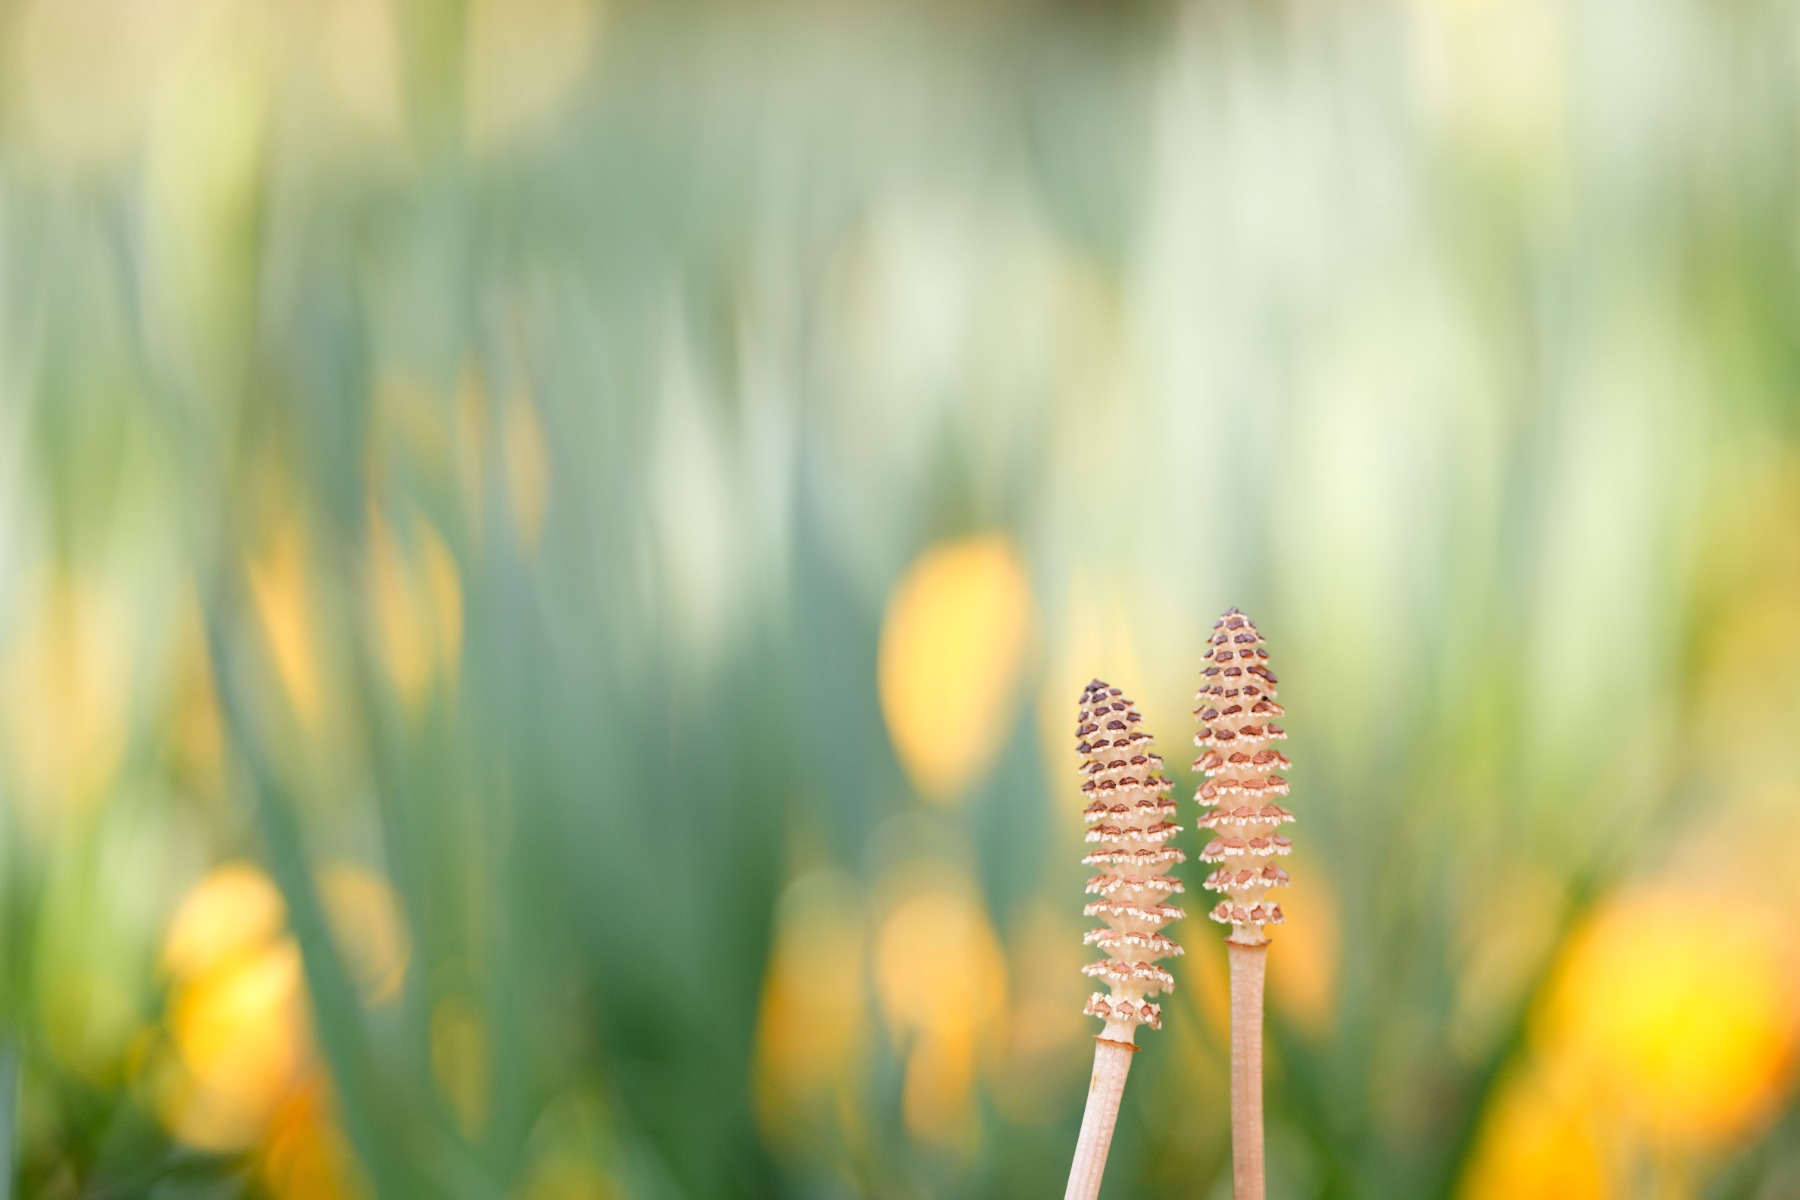
TAMRON 90mm F2.8 MACRO (Model F072) | Focal length: 90mm | Exposure: F2.8 | Shutter Speed: 1/320sec | ISO: 160
Nothing alters the character of a flower photograph faster than what sits behind it. Strip the background back to a single clean tone and every detail in the subject steps forward with real clarity.
Allow surrounding blooms into the frame instead and the picture gains density and abundance. Dark foliage — wild olive, spekboom, veld grass — does something different again, providing contrast that makes saturated petal colours sing.
There is also the option of shooting through something. Placing a leaf or a neighbouring flower close to the front of the lens throws a soft veil of colour across part of the frame, which adds depth and a gentle, diffused quality. Depending on how the colours fall, the result can look closer to a watercolour than a photograph. Move a few centimetres in any direction and the whole effect changes, so it is worth experimenting.
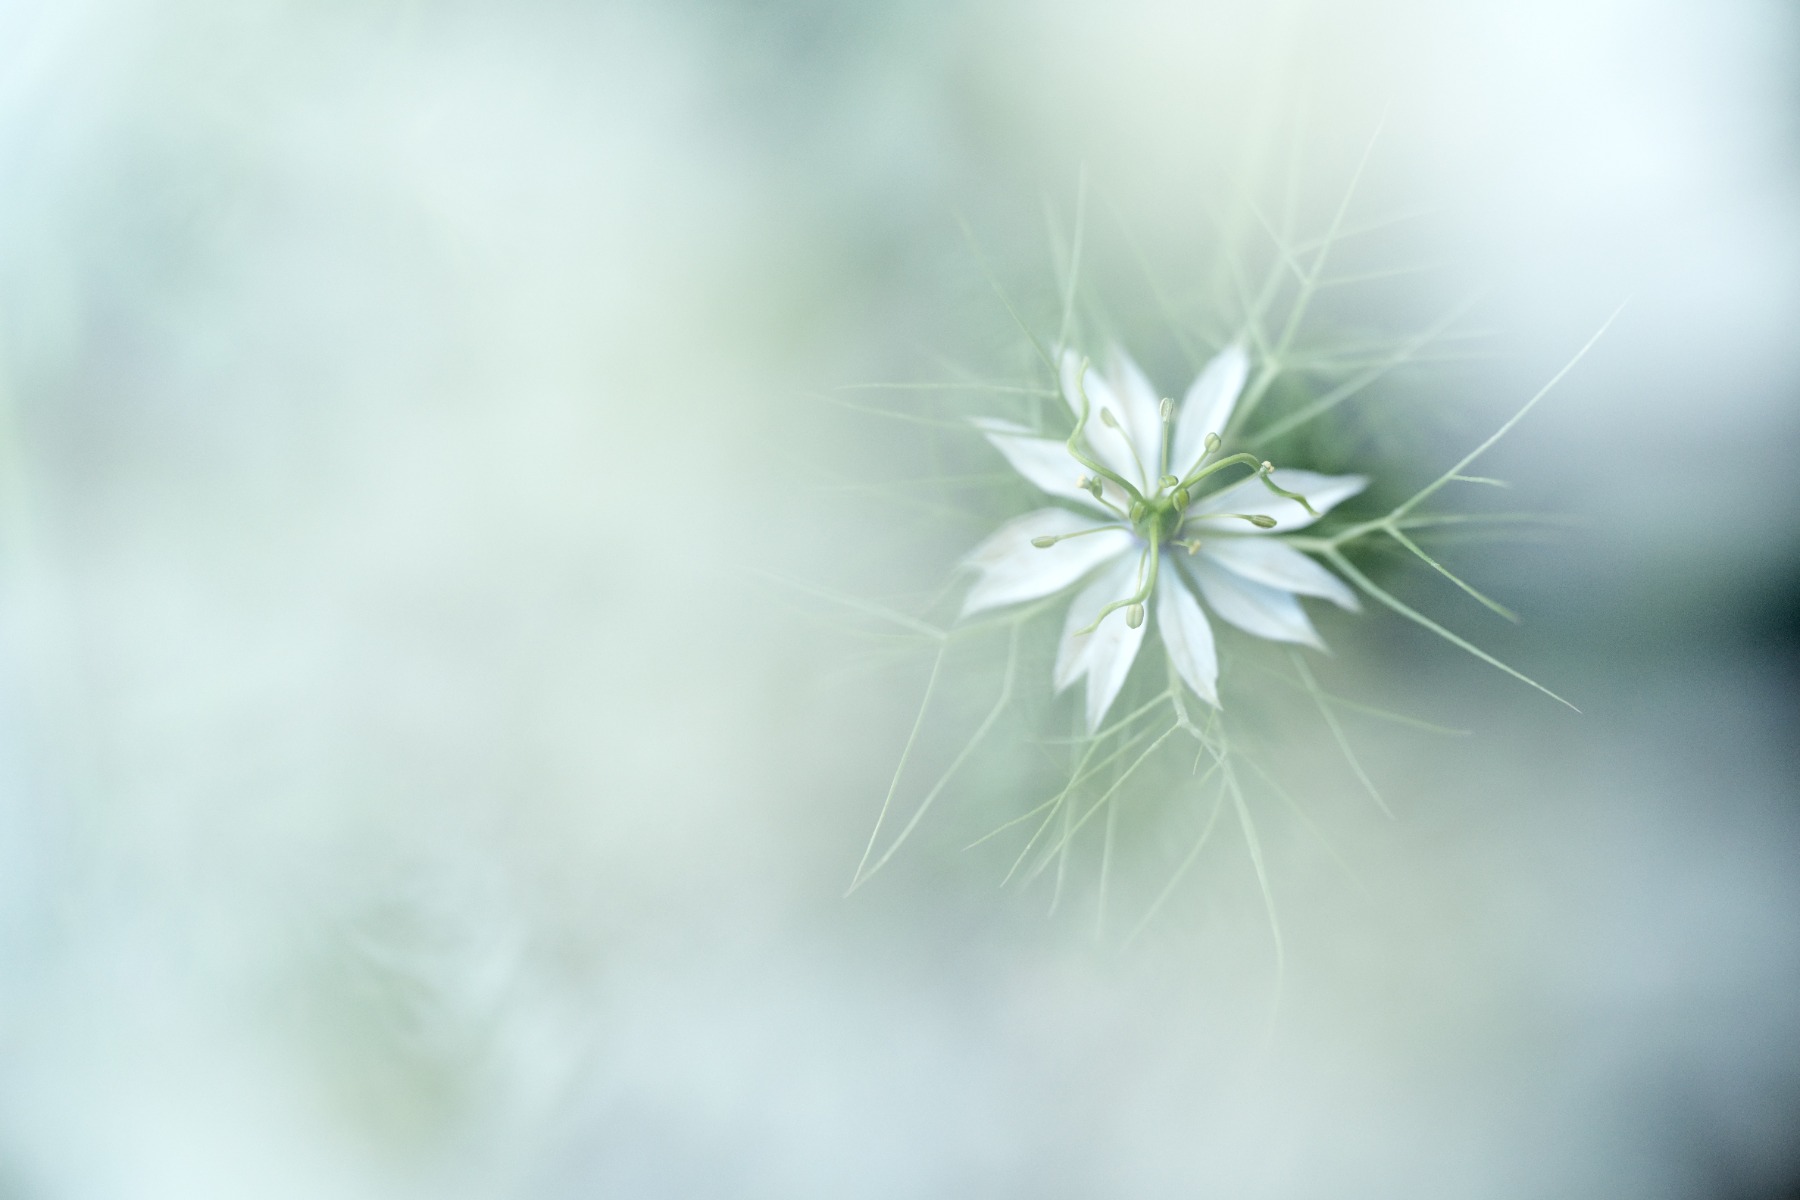
TAMRON 90mm F2.8 MACRO (Model F072) | Focal length: 90mm | Exposure: F2.8 | Shutter Speed: 1/400sec | ISO: 800
Light direction matters as much as light quantity. If your priority is texture and delicate tonal transition, look for slightly softer light — open shade, thin cloud, or the hour after sunrise. Harsh overhead sun, which is the default across much of the country for a good part of the day, blows out highlight detail and buries the subtlety you came for.
Backlight is the exception worth chasing. With the sun behind the flower, light passes through the petals and they turn luminous and semi-transparent. Where a bloom carries fine surface hairs, those catch the light too and rim the edges in a bright halo.
The same flower photographed in shade, in front light and in backlight gives you three genuinely different images. Shoot all three before you move on.
Wind is the constant frustration of flower photography in South Africa, and anyone who has worked the Cape in a south-easter knows it. The direct fix is shutter speed: raise it until movement stops.
The complication is that wind and overcast skies often arrive together, and a faster shutter under dull light means darker frames. Lift the ISO, dial in positive exposure compensation, or accept a wider aperture to claw the exposure back.
Burst mode is your other ally. Stems oscillate rather than move steadily, which means they pause momentarily at the end of each swing. Fire a short sequence and you will usually find at least one frame caught in that still instant.
Insects demand a different approach to flowers, mainly because they move and because they notice you. Below are the exposure settings, focusing methods and fieldcraft that make the difference.
For a subject that is holding still — a mantis on a stem, a beetle resting on a leaf — stay in aperture priority, but stop down from wide open to around F4 or F5.6. That extra depth of field is what keeps the whole body defined rather than just one antenna.
For anything in flight, switch to shutter priority. A Cape honey bee working a flower head needs roughly 1/1000 of a second or faster before its wings and body read as sharp instead of smeared.
Plenty of insects deliberately sit where the light is poor — under leaves, inside flower heads, in the shade of a shrub. A fast lens with a wide maximum aperture earns its cost in exactly those situations, letting you hold a usable shutter speed without pushing ISO into noise.
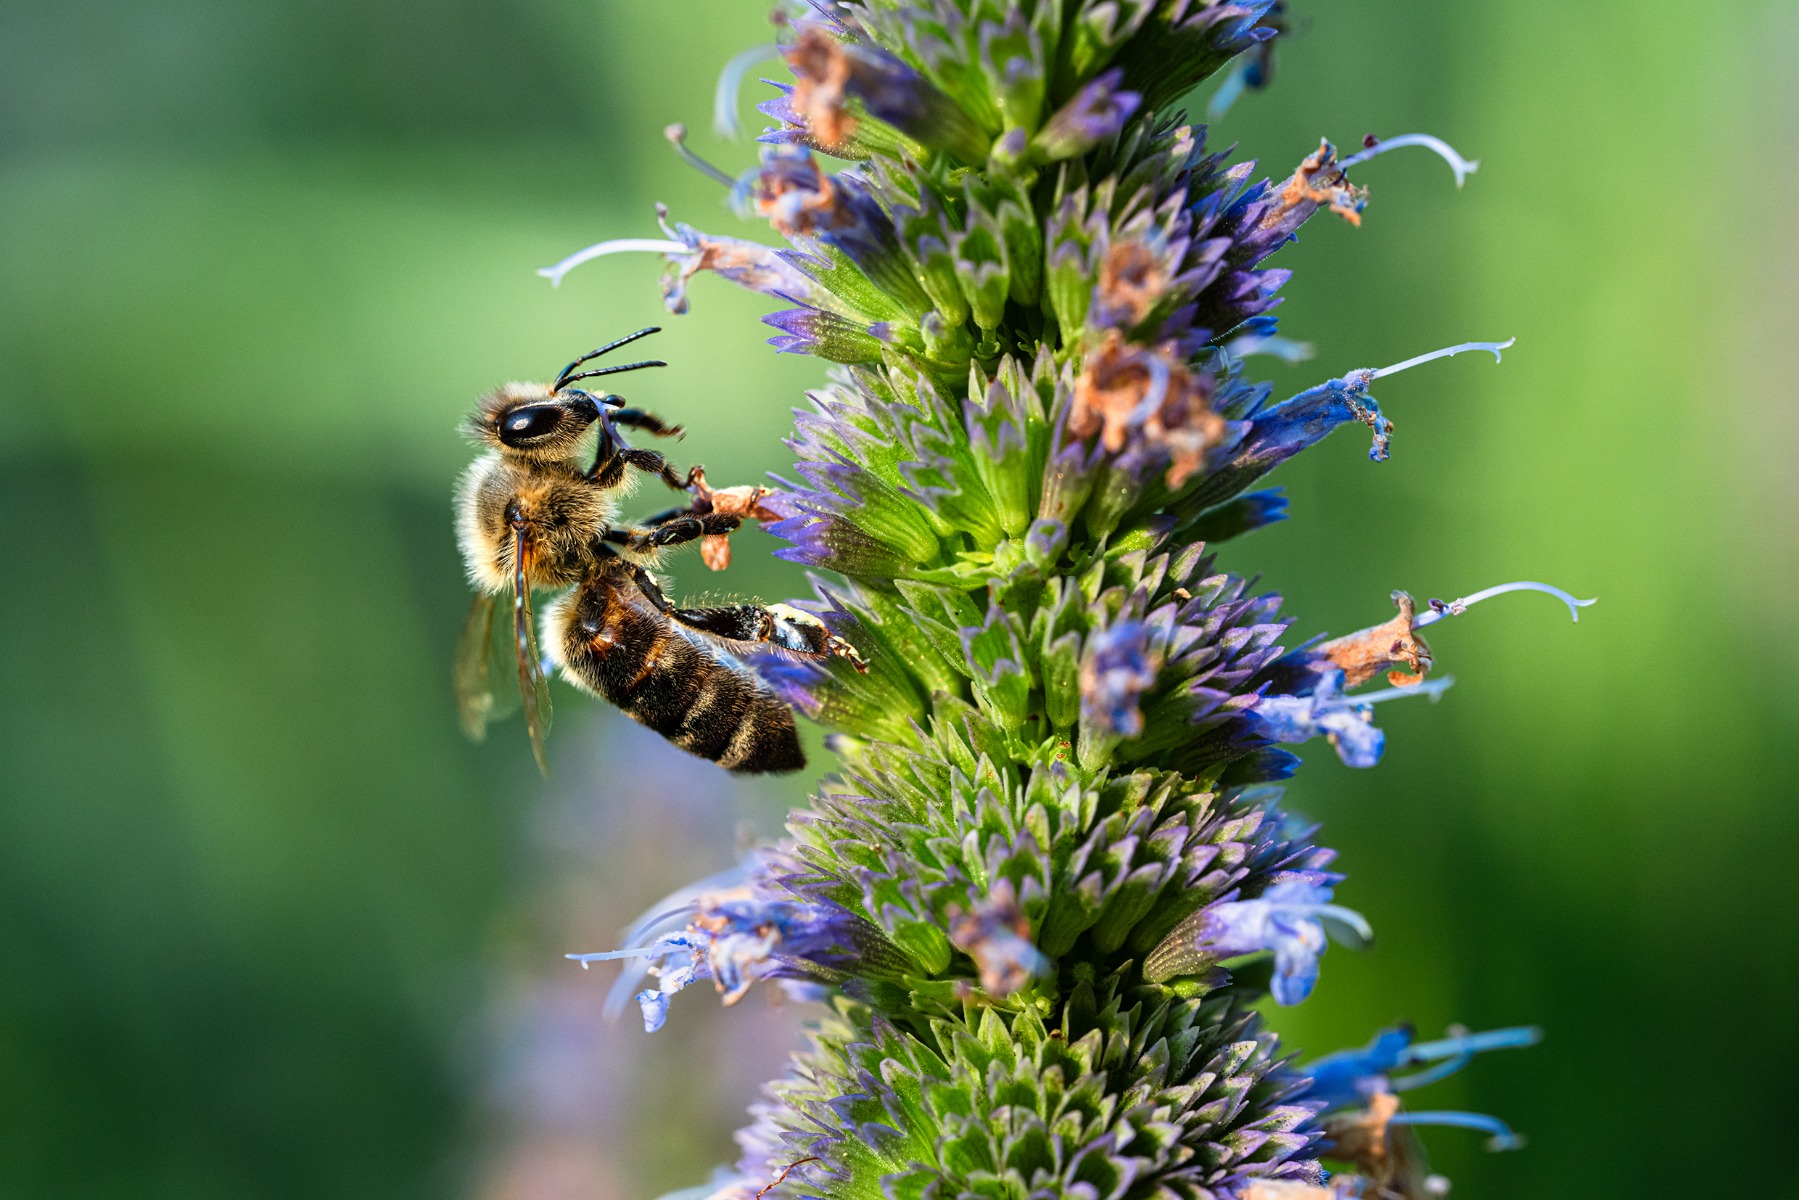
TAMRON 90mm F2.8 MACRO (Model F072) | Focal length: 90mm | Exposure: F6.3 | Shutter Speed: 1/320sec | ISO: 2000
Focusing is the hardest part of insect macro work, and there is no way around that. As a general rule, if the eyes are visible in your composition, that is where focus belongs. A frame with sharp eyes reads as intentional even when other areas fall away.
When you are photographing the body itself — the wing case of a beetle, the markings on a butterfly — study the pattern first, then place focus on its centre or on whichever feature defines the species. That keeps the image balanced instead of accidentally weighted to one edge.
Closing the aperture down a stop or two from wide open helps considerably in getting the whole insect acceptably sharp. And be ready to abandon autofocus altogether. At high magnification AF frequently hunts or locks onto the wrong plane, and switching to manual focus — then rocking gently forward and back until the plane lands where you want it — is often faster and more reliable.
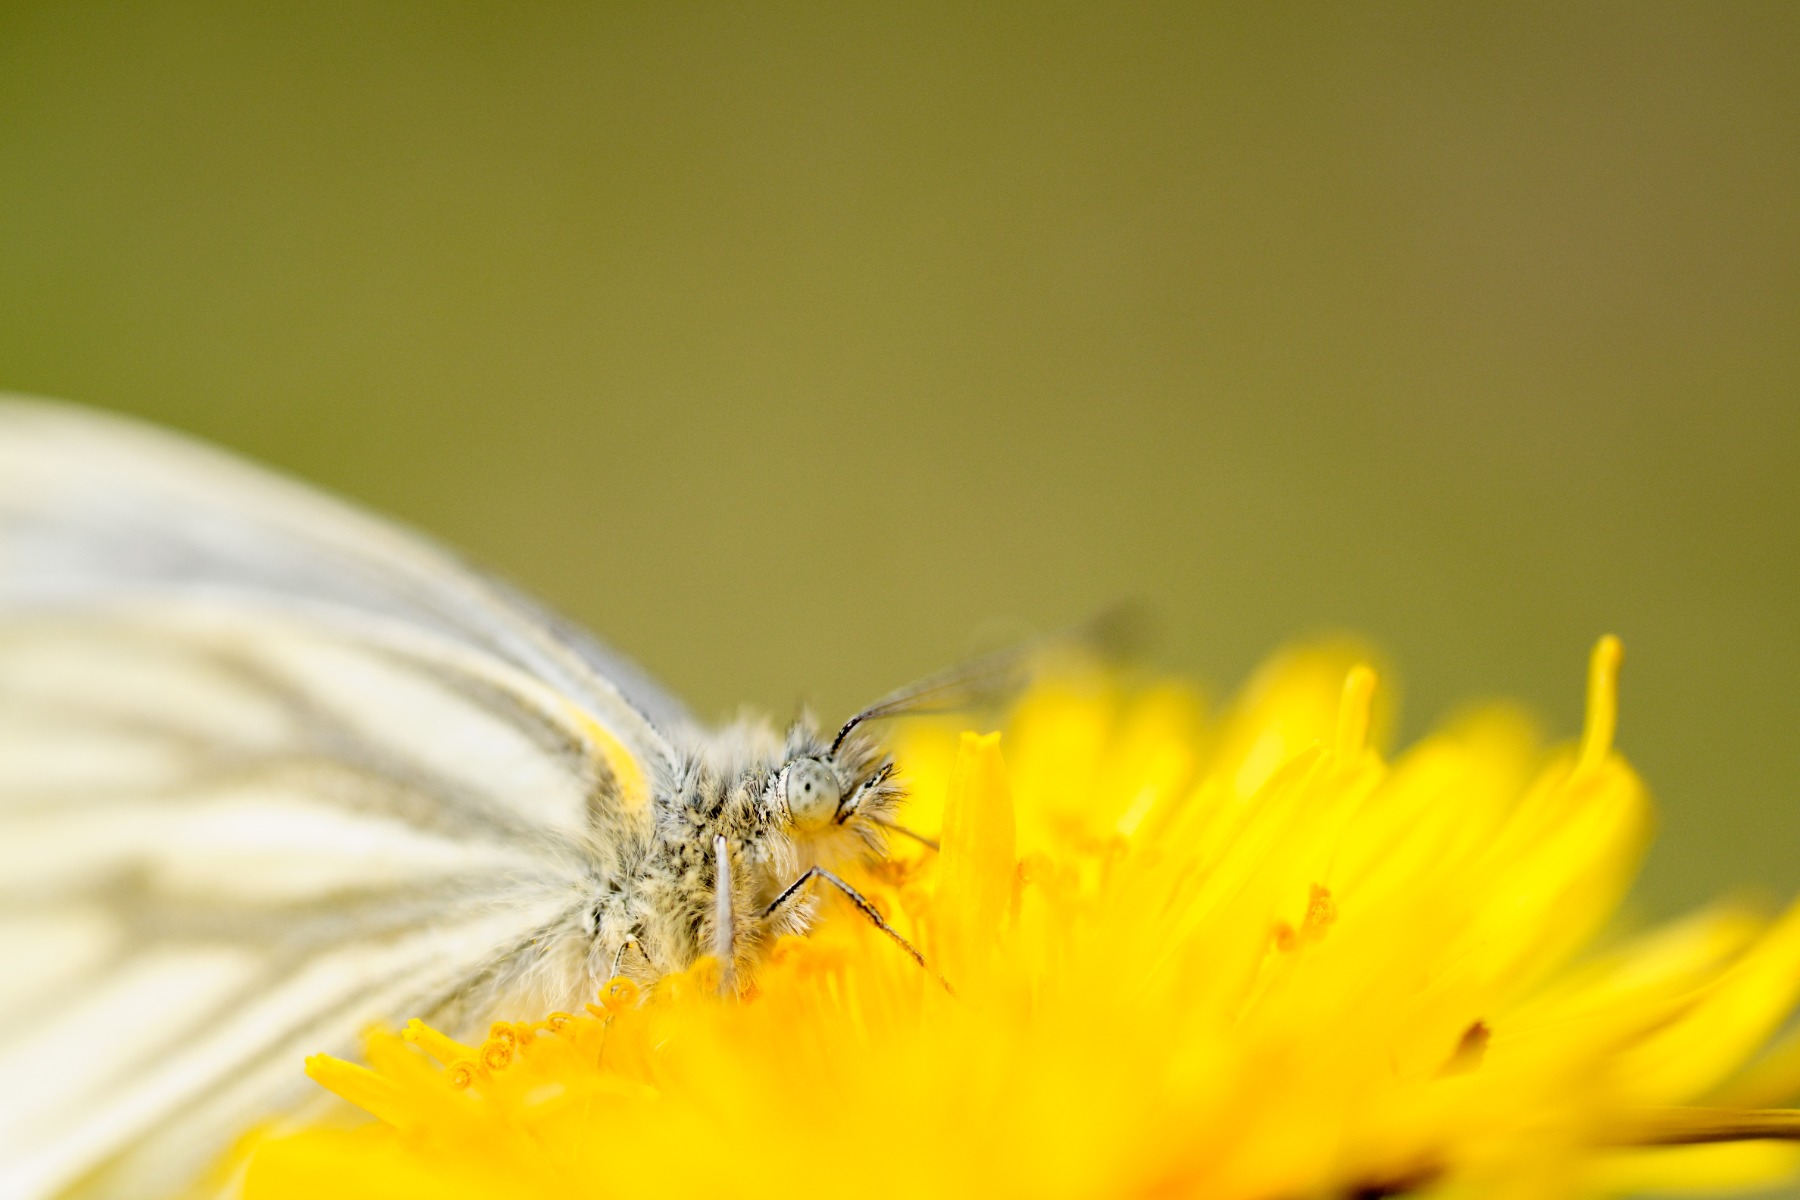
TAMRON 90mm F2.8 MACRO (Model F072) | Focal length: 90mm | Exposure: F2.8 | Shutter Speed: 1/1600sec | ISO: 640
Photographing a pollinator alongside the flower it is visiting is one of the most satisfying results in macro lens photography, and the technique is counterintuitive. Do not chase the insect. Pick a flower that is already attracting traffic, pre-focus on it, get comfortable, and wait for the insect to come to you — much like a slip fielder taking position and letting the edge arrive.
When a carpenter bee or an African monarch drops in, fire a burst immediately. Single-shot attempts almost never land. Expect to work through a lot of frames for one keeper, and treat that as normal rather than as failure.
Angle choice matters here just as it does with flowers. Shooting down from directly above renders an insect almost like a museum specimen, isolating the symmetry of its markings and the clean outline of its body — a legitimate look, and often the most graphic one.
Get down beside or beneath the subject, though, and the photograph becomes something else: immersive, a little confrontational, as though the viewer has been dropped into the insect's own scale. Working low also brings the surrounding habitat into frame, so the image says something about where the creature actually lives rather than just what it looks like.
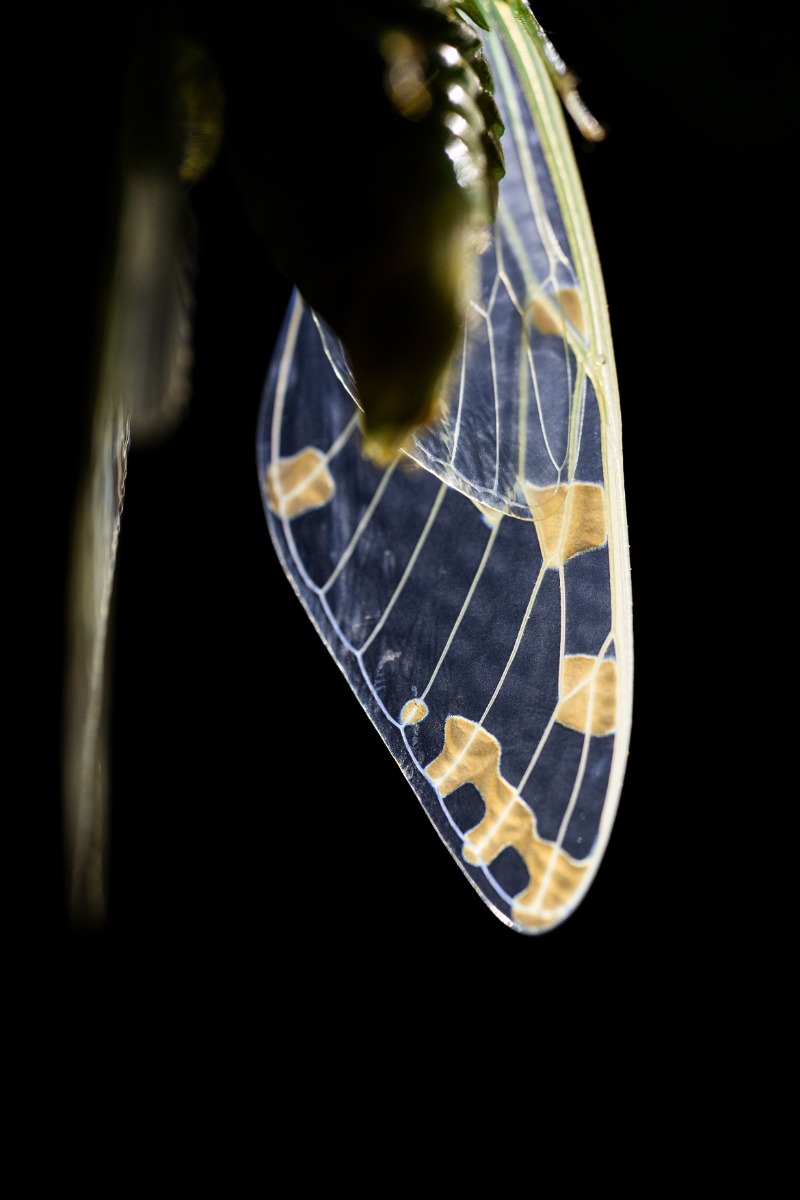
TAMRON 90mm F2.8 MACRO (Model F072) | Focal length: 90mm | Exposure: F3.5 | Shutter Speed: 1/160sec | ISO: 640
For clean, legible detail, softer light wins again. Many insects have hard, reflective shells, and direct midday sun bounces off them in blown-out specular patches that erase exactly the texture you were trying to record.
Front lighting is the reliable choice when you want to show off surface quality — the metallic gloss of a beetle, the fine scaling on a butterfly's wing. It renders colour honestly and evenly.
Backlight is the specialist tool, and it belongs to anything with translucent parts. Wings in particular become extraordinary lit from behind, with the venation showing through like leading in stained glass. Match the lighting to the animal: shell and armour respond to front light, membrane and gauze respond to backlight.
Composition carries as much weight in insect photography as it does anywhere else. Letting nearby stems, petals and grass blur across the foreground and background creates the sense that the viewer has parted the vegetation and is peering in, which is far more engaging than a clinically isolated subject.
Shooting an insect head-on, meanwhile, lets you use its natural symmetry. Match the frame to the animal's own geometry — a triangular arrangement for a wedge-shaped mantis head, a centred composition for something round like a ladybird, where the bullseye placement genuinely is the right call rather than a default.
For everything else, placing the insect off-centre against a considered background remains the most dependable route to a balanced frame. Let the shape and behaviour of the subject guide the decision.
Getting the most from flowers and insects depends heavily on picking a lens matched to how you actually shoot. These are the specifications worth weighing up before you buy.
Minimum focusing distance scales with focal length. A telephoto macro of roughly 80mm or longer is the versatile choice: it doubles as a capable portrait and detail lens, and crucially it lets you reach 1:1 from further back. That working distance is what allows you to photograph a wary dragonfly or a skittish butterfly without your shadow or your lens hood sending it off.
A maximum aperture of F2.8 or wider gives you real headroom under overcast Highveld skies, in forest shade along the Garden Route, or whenever you need to hold a fast shutter speed for a moving insect.
It also delivers the strong background separation that makes macro work distinctive. Being able to reduce a cluttered garden bed to a smooth field of colour behind a single bloom is a large part of why fast macro glass is worth the investment.
Macro shooting involves constant repositioning — crouching, leaning in, circling a plant, then doing it again three metres away. A compact, well-balanced lens makes that far less tiring, and it lets you get on target quickly when something lands and gives you four seconds to react.
Lower weight also translates directly into steadier hand-held frames, which matters more in macro than in almost any other discipline, since camera shake is magnified along with everything else. If you tend to wait out an insect in an awkward crouch, your back will notice the difference too.
Fast, accurate autofocus is worth having for the moments that do not repeat. Quiet operation deserves attention as well — audible focus motors can be enough to unsettle a nervous subject at close range.
That said, manual focus does a great deal of the work in macro photography, so the feel of the focus ring is not a secondary concern. Check that it turns smoothly, with enough travel for precise adjustment. A lens that is a pleasure to focus by hand will get used far more than one that is not.
Flowers and insects are outdoor subjects, which means you will be out in conditions you did not plan for — a sudden Highveld thunderstorm in late afternoon, winter drizzle in the Cape, heavy dew on an early start. Moisture-resistant construction will not make a lens waterproof, but it substantially reduces the risk of an expensive lesson.
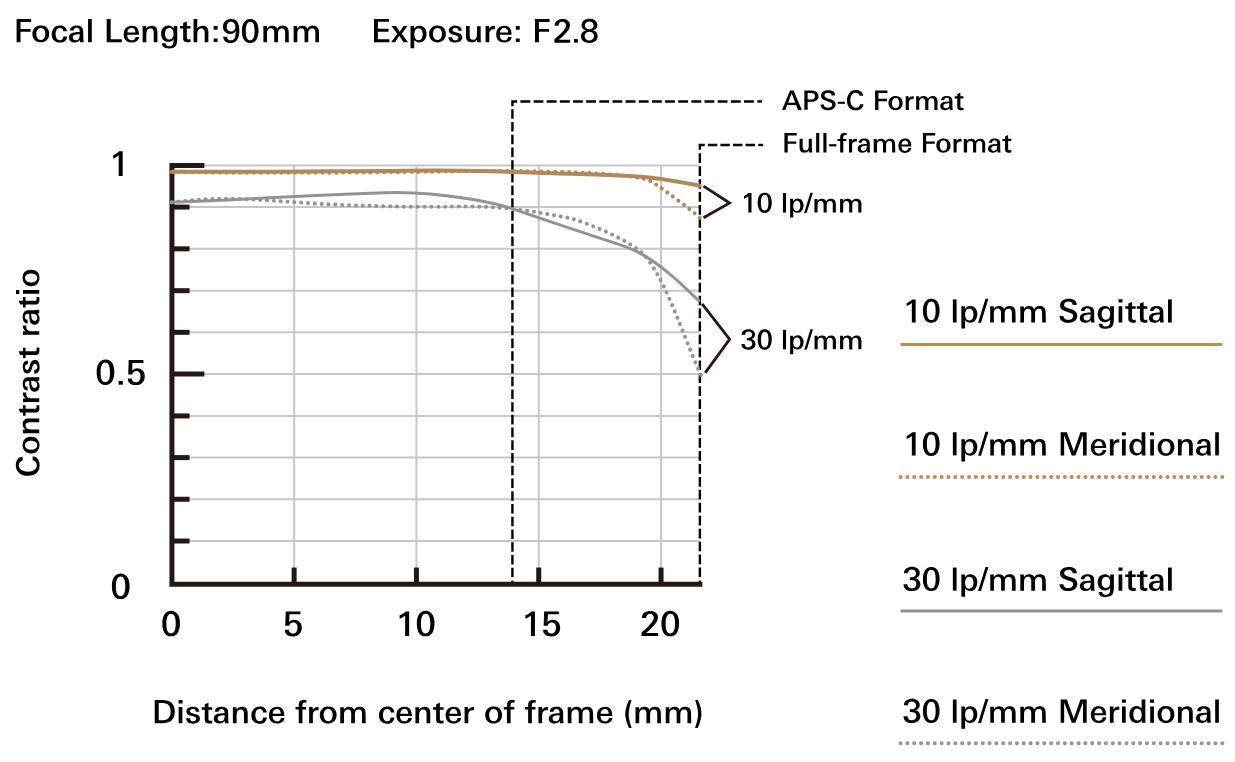
Tamron's 90mm macro has been a favourite among close-up photographers for decades, built on a combination of high resolving power, notably smooth bokeh and comfortable handling in the field — the reason it keeps appearing in flower and insect work. Tamron also offers a broad selection of half-macro lenses for photographers who want close-focus capability inside a more general-purpose zoom or prime. Work through the sample galleries to see which rendering suits the way you shoot.
Whether your subject is a protea or the beetle sitting on it, the underlying principle of macro lens photography is the same: photograph the thing that caught your attention, and keep photographing it while you look harder. The images that work come from observation and repetition far more than from equipment. Take the lens out, get low, stay curious, and let the small world in front of you show you what it has.