| September 30, 2026
 South Africa's #1 Mobile Protection Brand
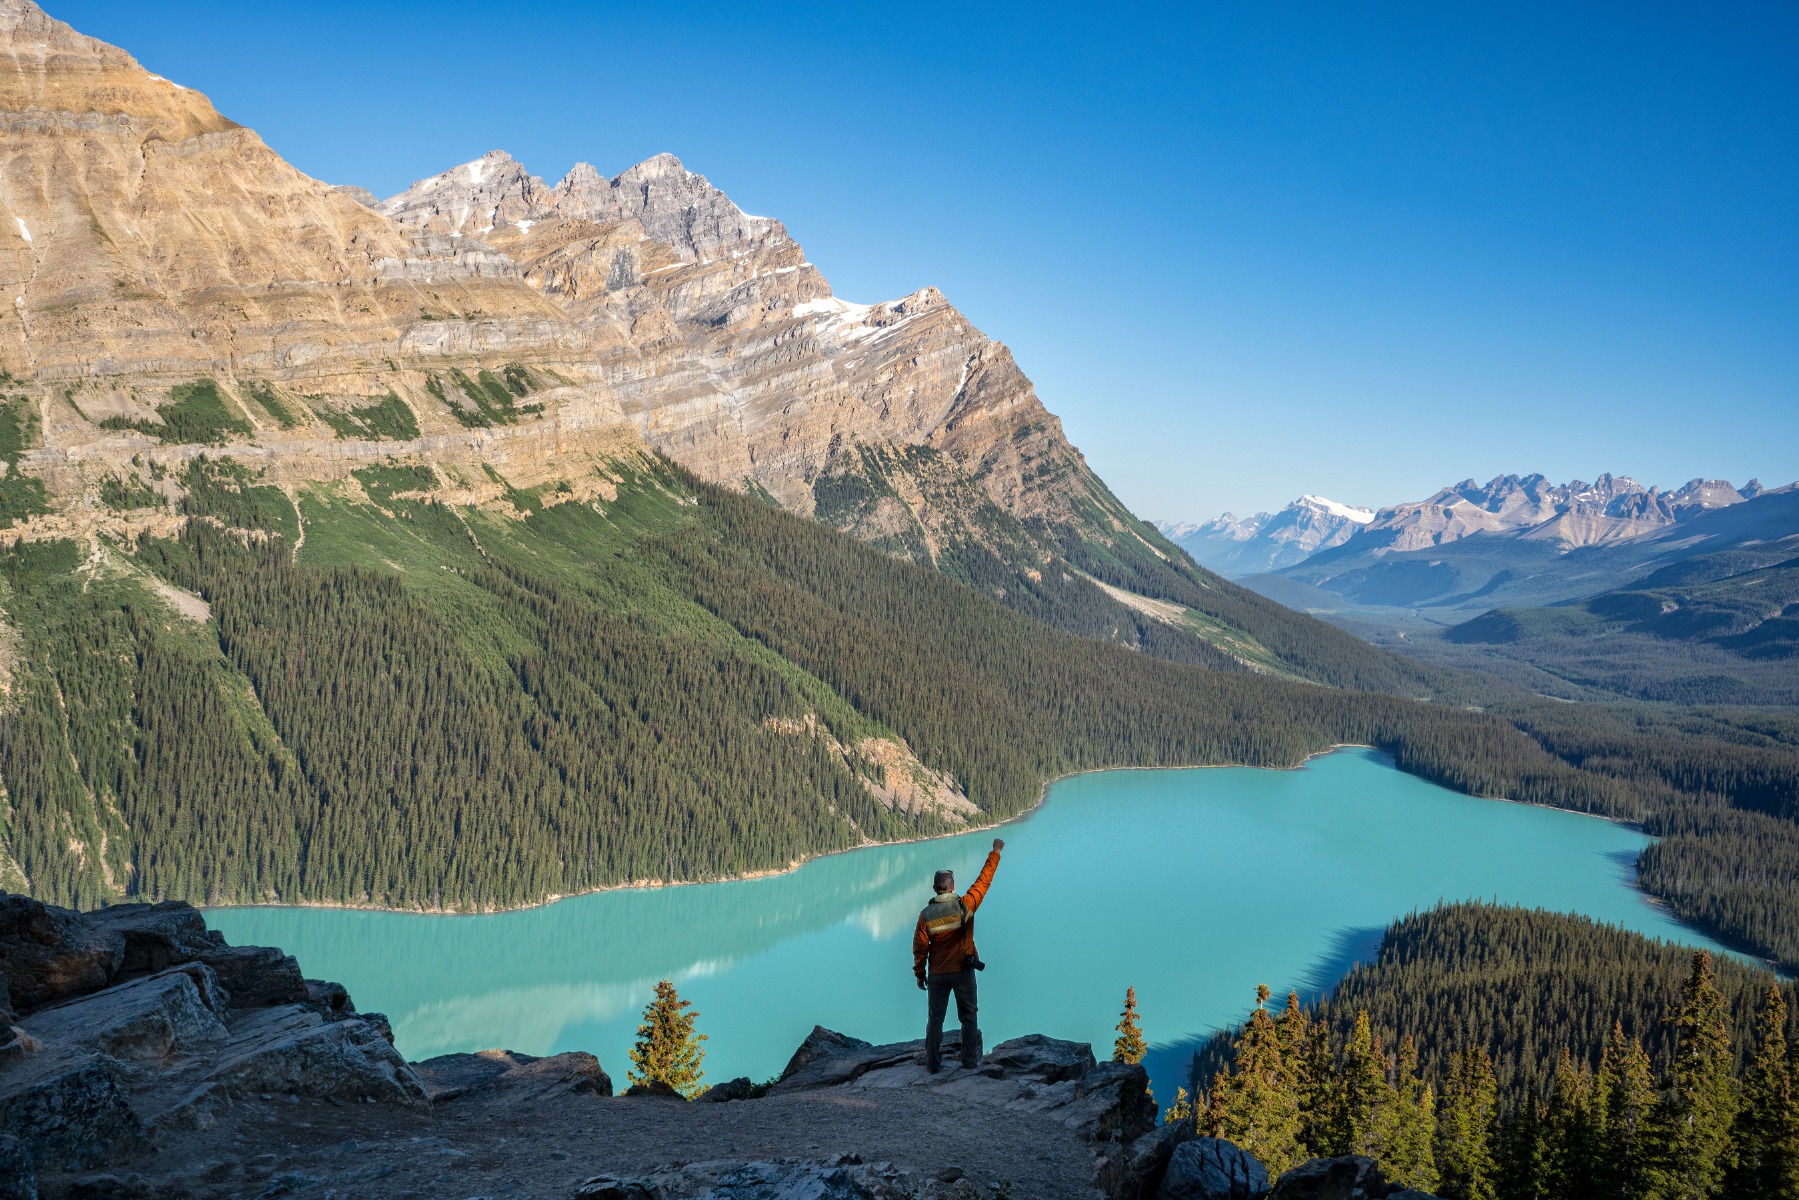
Few things beat the view from a summit after a long climb, or the small surprises along the way: a patch of flowering fynbos, cloud rolling off an escarpment, the first light striking a sandstone cliff. Smartphones have become remarkably capable, but carrying a camera while hiking gives you something a phone cannot match – the freedom to change lenses and the image quality to do South Africa's mountains justice. This guide covers how to plan your kit, which camera lenses for hiking make sense, and practical tips for photographing the scenes you will meet on the trail.
An interchangeable-lens camera records fine detail that a phone tends to smooth over, from the grain of weathered rock to individual grasses on a distant slope. When you want prints or large screens to feel like the real view, that detail matters.
Mountain light also changes quickly. Cloud can sweep in within minutes, and the gap between sunlit rock and a shaded gully can be extreme. A larger sensor with wide dynamic range holds on to more detail in both the highlights and the shadows, especially if you shoot RAW, which leaves you room to recover a difficult scene later.
The biggest advantage, though, is flexibility. Fit a wide-angle lens to take in a panoramic summit view, then switch to a telephoto to pick out fynbos flowers on the far side of a valley or a bird riding the wind along a ridge. One camera, a small selection of lenses and you are ready for almost anything the trail offers.
Here are some of the classic mountain scenes you are likely to encounter, with practical pointers for photographing each one.
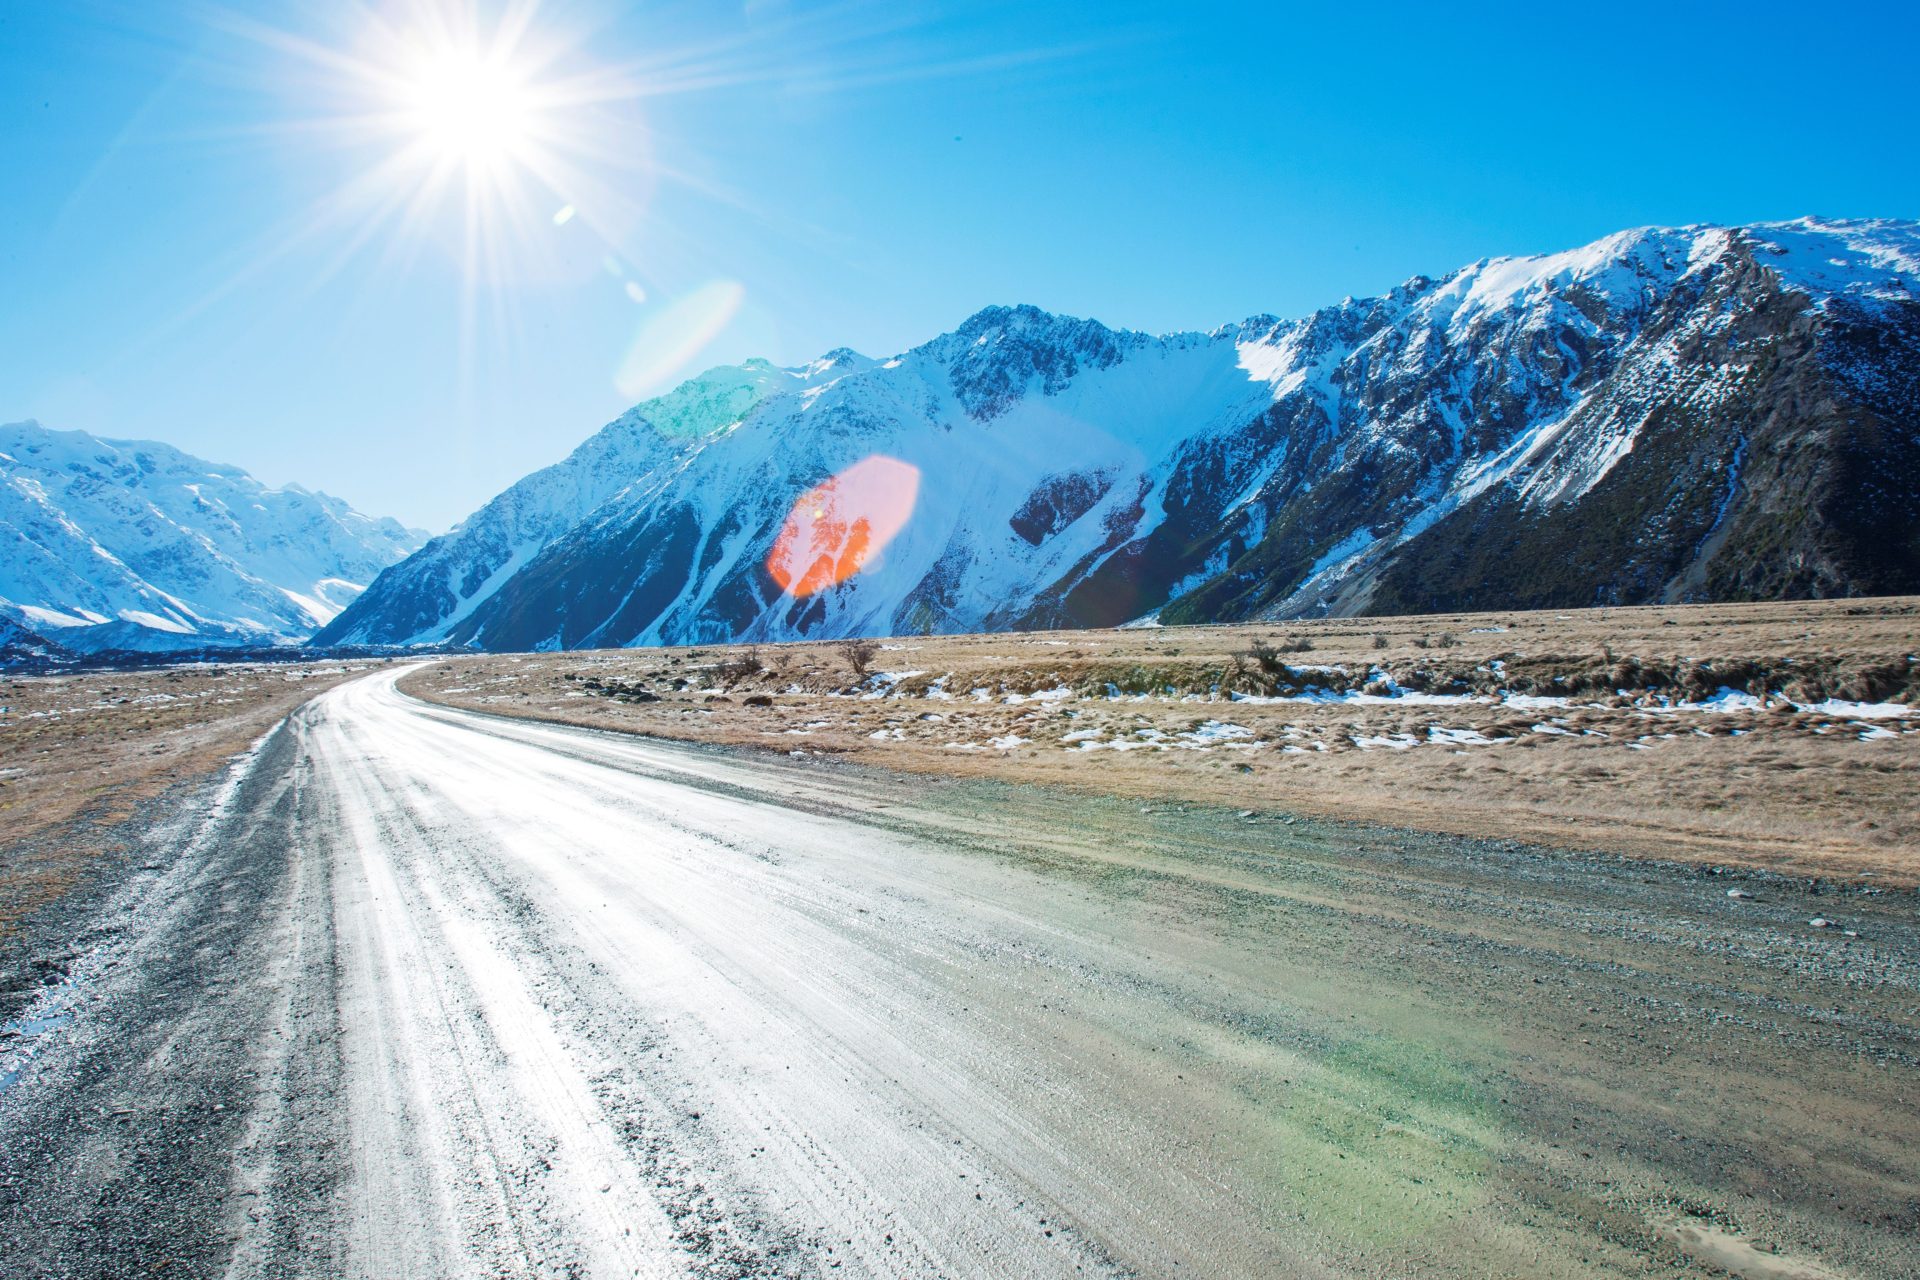
Sandstone faces lit by low morning light
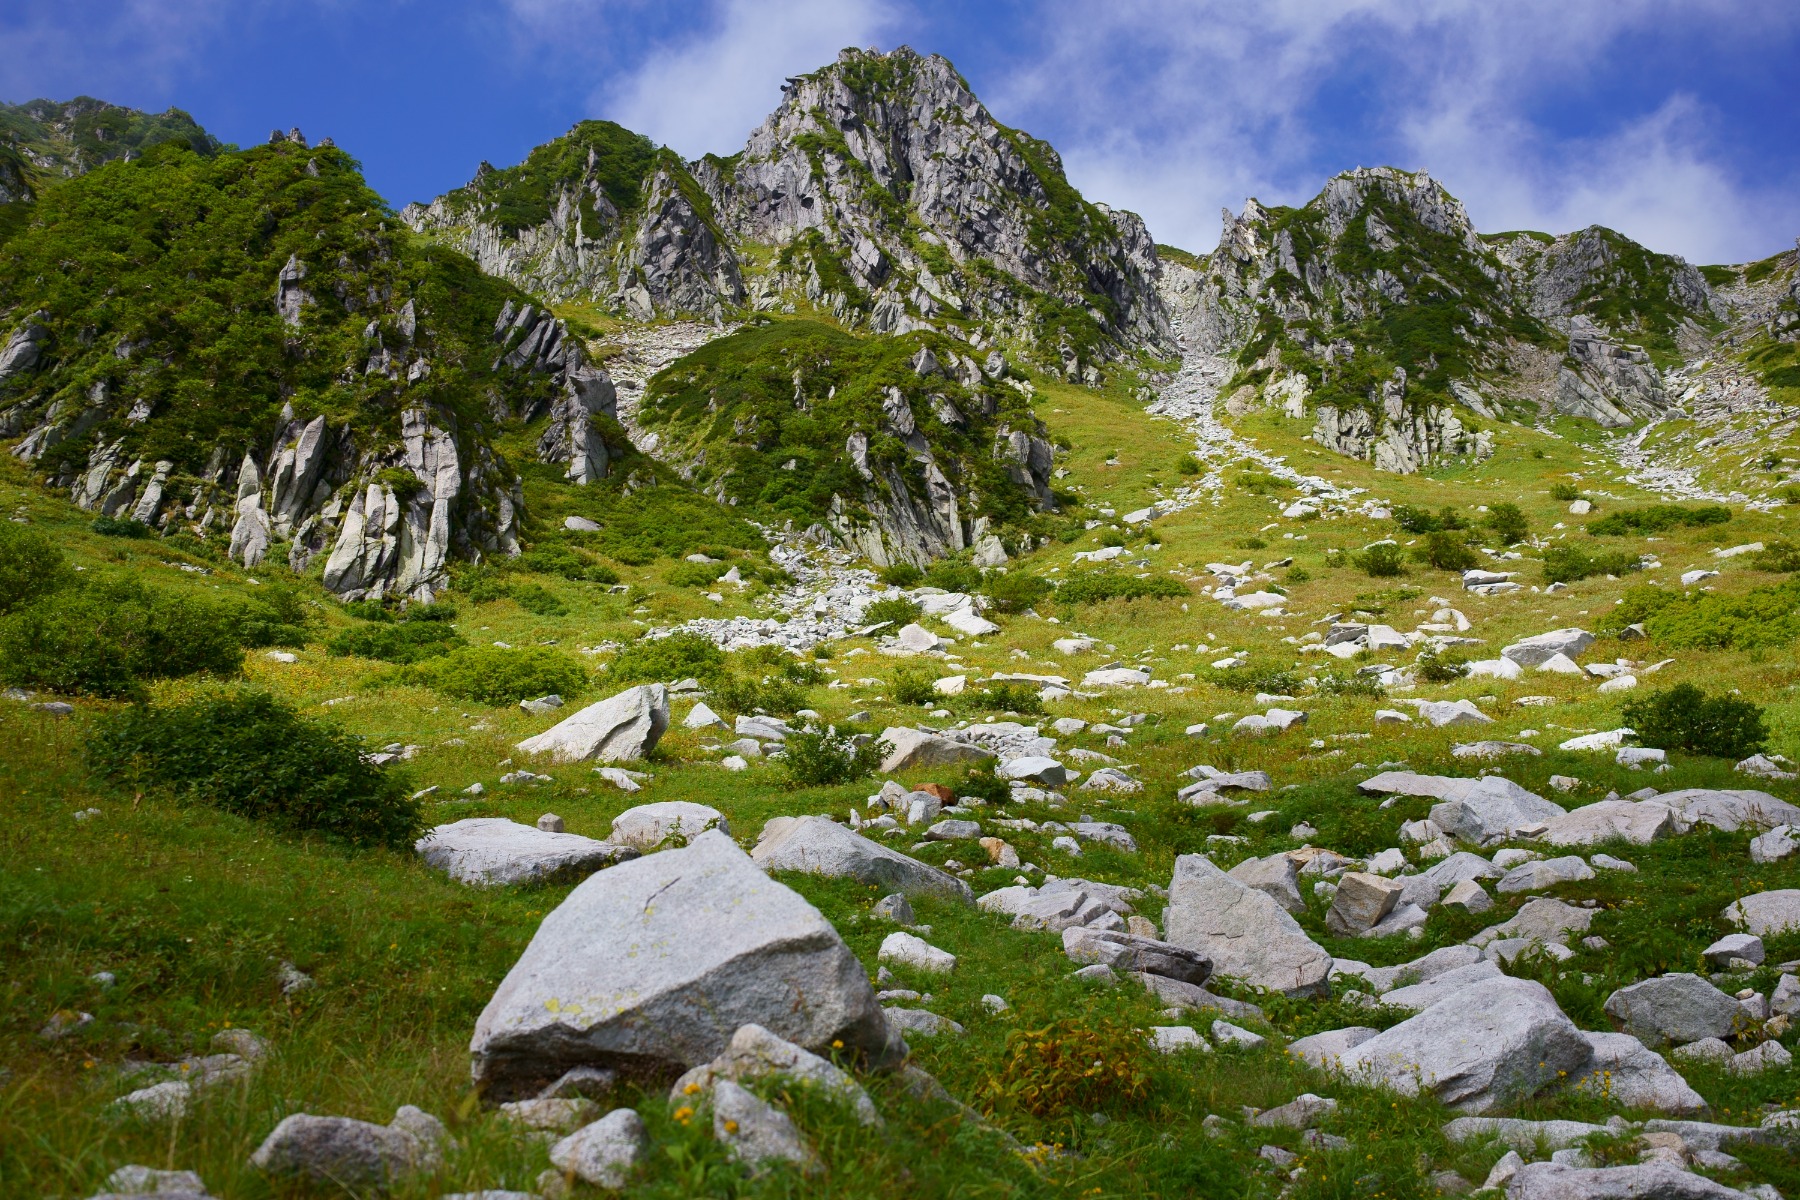
TAMRON 35mm F2.8 (Model F053) | Focal length: 35mm | Exposure: F4 | Shutter Speed: 1/1250sec | ISO: 100
The rock faces of a mountain say a great deal about its character, and they make some of the most rewarding subjects on a hike. In the Boland mountains, weathered sandstone, lichen and, in winter, a light dusting of snow all reward a lens that resolves fine detail. A sharp lens paired with an interchangeable-lens camera picks out every crack, ledge and change of texture.
Timing makes a big difference. Low, raking light shortly after sunrise or before sunset throws shadows across the rock and brings out its three-dimensional form, while the warm tones of these golden periods add atmosphere. Watch your exposure closely so the brightest faces keep their detail. The 35mm framing used here corresponds to roughly 23mm on an APS-C camera.
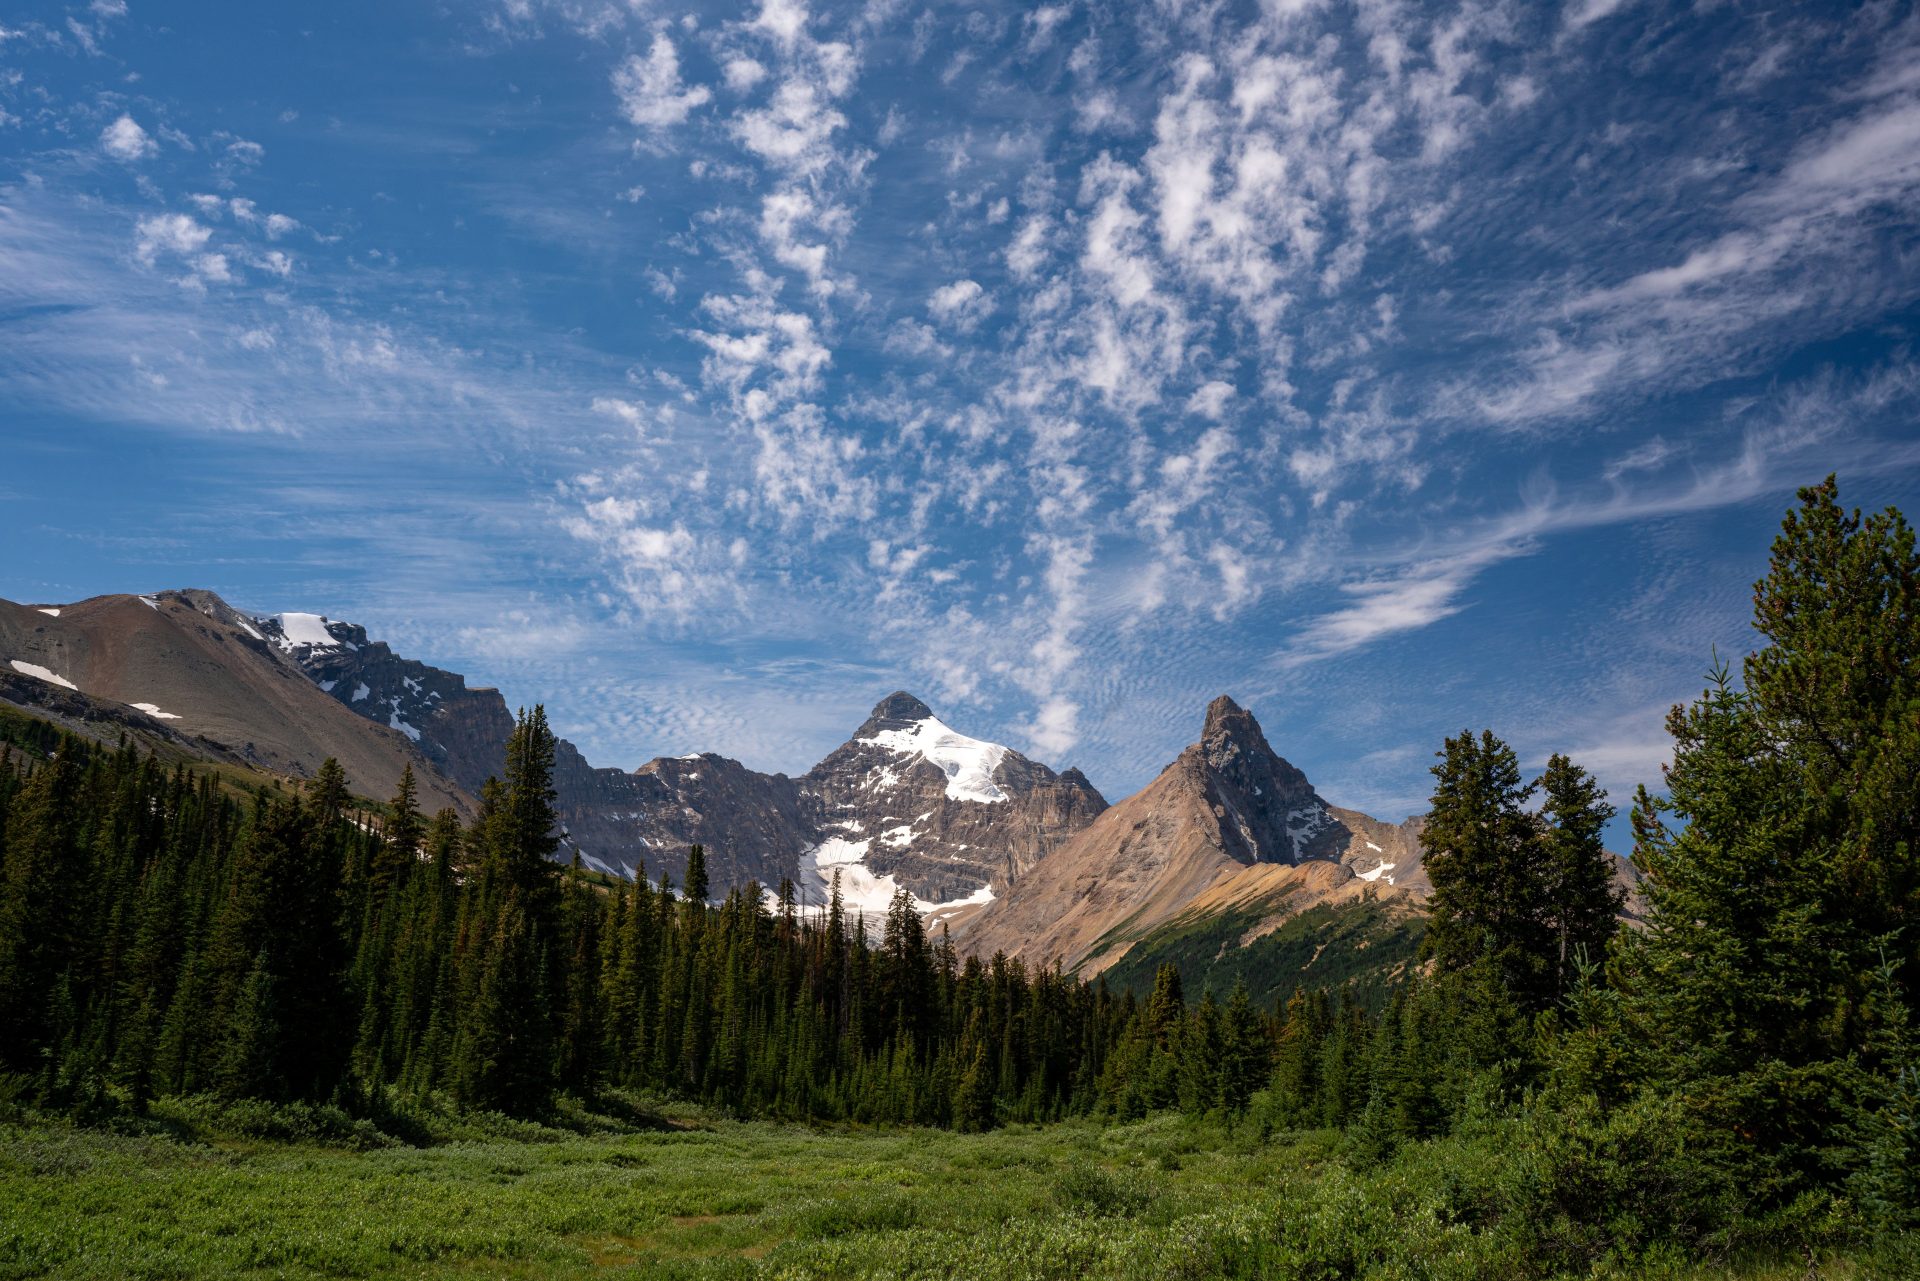
A ridgeline above rolling grassland
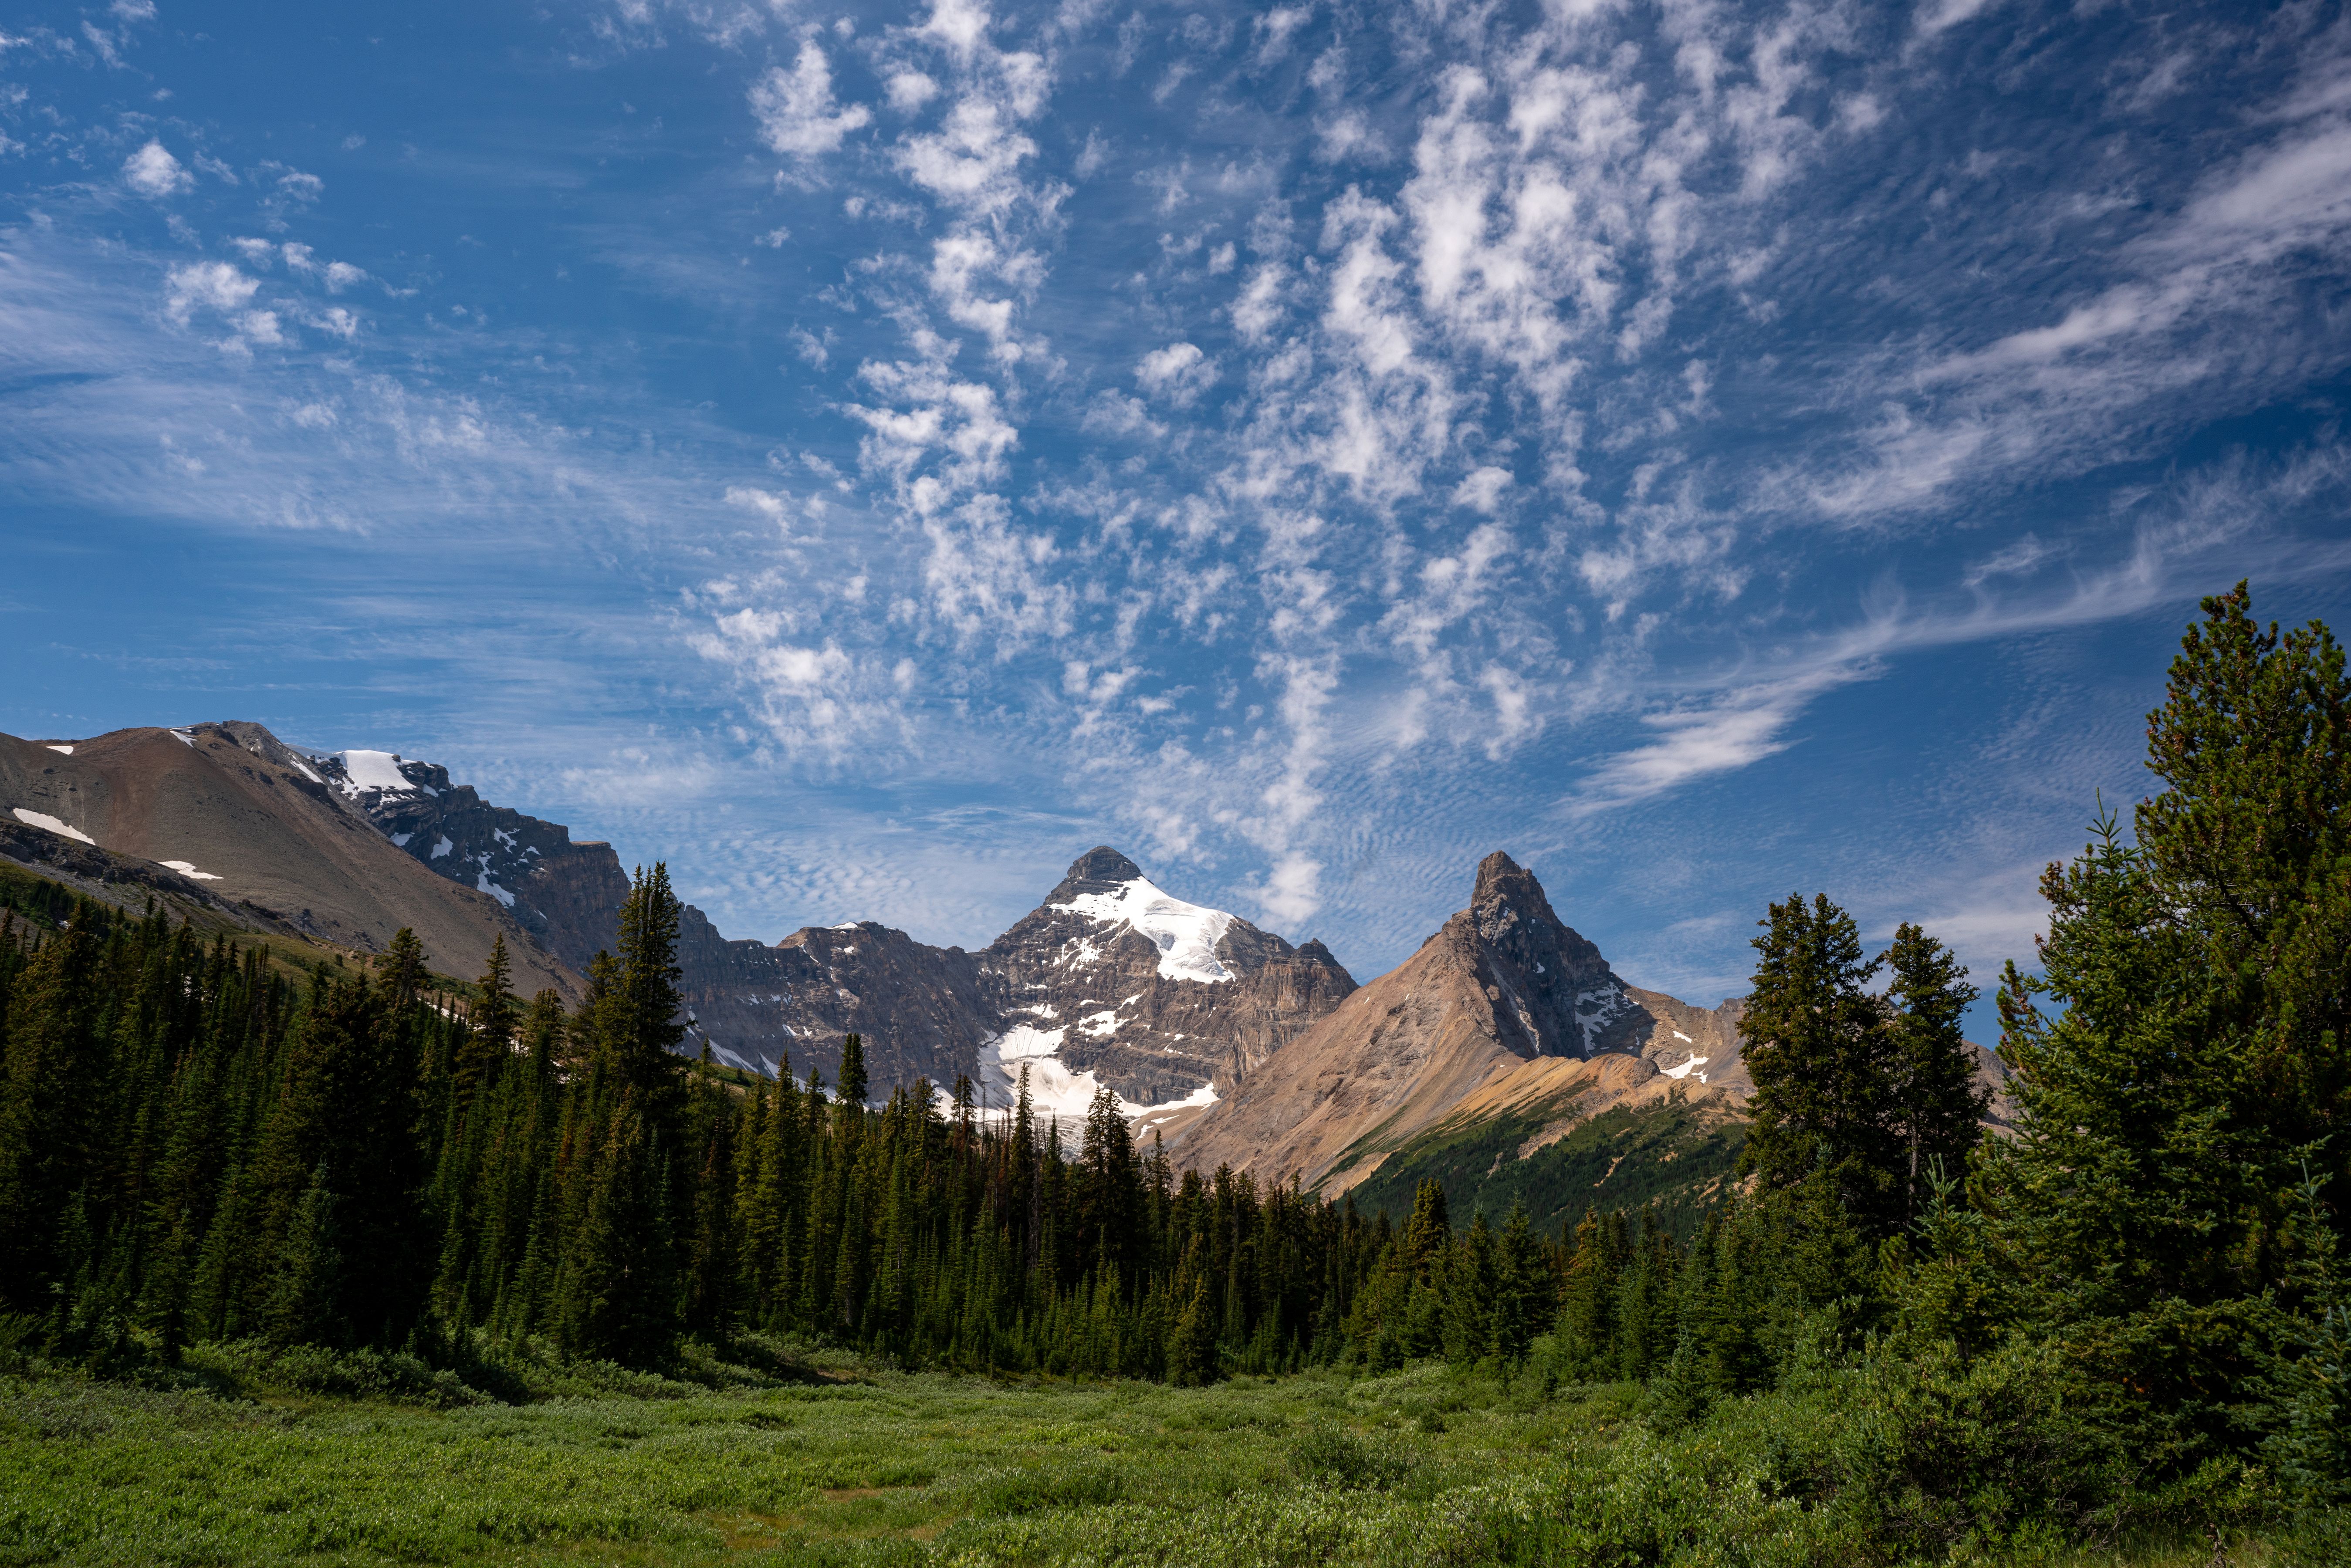
TAMRON 20-40mm F2.8 (Model A062) | Focal length: 38mm | Exposure: F14 | Shutter Speed: 1/30sec | ISO: 200
Ridgelines show off the shapes that wind, water and time have carved into a range. A wide-angle lens for hiking captures the full sweep of a ridge along the Drakensberg escarpment and conveys its scale. Place rocks or grassland flowers in the foreground and the wide lens's perspective adds real depth to the scene.
You do not always need to go wide, though. This frame was taken at 38mm (about 25mm on APS-C), a moderate focal length that isolates the ridge's shape without shrinking it, and for a distant ridgeline a telephoto lens draws out even more detail. A ridge also changes character through the day and the year: the Drakensberg's grassland is lush green in summer and turns gold in winter, so it pays to return in different seasons and light.
Farmland and open plains seen from the ridge
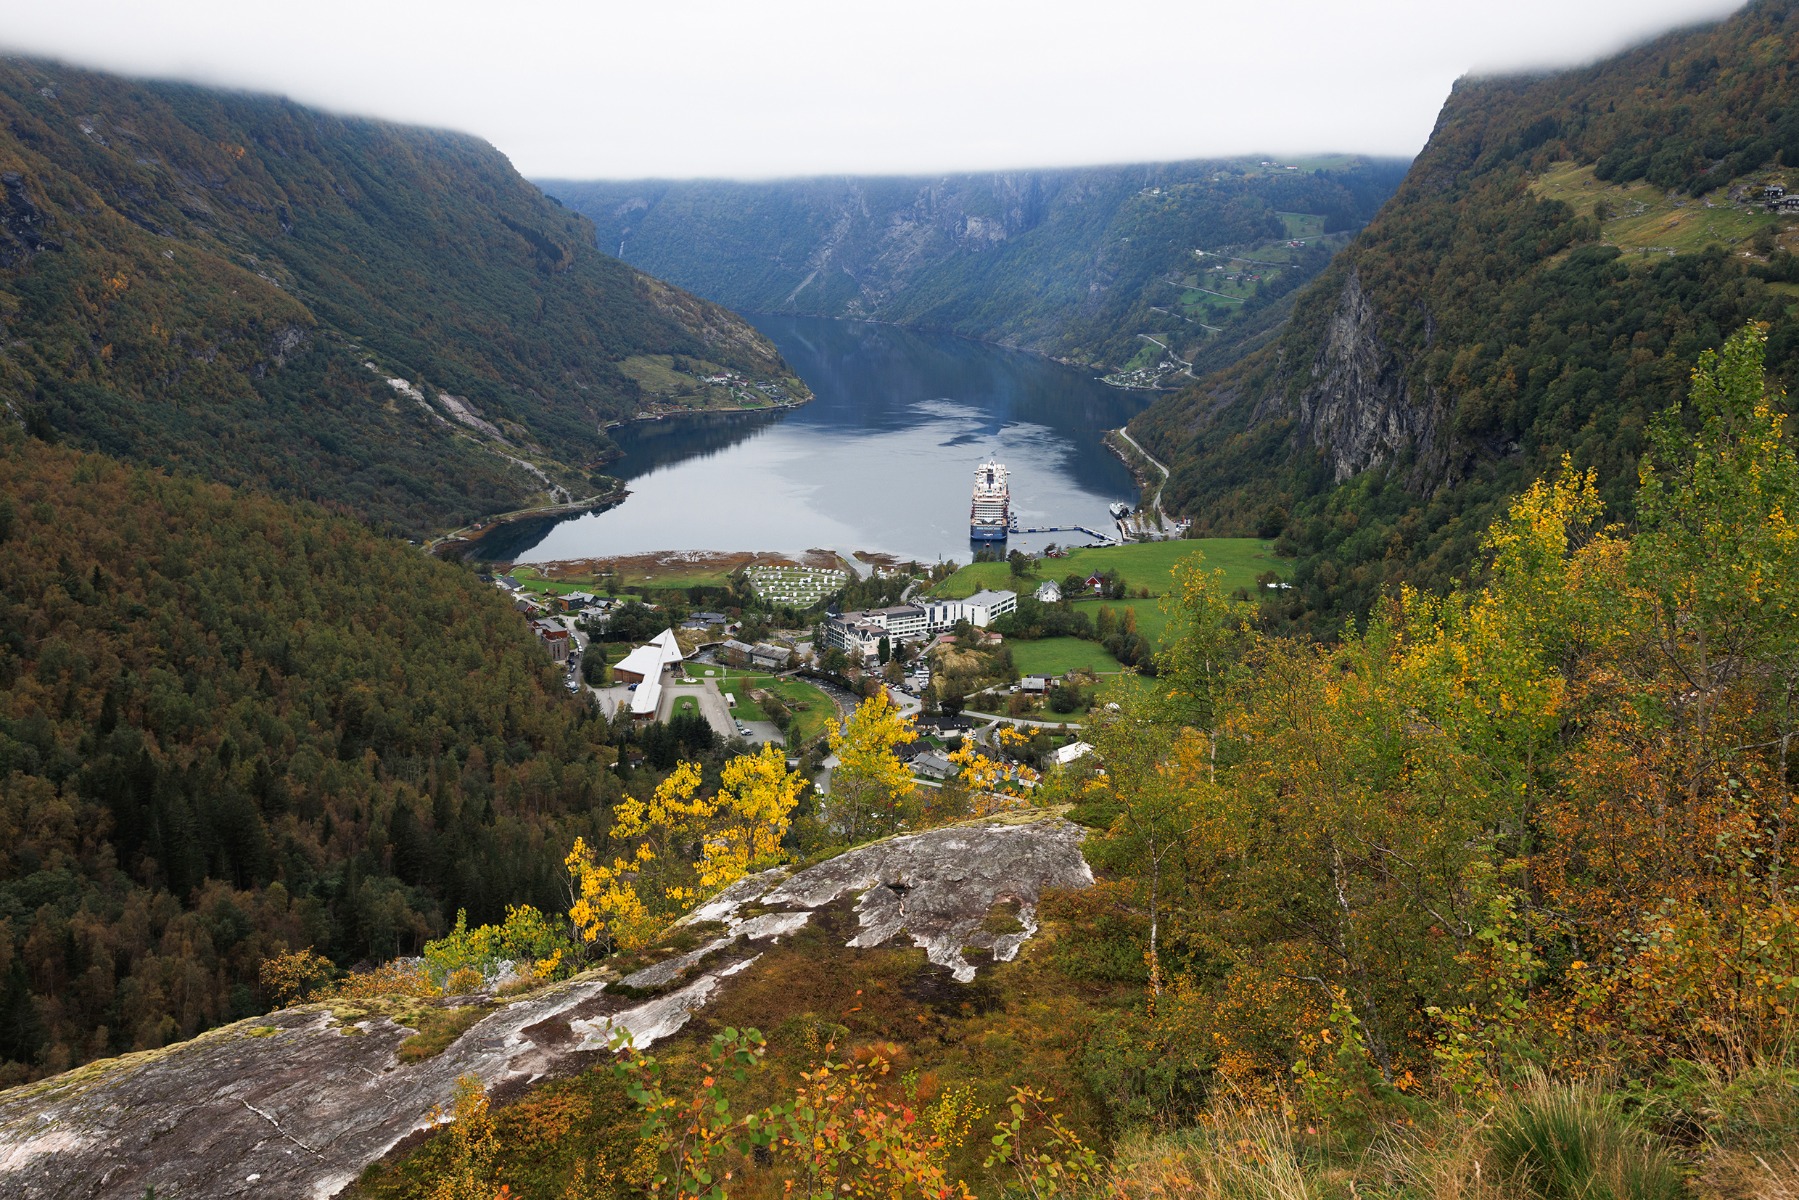
TAMRON 11-20mm F2.8 (Model B060) | Focal length: 20mm | Exposure: F4 | Shutter Speed: 1/40sec | ISO: 100
Mountain photography is not only about the mountain itself. From a high point on the Magaliesberg, the view across farmland and the open Highveld makes a superb subject in its own right. A wide-angle lens takes in the whole landscape and creates a strong sense of depth, showing how the range sits within the land around it. The B060 is an APS-C lens, so its 20mm here gives a field of view similar to about 30mm on full frame.
A telephoto lens offers a different take, using its compressed perspective to stack fields, farm roads and distant ridges into a layered composition. On hazy days, look for the way colours soften and cool with distance as the layers of air between you and the horizon thicken. A camera's smooth tonal gradation records these subtle shifts beautifully.
Cloud filling the valleys below the peaks
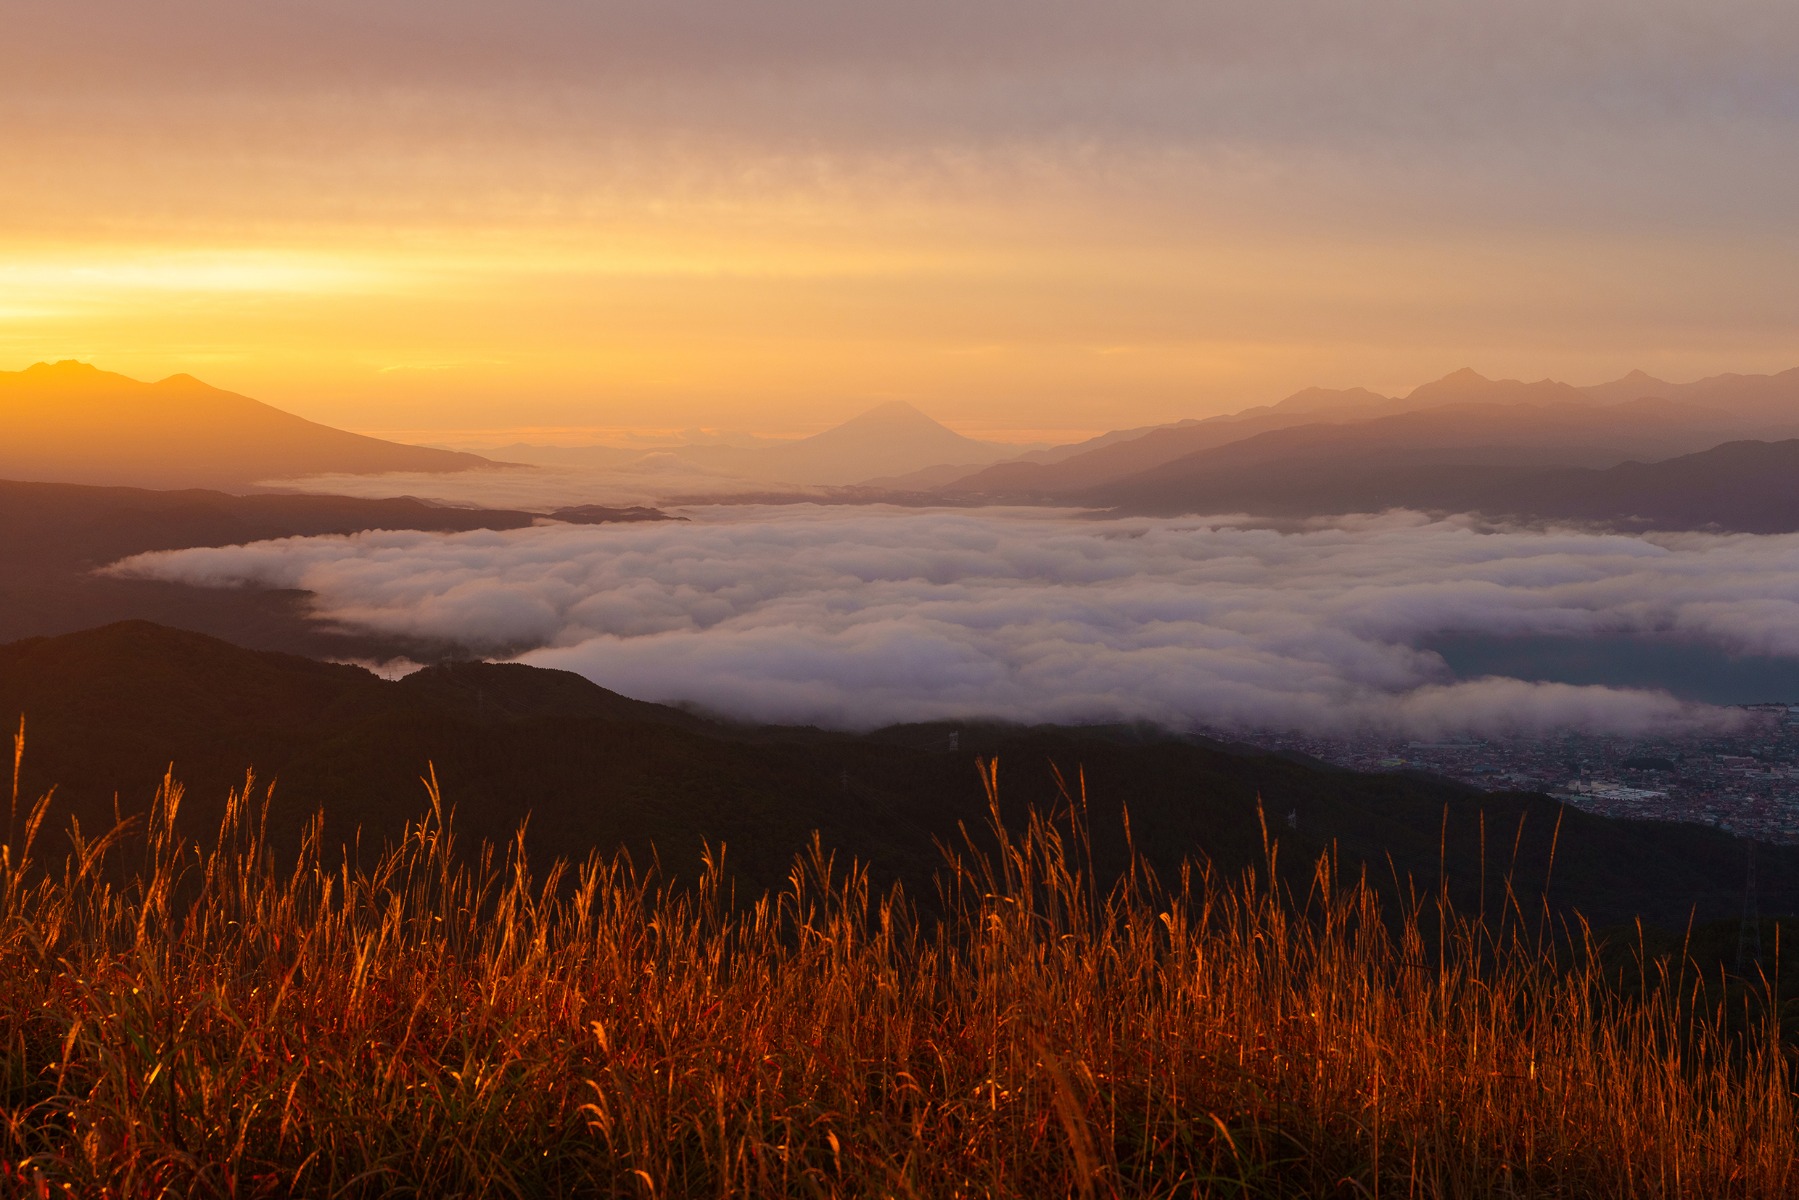
TAMRON 17-50mm F4 (Model A068) | Focal length: 50mm | Exposure: F8 | Shutter Speed: 1/125sec | ISO: 200
On the right morning, cloud settles in the valleys below the Drakensberg escarpment, leaving the peaks standing above a white sea. It is one of the most memorable sights a hiker can hope for, and the detail an interchangeable-lens camera captures brings out the texture and volume of the cloud. At 50mm, this frame corresponds to about 33mm on APS-C.
The scene changes by the minute, so be ready early and keep shooting as the cloud shifts. The moments when ridges and summits break through the surface are especially striking. Experiment with composition, using a peak or a rocky outcrop as an anchor, to make the most of them.
Sunrise breaking over the ridge
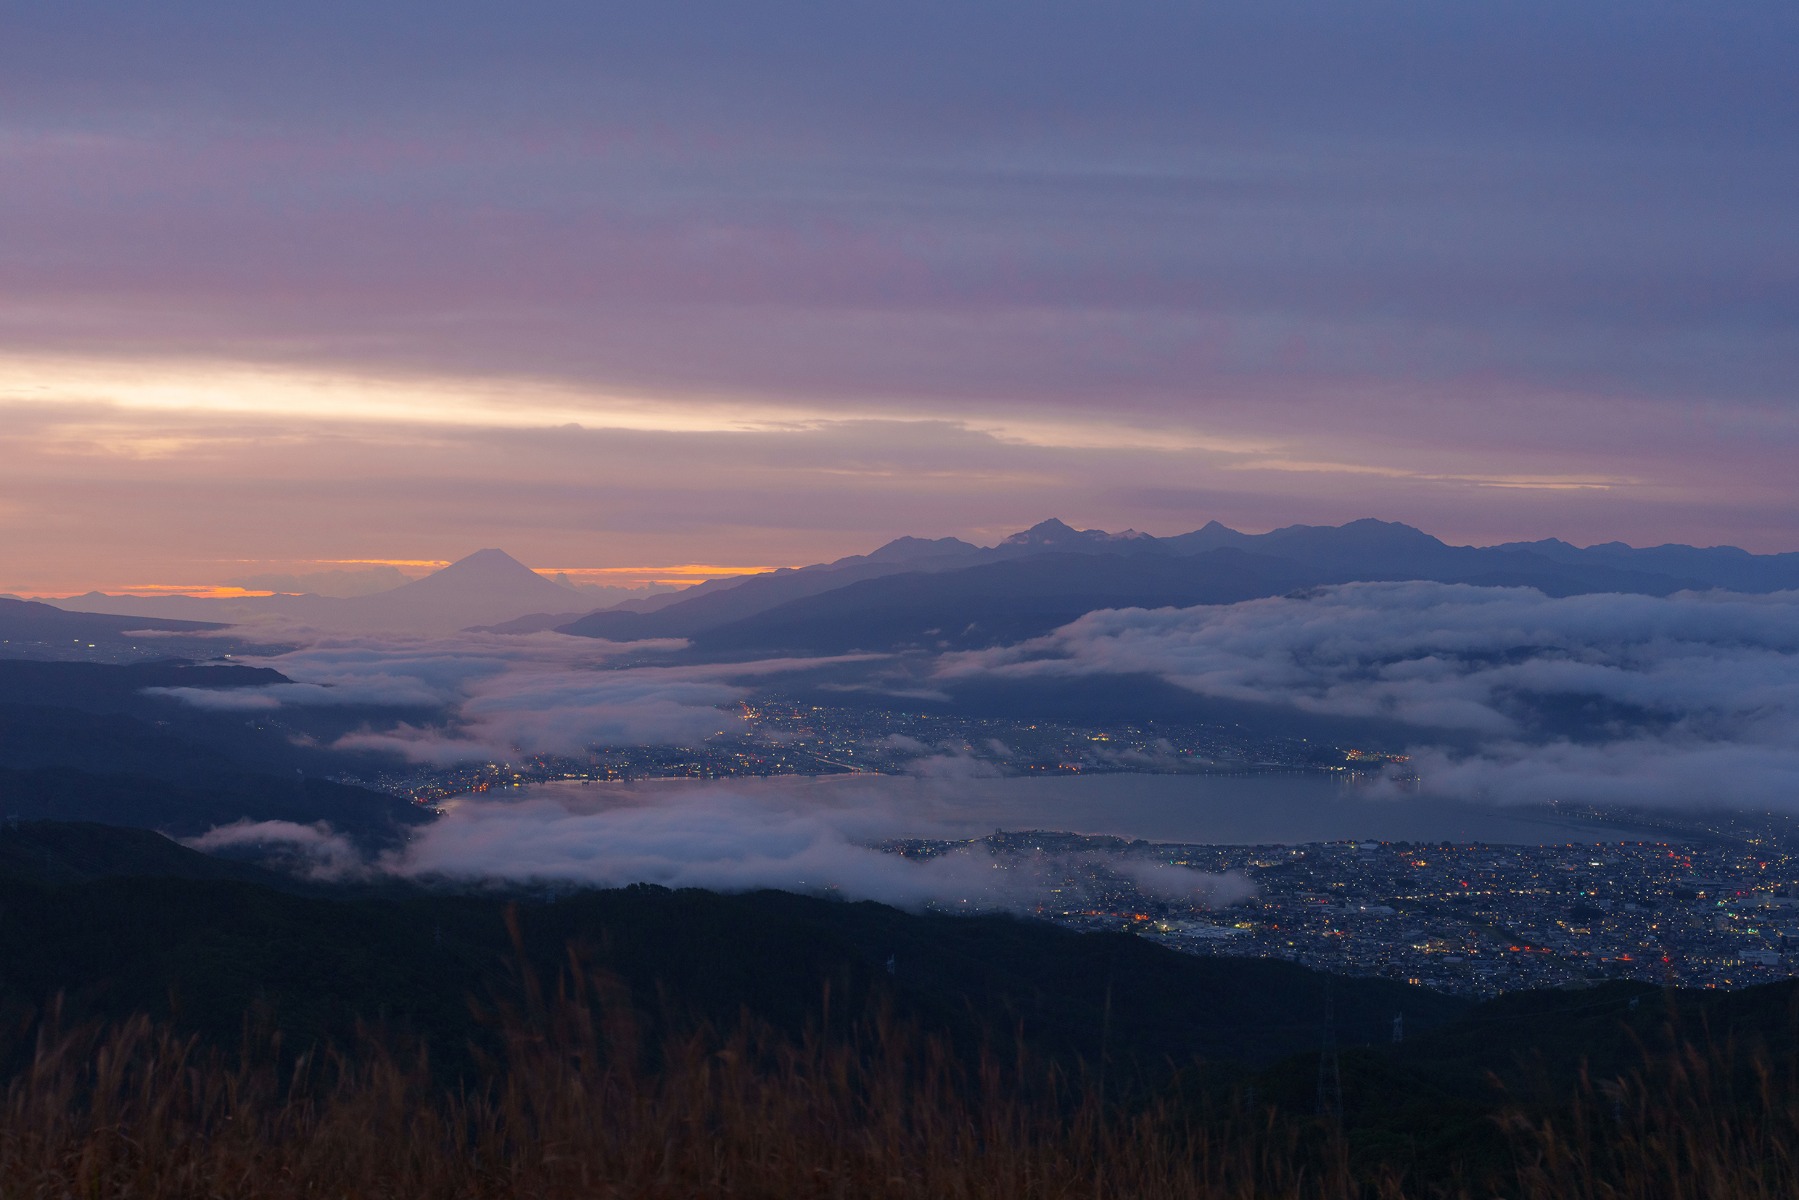
TAMRON 17-50mm F4 (Model A068) | Focal length: 50mm | Exposure: F4 | Shutter Speed: 1/4sec | ISO: 200
Many hikers set out in the dark to watch the sun rise, and a Magaliesberg ridge at first light is well worth the early start. Shooting into the sun is challenging, but an interchangeable-lens camera handles the strong contrast between the bright sky and the darker land well. Use exposure compensation to keep the highlights from blowing out without crushing the shadows. At a shutter speed as slow as the 1/4 sec used here, set the camera on a tripod or a solid rock for a sharp result.
An ND filter can help balance the intensity of the sun with the surrounding landscape. Arrive early enough to catch blue hour, too – the cool twilight that comes just before sunrise and again just after sunset – when the landscape takes on a calm, even glow.
Stars above the mountains on a clear night
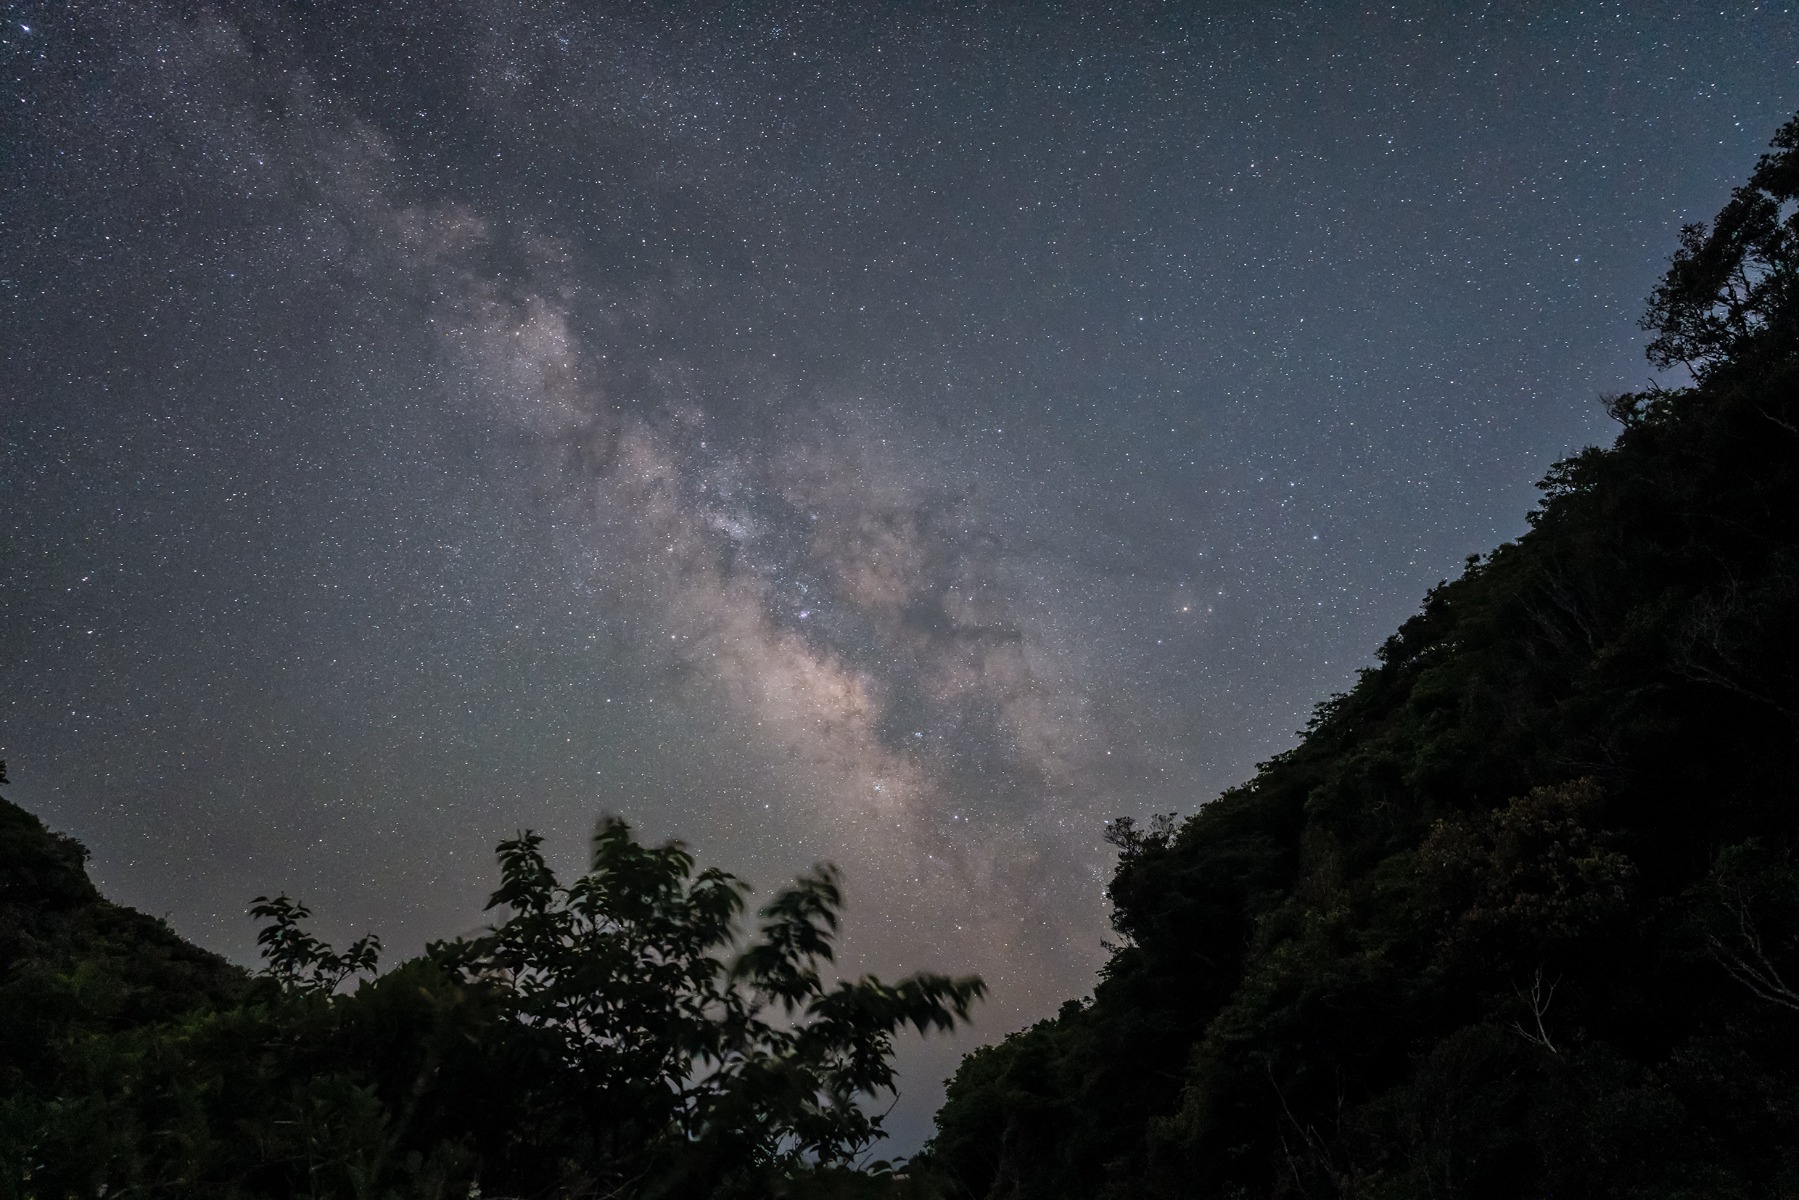
TAMRON 20-40mm F2.8 (Model A062) | Focal length: 20mm | Exposure: F2.8 | Shutter Speed: 13sec | ISO: 8000
Mountains far from city lights offer some of the darkest skies in the country, and the Cederberg is a favourite for night photography. With a tripod and a long exposure, you can record the stars in remarkable detail, and on clear, moonless nights the Milky Way stands out vividly. The 20mm framing here equates to roughly 13mm on APS-C.
Good hiking camera settings for the night sky start with a wide aperture and a long shutter speed. Raising ISO then brightens the image by amplifying the signal from the sensor, though too much adds noise, so find the balance your camera handles best. For star trails, you can either use bulb mode for a single very long exposure or shoot a series of shorter frames at intervals and combine them later in software. Both approaches work on mirrorless cameras.
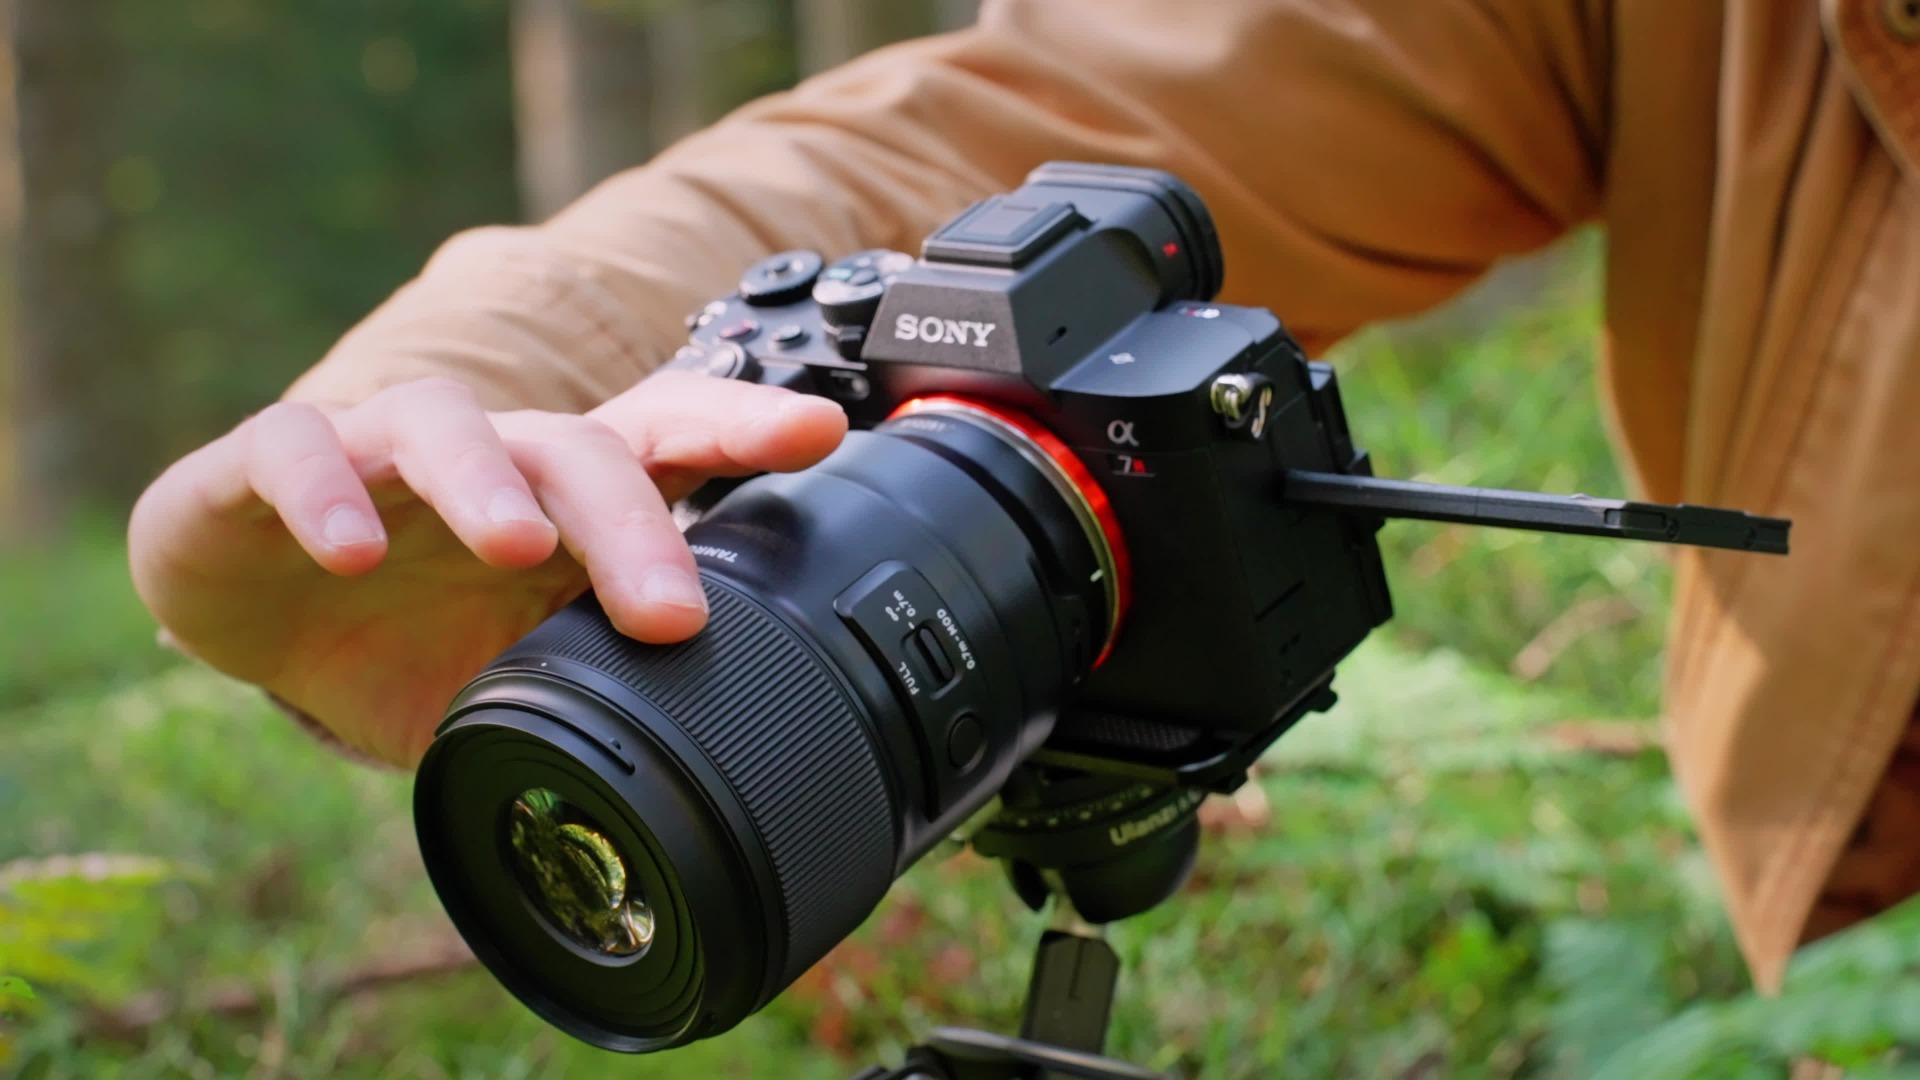
A little planning before you set off makes carrying a camera while hiking far more enjoyable. These are the main points to think through when putting together your kit.
Start with your subjects. Will you mostly photograph wide landscapes, close-ups of plants and flowers, or moving subjects such as birds? The answer shapes which lenses you pack and what your camera needs to do. Picture the photos you hope to bring home and let that guide every other decision.
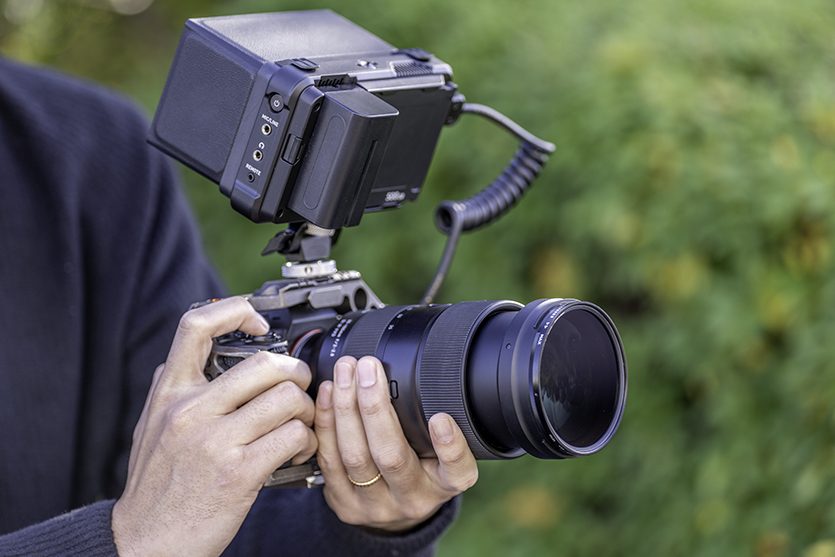
If you plan to film as well, check that your autofocus copes smoothly with video and that you have a way of keeping footage steady on the move. Today's mirrorless cameras handle both stills and video well, so a single kit can cover both. For serious night photography, a camera that handles high ISO settings cleanly will make a noticeable difference.
Most hikers who carry a dedicated camera use either an interchangeable-lens mirrorless system or a fixed-lens compact. Mirrorless systems are well suited to the trail, with plenty of compact, lightweight bodies and lenses available, and they give you the freedom to swap lenses as the scenery changes.
A fixed-lens compact is lighter still and slips easily into a hip-belt pocket. The trade-off is flexibility: with an interchangeable-lens system you can adapt to far more subjects and styles, from sweeping panoramas to distant details, which is where the real creative range comes from.
Sensor size shapes both your image quality and the lenses you carry. Full-frame sensors generally excel in low light and deliver excellent detail for large prints. APS-C sensors strike a good balance between quality and portability, and their lenses are often smaller and lighter – a real advantage when every gram counts on a long climb.
Sensor size also changes how a lens frames the scene. On an APS-C camera, a lens shows a narrower view than it would on full frame, roughly equivalent to multiplying its focal length by 1.5 (or 1.6 on Canon APS-C bodies). Understanding this crop factor helps you pick focal lengths that give you the framing you want, whichever system you use.
Weight matters more on a hike than almost anywhere else. A lighter camera and lens combination puts less strain on your shoulders and back, keeping you comfortable over long distances and steep sections. If you are new to hiking with a camera, starting light makes it much more likely you will keep the camera out and use it.
A compact kit is also quicker to bring into action. Mountain scenes change constantly and chance moments come and go fast, so a camera you can raise and shoot in seconds is worth a great deal.
Mountain weather can change fast. On the Highveld, summer afternoon thunderstorms build quickly, and mist or rain can arrive with little warning on almost any range. Cameras and lenses with Moisture-Resistant Construction help you keep shooting when conditions turn, although they are not waterproof, so cover your kit in heavy rain.
Dust and grit are just as much of a hazard on dry, sandy trails. Weather-resistant designs help keep dust out of the camera and lens. On the lens side, a Fluorine Coating on the front element repels water, grease and dirt, making it far easier to wipe clean in the field.
Great mountain images depend as much on your settings as on your kit. In bright midday light, a low ISO and a mid-range aperture around F8 keep landscapes sharp and clean. At dawn and dusk, when light is scarce, you may need to open the aperture or raise ISO, bearing in mind that higher ISO amplifies the signal and adds noise. Test how far you can push your camera before the quality drops.
Shooting RAW gives you more room to balance bright skies and deep shadows later, and to fine-tune colour. If you hope to make large prints of your best frames, a higher-resolution camera gives you more detail to work with, but even modest resolutions produce excellent results at everyday sizes.
Charging is rarely available on the trail, so check how many shots your battery delivers before you set off. Cold drains batteries faster than normal, and on frosty Highveld winter mornings, when temperatures hover around or below 0 °C, you may see your battery level drop much sooner than expected. For early starts or cold-weather hikes, plan on getting less from each battery than its rated figure.
On icy early starts you will often be wearing gloves, so your camera needs to be easy to operate with them on. Try handling it with gloves at home: check the size and placement of the buttons and how easily the dials turn. In the cold, physical buttons and dials are far more practical than a touchscreen, so make sure the controls you rely on most are easy to find by feel.
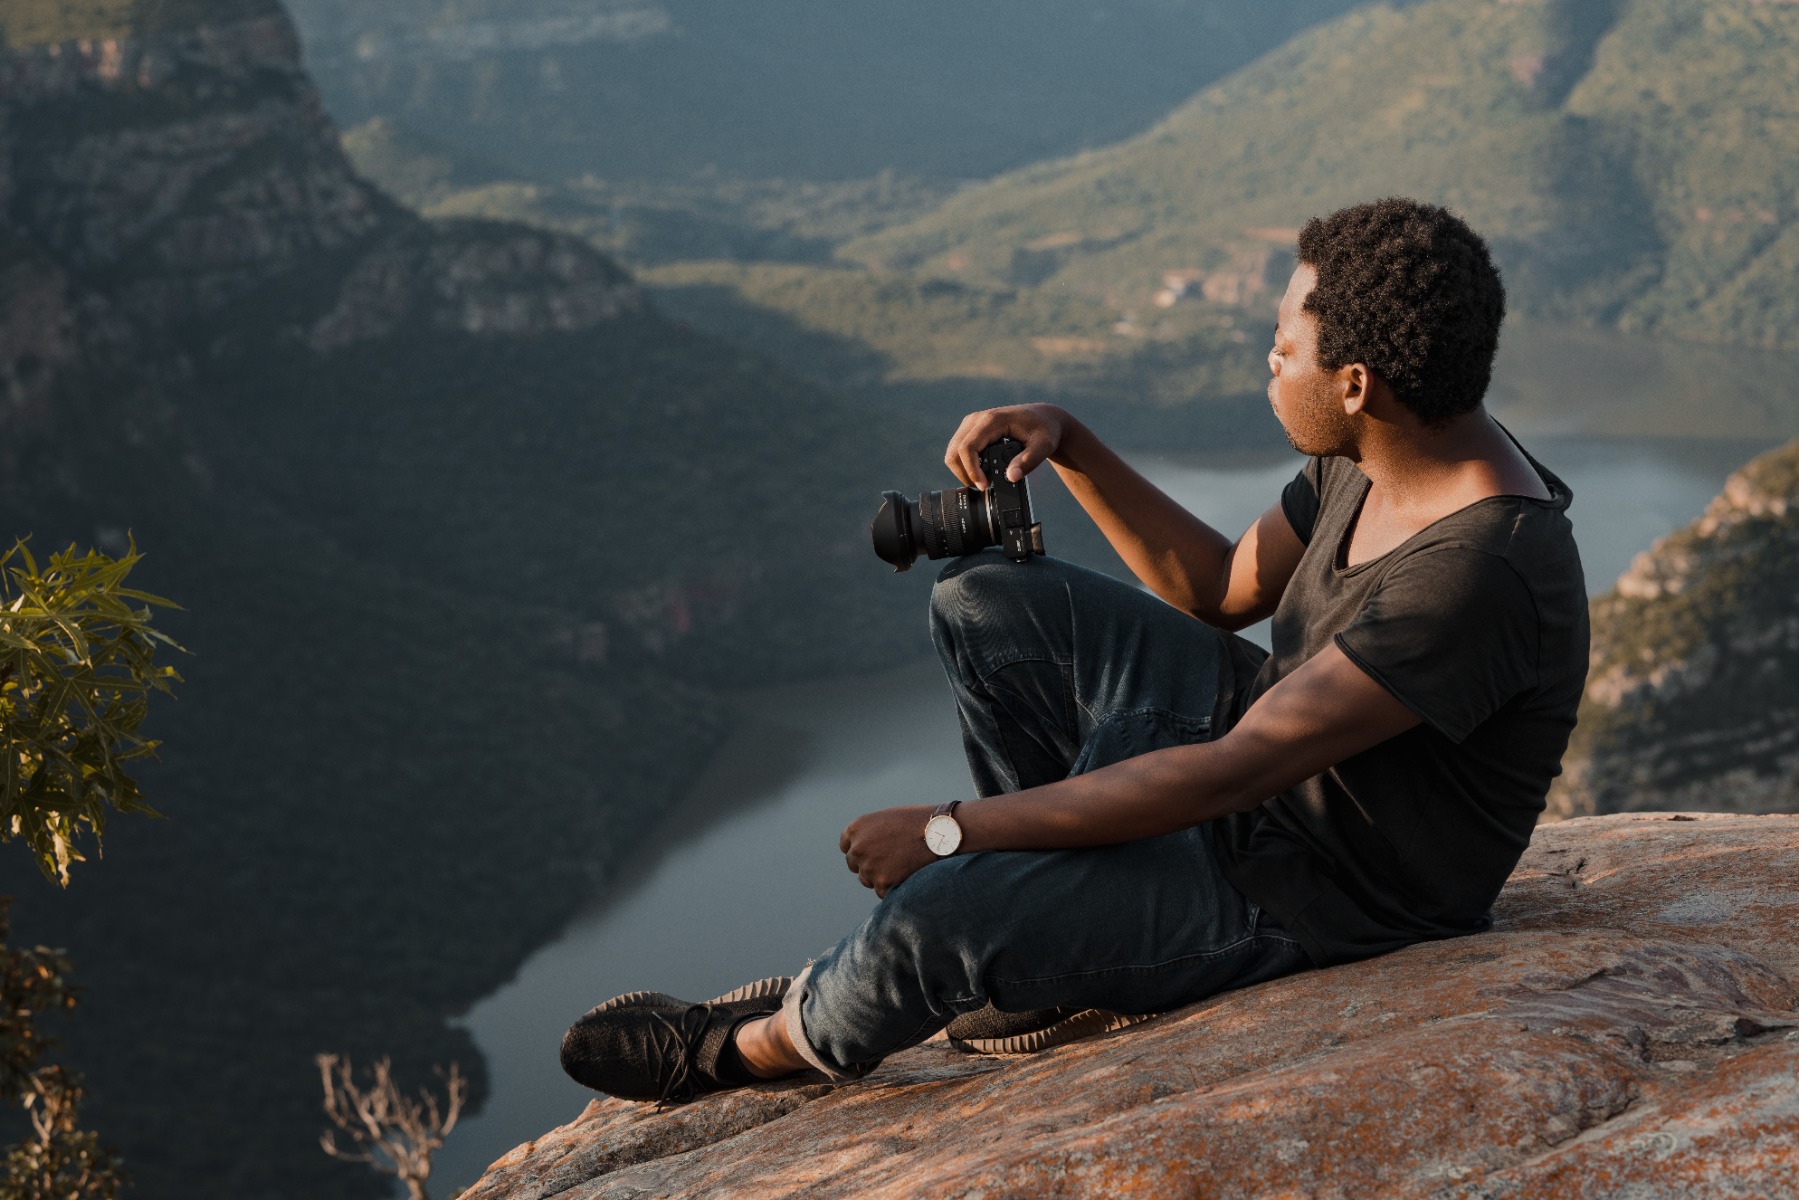
The ability to change lenses is what makes an interchangeable-lens camera so versatile. Here is how to choose camera lenses for hiking that suit your subjects and your pack.
Start with compatibility. Choose lenses made for your camera's mount and sensor size. A mount adapter can sometimes bridge different systems, but not every function is guaranteed to work, so check in advance.
Full-frame lenses fit APS-C cameras with the same mount without any issue. Fitting an APS-C lens to a full-frame camera, however, typically produces heavy dark corners, or the camera switches to a crop mode that uses only part of the sensor. Confirm your mount and sensor size before you shortlist lenses.
Lenses should be as light and compact as your camera body. If you are new to hiking or prefer a lighter load, prioritise the smallest, lightest options that cover your needs.
Compact lenses also take up less room in your pack and camera insert. On the trail, the golden rule is to carry only what you need, so think about size as carefully as focal length.
The right focal length depends on what you plan to photograph.
Wide-angle lenses – roughly 35mm and shorter on full frame, or about 23mm and shorter on APS-C – are ideal for conveying the scale of a range and the open space around you. If landscapes are your main subject, a wide-angle lens should be your first choice.
Standard lenses – around 50mm on full frame, or about 33mm on APS-C – give a natural angle of view that handles everything from landscapes to portraits of your hiking companions, making them versatile all-rounders.
Telephoto lenses – roughly 80mm and longer on full frame, or about 53mm and longer on APS-C – bring distant ranges closer and pick out details such as fynbos flowers on a far slope. Their compressed perspective also emphasises the layering of successive ridges.
For the simplest one-lens setup for hiking, an all-in-one zoom that runs from wide-angle to telephoto covers almost every scene in a single lens. It saves weight and spares you from changing lenses in dusty or wet conditions.
As with your camera, a lens with Moisture-Resistant Construction lets you keep shooting when the weather turns. If you are heading out during the Western Cape's winter rainy season, when cold fronts can bring prolonged rain, add a simple rain cover for extra peace of mind.
Maximum aperture tells you how much light a lens can gather, and it matters on the trail. Lenses with a maximum aperture of F2.8 or F4 make it easier to shoot in poor light, such as pre-dawn starts or the final light of the day. A wider aperture also lets you use faster shutter speeds without raising ISO, which helps prevent blur when shooting handheld.
To capture mountain scenery at its best, look at a lens's imaging performance. High resolution renders the fine texture of rock faces and every ledge and fissure crisply, while strong contrast and faithful colour reproduction convey the true character of the landscape. Look at real sample images to judge whether a lens delivers the look you want.
Even on a hike you will photograph moving subjects, from drifting cloud to birds. A lens with fast, smooth autofocus makes these moments much easier to catch.
Quiet AF and reliable tracking are especially useful for wary subjects. A Cape sugarbird feeding on proteas or a bird riding the updrafts along a ridge will not wait for you, so a lens with a quiet, responsive AF drive gives you the best chance of a sharp shot.
Most hiking photos are taken handheld, so Vibration Compensation (VC) is a valuable feature for keeping shots steady. Telephoto lenses magnify camera shake, so when choosing a longer lens, check not only whether it offers image stabilisation but also how effective it is.
Focus and zoom rings that are easy to grip and turn make a lens far more usable in the cold or with gloves on. Rings with smooth, moderate resistance help prevent accidental adjustments on chilly winter hikes. It is also worth handling the lens to check how smoothly you can switch between AF and MF.
The right accessories make carrying a camera while hiking easier and help you get better results. These are the essentials most hikers rely on.
A good bag protects your camera and keeps it within easy reach. For hiking, a backpack with a dedicated camera compartment works well, leaving your hands free while still letting you get the camera out quickly. Look for water-resistant materials, padding and a built-in or add-on rain cover. Rain protection for hiking cameras is essential in wet weather, and padding protects your kit if you slip or put the bag down hard.
A tripod is essential for more serious landscape work, especially in low light at sunrise, sunset and after dark. When choosing a tripod for mountain photography, look for one that is light enough to carry but has sturdy, stable legs. A mini or tabletop tripod is handy for shooting from rocks and ledges, and some tripod heads can be mounted on trekking poles, giving you a stable support without extra weight.
Because charging is rarely possible on the trail, carry at least one spare battery. In cold weather, and especially on winter hikes, batteries drain faster, so pack more than you normally would. Keep spares in an inside pocket where your body heat stops them from getting too cold.
Many cameras now charge via USB, so a small power bank is another useful addition.
Several fast, high-capacity memory cards let you shoot bursts, record 4K video and work without worrying about space. When you shoot RAW on a high-resolution camera, large cards are a must. To spread the risk, you can also save images across several smaller cards, so a single damaged card does not cost you a whole trip's photos.
For hiking, the best kit combines low weight with the image quality to do the view justice. Choose camera lenses for hiking that match the scenes you love most, whether that is a wide-angle for summit panoramas or an all-in-one zoom for a single, versatile setup. Put these tips into practice on your local trails, and your photographs will improve with every hike.