| September 30, 2026
 South Africa's #1 Mobile Protection Brand
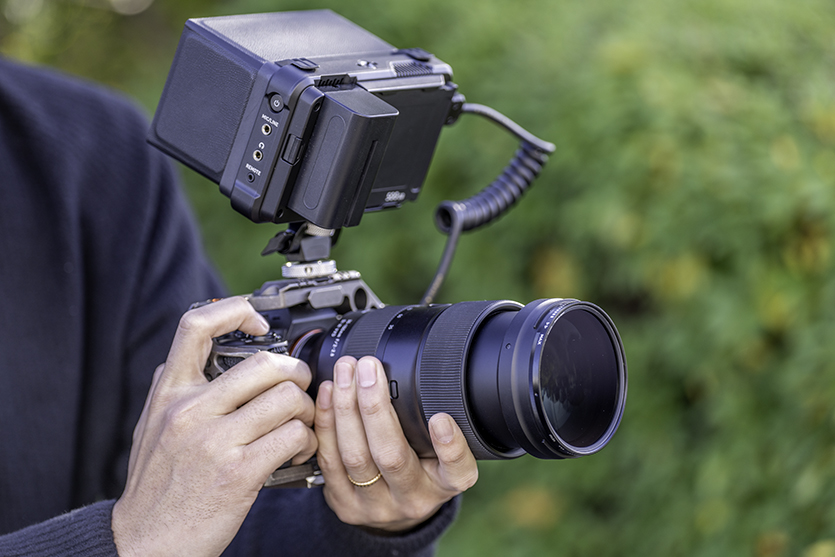
Point a camera at something and press record, and you have footage. Decide how that camera moves, where it sits and when it stays still, and you start to have a story. That difference is camera work, and it is what separates video that simply documents a moment from video that makes people feel something. This guide walks through camera work from first principles to more cinematic camera work techniques, with plenty of practical examples along the way. Whether you are filming a family holiday, a promo for a small business or your first short film, the same principles apply, and none of them require expensive gear to get started.
At its simplest, camera work describes how you position, angle and move the camera while you film. It covers the static shot as much as the sweeping one, because choosing to hold still is as much a decision as choosing to move. Understanding the meaning of camera work starts with recognising that every placement and movement sends the viewer a signal.
Those signals are powerful. Film the same person twice, once with a slow creep towards their face and once from high overhead, and you end up with two very different scenes. The first builds tension and closeness; the second steps back so the viewer can take in the whole situation. Same subject, same location – the camera work alone changes the message. Once you start noticing this in films, adverts and music videos, you will see deliberate camera choices everywhere.
Camera work is a storytelling tool as much as a technical skill. Chosen well, it reinforces what you want the audience to notice and how you want them to feel. Before getting into specific moves, it helps to understand the two broad camera movement effects you can create.
Repeat the same kind of shot for long enough and a video starts to drag. Mixing up your camera work gives footage pace and variety, and lets you guide the viewer from one beat to the next.
Contrast is one of the most effective tools here. Hold a locked-off shot for a while, then introduce movement, and that shift instantly draws the eye and lifts the tension. The stillness is what makes the movement matter.
Movement within a single long take can do the work of several edits, too. Picture a Sunday braai on the stoep: rather than cutting between guests, you let the camera drift slowly along the table, catching each face in turn. The audience reads everyone's mood in one unbroken shot, and the scene feels more intimate for it.
Much of the impact of camera work comes from the way it amplifies emotion and gives weight to your main subject. Vertical movement is a good example. Rising from low to high as someone reads good news underlines their delight, while sinking from high to low during a sad moment makes the disappointment land harder.
Speed matters as much as direction. Quick, abrupt moves suggest urgency, nerves or impatience, while slow, steady movement signals calm and comfort. Matching the pace of your camera work to the mood of the scene is one of the simplest ways to strengthen its impact.
Most camera work falls into one of three families: keeping the camera in a fixed position and pivoting from there, physically moving the camera through space, and using the lens itself to change the view. Getting to grips with this camera work terminology makes it much easier to pick the right technique for the scene and the feeling you are after.
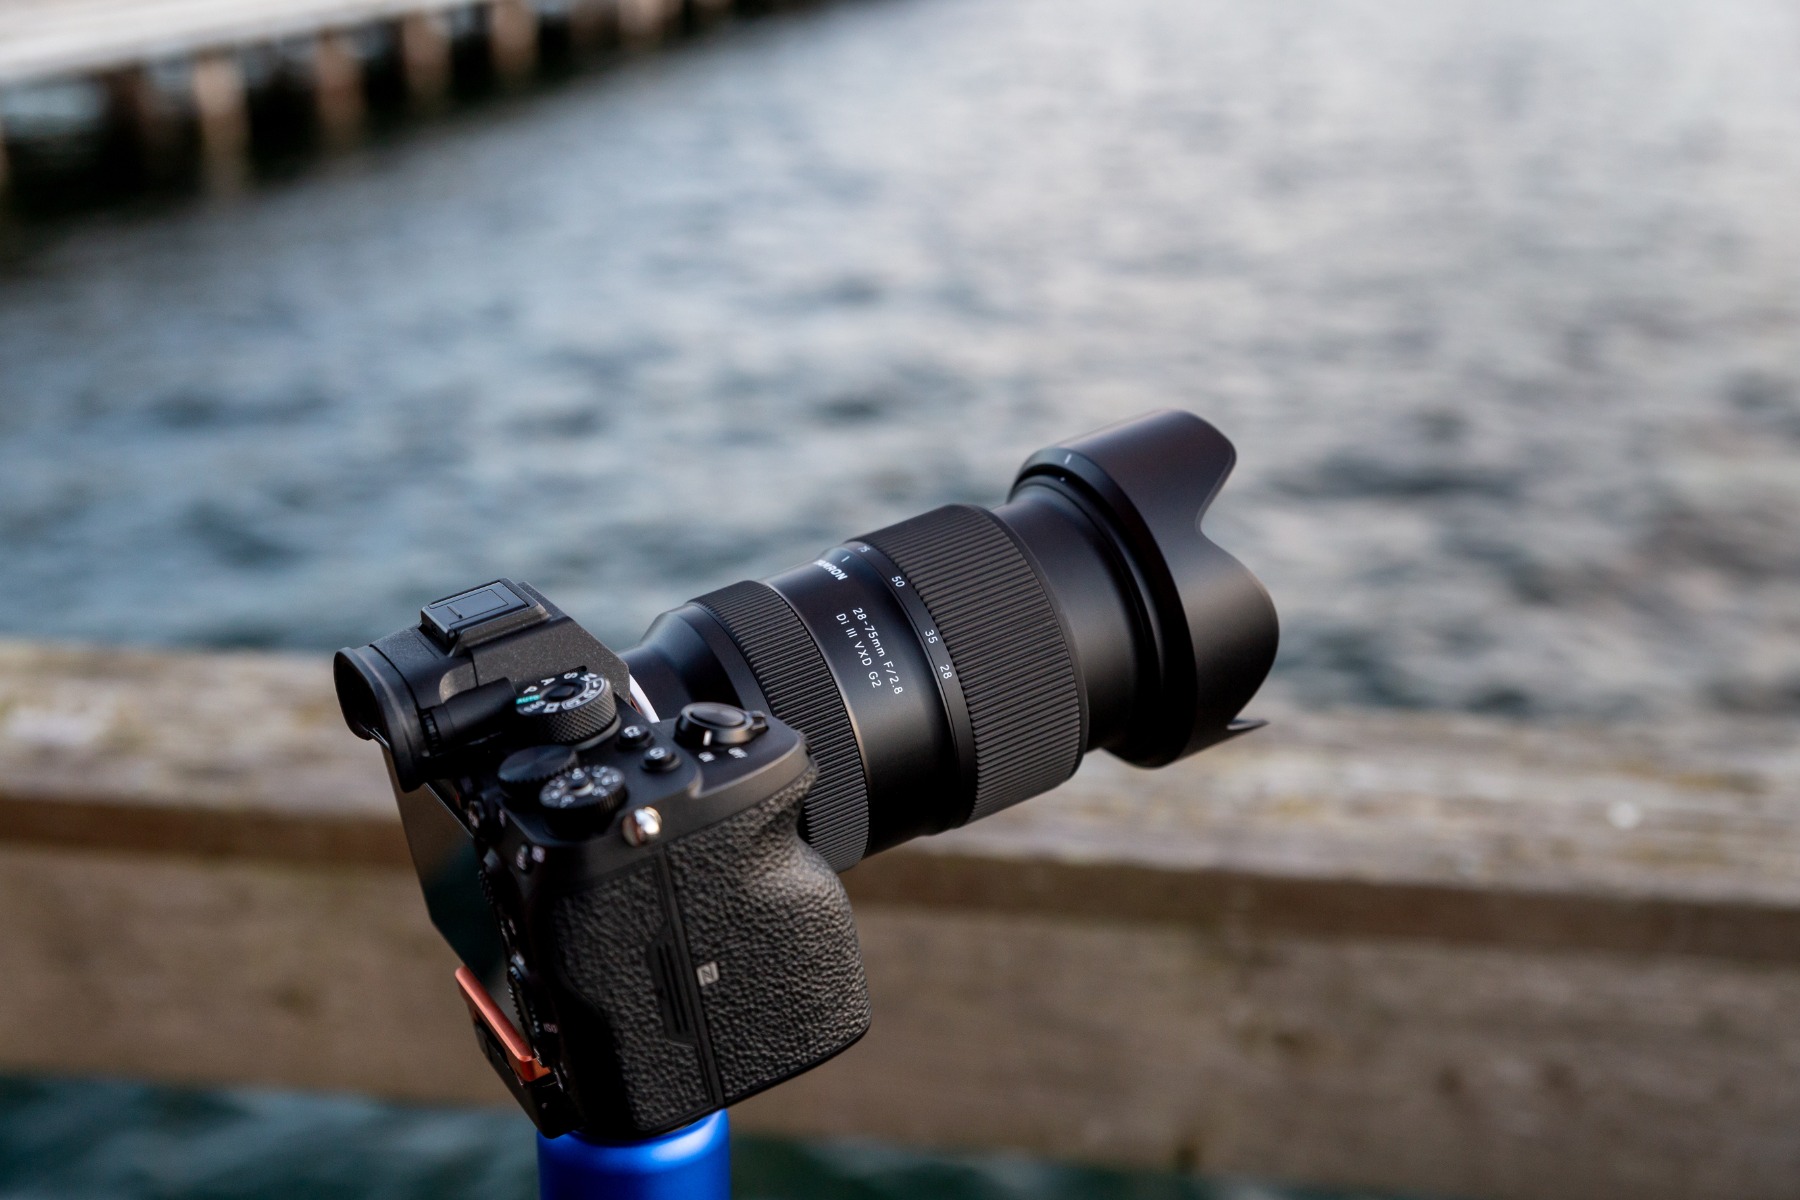
A fixed shot – often simply called a "fix" – keeps the camera locked in place on a tripod or other support. It can look like the most basic option, but every other technique builds on it, so it is worth mastering first.
Its great strength is stability. With the frame completely still, anything that moves within it becomes the focus: a subject's gestures, a shift in expression, fynbos bending in the wind or cloud spilling over the mountains above Cape Town. Because the camera itself does nothing, the viewer watches the scene with a calm, observational eye.
That same steadiness suits long takes and any situation where the composition must not change. Interviews and documentaries lean heavily on fixed shots so that attention stays on what people say and how they say it.
Camera panning means rotating the camera horizontally from a fixed point, which is why it is sometimes described as a horizontal pan. It lets you take in a view that is too wide for one frame, such as the long line of the Drakensberg escarpment, or keep a moving subject in shot, like a dog racing along a Durban beach at low tide.
Control is everything. On a telephoto lens, even a tiny turn of the camera translates into a big shift on screen, so slow down. Pan too fast and the footage smears or judders. How noticeable that is also depends on shutter speed: a common rule of thumb is to set it to roughly double your frame rate, such as 1/50 s at 25p, for natural-looking motion blur.
For smooth results, set up your tripod head properly so it turns without sticking, then decide where the pan will start and end before you press record. Moving at a consistent speed between those two points is what makes a pan look deliberate rather than accidental.
Pans are described by direction: a pan right swings the camera towards the right, while a pan left swings it the other way. They serve slightly different purposes, so it pays to choose consciously.
A pan right naturally follows a subject travelling from left to right, or a view that unfolds in that direction. A pan left does the reverse, tracking subjects moving from right to left or revealing scenery that stretches out to the left.
Either way, side-to-side movement lets you shift the viewer's point of view and show how far a scene extends. Following a character's movement adds realism and a sense of speed, while a slow pan across a broad landscape or cityscape conveys scale and space. Panning is also a natural way to lead the eye between characters, hinting at how they relate to one another and where the story is heading.
A tilt pivots the camera up or down from a fixed position, which is why it is sometimes called a vertical pan. It is ideal for subjects taller than the frame – a building from base to rooftop, or a Midlands waterfall followed from the plunge pool to the lip – and for revealing a person from their feet to their face.
As with panning, restraint pays off. A rushed tilt is hard to follow and can leave viewers slightly disorientated. Unless unease is exactly what you want, keep the movement slow and even.
Tilts come in two directions, and each carries its own emotional weight. Choosing between them is part of shaping how the audience feels.
Tilting up, from low to high, emphasises height and grandeur. Tilt up the Sandton towers and they seem to loom over the viewer. The same move can suggest hope and progress: a character's growth, or the moment they finally overcome a setback.
Tilting down, from high to low, guides the eye from a broad overview to a specific detail. You might start on the Johannesburg skyline and descend to a single street to set up the next scene. A downward tilt can also imply a fall, a letdown or a sense of ending, which makes it a quiet way to close a sequence.
When the camera physically travels through space, footage gains depth and a stronger sense of presence. This style of camera work conveys energy and the scale of a location in a way that fixed-position shots cannot. Instead of watching a scene from one spot, the viewer feels carried through it, which makes moving shots especially effective for openings, reveals and moments of action.
Sliders, dollies and gimbals are the usual tools, as they keep movement smooth and suppress shake. If you are just starting out, an entry-level slider or gimbal is an affordable way to begin experimenting.
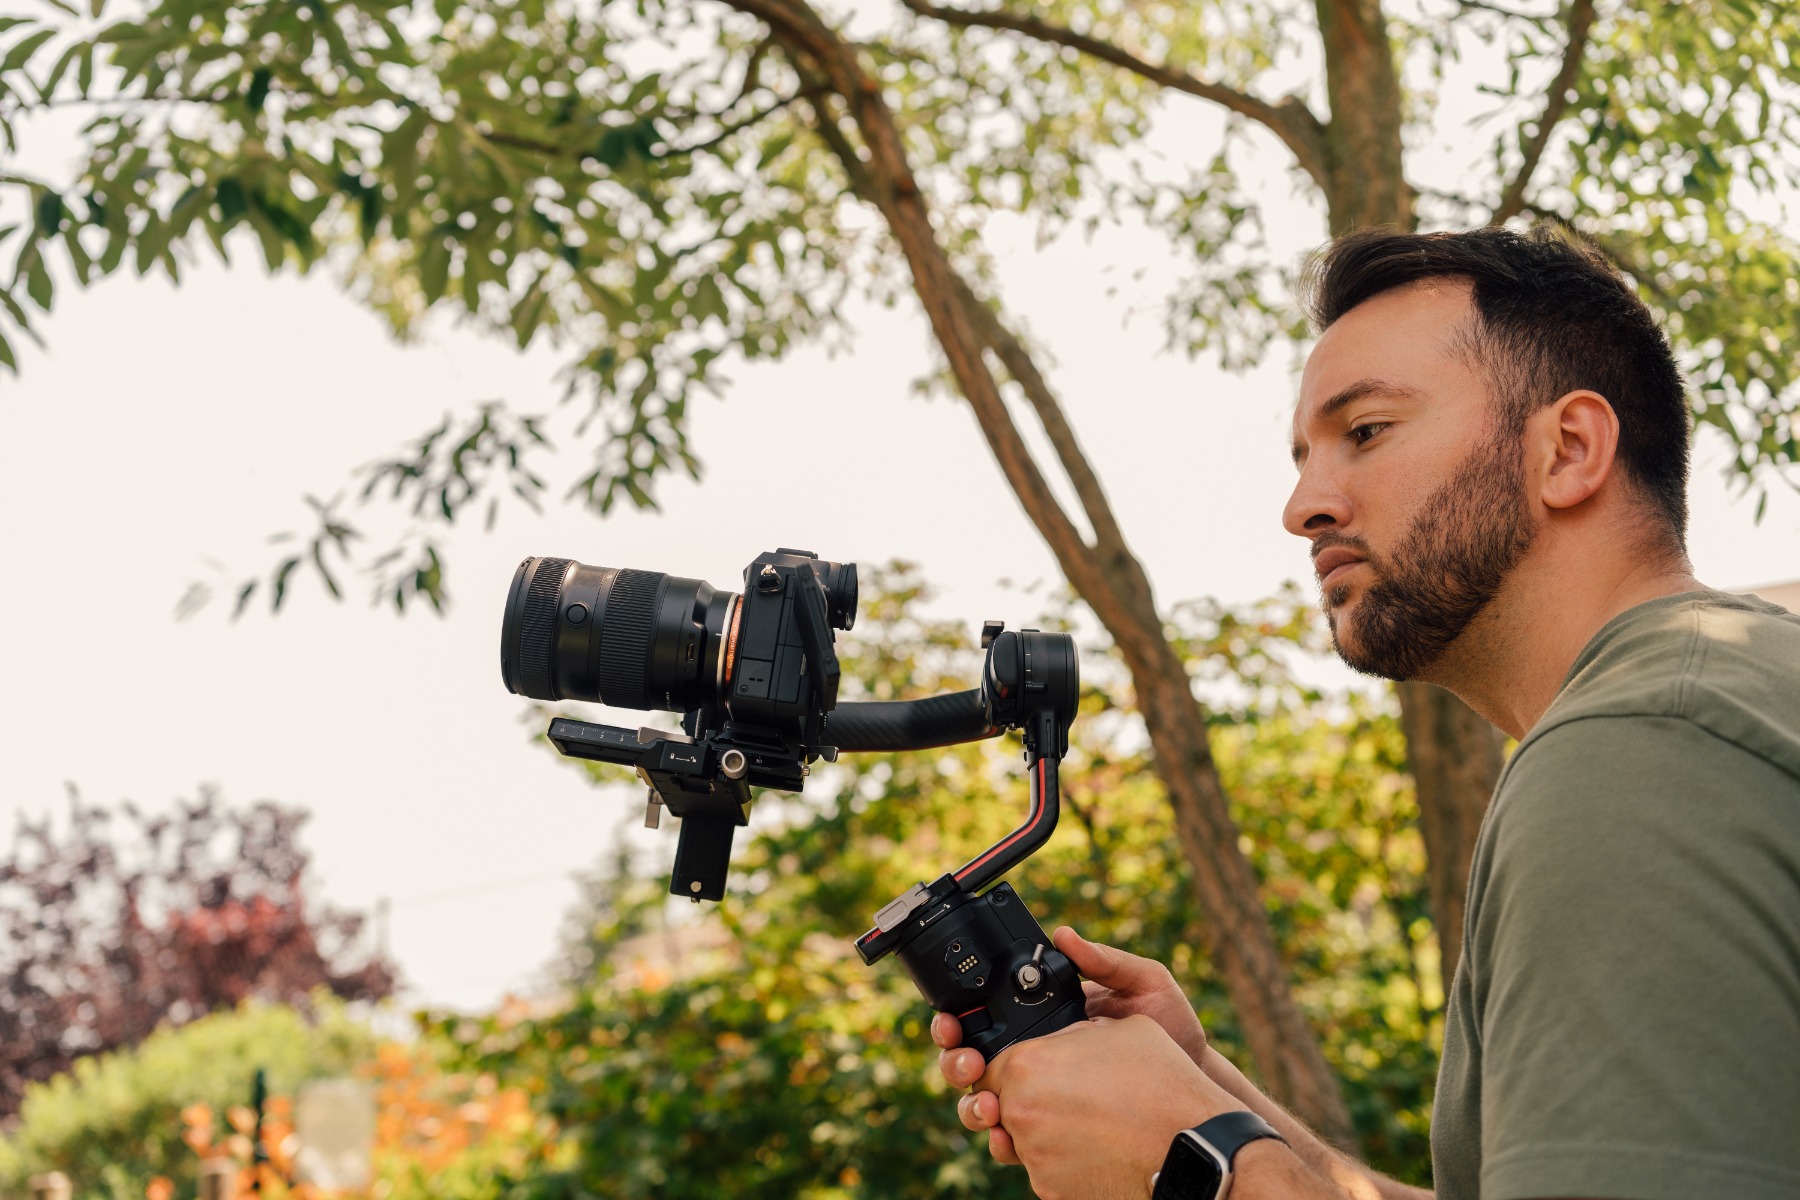
A tracking shot moves the camera along with a subject as they walk or run, often travelling alongside them. You might walk beside someone through Cape Town's city bowl or keep pace with road runners on their morning route. Documentaries and sports coverage use the technique constantly.
Keeping a consistent distance from your subject makes the background stream past while they stay steady in frame, which heightens the sense of motion. Professionals often use rails, sliders or stabilising rigs to achieve this.
A note on terminology: strictly speaking, sliding the camera sideways, parallel to the subject, is called a truck. "Tracking" is the broader term for any move that follows a subject, whether alongside, ahead or behind, although the two are often used interchangeably.
A dolly shot moves the camera towards or away from the subject, giving the scene a natural shift in perspective. It is a favourite for emotionally charged moments, where a change in distance mirrors a change in feeling.
Closing the gap invites the viewer to empathise with a character, while pulling back can suggest emotional distance. In a scene where tension is rising, a slow advance on the subject draws the audience in and holds their attention. Full-scale dolly shots use a wheeled dolly or dedicated track, but a slider or gimbal makes a capable stand-in, and even a steady handheld walk can produce a simple dolly effect.
Dolly in and dolly back. A dolly in moves towards the subject, focusing attention and creating tension or intimacy. A dolly back moves away, and works well to close a scene, mark a farewell or reveal the wider situation. Although it can look similar to a zoom, a dolly physically changes the camera's position, so the spatial relationship between every element in the frame shifts. That is why a dolly feels more natural and three-dimensional than a zoom.
A circle shot moves the camera in an arc or full loop around the subject, giving it presence and showing it from every side for a strongly three-dimensional feel. Films use it for pivotal scenes, and it is a staple of music videos. It is equally useful for showing an object in the round, whether a sculpture or a handmade piece on a craft-market stall. Circular tracks or gimbals do the job best; attempting it handheld takes a great deal of practice.
Zooming changes the focal length of a zoom lens to make the subject appear closer or further away, without moving the camera at all. Because the camera stays put, it is one of the easiest techniques for beginners to try.
The trade-off is that a zoom does not change perspective the way physical movement does, so it can look flat. When you want a more immersive, lifelike result, moving the camera itself, as with a dolly, is often the better choice.
Zooming in gradually enlarges the subject, drawing attention to the main point of interest or to a detail. It works well for singling out one person or object within a wide scene, such as a lone figure on a Winelands hillside.
Zooming out does the opposite, shrinking the subject as more of the surroundings come into view. Start tight on one subject and gradually widen, and you reveal the context they are in.
Zoom speed changes the effect, too. A fast "snap" zoom suits moments of shock or surprise, while a slow, creeping zoom emphasises calm or a gradual change over time.
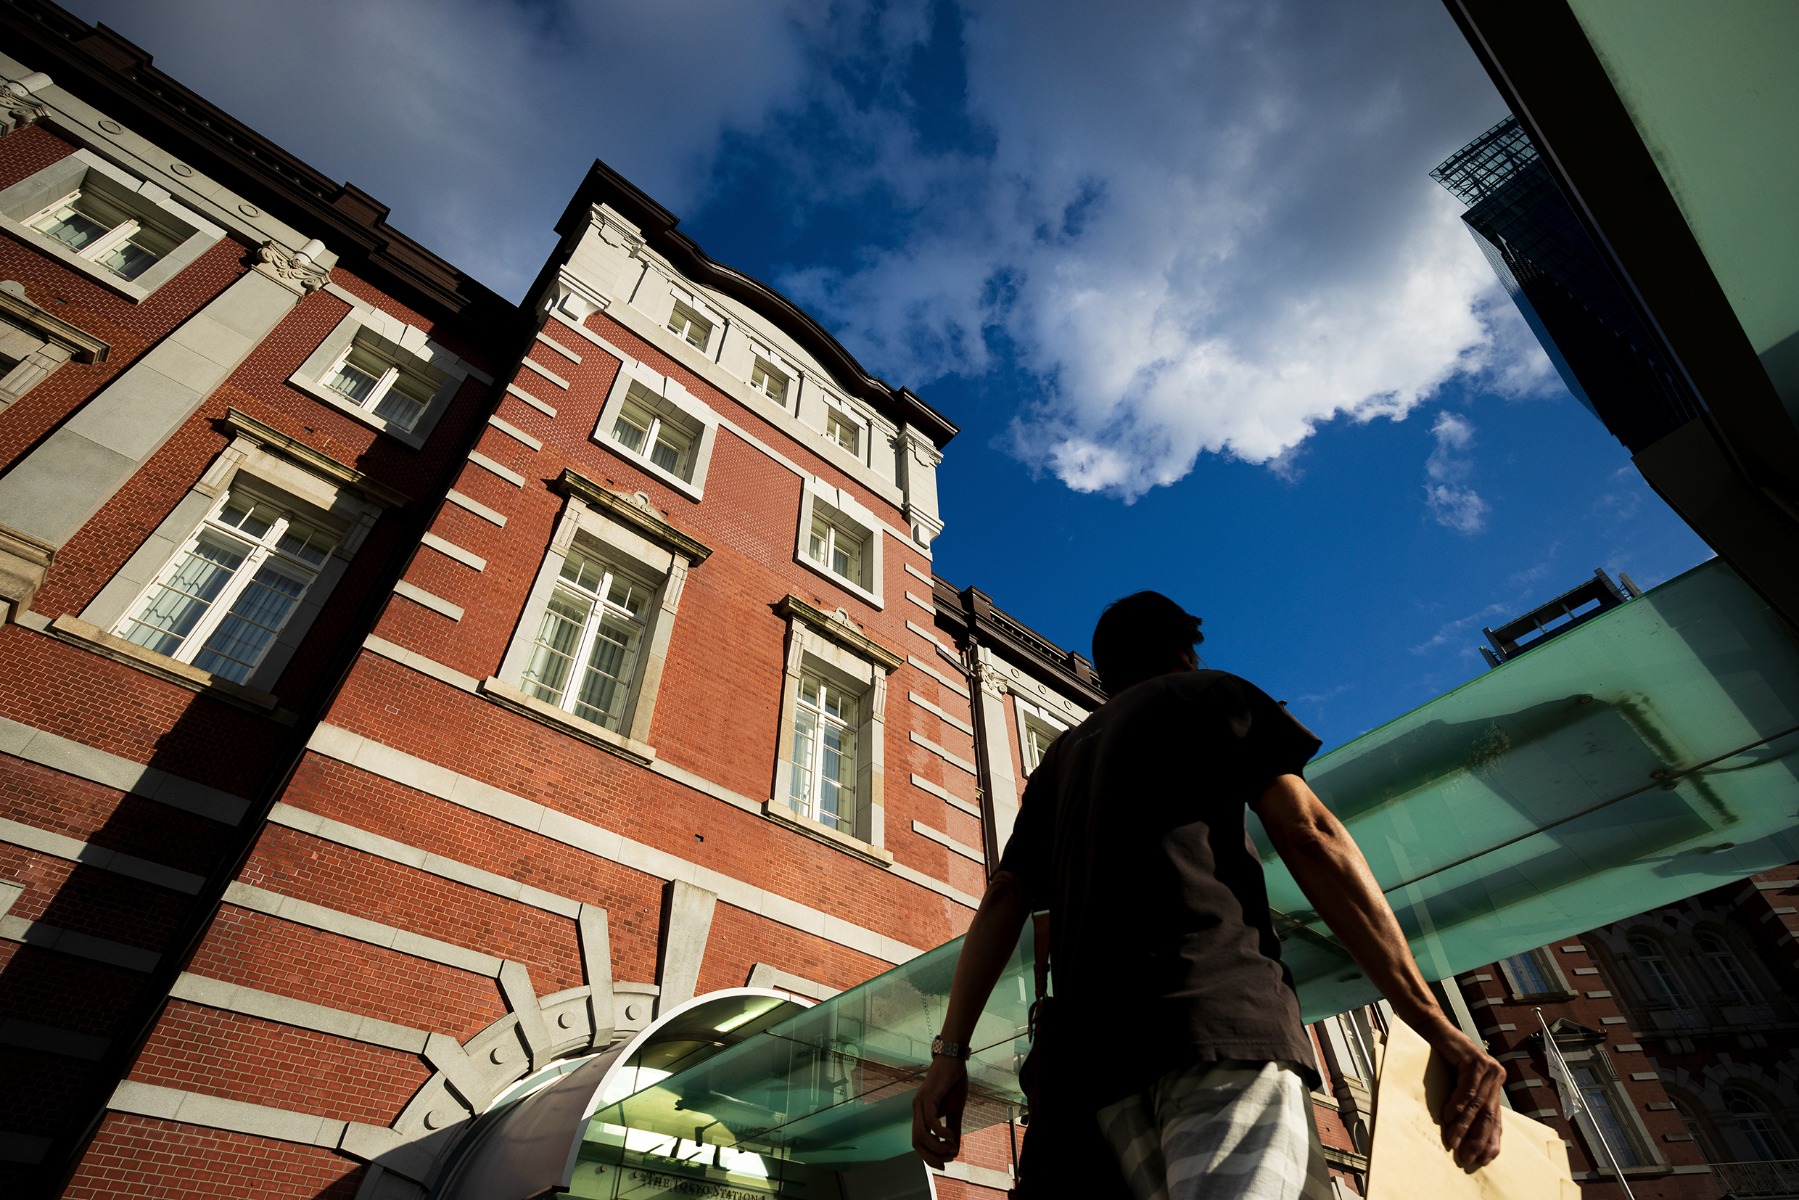
Angle refers to the direction and height from which the camera views the subject. The same subject can come across entirely differently depending on the angle: looking up tends to give it authority and strength, while looking down can make it seem smaller or provide an overview.
A low angle places the camera below the subject, looking up. It exaggerates size and presence, so a building or person filmed this way appears taller and more powerful. Dropping the camera to knee height when filming a child or a pet also puts the viewer on their level, which makes the footage feel more personal and immersive.
A high angle places the camera above the subject, looking down. In drama it can make a character seem small or vulnerable – a figure alone in an empty car park, seen from above, instantly feels isolated. High angles are practical too: they make it easy to take in a wide area or a large group, such as a packed crowd at a Pretoria rugby match.
A Dutch angle deliberately tilts the camera so the horizon runs at a slant. The skewed frame unsettles viewers and suggests instability, tension or confusion, which is why suspense and horror films often use it when a character is disorientated or in danger.
Use it sparingly, though. Too many tilted frames tire the audience and blunt the effect. Placed thoughtfully within the wider edit, a Dutch angle has far more punch.
Once the basic moves feel comfortable, the next step is learning how to use camera work more expressively. These techniques help turn competent footage into cinematic camera work.
Linking several moves in one shot – a pan that flows into a tilt, or a zoom during a dolly – opens up richer storytelling. Imagine a pan along the Garden Route coastline that tilts up to find a hiker on the cliff path: the viewer grasps the setting and then the subject in a single fluid motion. Dollying in while zooming out, an effect known as the dolly zoom, keeps the subject the same size while the background appears to stretch away, giving a dramatic, disorientating look.
Abrupt changes, however, can confuse viewers. When you combine moves, keep their direction and speed consistent so the audience can follow, and rehearse the move before you roll.
Good camera work composition relies on the same principles as still photography, including the rule of thirds. Plan how each shot will look at the start and at the end of the move, and aim for a smooth, consistent transition between the two. This matters most when shots will be cut together, because a well-planned end frame should flow naturally into the next shot.
Leaving space in the direction your subject is moving, often called lead room or eye room, gives the movement somewhere to go. If someone is running towards the right of frame, position them on the left and leave open space ahead of them. Small details like this make footage feel natural and easy to watch.
Filming the same scene from several angles at once gives you far more choice in the edit. For an interview, you might combine a front-on medium shot with a side-on close-up or wide shot, then cut between them to suit the conversation. For moments that cannot be repeated, such as a matric farewell or a wedding speech, a second angle – from a second camera or even a phone – means you are far less likely to miss anything.
The catch is consistency. Match colour and exposure settings as closely as possible across devices, so that switching between angles in the edit does not produce jarring jumps in brightness or tone. Setting the same white balance, frame rate and picture profile on every device before you start saves a great deal of correction work later.
Specialised gear can take your camera work up a level. A gimbal smooths out tracking shots, a slider delivers precise linear movement and a drone opens up aerial perspectives. If you plan to fly a drone, check the South African Civil Aviation Authority's current rules first, particularly for anything beyond purely private use. With the right equipment, even newcomers can produce polished footage.
That said, gear is no substitute for ideas. Striking footage is entirely possible with basic camera work and a bit of ingenuity, and working within limits often sharpens creativity. At times, embracing the natural movement of handheld shooting or a deliberately low-tech approach gives a piece its own character and atmosphere.
TAMRON Lens Utility lets you connect compatible TAMRON lenses to a PC or mobile device with a dedicated cable, so you can customise how they behave – including focus functions that are especially useful for video – and update the lens firmware. The mobile version adds Digital Follow Focus (DFF), which lets you adjust and set focus precisely from your phone screen without touching the lens. For newcomers who find fine manual focus control tricky, tools like this make smooth, controlled focus pulls far more achievable.
The lens you choose shapes what your camera work can achieve. These are the main factors to weigh when selecting a lens for video.
Lenses with a wide maximum aperture – a small F-number such as F2.8 or F4 – gather more light, making it easier to film bright, clean footage in dim conditions. Because South Africa keeps SAST all year round, Highveld winter light fades early, with the sun setting at around half past five in midwinter. A fast lens lets you keep filming into dusk, or indoors by window light, without extra lighting.
A wide aperture also allows shallower depth of field, blurring the background to separate your subject. That suits portraits and emotionally charged scenes. Bear in mind that F2.8 gathers twice as much light as F4, and an F4 lens produces noticeably less background blur; if soft backgrounds are a priority, a faster lens is the better tool.
Wide-angle lenses – roughly 35mm and shorter on full frame, or about 23mm and shorter on APS-C – capture a broad sweep of space. They suit tight interiors, landscapes and action, making it easy to fit everything into frame even in a compact room, while their exaggerated perspective adds drama to movement.
Standard lenses – around 50mm on full frame, or about 33mm on APS-C – offer an angle of view and perspective close to how we naturally see. They suit everyday scenes, storytelling and documentaries that aim to feel authentic.
Telephoto lenses – roughly 80mm and longer on full frame, or about 53mm and longer on APS-C – bring distant subjects close and appear to compress the space between subject and background, which suits portraits and interviews. That compression makes backgrounds look closer and more prominent, which is useful for bold compositions, and telephotos also make it easy to throw backgrounds out of focus. The APS-C figures here use a 1.5× crop factor; on Canon APS-C bodies, which use 1.6×, the equivalents are slightly shorter.
"Look" describes the overall appearance, mood and texture of your footage – the combined effect of colour grading, brightness, contrast, sharpness and tonality that shapes how viewers experience it. Many videographers shoot in a flat log profile to preserve detail for grading later, but the lens itself also plays a part. Because a look cannot be judged from specifications alone, the most reliable test is to watch real footage shot on the lens. Sticking to lenses from one manufacturer also tends to give a more consistent look from shot to shot.
Focus breathing is a slight change in the angle of view when you adjust focus, and it tends to be more pronounced in lenses designed mainly for stills. In photography it rarely matters, but in video, where focus often shifts during a shot, a frame that appears to grow or shrink can be distracting. Test the lens yourself if you can, or check reviews and sample footage.
On a zoom lens, the optical axis can drift slightly between the wide and telephoto ends. When that drift is significant, the subject may slide away from the centre of the frame as you zoom, which looks unnatural.
Some zoom lenses also lose focus as the focal length changes, which is known as focus shift. You might focus at the wide end, then zoom in and find the image softening. For stills you simply refocus, but when you zoom during a video take it becomes a real issue.
That makes it worth checking how well a lens holds focus through its zoom range before you rely on it for video.
TAMRON continues to improve AF performance during zooming, for both video and stills in continuous AF (AF-C), through lens firmware updates.
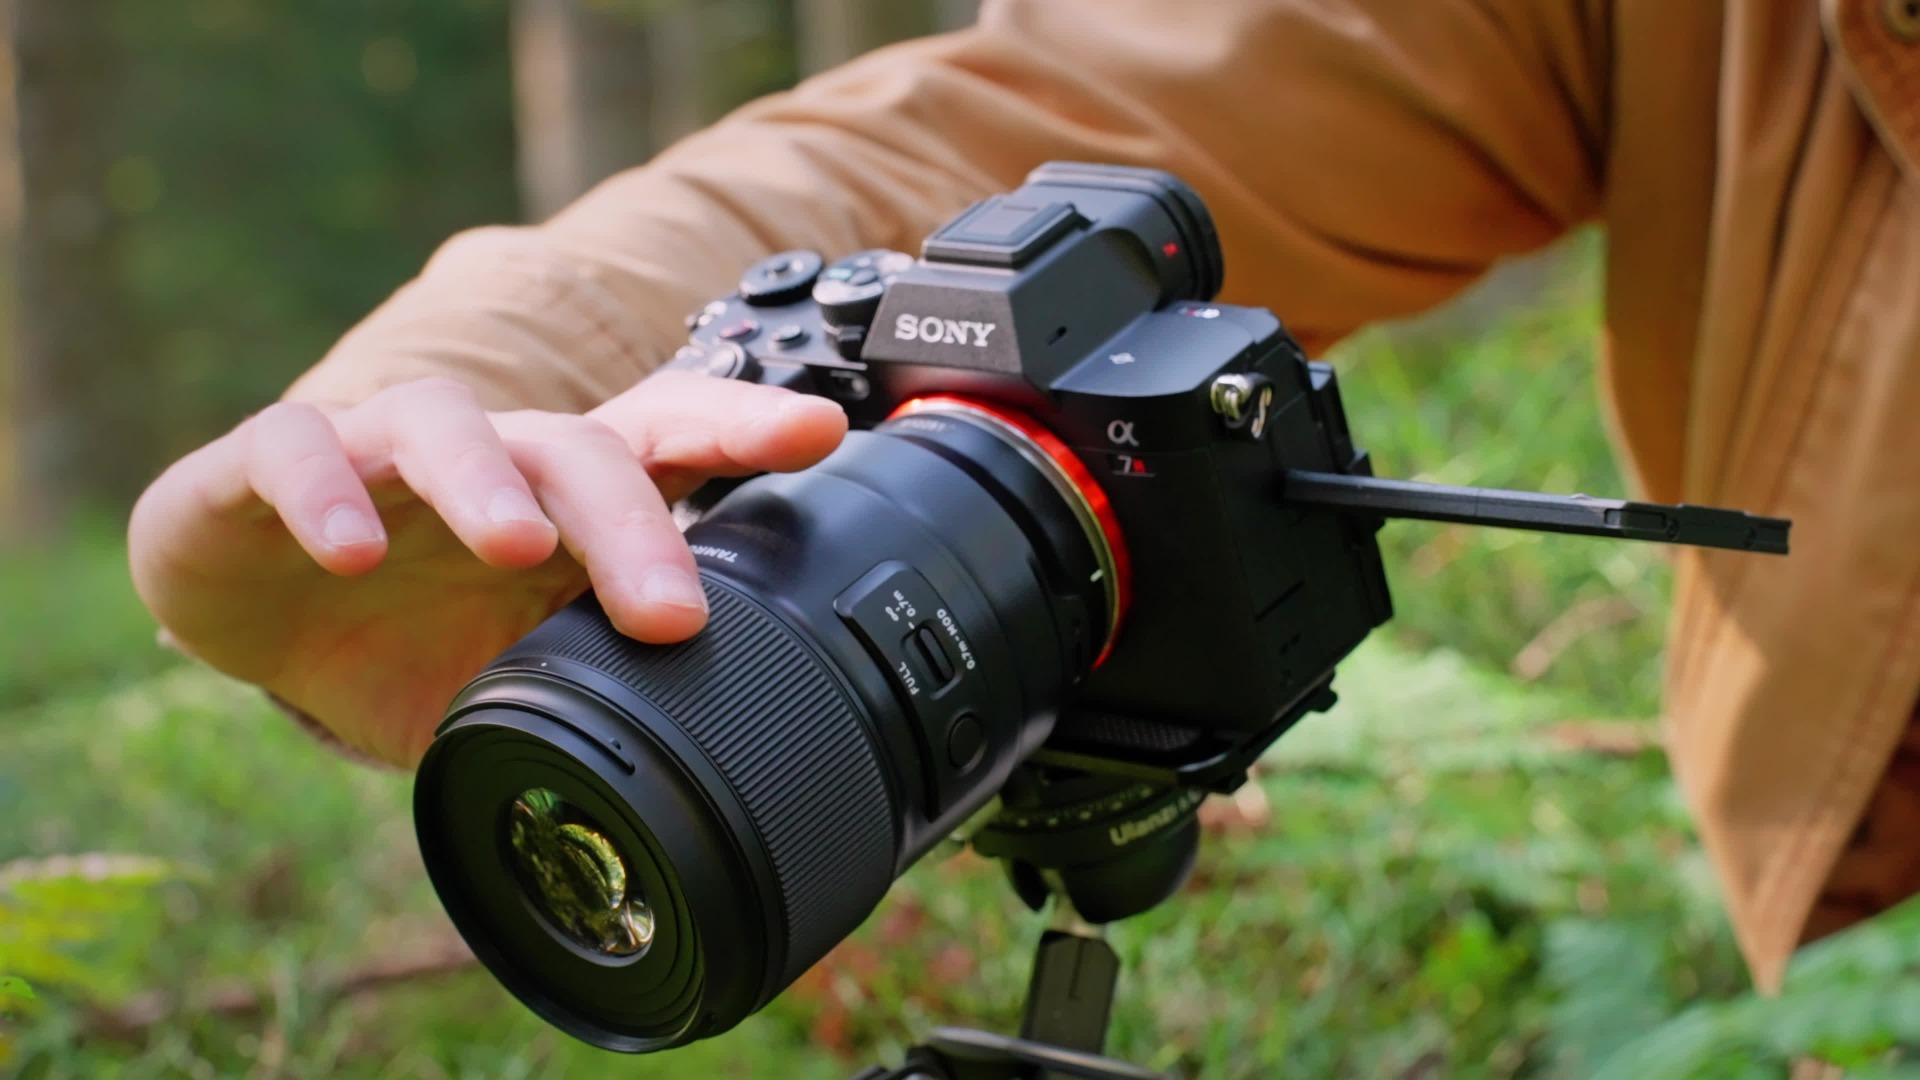
Handling matters too. If you focus manually a lot, look for a focus ring with moderate resistance that turns smoothly, and check that it rotates in the direction you are used to.
The AF/MF switch deserves attention as well. If you switch often during a shoot, consider where the switch sits, how it feels and whether it makes a click your microphone might pick up.
A light, compact lens makes it easier to keep camera work steady through long handheld sessions, which matters most when you are shooting without a gimbal or working long documentary days.
Compact lenses are also easier to manoeuvre into different positions and angles. On an N2 road trip or when vlogging, a small lens lets you react quickly and shoot in tight spots. A lighter kit is also far less tiring to carry, which matters on long days out and keeps you filming for longer.
Lenses with Moisture-Resistant Construction cope better with damp conditions, giving you more freedom near water – a blustery beach, landscapes after rain or footage of rivers and waterfalls. It is not the same as waterproofing, but it adds reassurance when Western Cape winter rain or coastal spray catches you mid-shoot, and outdoors the weather can turn quickly.
For video, autofocus should be quiet and smooth, and it should track moving subjects reliably. That is particularly important with unpredictable action, such as a school rugby match or children playing in the garden, where a responsive AF system makes a real difference.
Handheld filming is prone to shake, and Vibration Compensation (VC) makes it much easier to capture steady footage. It is especially helpful with telephoto lenses or when filming on the move, such as walking a promenade with the camera in hand. On a tripod, or during some panning shots, switching image stabilisation off can give more natural results, so learn how to toggle it on your lens.
[Image: Closing image]
Camera work is more than a technical skill – it is one of the most direct ways to shape what viewers feel. Start with the fundamentals of fixed shots, pans and tilts, then build your repertoire one technique at a time. Choosing the right lens is part of that journey, so look at sample footage and pick one whose rendering and handling suit the way you like to work.
Most of all, keep practising. Film the same simple scene with a fix, a pan, a tilt and a dolly, then compare the results side by side. Seeing how differently each version feels is the quickest way to understand camera work and to start choosing moves with intent rather than by habit.