| September 30, 2026
 South Africa's #1 Mobile Protection Brand
Stand at the side of a straight Karoo road and photograph it at eye level, and the result can look surprisingly flat. Crouch low with a wide-angle lens, let the road’s edges race away towards the horizon, and the same scene suddenly has depth and drama. The difference is perspective. Understanding how it works can solve two of the most common complaints in photography: images that look flat and images that lack impact. This guide covers the meaning of perspective, the techniques behind it and how to apply them to different subjects.
What is perspective?
TAMRON 17-50mm F4 (Model A068) Focal length: 17mm Exposure: F6.3 Shutter Speed: 1/25sec ISO: 100
The meaning of perspective in photography is the sense of depth and distance created by the relative size and position of objects in the frame, and by their distance from the background. So what is sense of depth? It is the impression that a flat photograph extends back into space. A camera sees much as the human eye does: nearby objects appear large, distant ones appear small, and that difference in scale is the basic principle of perspective. This example was shot at 17mm (around 25.5mm equivalent on APS-C).
It is often said that focal length changes perspective, but the relationship between focal length and perspective is indirect. Perspective is set by one thing: the distance between the camera and the subject. The closer you are, the stronger the sense of depth; the further away, the flatter the scene appears. Focal length decides how much of the scene you include from that position. Wide-angle lenses seem to exaggerate perspective because they let you work close, while telephoto lenses seem to flatten it because they are used from far away.
Wide-angle perspective
TAMRON 20mm F2.8 (Model F050) Focal length: 20mm Exposure: F13 Shutter Speed: 25sec ISO: 50
Wide-angle perspective feels powerful because a wide angle of view lets you place the camera very close to a foreground subject while still including a distant background. The nearby subject appears large and the background small, and that jump in scale creates enhanced perspective and a strong sense of depth. This makes wide-angle lenses ideal for architecture and landscapes where you want impact, and for conveying space in tight places such as a narrow lane or the interior of a building. The example used a 25-second exposure at 20mm (around 30mm equivalent on APS-C), so a tripod was essential.
TAMRON 18-300mm F3.5-6.3 (Model B061) Focal length: 300mm Exposure: F6.3 Shutter Speed: 1/640sec ISO: 400
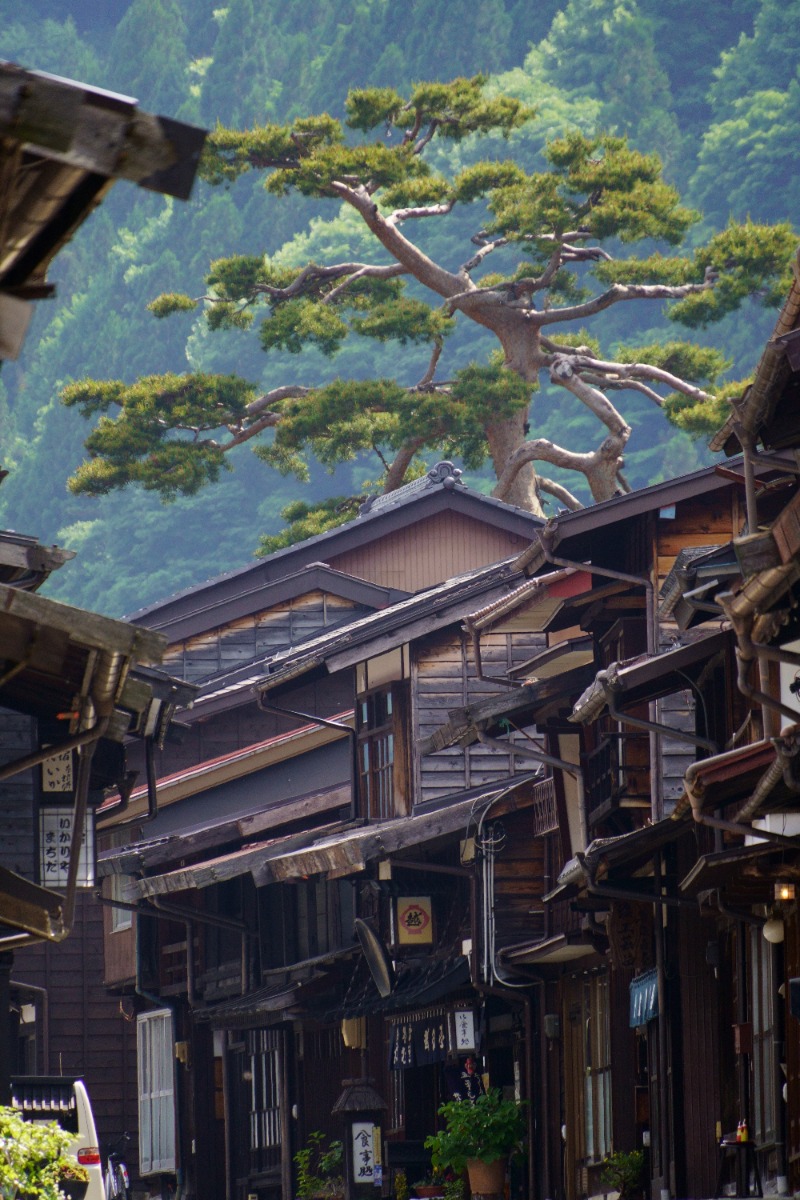
Telephoto lenses have the opposite effect. Because you shoot from further away, distances within the scene appear compressed, and distant objects seem closer together than they really are. This is known as the compression effect, and it shows focal length and perspective working together through shooting distance. The layered ridges of the Drakensberg, photographed from afar, appear stacked tightly behind one another, giving the background a dense, powerful look that emphasises the subject. A telephoto lens also blurs the background strongly, helping the subject stand out. Treat compression as a distinct creative tool rather than simply a lack of depth. This example was shot at 300mm on an APS-C lens, around 450mm in full-frame terms.
Perspective in photography borrows much of its language from perspective drawing, the set of techniques artists use to represent a three-dimensional world on a flat surface. The principles taught in lessons on three-point perspective drawing apply directly when you compose a photograph, so understanding vanishing points and the main types of perspective will help you use depth deliberately.
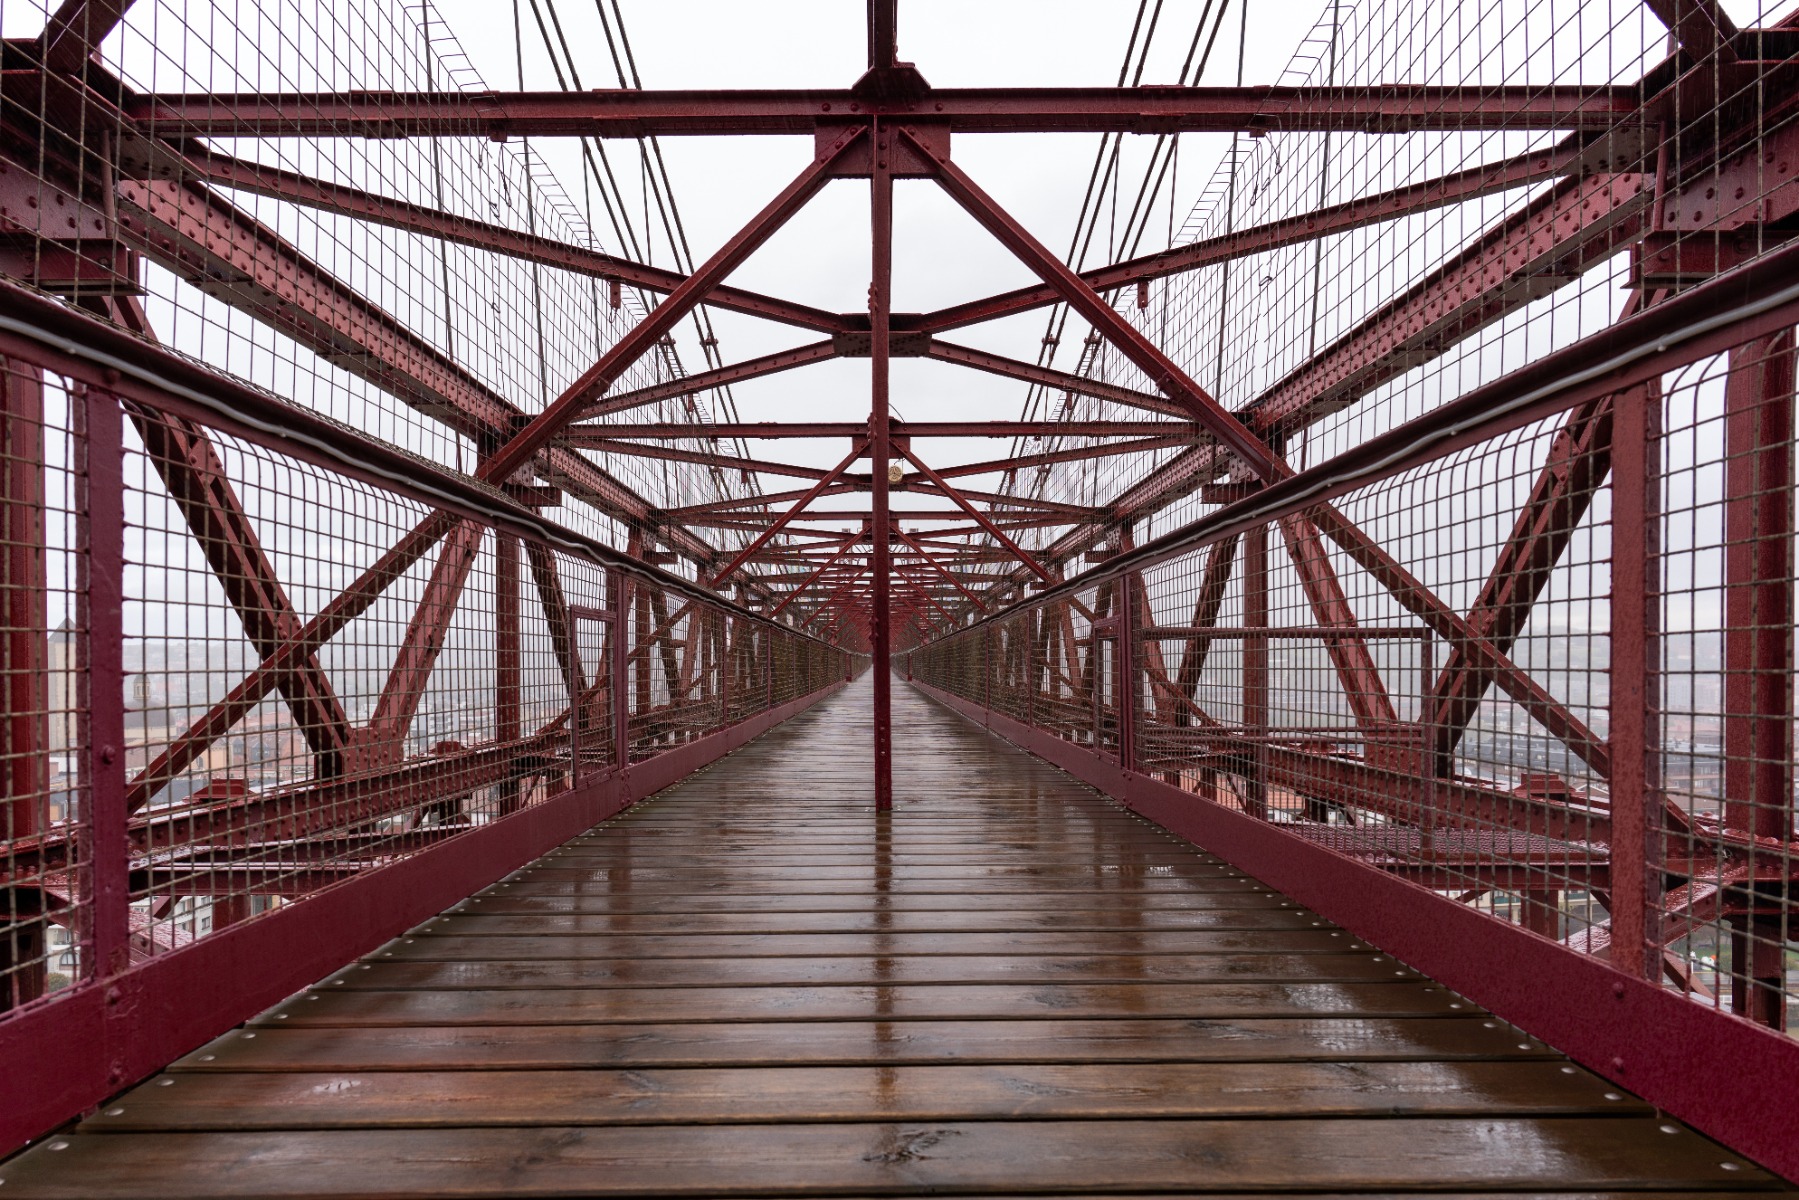
TAMRON 24mm F2.8 (Model F051) Focal length: 24mm Exposure: F6.3 Shutter Speed: 1/160sec ISO: 250
A vanishing point in perspective is the point in the distance where parallel lines appear to meet. The edges of a straight Karoo road photographed from the roadside, or the rows of vines stretching across a Winelands farm, seem to converge on a single point deep in the frame. Including lines like these is one of the most reliable ways to create depth. This example was shot at 24mm (around 36mm equivalent on APS-C).
Where you place the vanishing point changes the feel of the image. At the centre of the frame, it creates symmetry and stability; off to one side, it adds movement and energy. Whenever lines lead into the distance, decide where the vanishing point should fall before you press the shutter.
There are several types of perspective, including linear perspective, colour perspective, aerial (or atmospheric) perspective and overlapping perspective. So what is linear perspective? It uses lines that converge as they recede into the distance, and it is the easiest type to apply in photography. Aerial perspective, where distant objects appear paler and softer through haze, is covered in our guide to contrast in photography. The three main forms of linear perspective are one-point, two-point and three-point perspective.
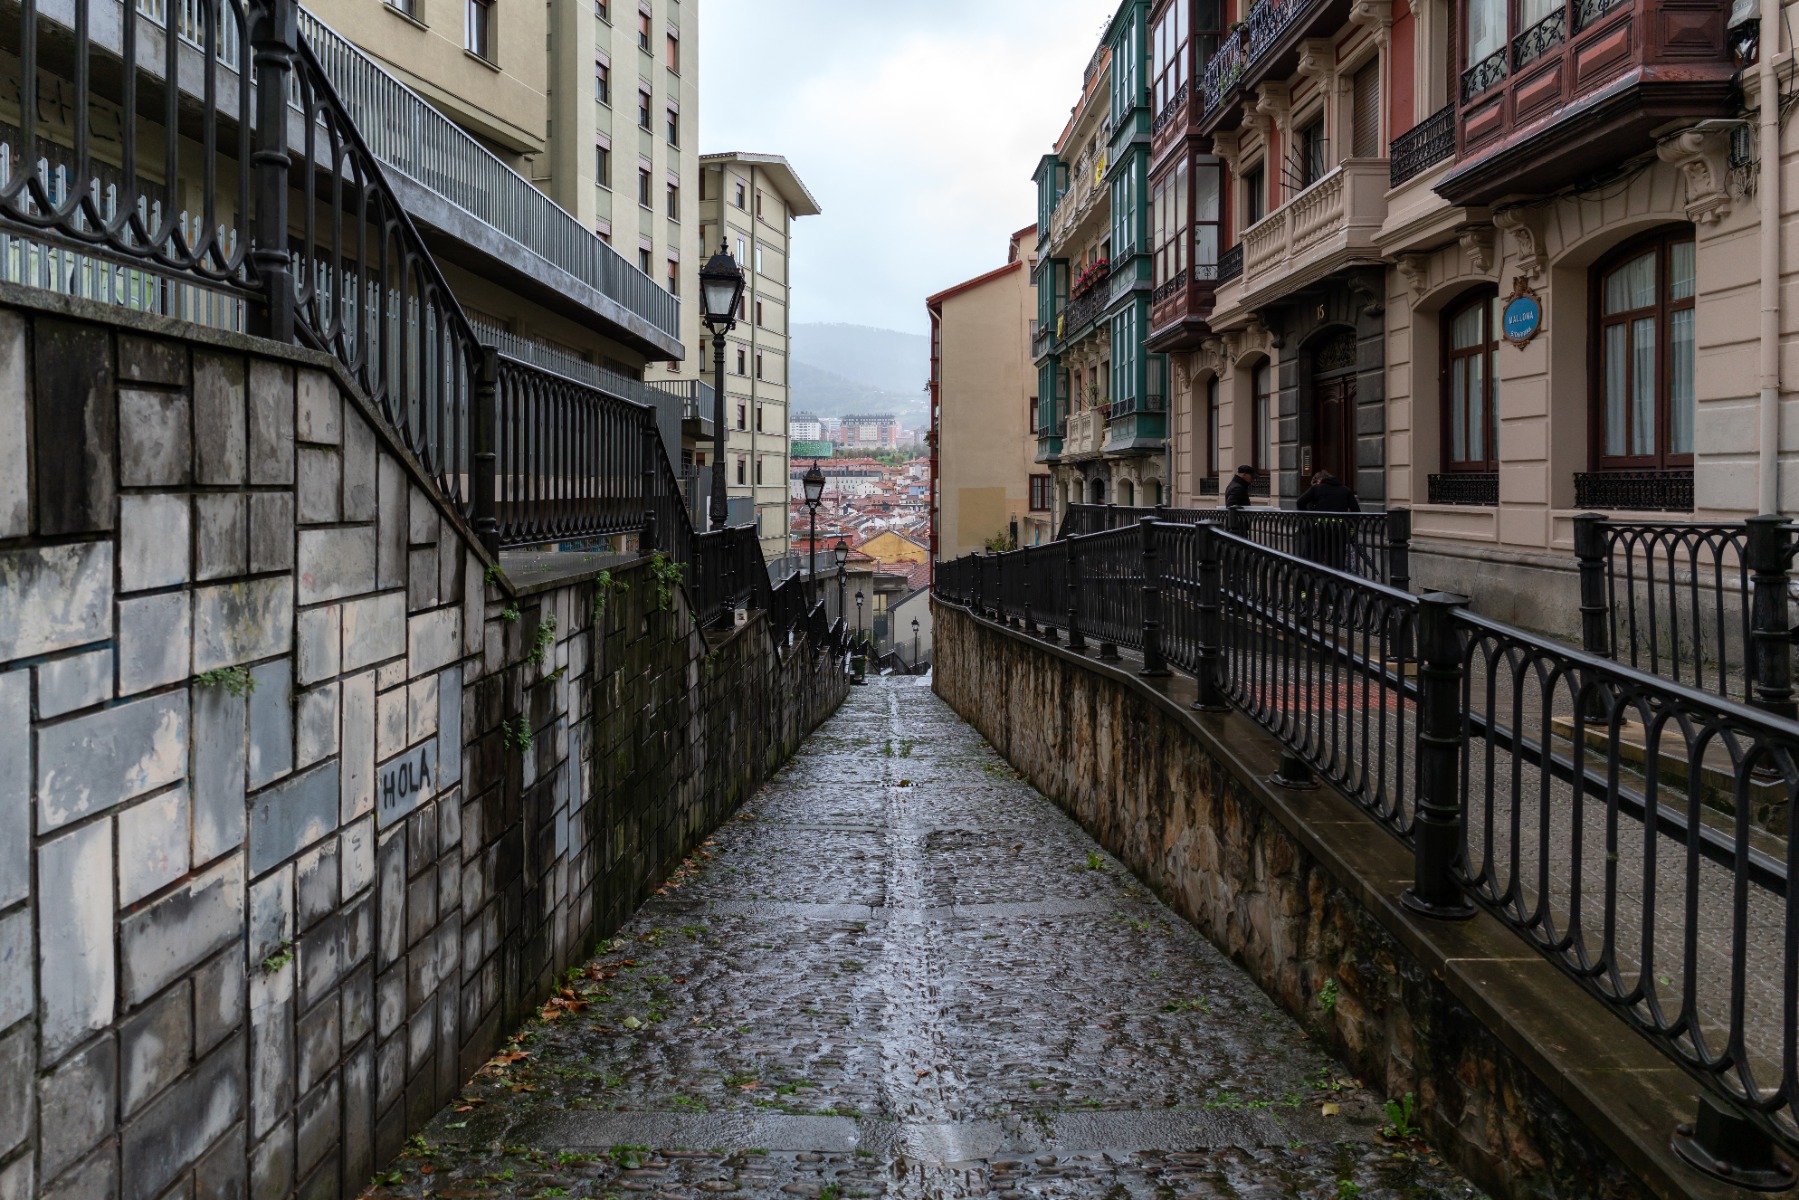
TAMRON 24mm F2.8 (Model F051) Focal length: 24mm Exposure: F4 Shutter Speed: 1/60sec ISO: 500
In one-point perspective, lines converge towards a single vanishing point. The effect is strongest when you photograph a long corridor or road straight on, and a pier stretching out to sea in Durban is a classic example, its railings and boards leading the eye to one point on the horizon. Placing the vanishing point centrally creates a sense of symmetry and stability. This frame was shot at 24mm (around 36mm equivalent on APS-C).
To make the most of one-point perspective, stand square-on to the subject and compose so that the lines meet near the centre of the frame. This produces balanced images, but they can feel static, so add a secondary subject in the foreground, such as a person or a bollard, for extra interest.
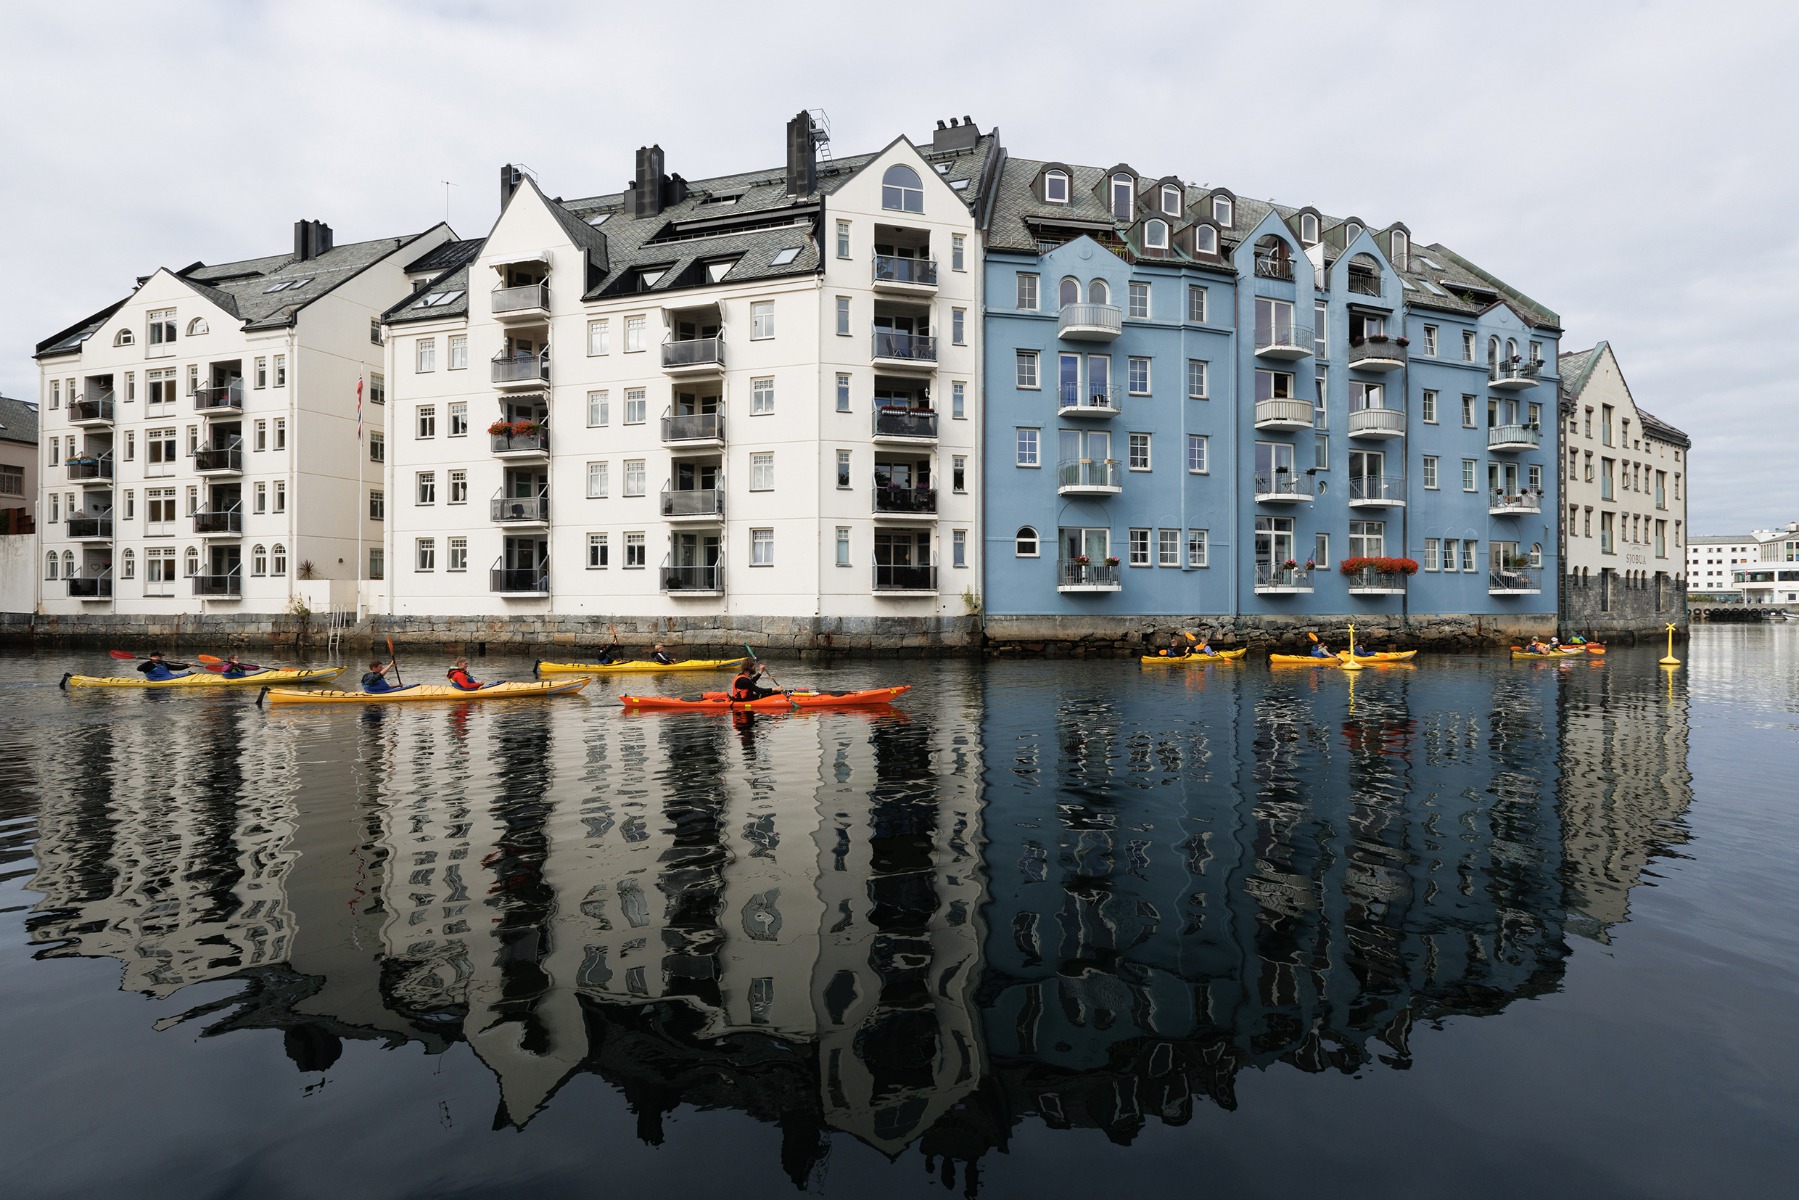
TAMRON 11-20mm F2.8 (Model B060) Focal length: 11mm Exposure: F8 Shutter Speed: 1/250sec ISO: 100
Two-point perspective uses two vanishing points, one to the left and one to the right. Photograph a building from its corner and the rooflines and base run away towards both sides, conveying width and depth at the same time. It is a staple of architectural photography. This example was taken at 11mm on an APS-C lens, around 16.5mm in full-frame terms.
The key is an oblique viewpoint. Stand at roughly 45 degrees to the corner of a building, such as a corner block in Johannesburg’s CBD, or to the corner of an interior corridor, and two vanishing points appear on either side of the frame for a strongly three-dimensional result.
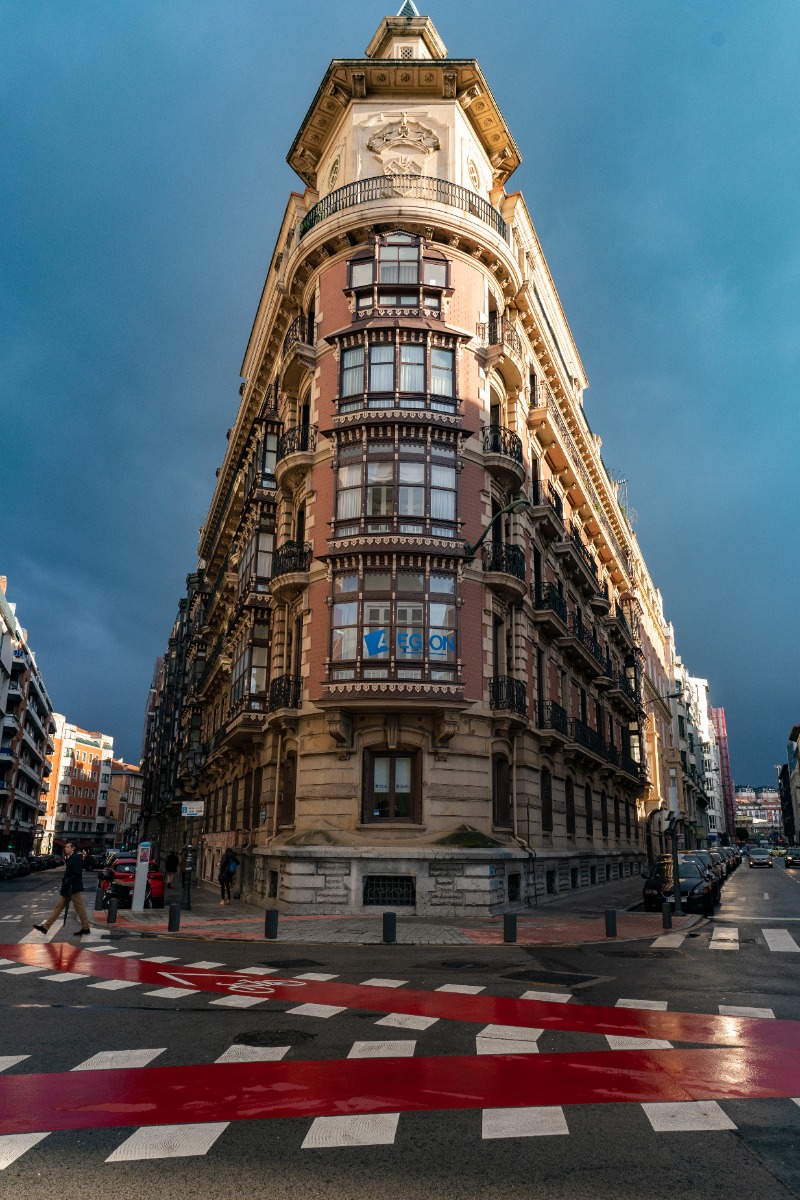
TAMRON 24mm F2.8 (Model F051) Focal length: 24mm Exposure: F8 Shutter Speed: 1/250sec ISO: 640
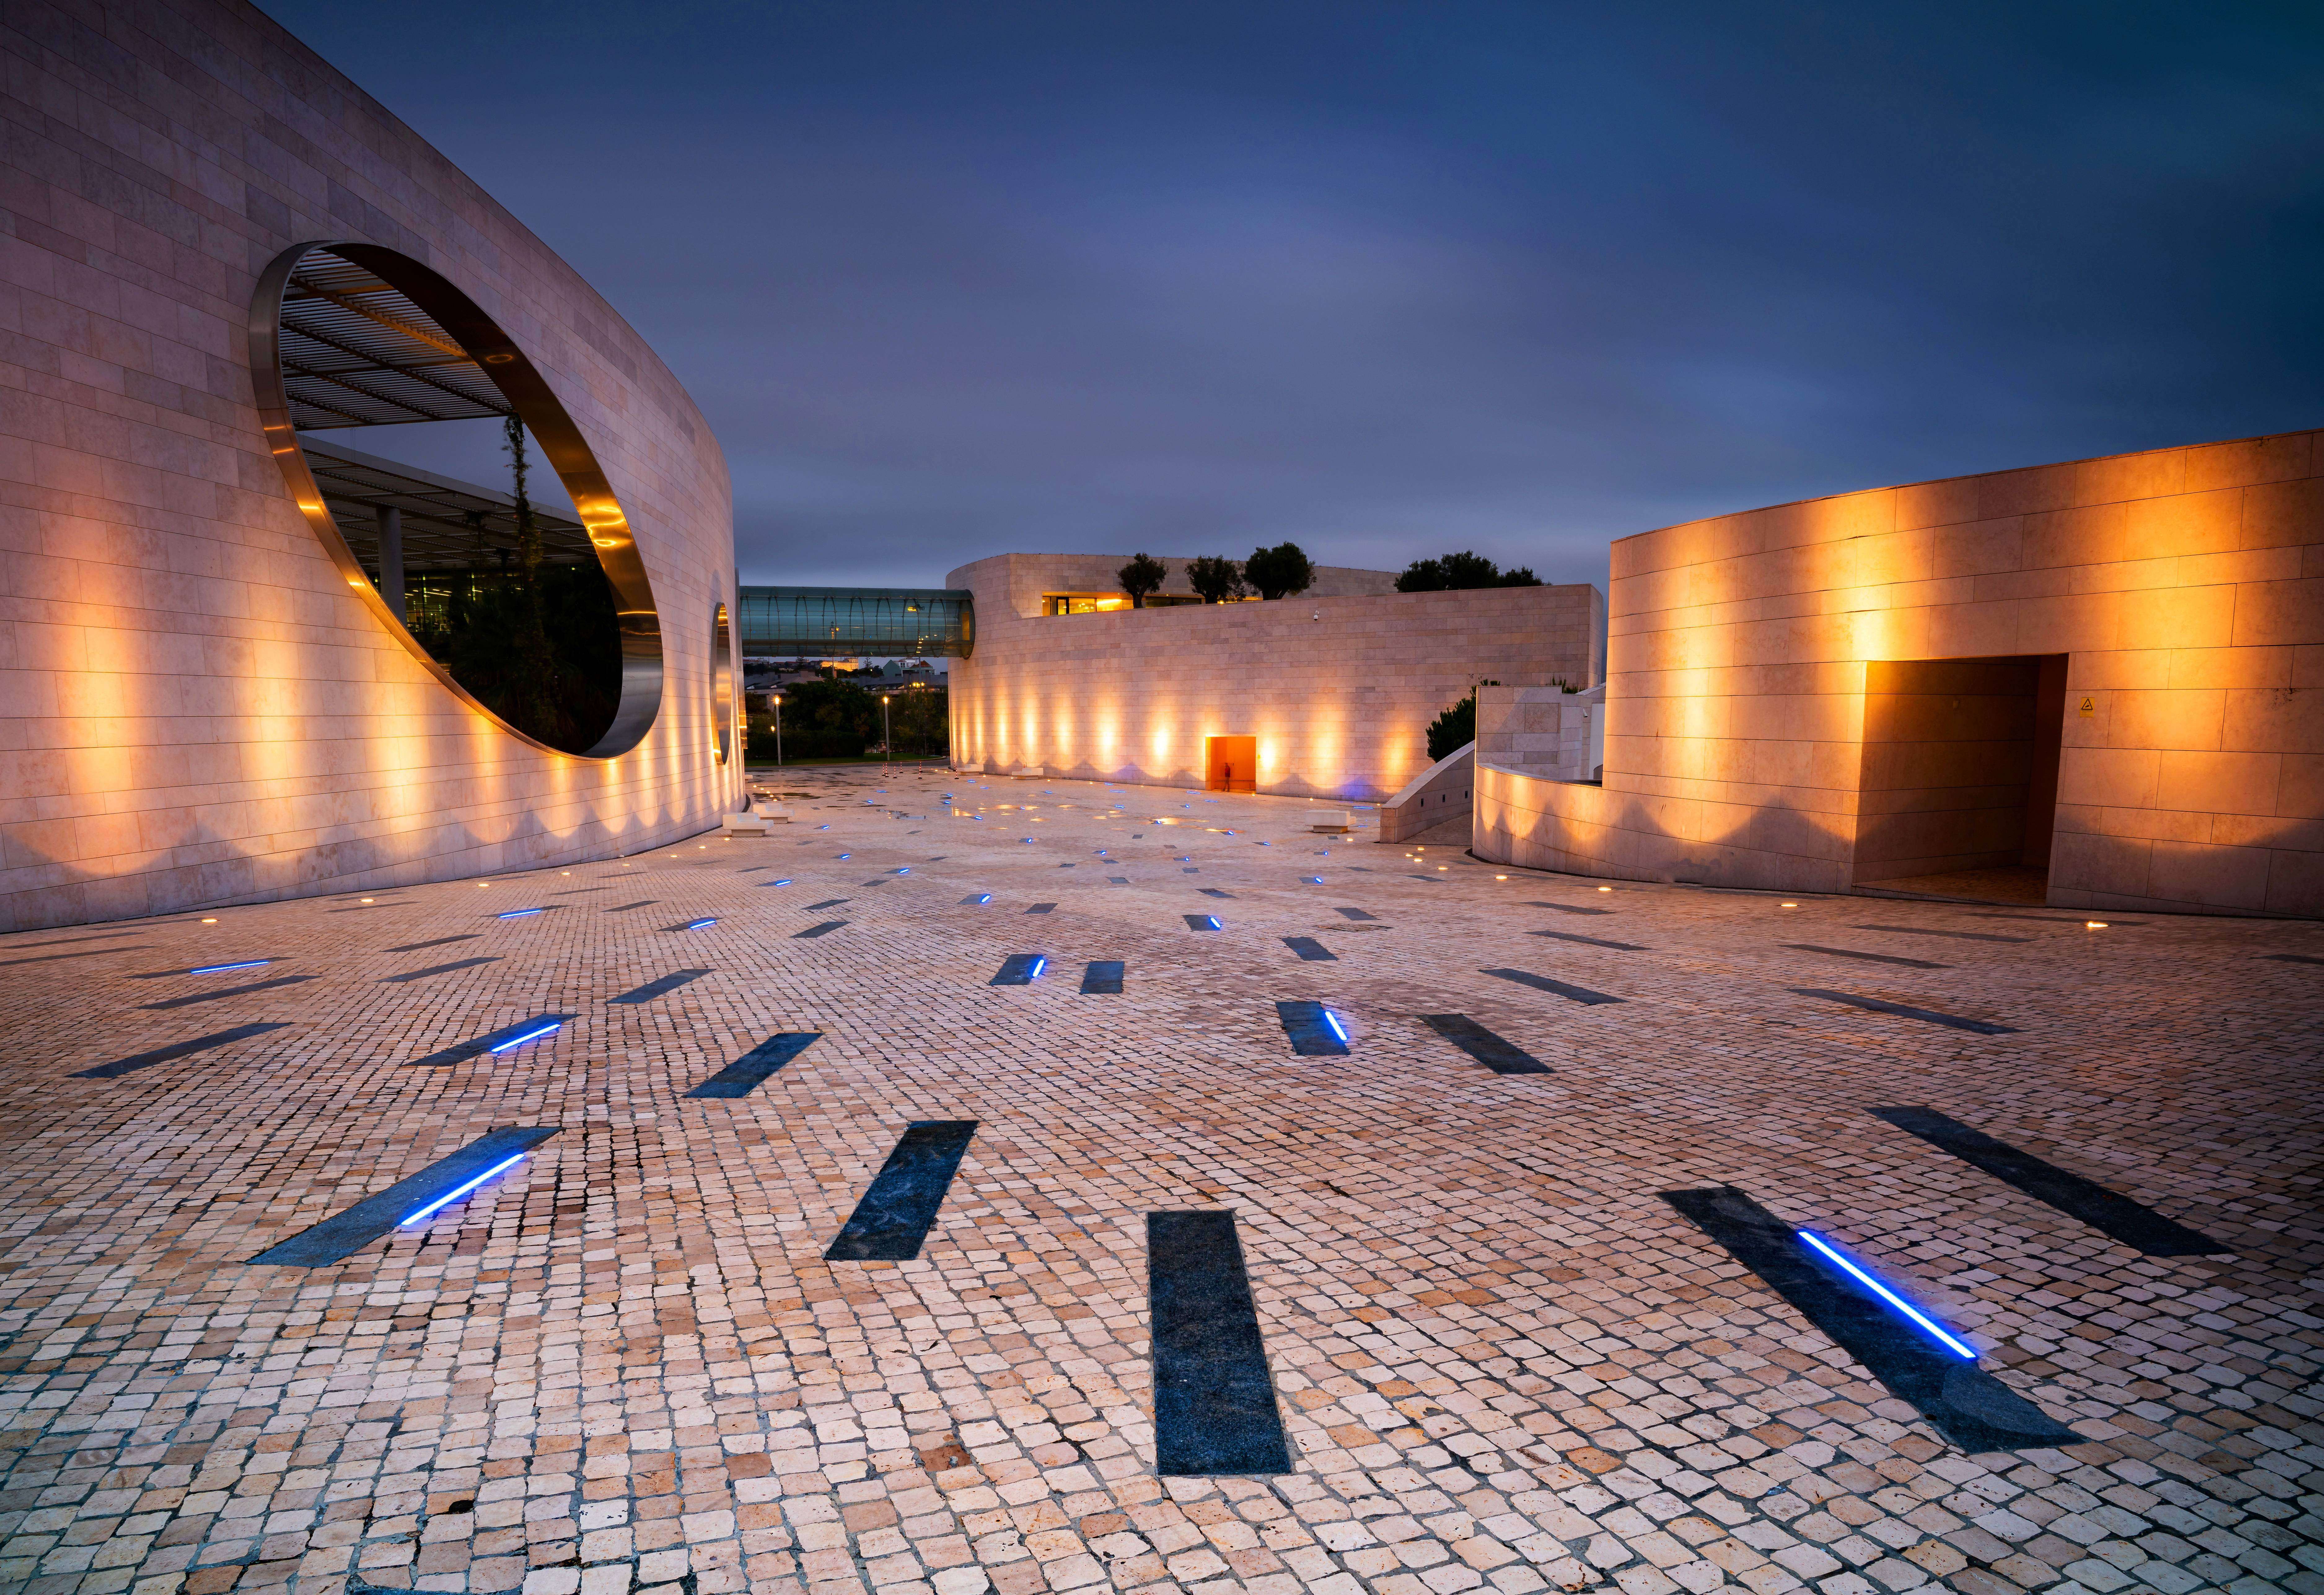
Three-point perspective adds a third vanishing point, above or below the subject, to the two horizontal ones. You see it when you look up at a tall building with a wide-angle lens: the vertical lines converge towards the sky while the horizontal lines run away to either side. The result emphasises height and mass, ideal for conveying a building’s commanding presence. This example was shot at 24mm (around 36mm equivalent on APS-C).
To use three-point perspective, stand close to a tall subject such as one of Johannesburg’s towers and tilt a wide-angle lens upwards. Leaving the horizon out of the frame strengthens the sense of height.
Wide-angle lenses are the most effective tool for enhanced perspective, and their broad view lets you include everything from the foreground to the far distance, making them excellent for bold landscape compositions. These techniques will help you build real depth in photos.

TAMRON 35mm F2.8 (Model F053) Focal length: 35mm Exposure: F2.8 Shutter Speed: 1/320sec ISO: 80
When shooting with perspective in mind, include strong linear elements such as roads, buildings, fences or bridges. The sweeping curves of Gauteng’s highway interchanges, for instance, create powerful lines that lead towards a vanishing point. As covered above, think carefully about where that point falls: centrally for stability, near the edge for energy. Lowering the camera to a low position, close to the ground, stretches the foreground and further strengthens the sense of height and depth. This example was captured at 35mm (around 52.5mm equivalent on APS-C).
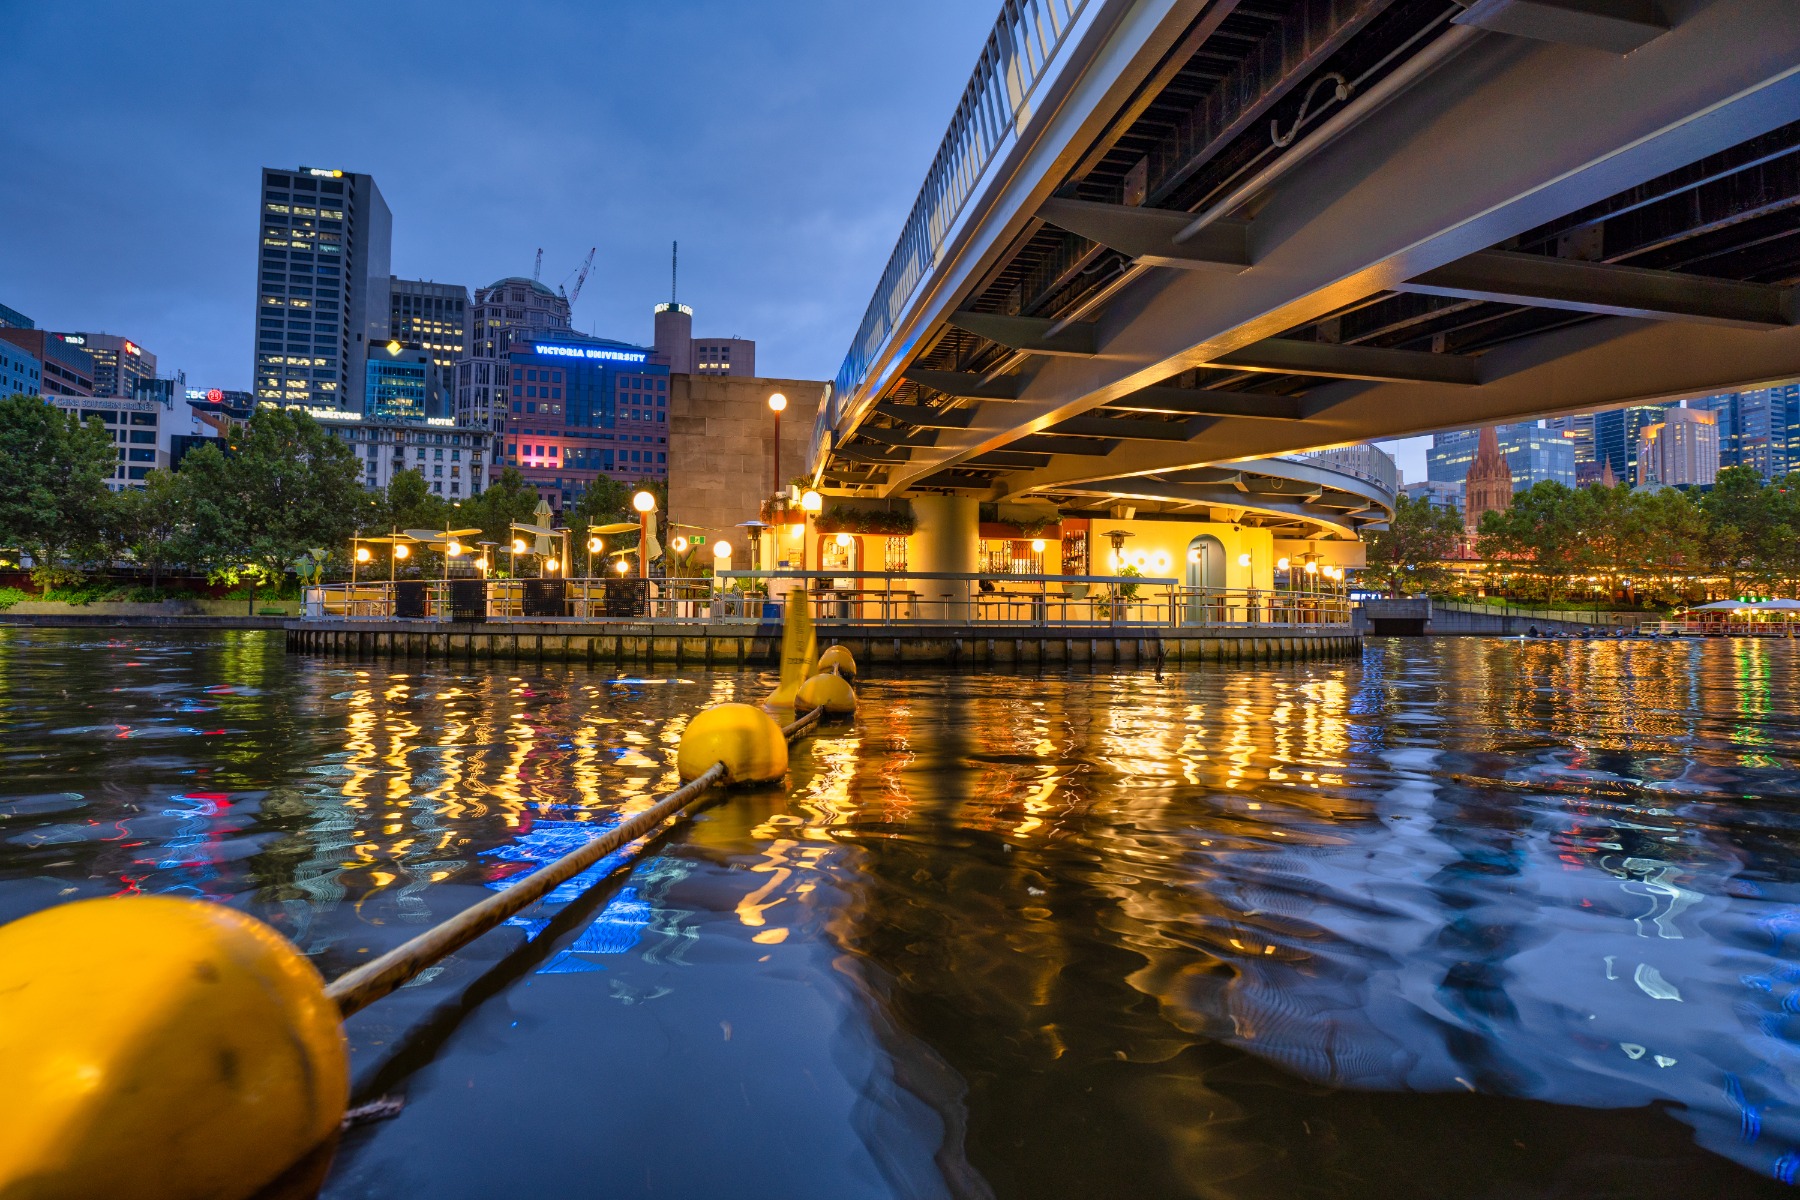
TAMRON 11-20mm F2.8 (Model B060) Focal length: 12mm Exposure: F2.8 Shutter Speed: 0.4sec ISO: 100
Overlapping perspective uses layers to create depth. Place a secondary subject in the foreground that leads to the main subject, then arrange the middle ground and background so that elements grow gradually smaller. In the Winelands, for example, vines in the foreground, a farmhouse in the middle distance and mountains beyond build a natural sense of depth as each layer overlaps the next. This example was taken at 12mm on an APS-C lens (around 18mm full-frame equivalent) with a 0.4-second exposure, so a tripod helped keep it sharp.
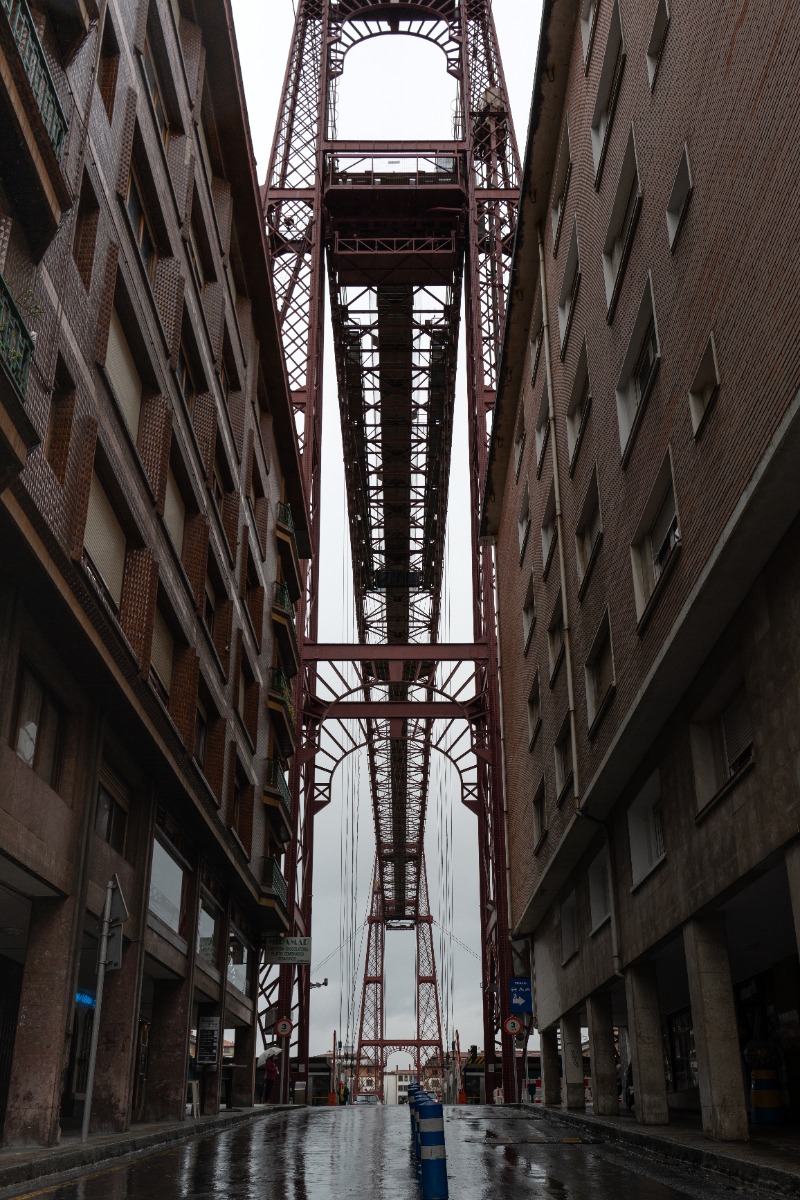
TAMRON 24mm F2.8 (Model F051) Focal length: 24mm Exposure: F6.3 Shutter Speed: 1/160sec ISO: 250
A low angle, with the camera tilted upwards, emphasises vertical lines and depth and gives a subject scale and presence. It is particularly effective for buildings and tall structures.
A high angle, with the camera tilted downwards, shows the breadth of a space from a bird’s-eye view, suiting cityscapes and open public spaces. An oblique angle adds depth through two-point perspective. Experiment deliberately with each and compare how the subject changes; our guide to camera angles explores these options in more detail. This example was shot at 24mm (around 36mm equivalent on APS-C).
Some subjects make perspective easy to see, and practising with them is the fastest way to develop an eye for a strong perspective photo.
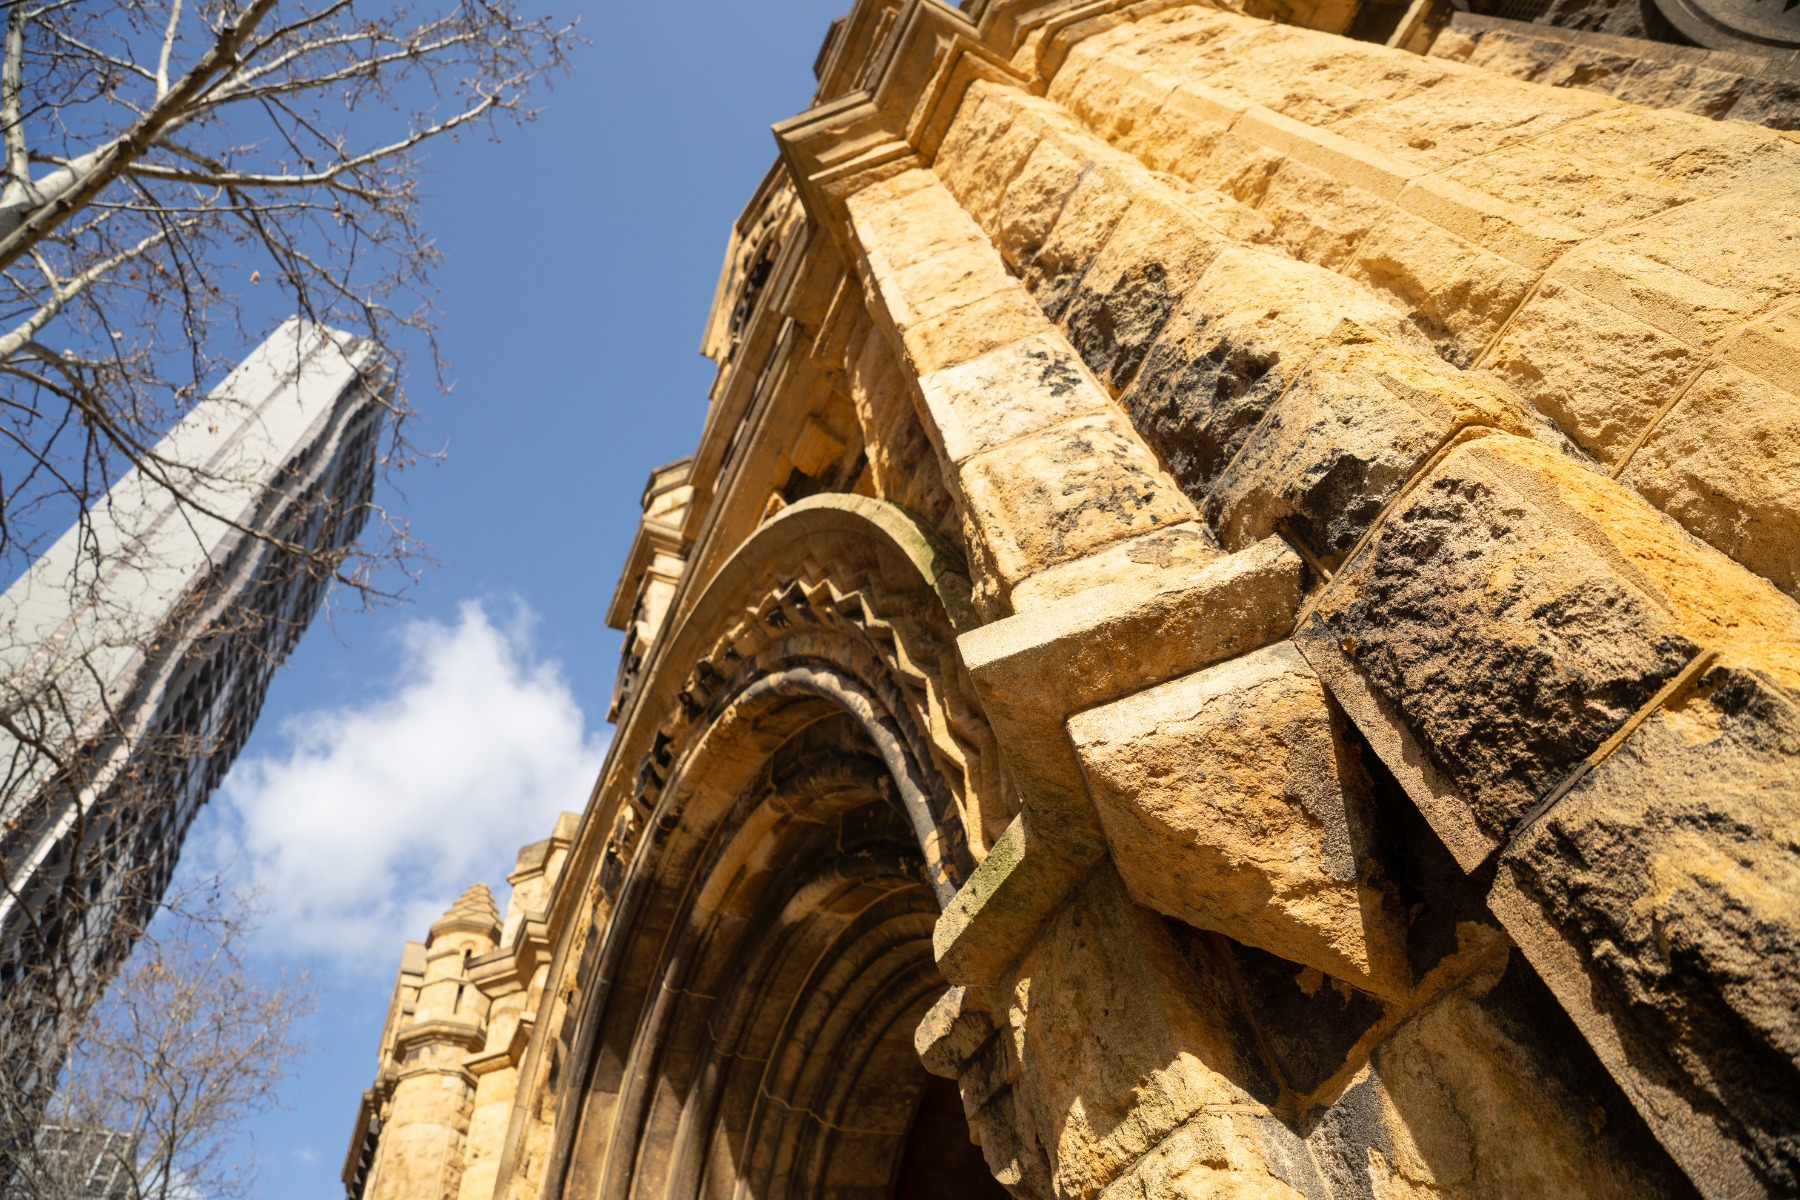
TAMRON 17-50mm F4 (Model A068) Focal length: 19mm Exposure: F4 Shutter Speed: 1/1000sec ISO: 100
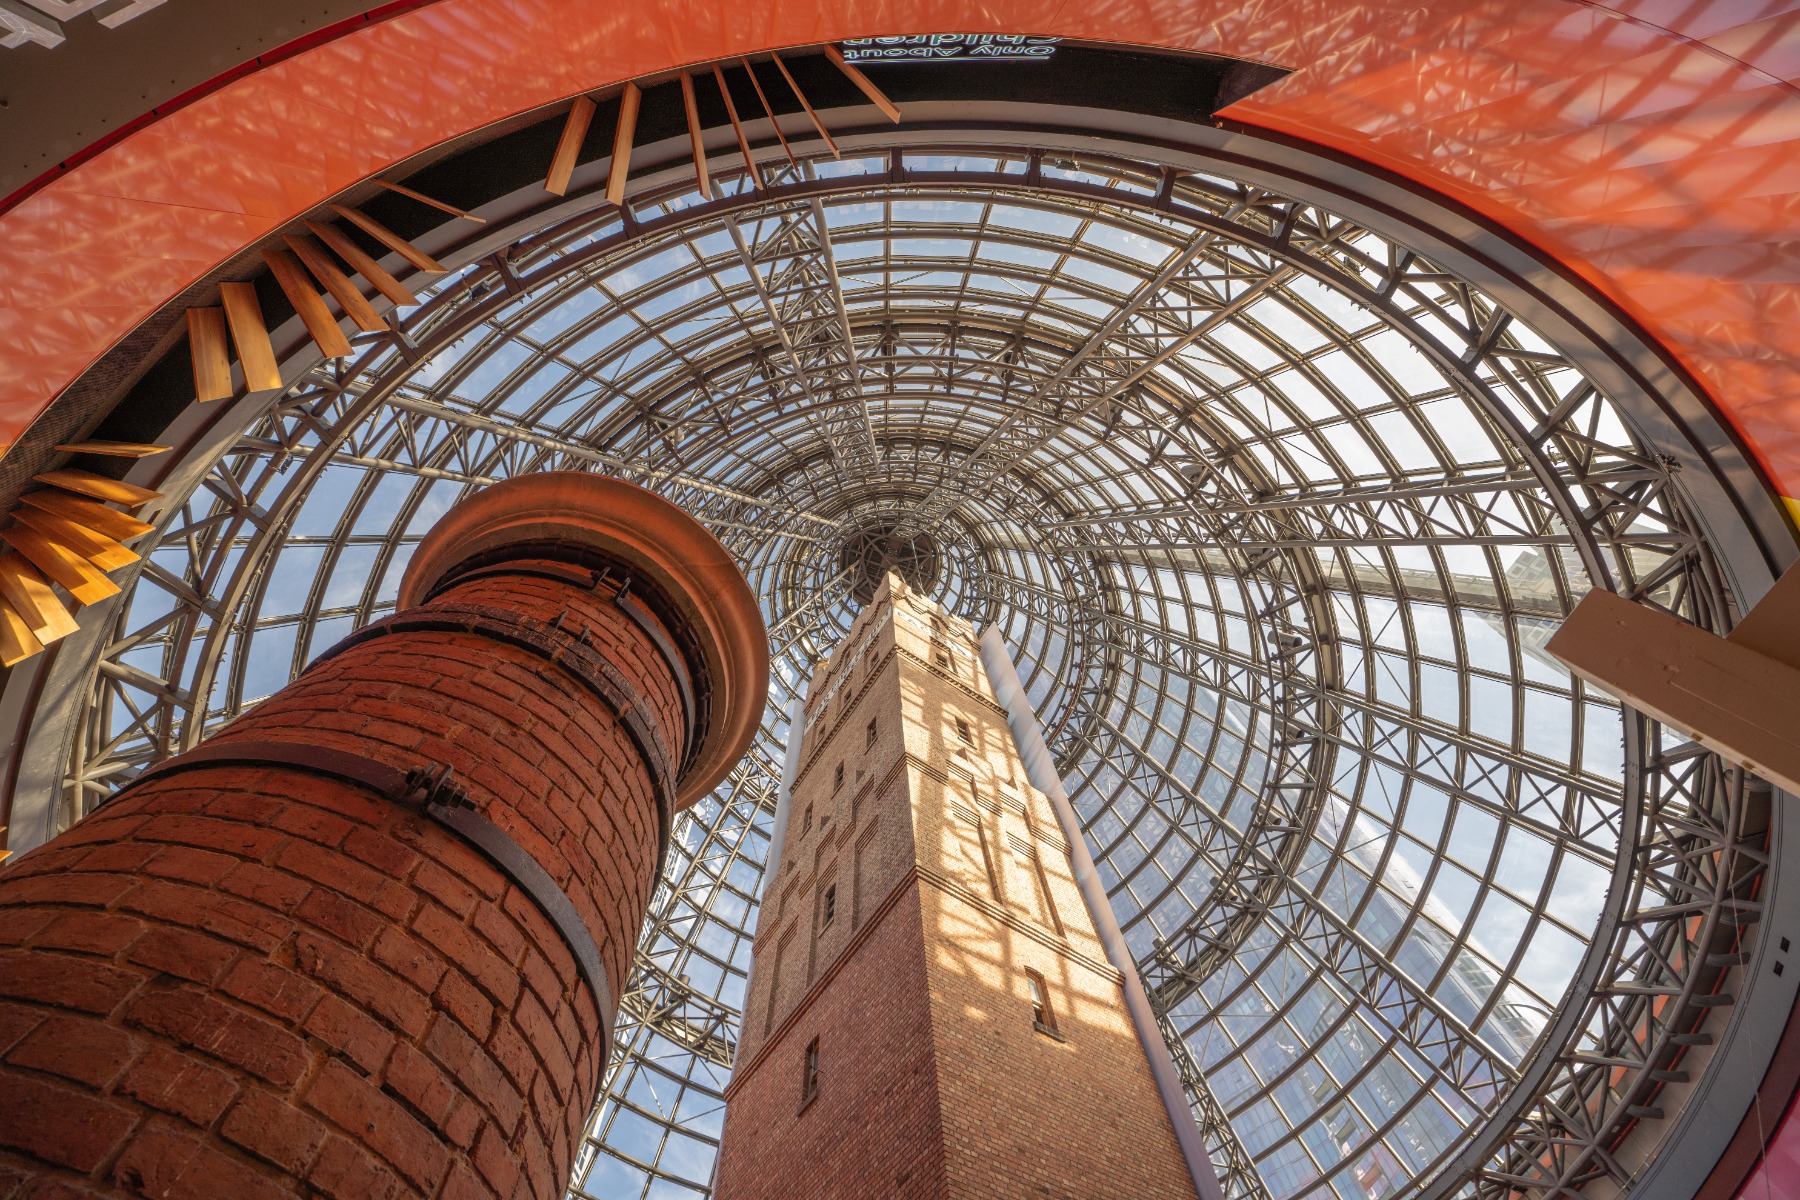
Buildings are ideal subjects for perspective. Looking up at a tall building with a wide-angle lens creates dramatic three-point perspective, and the lines of windows, balconies and edges provide ready-made vanishing points. This example was shot at 19mm (around 28.5mm equivalent on APS-C).
Photographing a building from its corner with a wide-angle lens brings out the three-dimensional effect of two-point perspective. Try it with the buildings around you, from office blocks to shopping centres and the apartment towers along Durban’s beachfront.
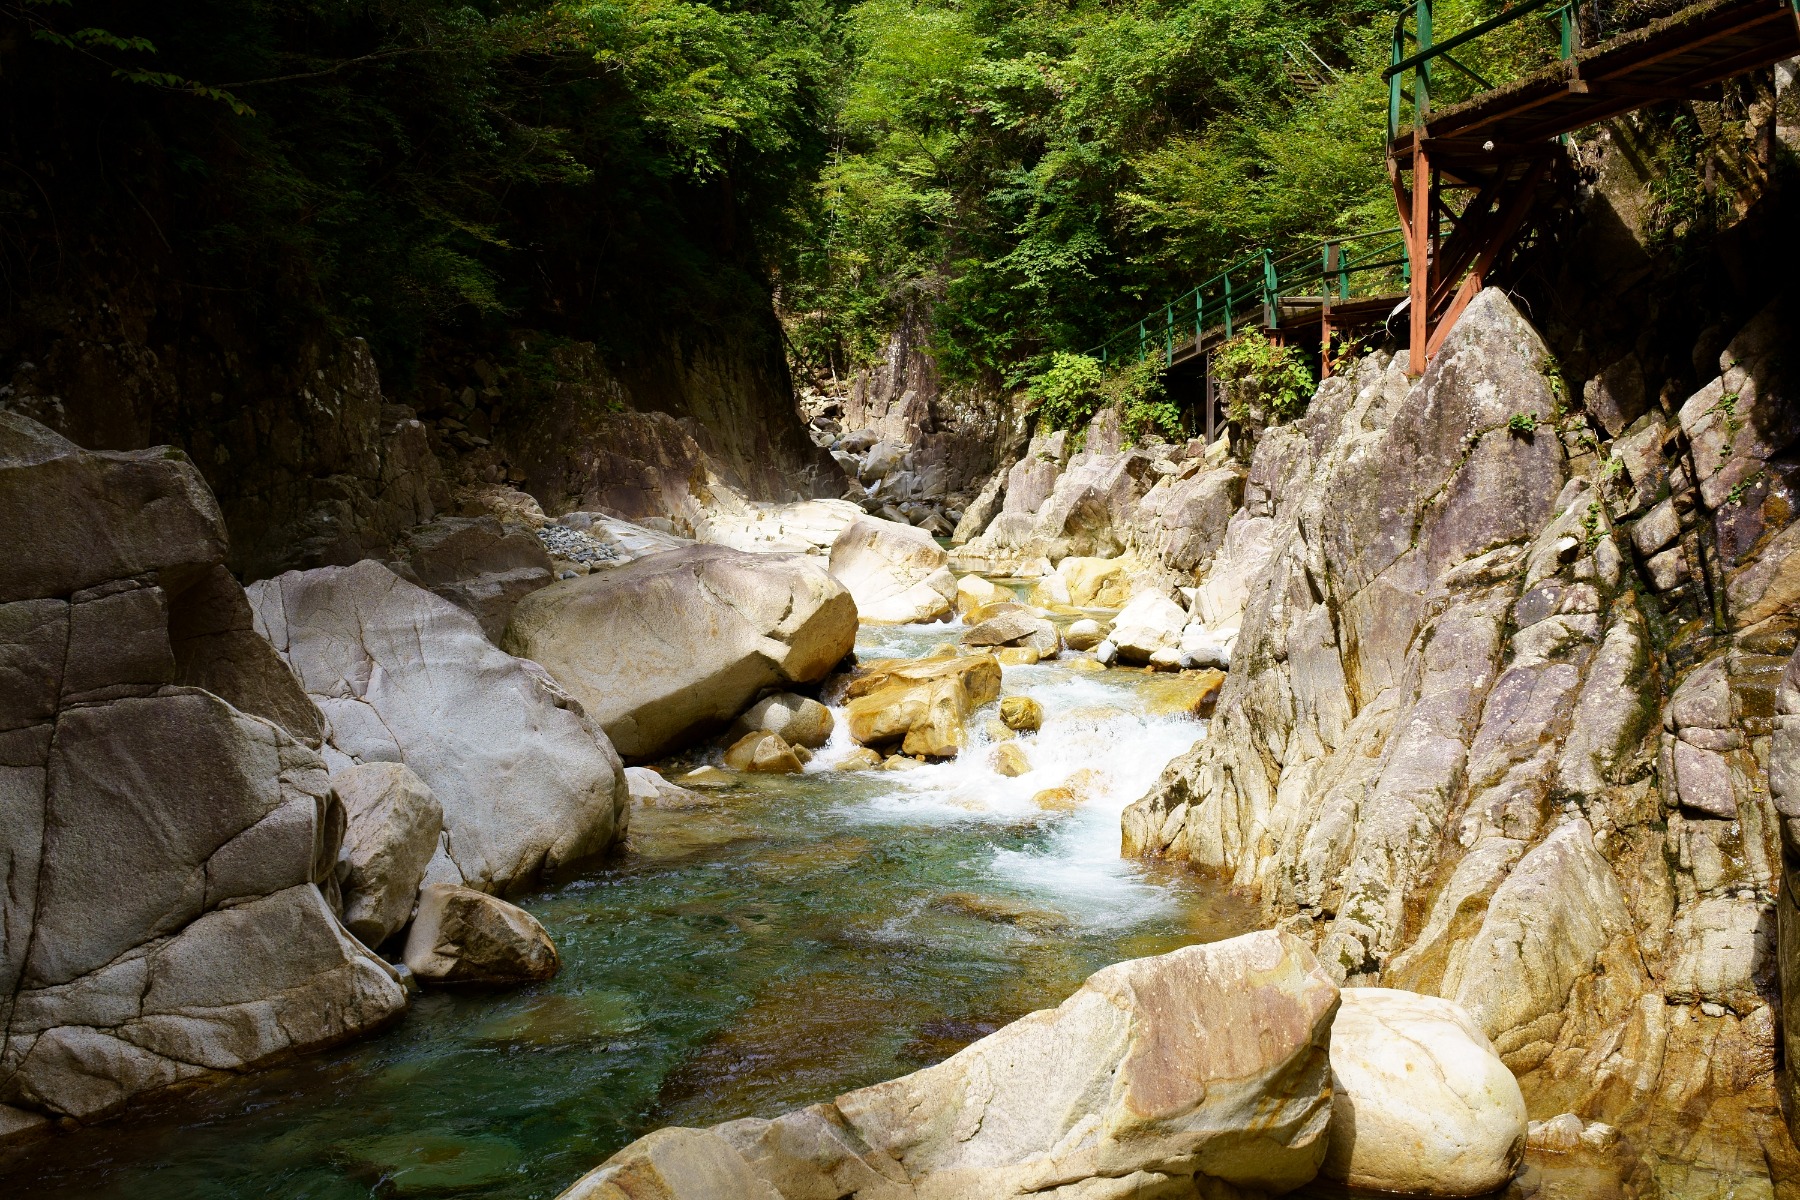
TAMRON 35mm F2.8 (Model F053) Focal length: 35mm Exposure: F8 Shutter Speed: 1/400sec ISO: 400
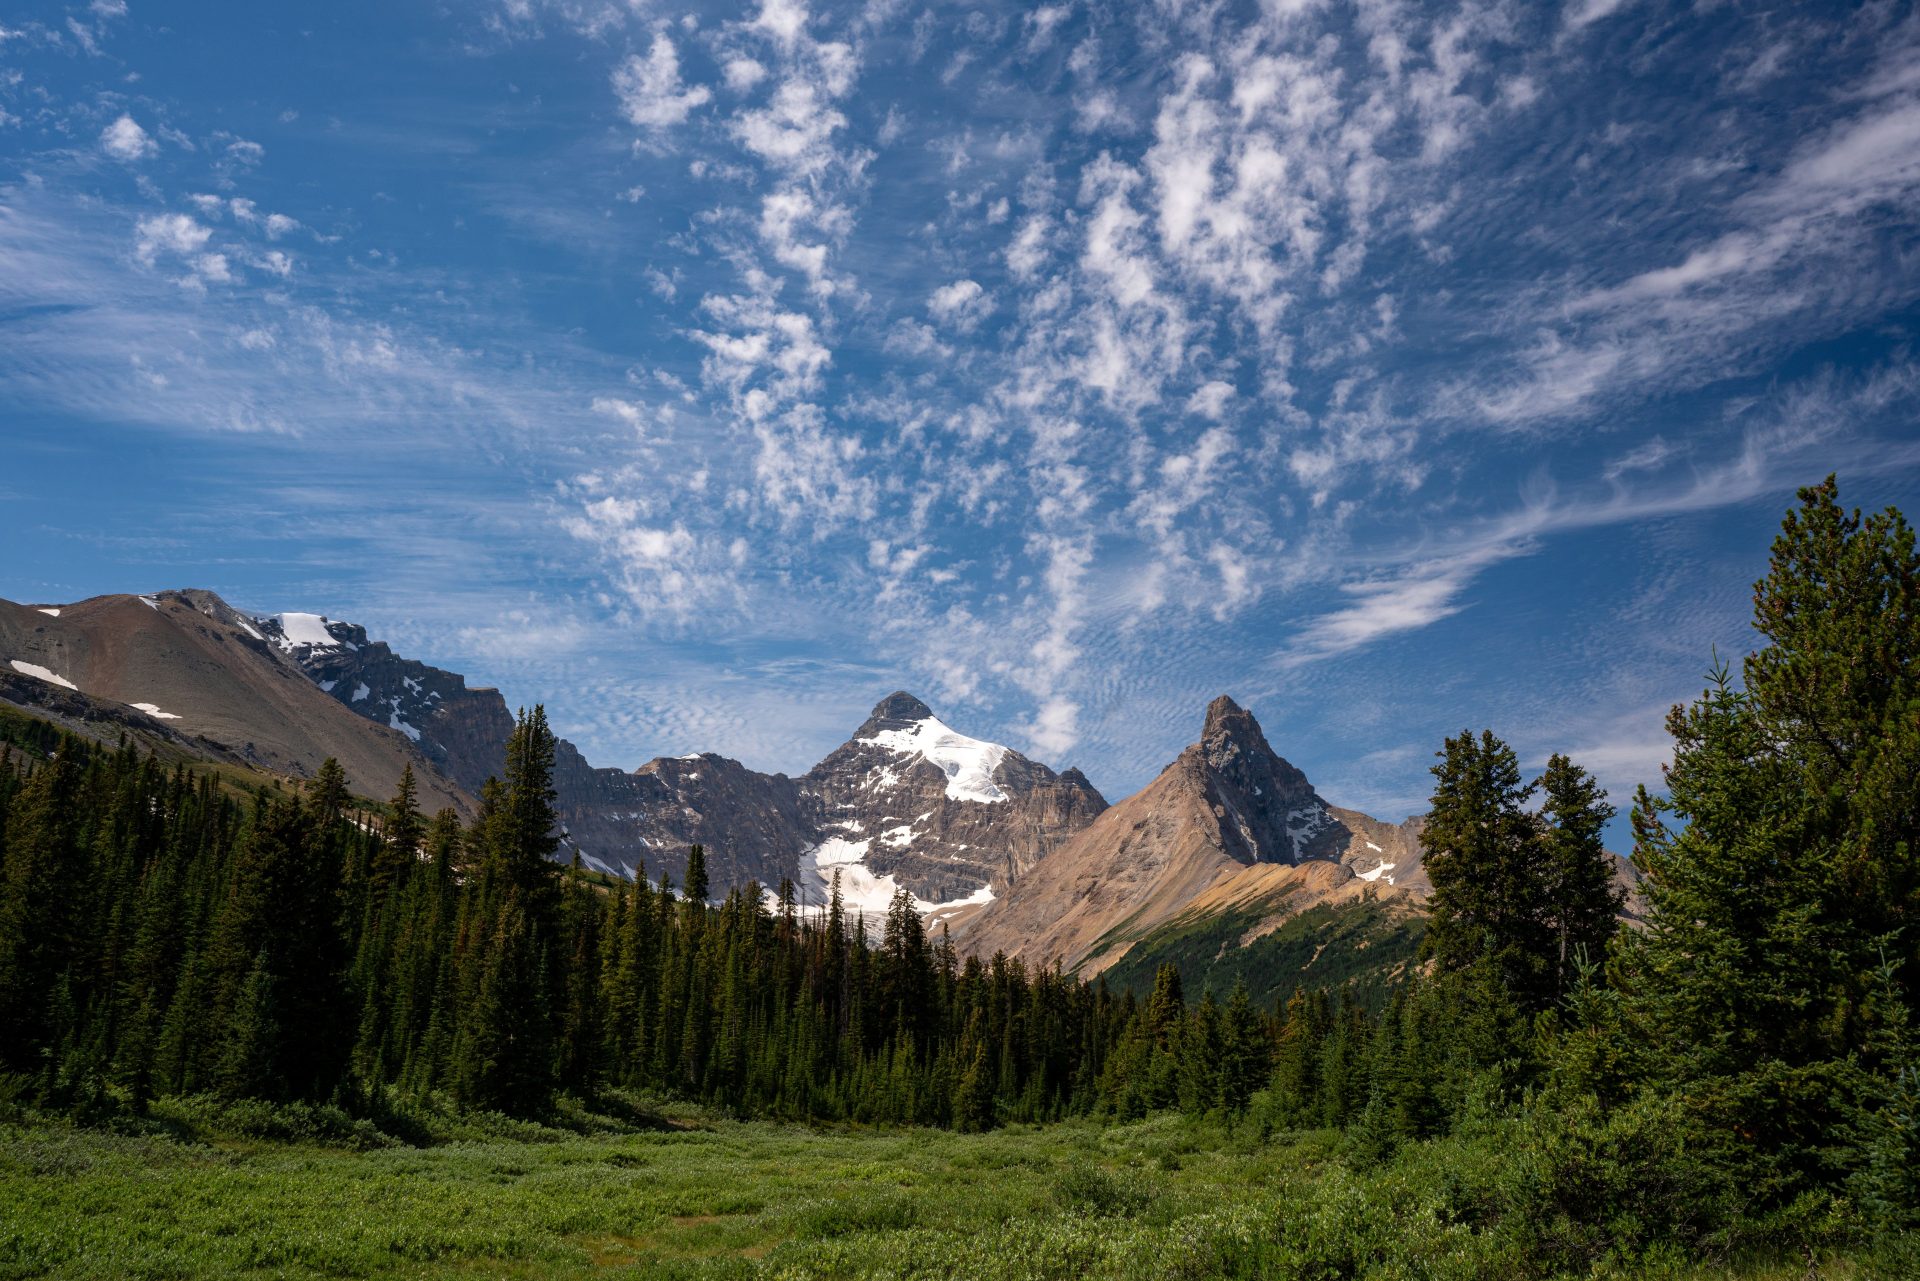
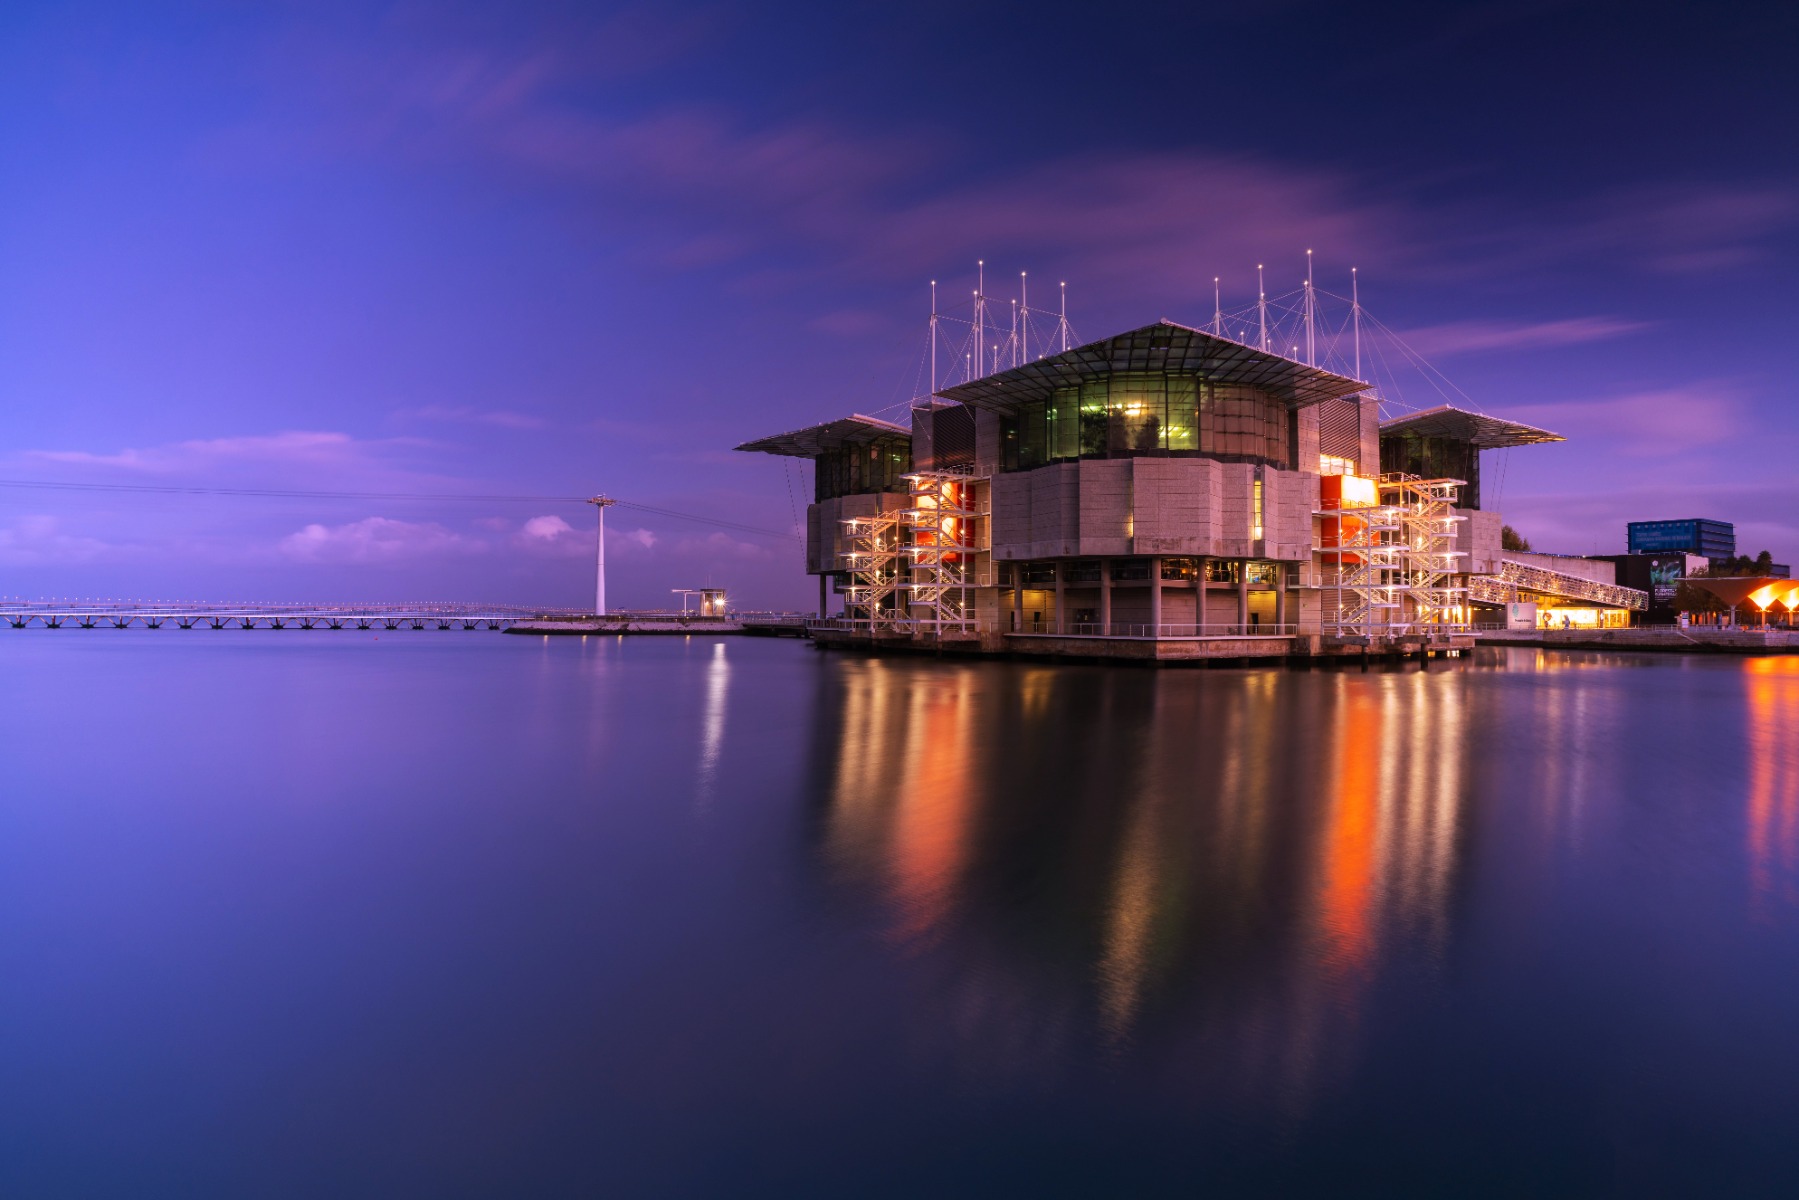
Several landscape perspective techniques can add depth and drama. With a telephoto lens, mountain ranges or rows of buildings stack up through compression. With a wide-angle lens, place secondary elements such as rocks or trees in the foreground, like the granite boulders scattered along the West Coast, to establish scale. Two-point perspective for landscapes works when a structure appears in the scene: photograph a farmhouse from its corner and its walls lead the eye in two directions across the land. Converging lines such as roads, fences and field edges create one-point perspective, with their vanishing points falling on the horizon. This example was taken at 35mm (around 52.5mm equivalent on APS-C).
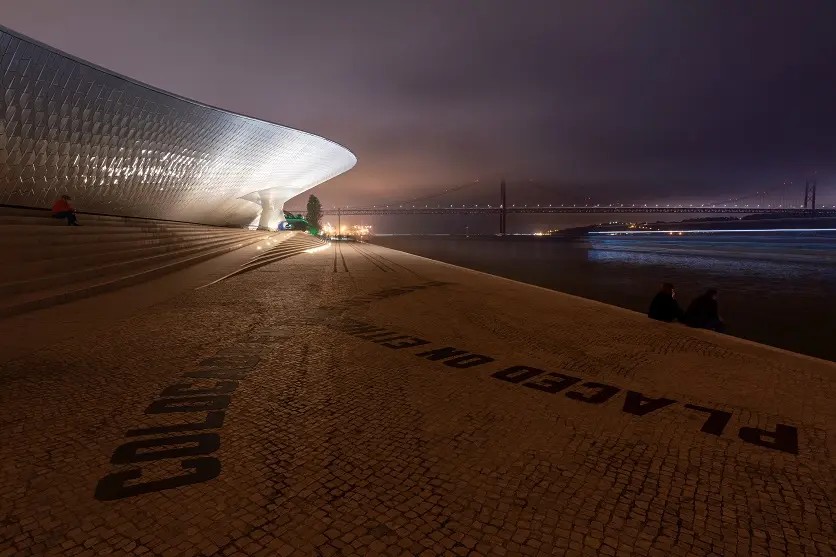
TAMRON 20mm F2.8 (Model F050) Focal length: 20mm Exposure: F11 Shutter Speed: 30sec ISO: 200
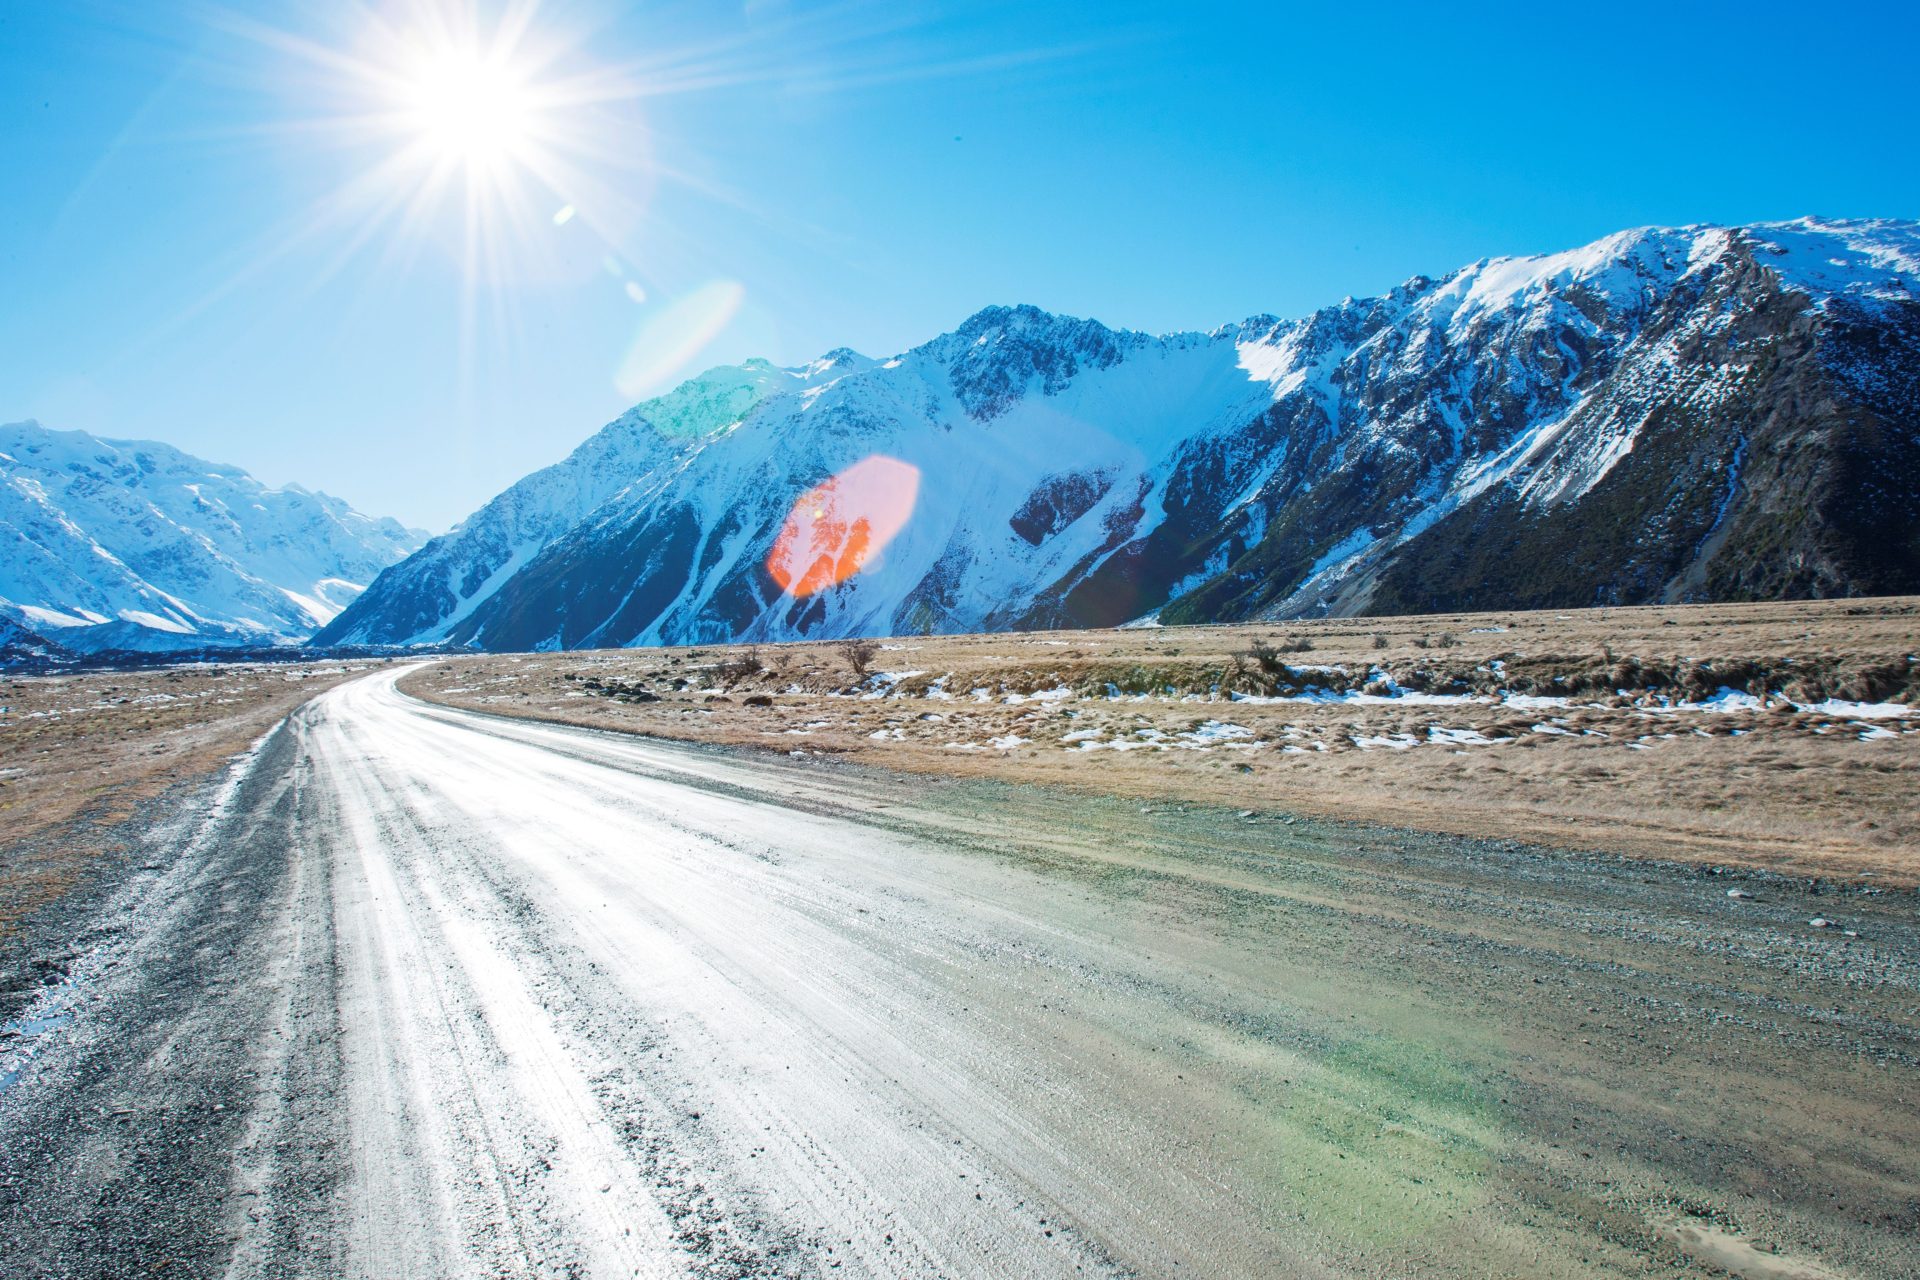
Streets and roads show perspective clearly. A road photographed straight on is a classic example of one-point perspective, with buildings, streetlights and power lines on both sides converging towards the vanishing point, and cars and poles shrinking into the distance. At night, a long exposure turns traffic into streams of light: this example used a 30-second exposure at 20mm (around 30mm equivalent on APS-C) on a tripod, an approach that suits a Johannesburg highway after dark. Curves work too, so try the S-bends of a Western Cape mountain pass as well as straight roads.
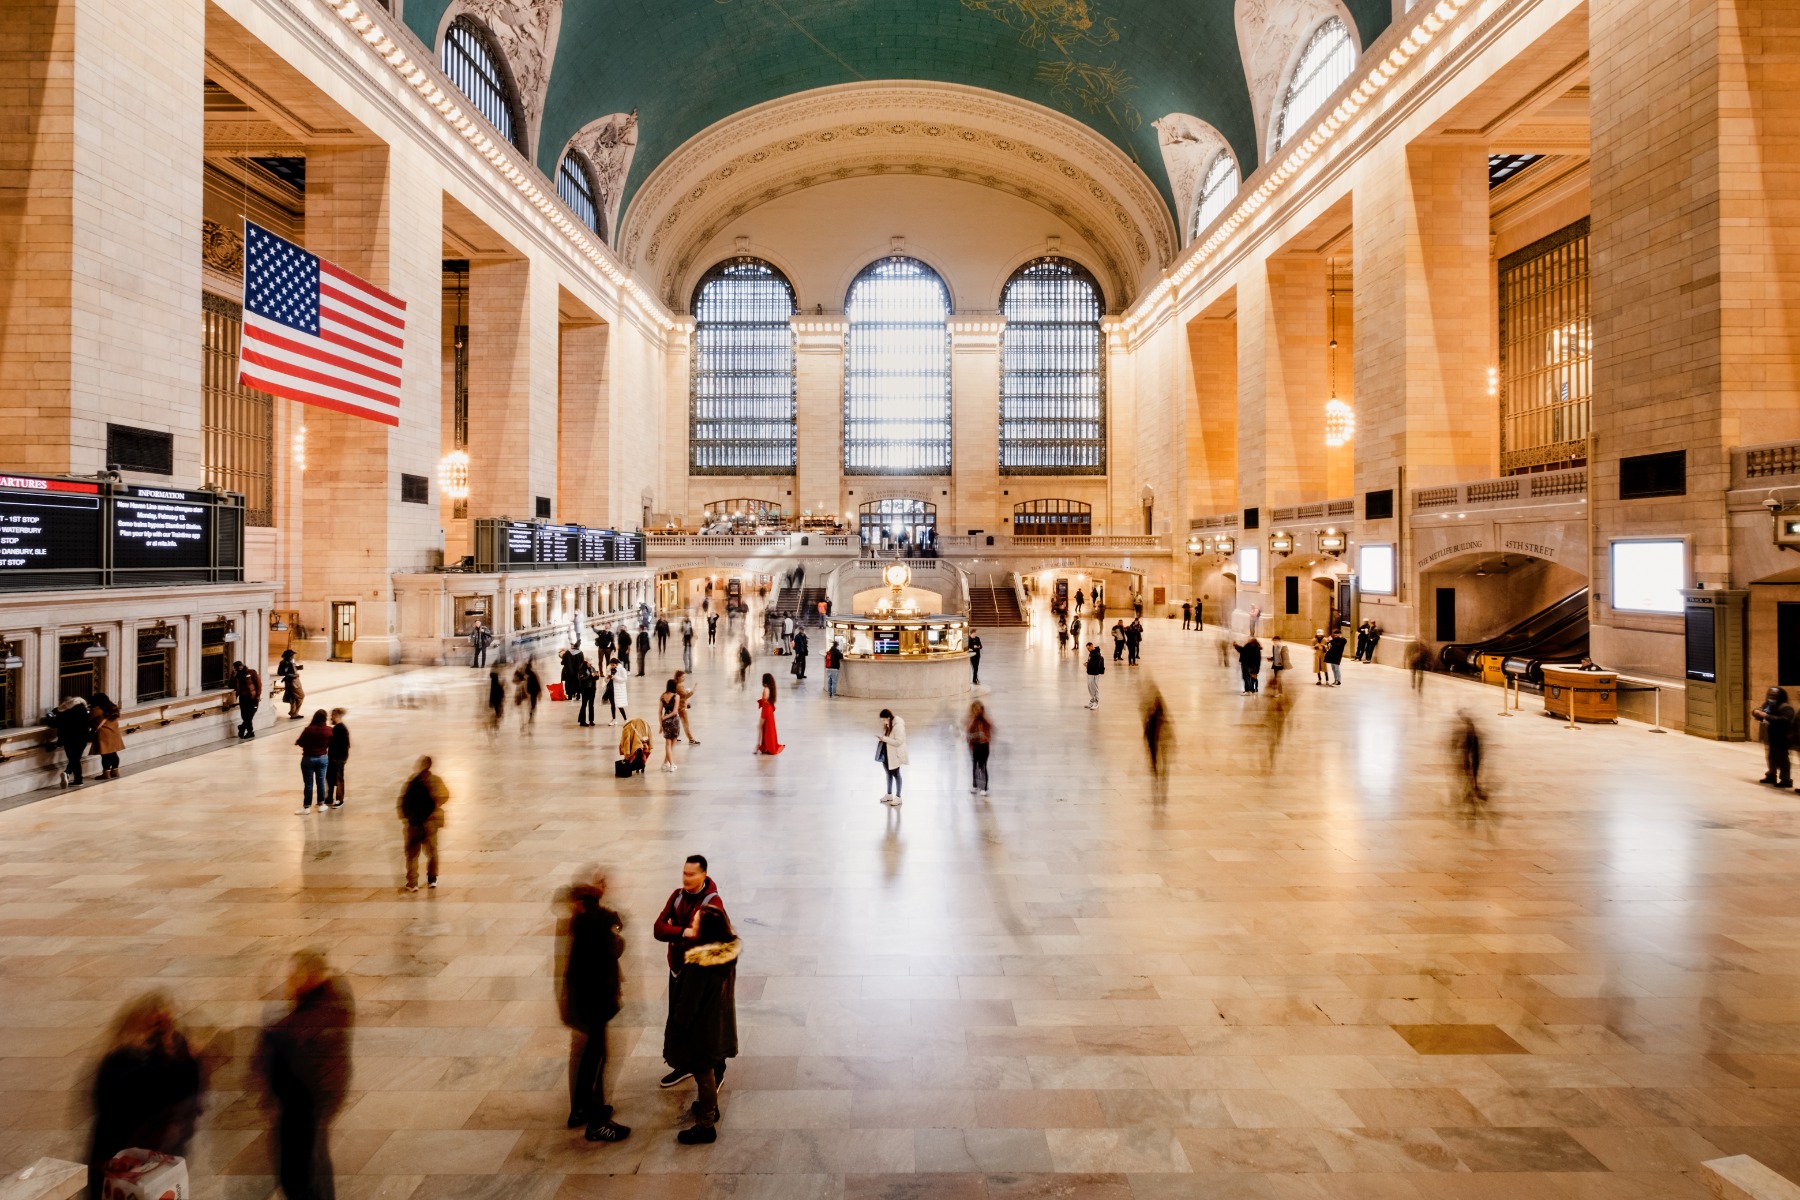
TAMRON 11-20mm F2.8 (Model B060) Focal length: 11mm Exposure: F16 Shutter Speed: 4.5sec ISO: 160
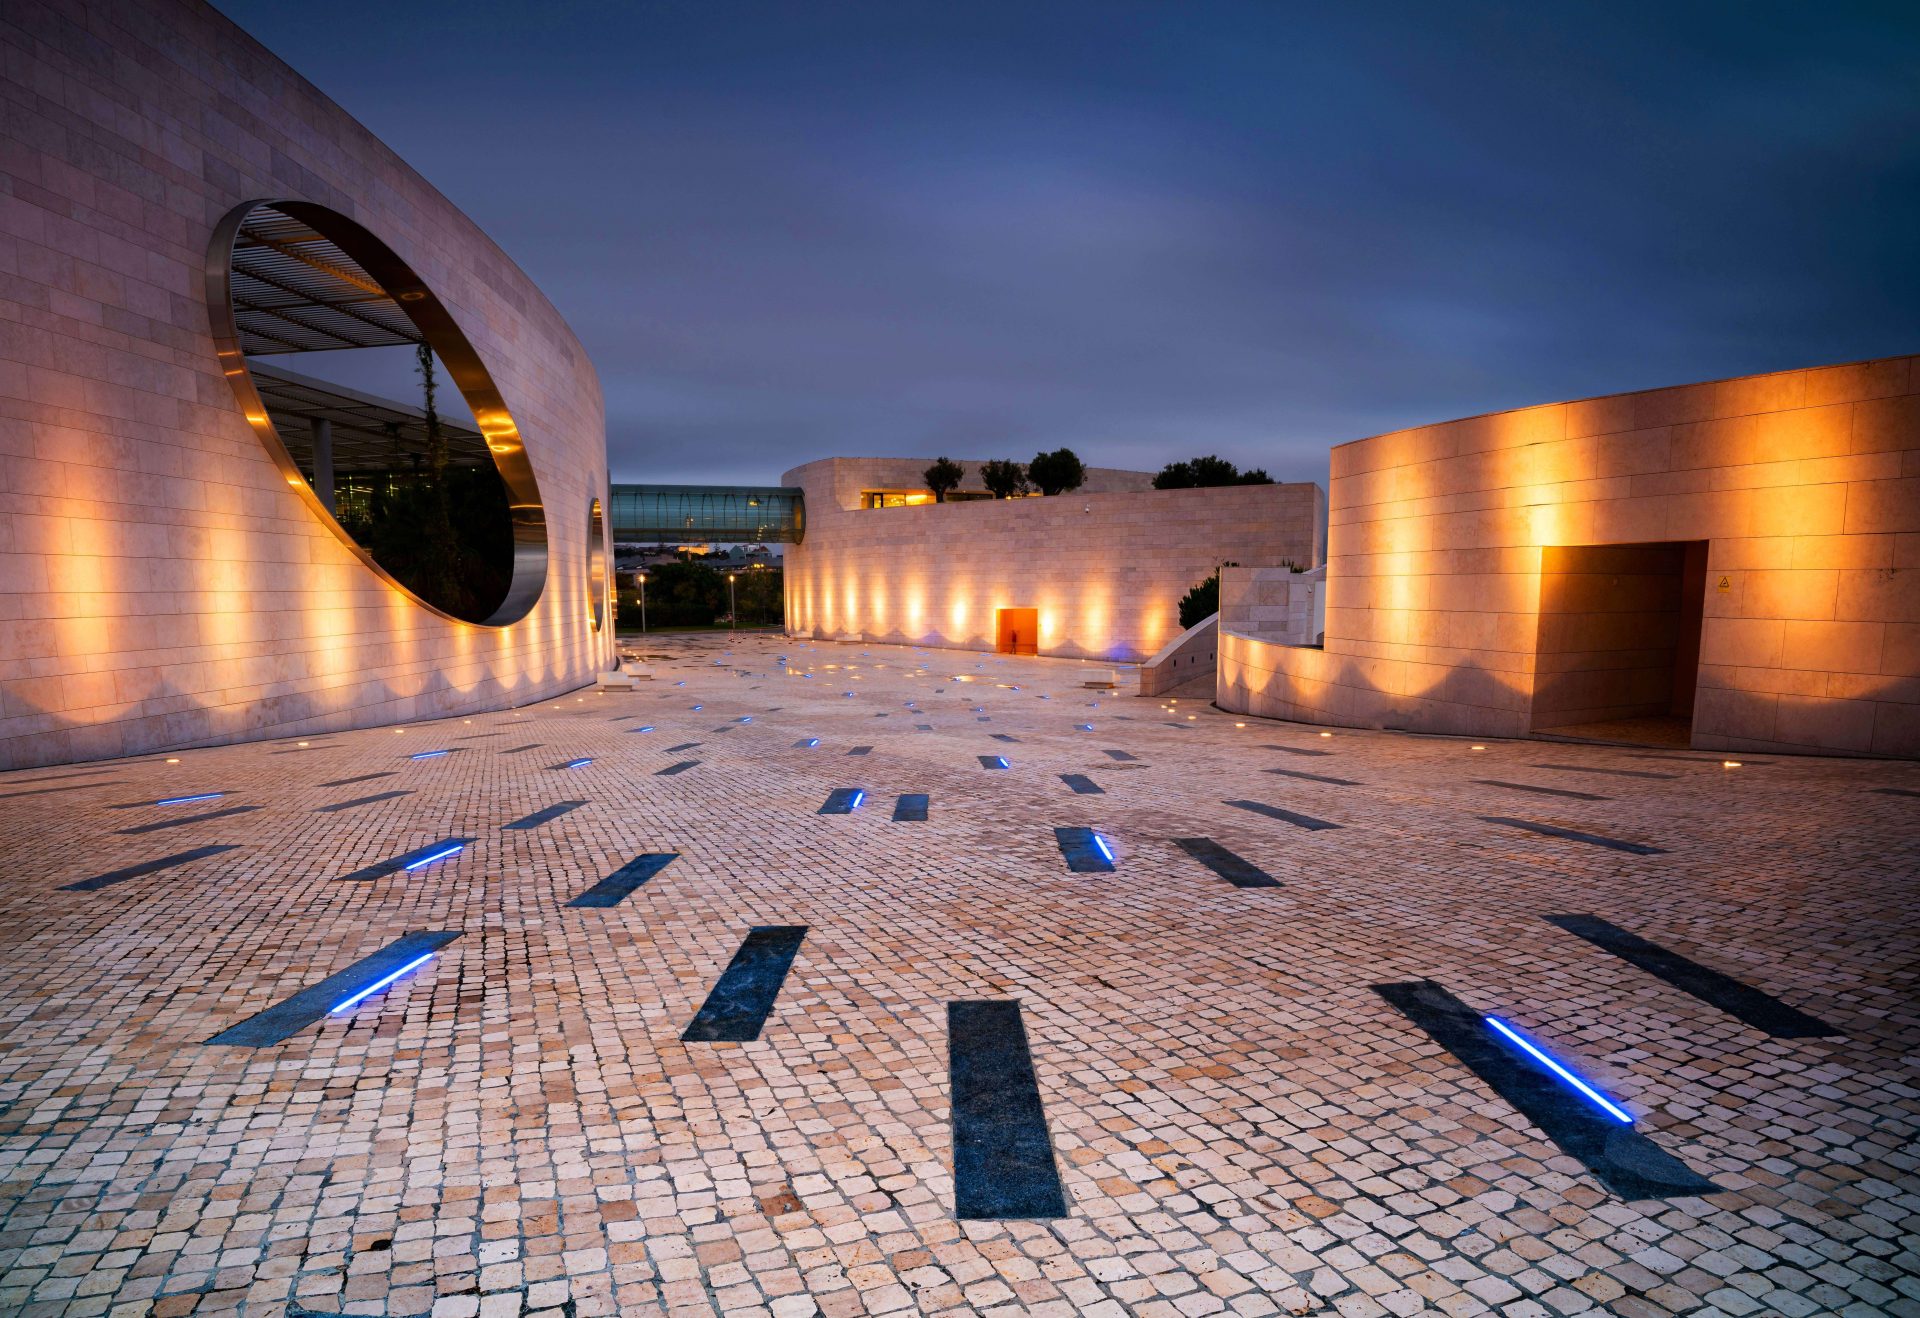
Long corridors, passageways, arcades and other deep interior spaces are well suited to one-point perspective. Place the vanishing point centrally for geometric symmetry, or shoot from an oblique angle to emphasise depth. Tilting the camera up from a low position to take in a high ceiling expresses space in a way only a wide-angle lens can. This example used a 4.5-second exposure at 11mm on an APS-C lens (around 16.5mm full-frame equivalent), so a tripod is a must in dim interiors.
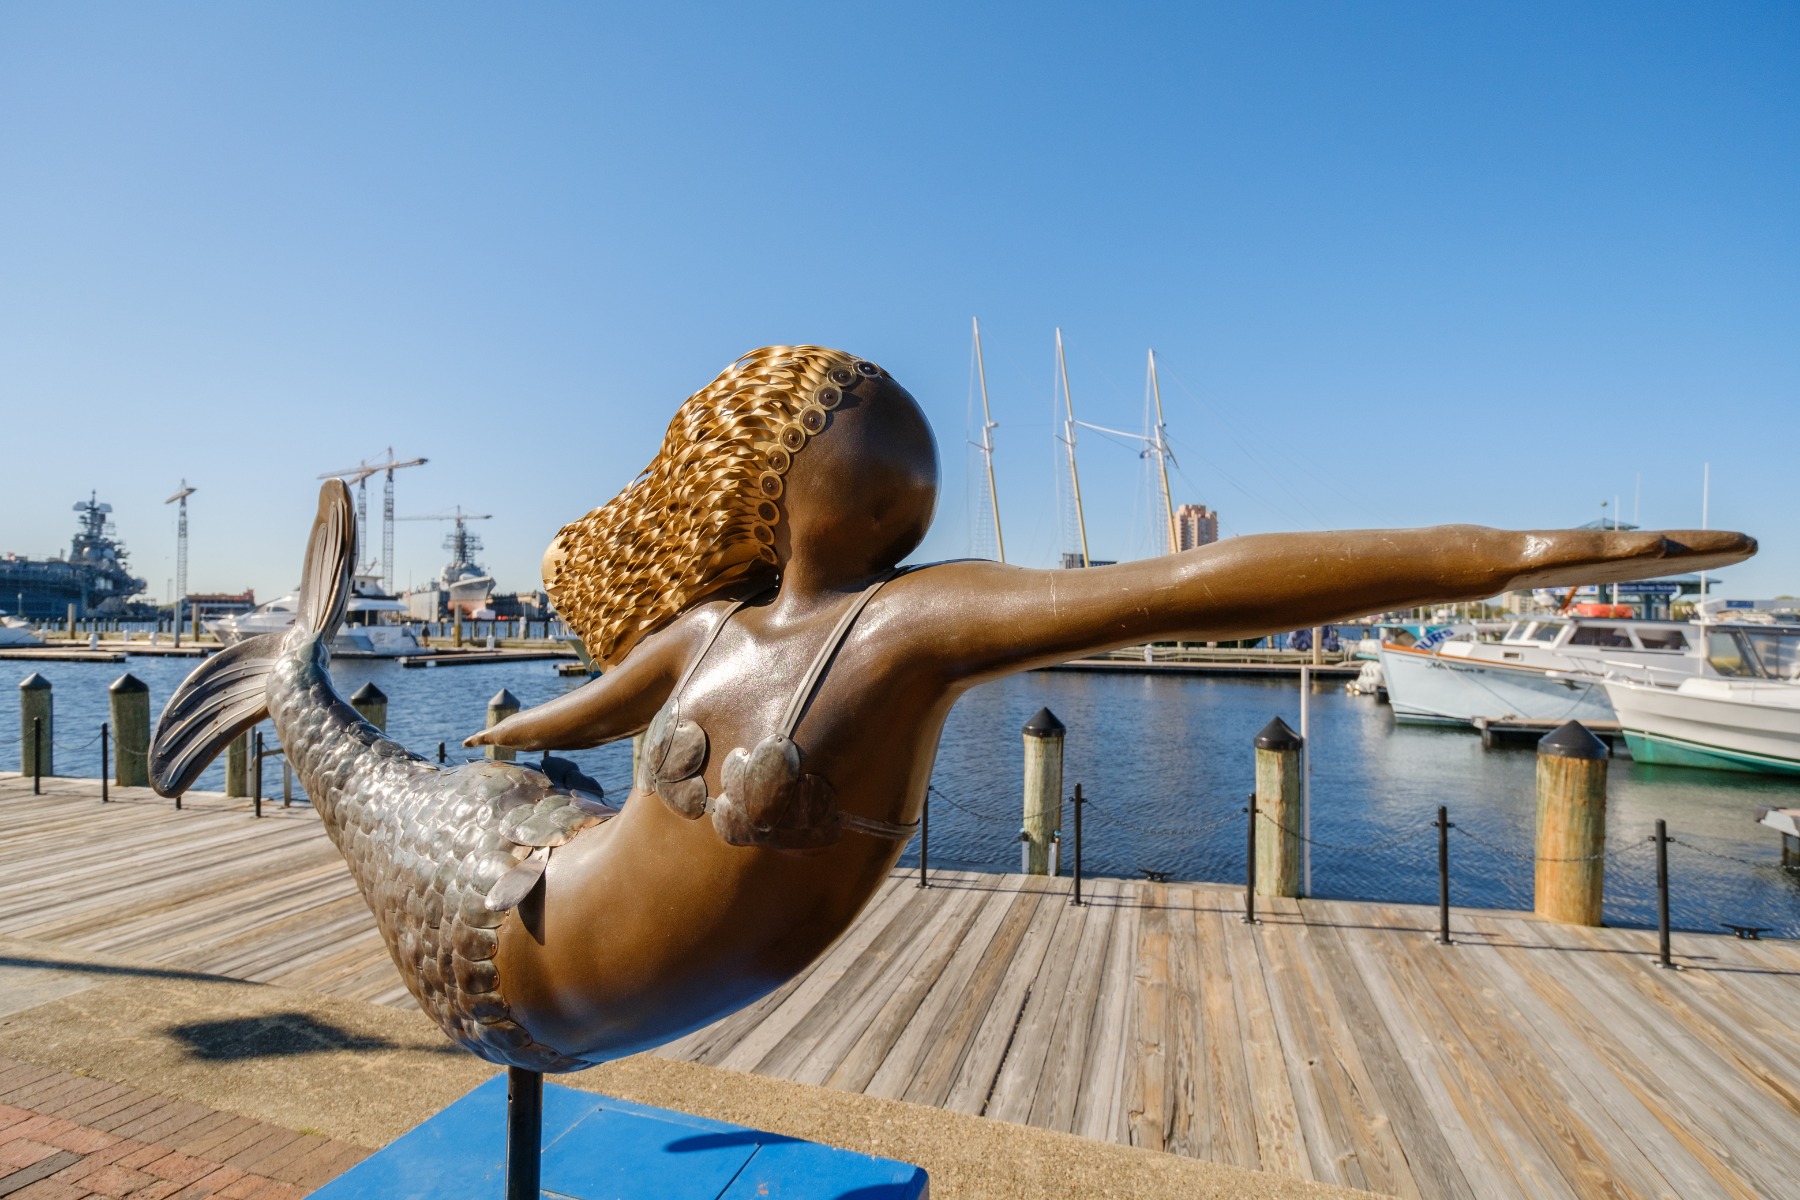
TAMRON 11-20mm F2.8 (Model B060) Focal length: 11mm Exposure: F2.8 Shutter Speed: 1/5000sec ISO: 320
Three-dimensional objects and sculptures also make strong subjects for perspective. Looking up at a tall sculpture from below produces a bold three-point perspective effect. With a line of similar objects, arrange them so that they overlap from nearest to furthest, and combine this with a diagonal composition for a natural sense of depth. The row of brightly painted beach huts along the False Bay coast, or wine barrels lined up in a cellar, are ideal. This example was captured at 11mm on an APS-C lens, around 16.5mm in full-frame terms.
Perspective in photography is what gives an image depth and three-dimensionality. Remember that distance sets perspective and focal length sets framing: move close with a wide-angle lens to exaggerate depth, or step back with a telephoto to compress it. Combine that with one-, two- and three-point perspective, overlapping layers and thoughtful camera angles, and flat scenes gain real depth in photos. Try a simple exercise: photograph the same subject at 16mm from close up and at 200mm from far away, framed at the same size, then compare how the background changes.