| September 18, 2026
 South Africa's #1 Mobile Protection Brand
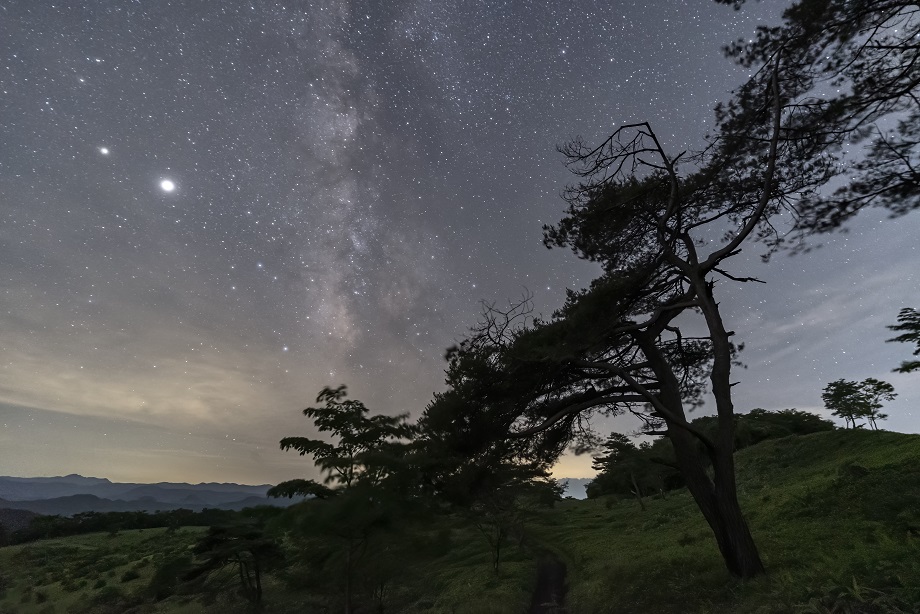
South Africa is one of the world's most extraordinary destinations for night sky photography. From the vast, pitch-black plains of the Karoo to the jagged silhouettes of the Drakensberg, the country offers some of the clearest, most dramatic skies on the planet. As part of the Southern Hemisphere, South Africa enjoys a unique vantage point of the night sky — one that includes the iconic Southern Cross, the brilliant arc of the Milky Way, and a density of stars rarely seen from the northern half of the globe.
Whether you are a complete beginner picking up a camera for the first time or an enthusiast looking to sharpen your technique, this guide will walk you through everything you need to know. We cover the key subjects you can photograph in the South African night sky, essential camera settings, compositional techniques, gear advice, and how to choose the right lens for night sky photography that suits your goals and budget.
The South African night sky offers a rich variety of subjects to photograph — each with its own character, technical demands, and creative possibilities. Understanding what you are shooting before you head out is the first step toward capturing truly memorable images.
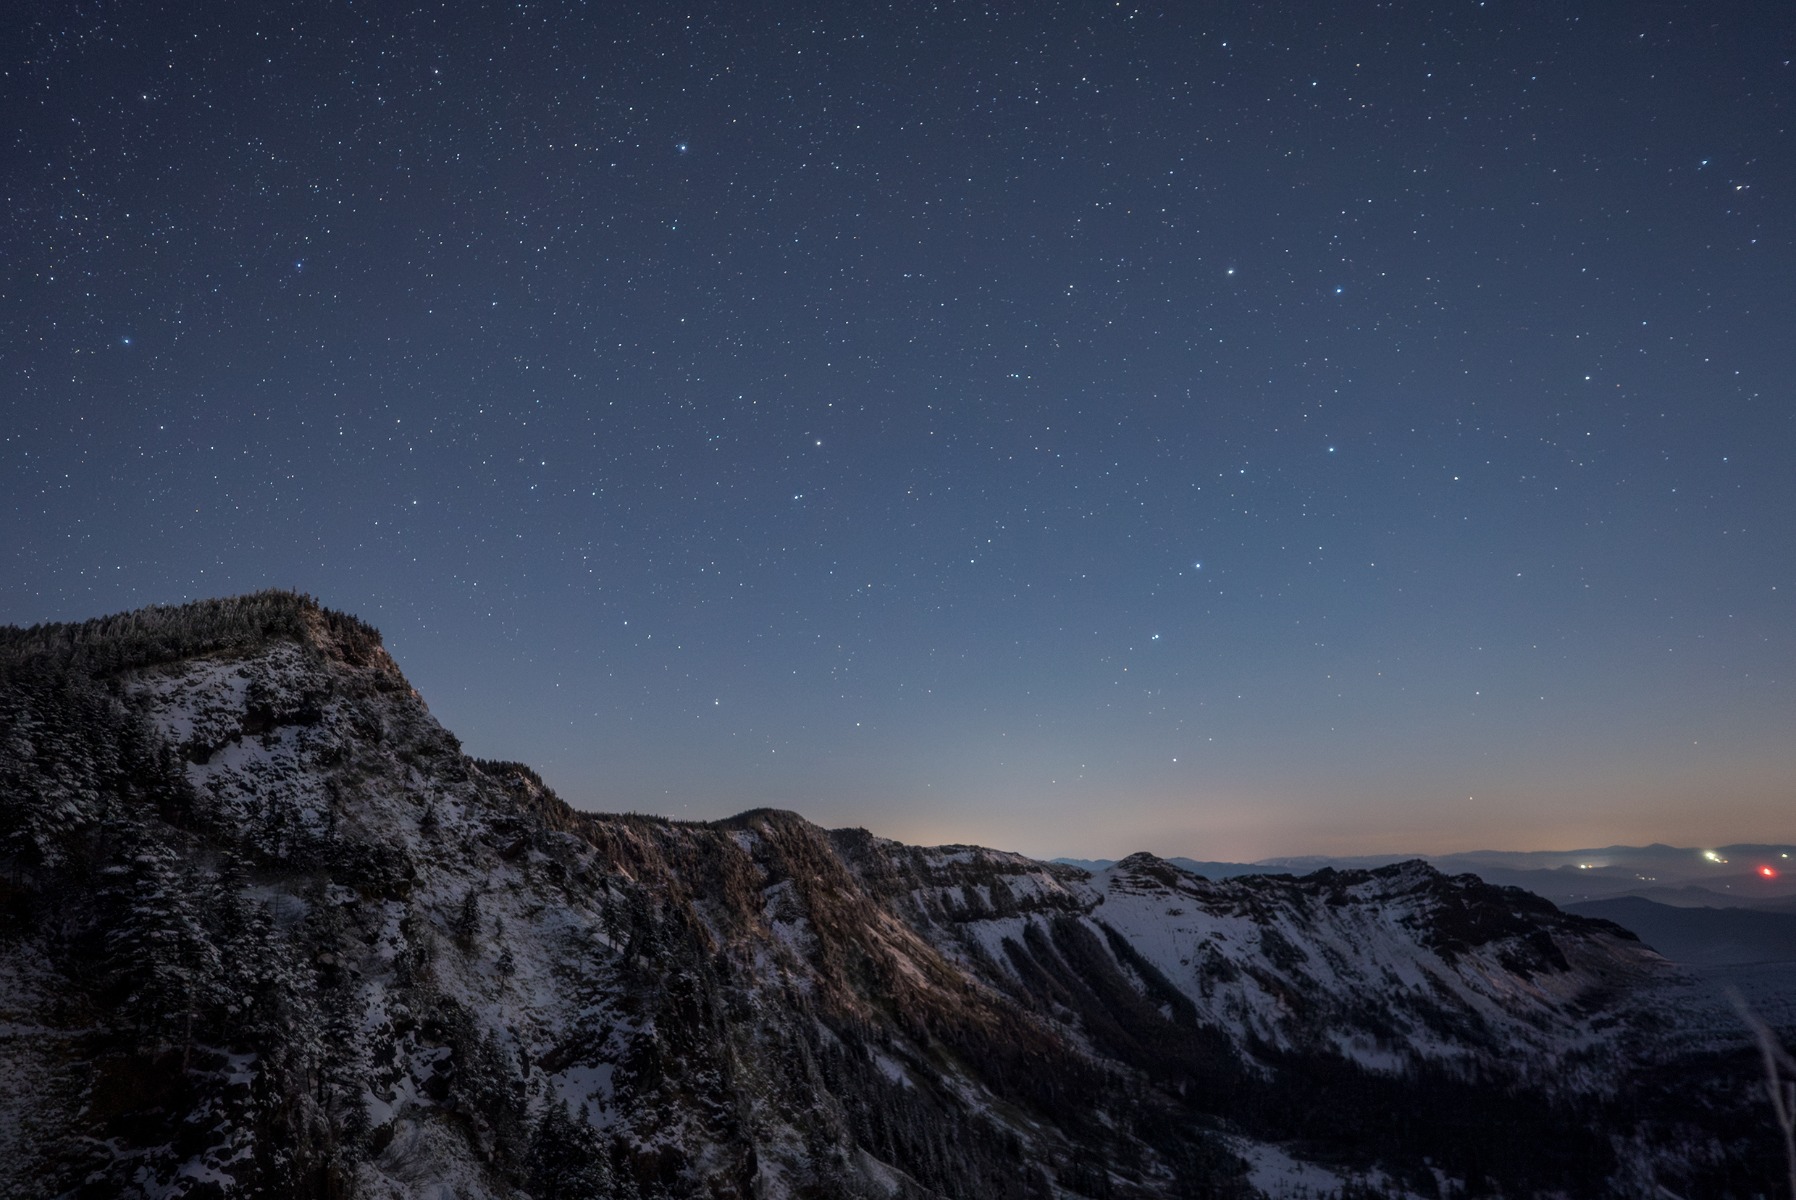
For starry sky photography, South Africa holds a remarkable advantage. The Karoo — a vast semi-desert spanning the Northern and Western Cape — is widely regarded as one of the finest dark sky destinations on the African continent. With minimal light pollution and an exceptionally dry, clear atmosphere, the Karoo delivers views of the night sky that are nothing short of breathtaking. The town of Sutherland in the Northern Cape, home to the South African Large Telescope (SALT), is a particularly celebrated destination for astrophotography enthusiasts.
From the Karoo, the Milky Way galactic core rises high above the horizon during the South African summer months (November to February), offering dramatic wide-angle compositions. The Southern Cross — Crux — is a beloved navigational constellation visible year-round from South Africa and makes a powerful compositional anchor for night sky photographs.
Because stars are faint and delicate subjects, you will need to be well away from any sources of artificial light. Set your F-number to the widest aperture available on your lens, your shutter speed to between 20 and 30 seconds, and your ISO sensitivity to between ISO 1600 and ISO 6400. These settings will allow enough light to reach the sensor to render even dimmer stars clearly. A sturdy tripod and a remote shutter release are non-negotiable. For foreground interest, consider framing your shot against a silhouetted acacia tree, a baobab, or the dramatic rock formations of the Cederberg Wilderness Area — these distinctly South African elements bring a strong sense of place to your images.
The moon is one of the most accessible subjects in night sky photography because it is bright enough to shoot even from suburban or semi-urban locations. South Africa offers some spectacular backdrops for moon photography — imagine the full moon cresting the flat-topped silhouette of Table Mountain, rising above the Drakensberg escarpment, or reflecting across the still surface of a Karoo pan at midnight.
For exposure settings, use an F-number of around F8 to F11, a shutter speed of between 1/100 and 1/250 of a second, and an ISO sensitivity of ISO 100 to ISO 400. These settings will produce a well-exposed image with crisp, clearly defined edges. For landscapes that include the moon as part of a wider scene, a wide-angle lens works well. If you want to fill the frame with the moon and reveal the surface detail of its craters, a telephoto or super-telephoto lens with a focal length of 200 mm or more is recommended.
Do not overlook the half moon as a subject. When the moon is at half phase, the contrast between the illuminated and shadowed surfaces throws the craters into sharp relief, adding a striking three-dimensional quality to your images. This is often a more visually interesting shot than a full moon, where the flat, even light can reduce surface texture.
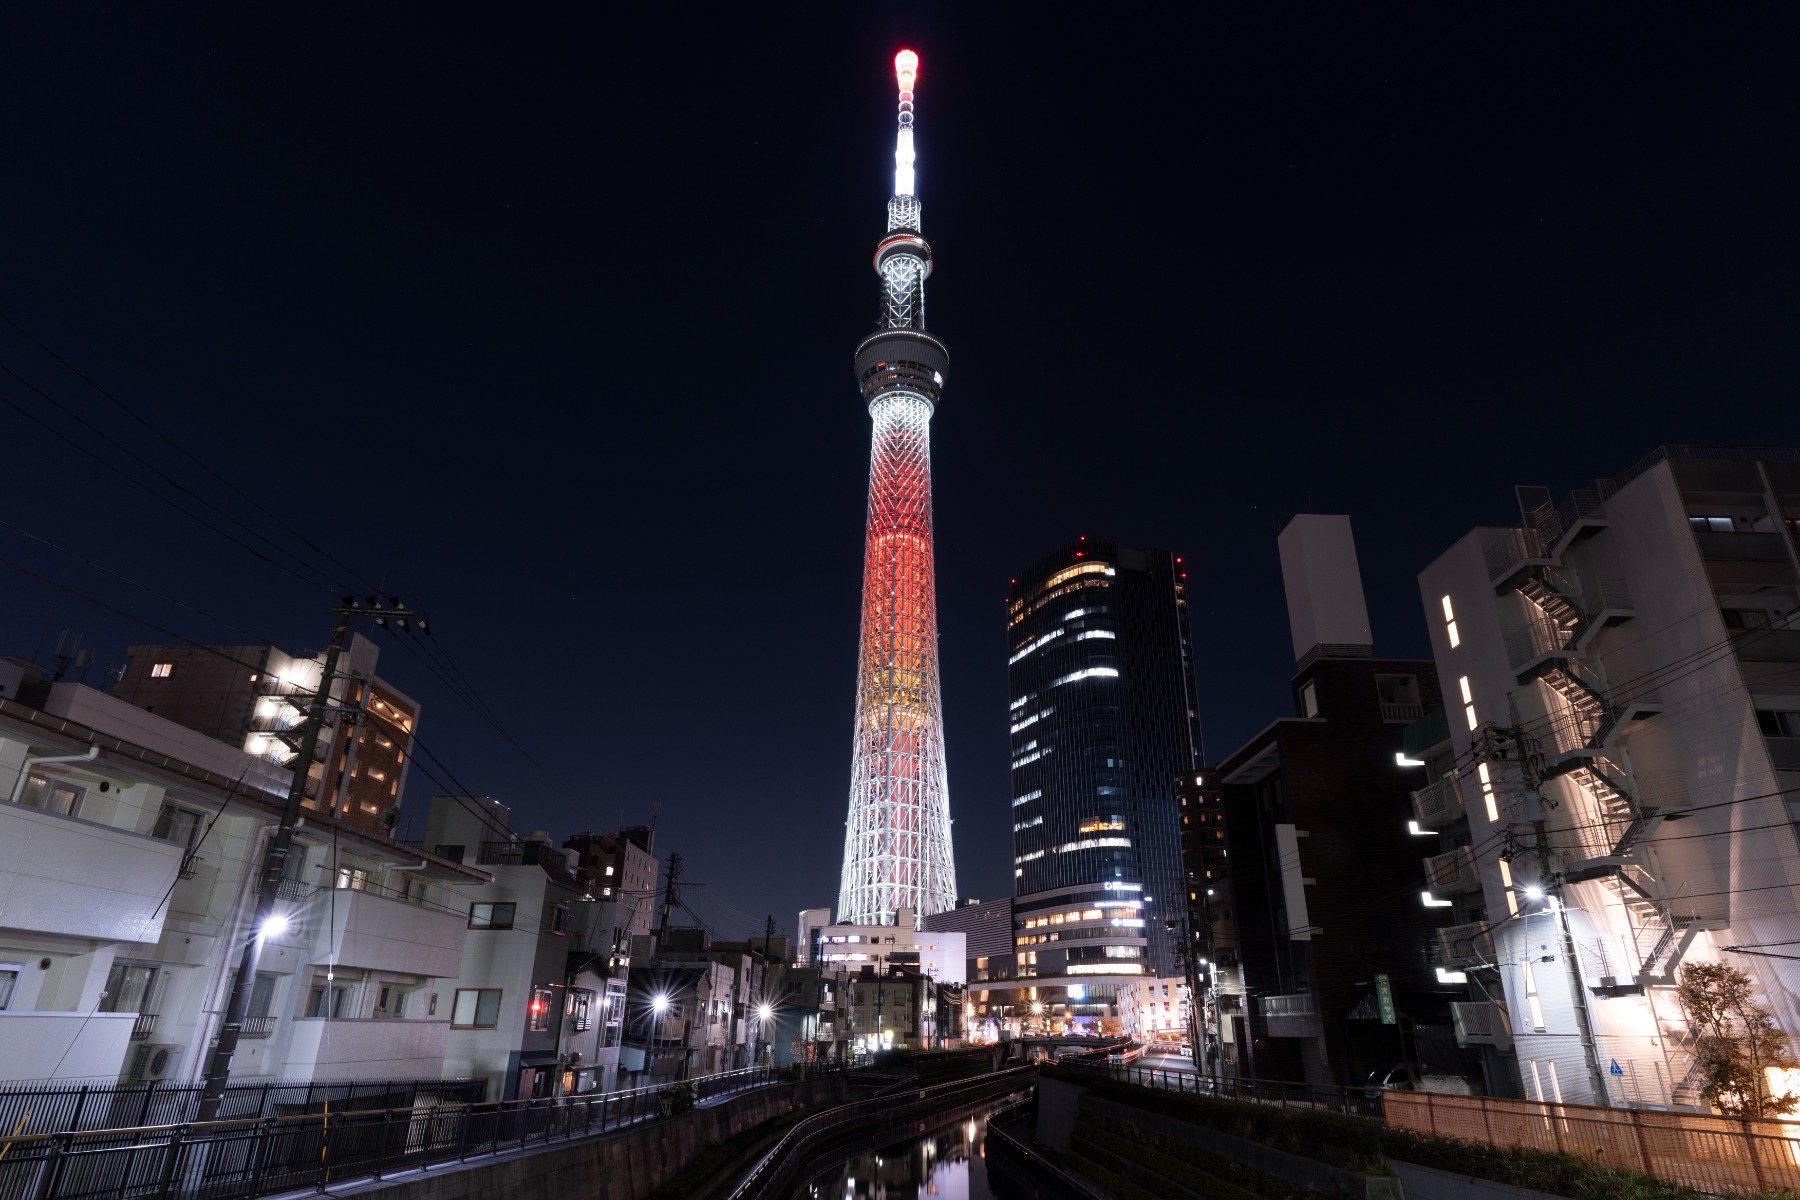
South Africa's cities come alive after dark and offer rich material for nightscape photography. The V&A Waterfront in Cape Town, with the illuminated peak of Table Mountain in the background and the harbour lights reflected in the water, is one of the country's most iconic nocturnal scenes. In Johannesburg, the glittering CBD skyline photographed from elevated vantage points such as the Northcliff Ridge or Constitution Hill delivers dramatic urban long-exposure results. Durban's Point Waterfront, set against the warm Indian Ocean night air, offers yet another distinct aesthetic.
For nightscape photography, use an aperture of F8 to F11, a shutter speed of between 1 and 30 seconds, and an ISO of ISO 100 to ISO 800. The long exposure time means a tripod is essential. Look for locations near water — harbours, dams, or coastal estuaries — where the reflections of city lights double the visual impact of the image. Be creative with your angles: shooting low to the ground or from an elevated position can transform an ordinary city view into something extraordinary.
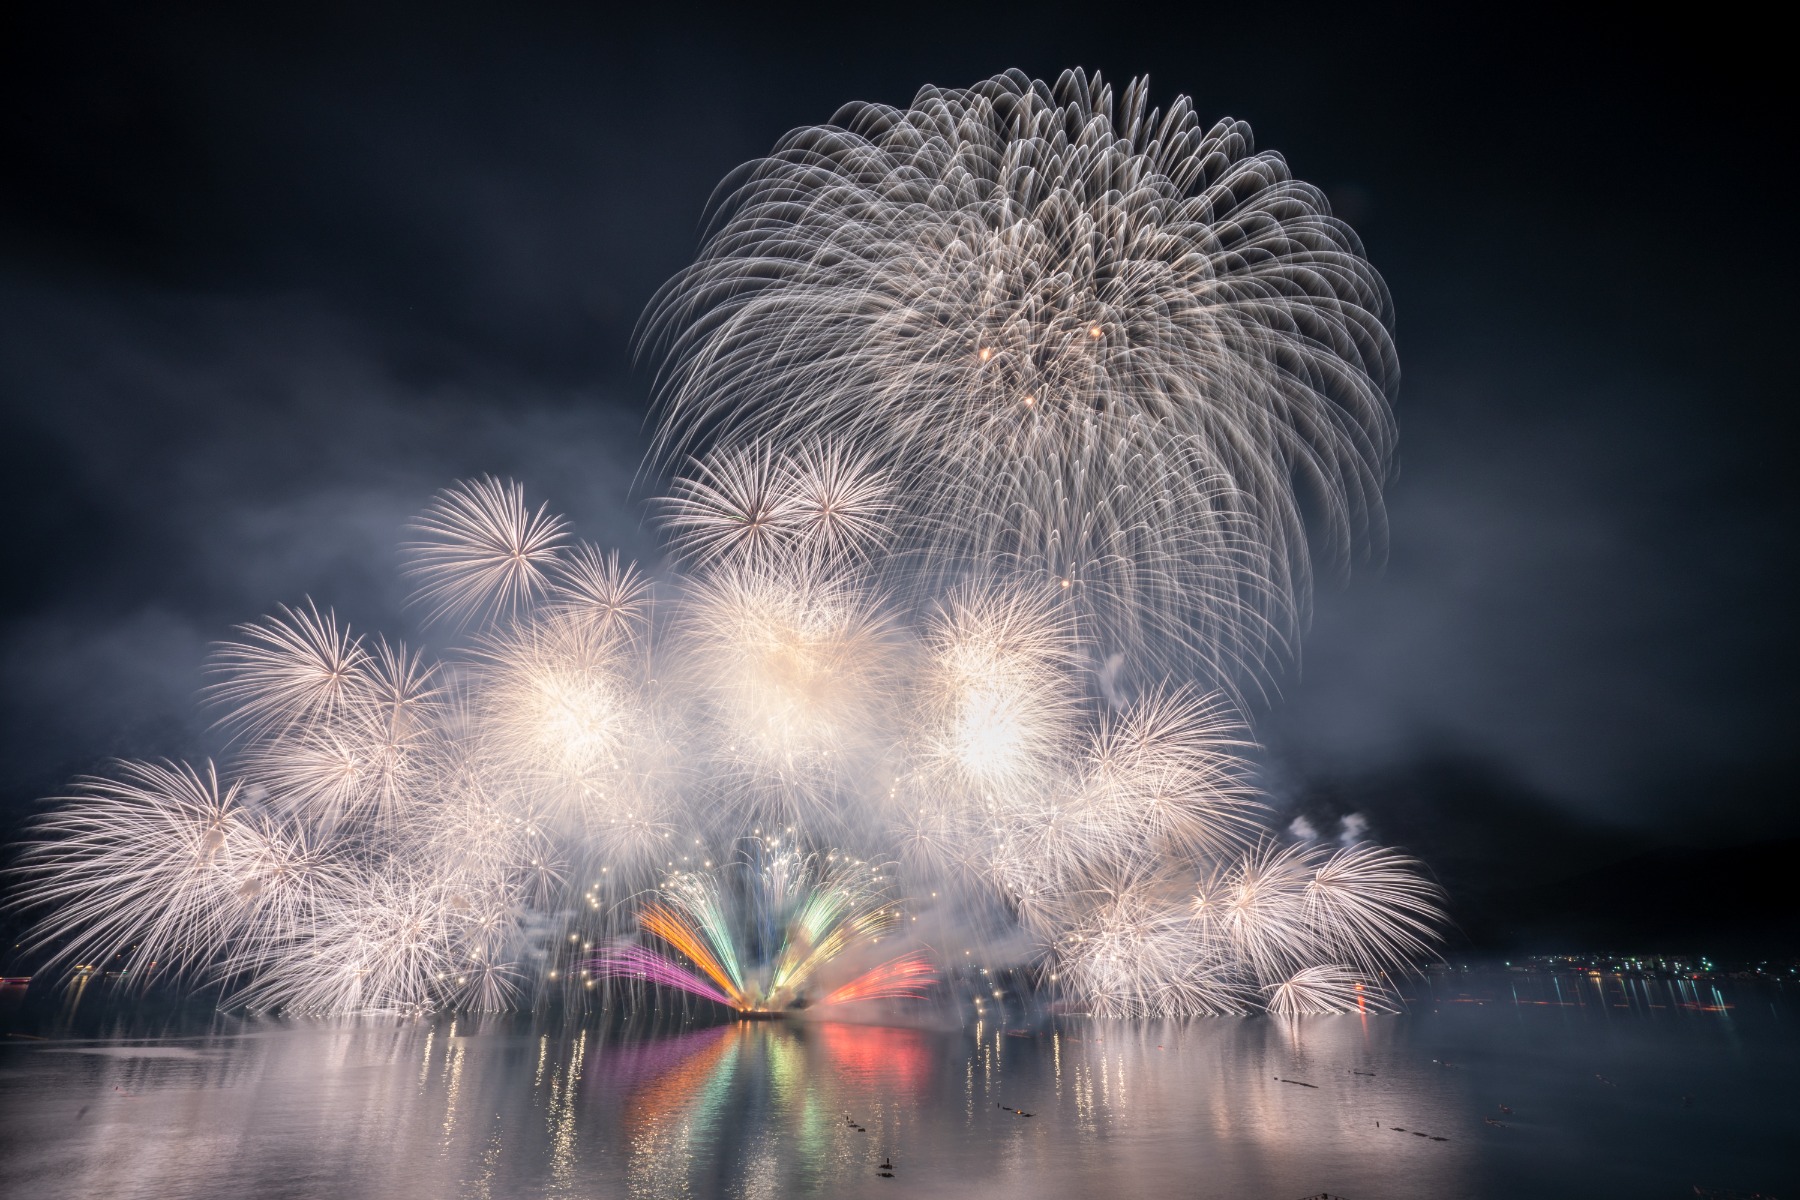
South Africa hosts a number of spectacular fireworks events throughout the year that offer wonderful opportunities for night sky photography. New Year's Eve celebrations in Cape Town and Johannesburg draw large crowds and feature impressive fireworks displays. Diwali festivities in Durban — home to one of the largest Indian communities outside of India — are accompanied by vibrant displays of light and colour that make for vivid photographic subjects.
Photographing fireworks requires patience and preparation. Set your aperture to F8 to F11, use bulb mode for your shutter speed, and keep your ISO at ISO 100 to minimise noise. Open the shutter just before a firework launches and close it once the burst has faded — this captures the full trail of light in a single frame. A tripod is essential to prevent any blur during the long exposure, and a remote shutter release helps eliminate camera shake when you press the button.
Scout your position early. Identify the launch area and leave enough space in the frame above and around it. If you find your composition is slightly off, you can always crop in post-processing — but you cannot recover a firework burst that was clipped at the edge of the frame.
Regardless of which subject you are shooting, there is a set of core techniques that underpins all successful night sky photography. South Africa's diverse shooting environments — from the pin-drop silence of the Karoo to the wind-swept coastline of the Cape — present their own unique challenges and opportunities. The following fundamentals will help you make the most of whatever location you find yourself in.
One of the first decisions you will face in night sky photography is which focal length to use, and this largely depends on what you want to capture. Wide-angle and ultra-wide-angle lenses — typically 35 mm or shorter — are ideal for sweeping landscape compositions that include a large portion of the sky. In South Africa, a wide-angle lens is perfect for capturing the full arch of the Milky Way over the Karoo horizon, the Southern Cross above a Drakensberg peak, or a panoramic view of the Cape coastline under a canopy of stars.
Telephoto lenses, on the other hand, are the tool of choice when you want to isolate and magnify a specific subject. For close-up moon photography — revealing the craters and surface textures in fine detail — a telephoto lens of 200 mm to 300 mm or more is recommended. A super-telephoto lens of 400 mm or beyond will allow you to fill the frame with the lunar disc entirely. This kind of shot pairs beautifully with a recognisable South African silhouette in the foreground, such as the moon rising behind the Twelve Apostles mountain range above Cape Town's Atlantic Seaboard.
Many photographers carry two lenses on night shoots — a wide-angle prime or zoom for starry sky and Milky Way work, and a longer telephoto for moon shots. Understanding which lens serves which purpose will help you plan your kit and your composition before you even leave home.
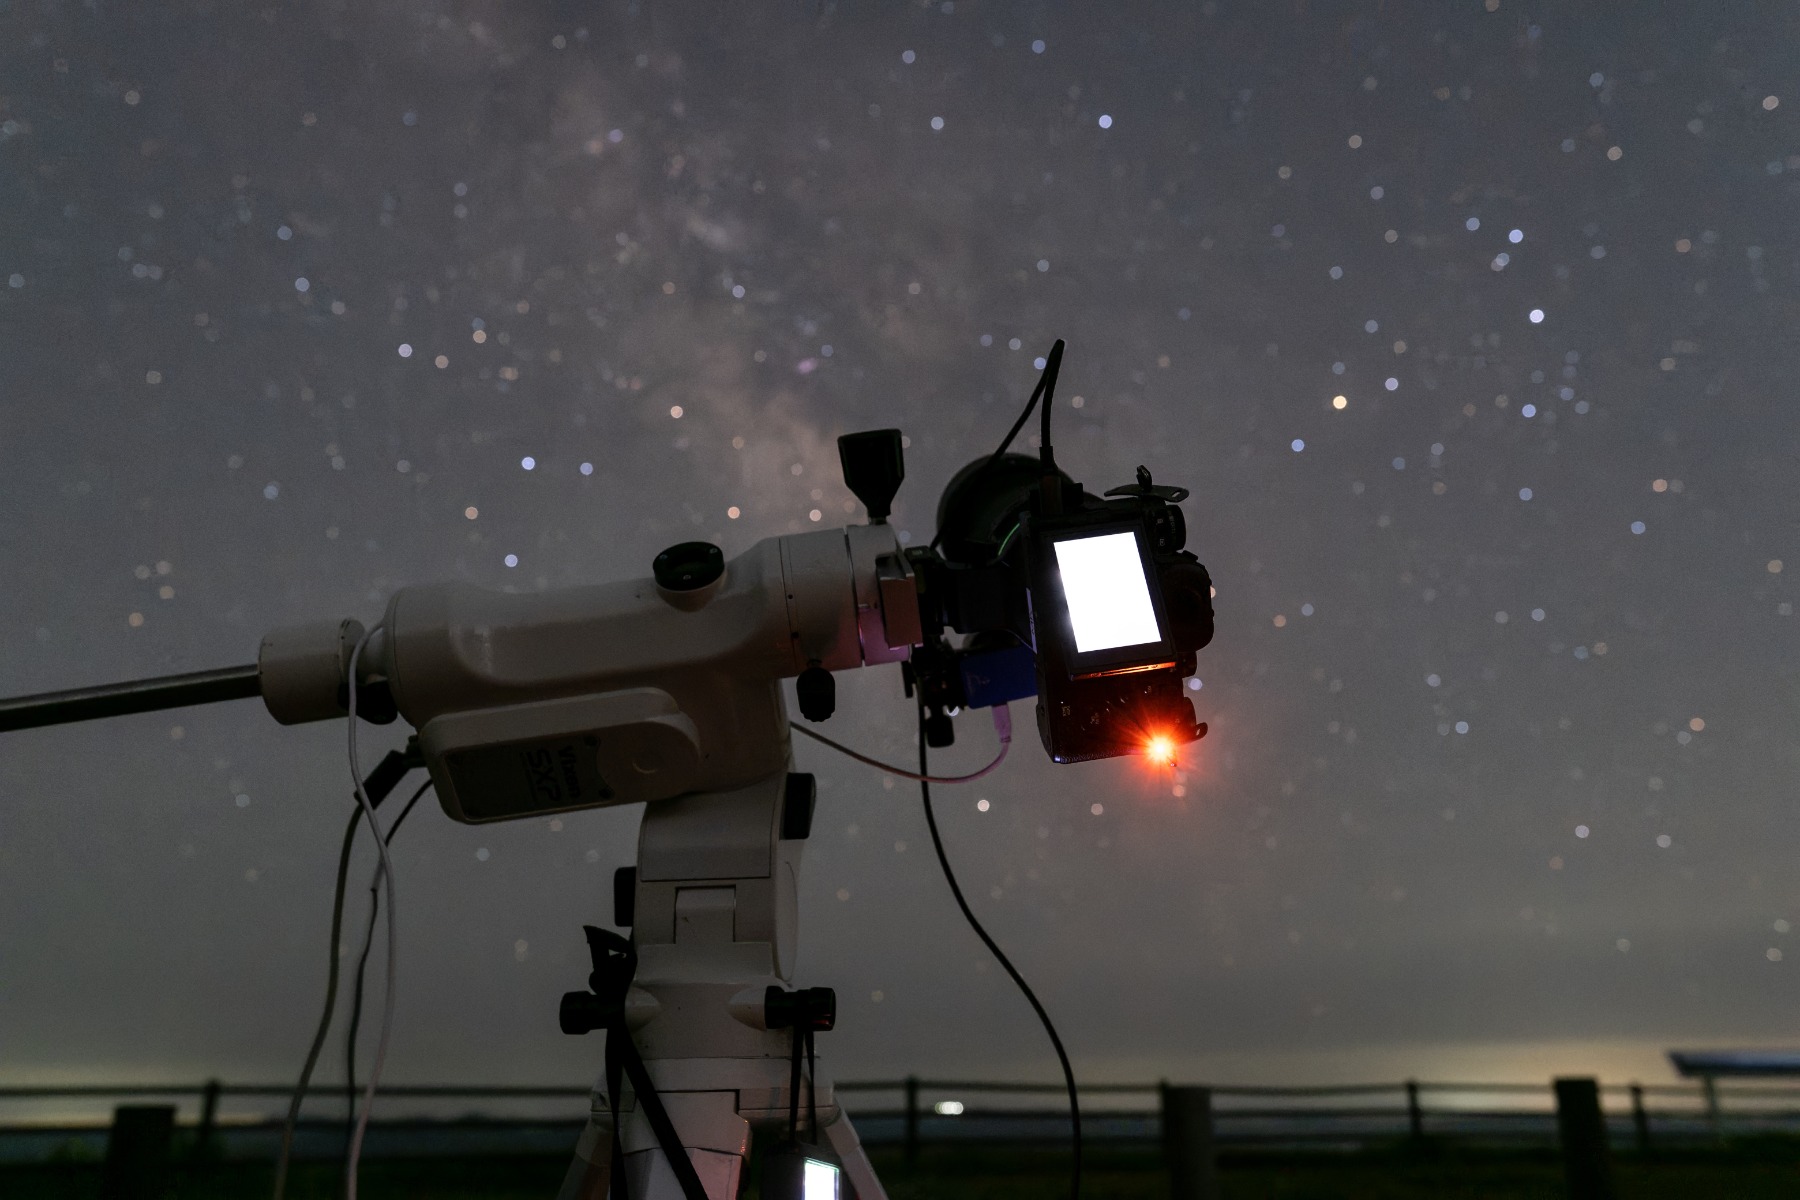
Night sky photography almost always involves slow shutter speeds — sometimes several seconds, sometimes many minutes. Any movement of the camera during the exposure will result in blur, so a stable tripod is not optional; it is absolutely essential. This is especially true in South Africa's most rewarding shooting locations, where uneven terrain is the norm. The rocky ground of the Cederberg, the loose gravel of Karoo dirt roads, and the sloping hillsides of the Drakensberg all demand a tripod with sturdy, independently adjustable legs that can be set firmly on uneven surfaces.
Beyond the tripod itself, use a remote shutter release or your camera's built-in self-timer to trigger the shutter without physically touching the camera. Even the slight vibration caused by pressing the shutter button manually can introduce subtle blur in long-exposure shots. Together, a good tripod and a remote release form the foundation of sharp, clean night sky images.
Choosing the right location is one of the most important decisions in night sky photography, and South Africa is extraordinarily well-served in this regard. For starry sky and Milky Way photography, you need to get as far from artificial light as possible. Fortunately, the country's vast interior provides some of the darkest skies anywhere in the world.
Sutherland in the Northern Cape is widely considered South Africa's premier dark sky destination. Home to the South African Astronomical Observatory and the Southern African Large Telescope (SALT) — one of the largest optical telescopes in the southern hemisphere — the town sits at altitude on the edge of the Roggeveld escarpment, offering exceptionally clear and stable skies. The surrounding Tankwa Karoo National Park provides equally dark conditions with dramatic desert landscapes as foreground material. Further to the west, the Cederberg Wilderness Area in the Western Cape is another outstanding destination, combining dark skies with spectacular ancient rock formations.
For timing, aim to shoot during or close to the new moon phase, when the lunar light does not wash out the fainter stars. On the South African Highveld — around Johannesburg and Pretoria — the dry winter months from June to August offer reliably clear nights with excellent transparency, making them ideal for star photography despite the cold. Along the KwaZulu-Natal coast, the wetter summer months bring higher humidity and more atmospheric haze, so plan your shoots accordingly.
Getting your exposure right is the most technically demanding aspect of night sky photography. Unlike daylight shooting, there is no auto mode that will reliably expose a dark sky scene the way you intend. Understanding each element of the exposure triangle — and how to apply it to the specific subject in front of you — is what separates a mediocre night shot from a spectacular one.
Shooting Mode
For moon and starry sky photography, manual mode is strongly recommended. The camera's automatic metering systems are designed for average scenes and will frequently over- or under-expose the extreme contrast of a night sky. Setting your own shutter speed, aperture, and ISO gives you full creative control. For nightscape and city light photography, aperture priority mode can be a useful shortcut — set your desired F-number and let the camera calculate the appropriate shutter speed, while you focus on composition.
F-number
For starry sky photography, always shoot at the widest aperture your lens offers — the lowest F-number available. This maximises the amount of light reaching the sensor, which is critical when photographing faint stars in a dark sky. For moon and nightscape photography, where the subject is much brighter, stopping down to F8 to F11 will produce sharper images with better contrast and more defined edges.
Shutter Speed
For starry sky and Milky Way photography, a shutter speed of 20 to 30 seconds is generally recommended with a wide-angle lens. Exposures longer than this will begin to show star trails — the effect of the Earth's rotation — which appear as streaks rather than dots. If star trails are your intention, exposures of several minutes or longer will produce dramatic arcing patterns across the frame, particularly striking when anchored by a strong foreground element such as a Karoo farmhouse or a solitary acacia tree.
For moon photography, a much shorter shutter speed of 1/100 to 1/250 of a second is all that is needed. The moon is a sunlit object — it is far brighter than it appears — and a short exposure will render it cleanly without blowing out the highlights.
ISO Sensitivity
Starry sky photography requires a higher ISO setting to record the faint light of distant stars. An ISO of 1600 to 6400 is typically sufficient to capture a detailed image of the Milky Way from a dark location like the Karoo. Modern mirrorless and DSLR cameras handle high ISO noise remarkably well, but it is still worth testing your specific camera body at each ISO level to understand where noise becomes unacceptable. For moon and bright nightscape photography, keeping the ISO low — between ISO 100 and ISO 400 — will produce cleaner, sharper images with less digital grain.
Exposure Compensation
When shooting nightscapes in auto or semi-auto modes, the extreme contrast between bright city lights and the dark sky above can cause the camera to underexpose the image. If your shots look darker than what you see with your eyes, dial in positive exposure compensation to brighten the overall image. For the finest control over exposure and colour, shooting in RAW format is strongly recommended — it gives you the latitude to adjust exposure, highlights, shadows, and white balance after the fact without any loss of image quality.
Autofocus systems struggle in the dark — there is simply not enough contrast for them to lock on reliably. For night sky photography, manual focus is the standard approach. Switch your lens to manual focus mode and use your camera's live view function to magnify a bright star on screen. Adjust the focus ring until the star appears as a clean, sharp pinpoint of light rather than a soft blob. In South Africa's southern skies, Canopus — the second brightest star in the night sky and a prominent southern hemisphere object — and the pointer stars of the Southern Cross make excellent focus targets.
White balance has a significant effect on the mood and atmosphere of your night sky photographs. Selecting a fluorescent white balance setting tends to produce a cooler, bluer tone that suits the remote, otherworldly quality of a starry Karoo sky. A tungsten or light bulb setting, by contrast, introduces warm amber and orange tones that can beautifully complement a nightscape of Johannesburg's city lights or a campfire glowing beneath the Milky Way in the bushveld.
If you are unsure which look suits your vision, the safest approach is to shoot in RAW format and make your white balance decisions in post-processing. RAW files retain the full range of colour data captured by the sensor, giving you complete freedom to adjust the tint of your image without any degradation in quality.
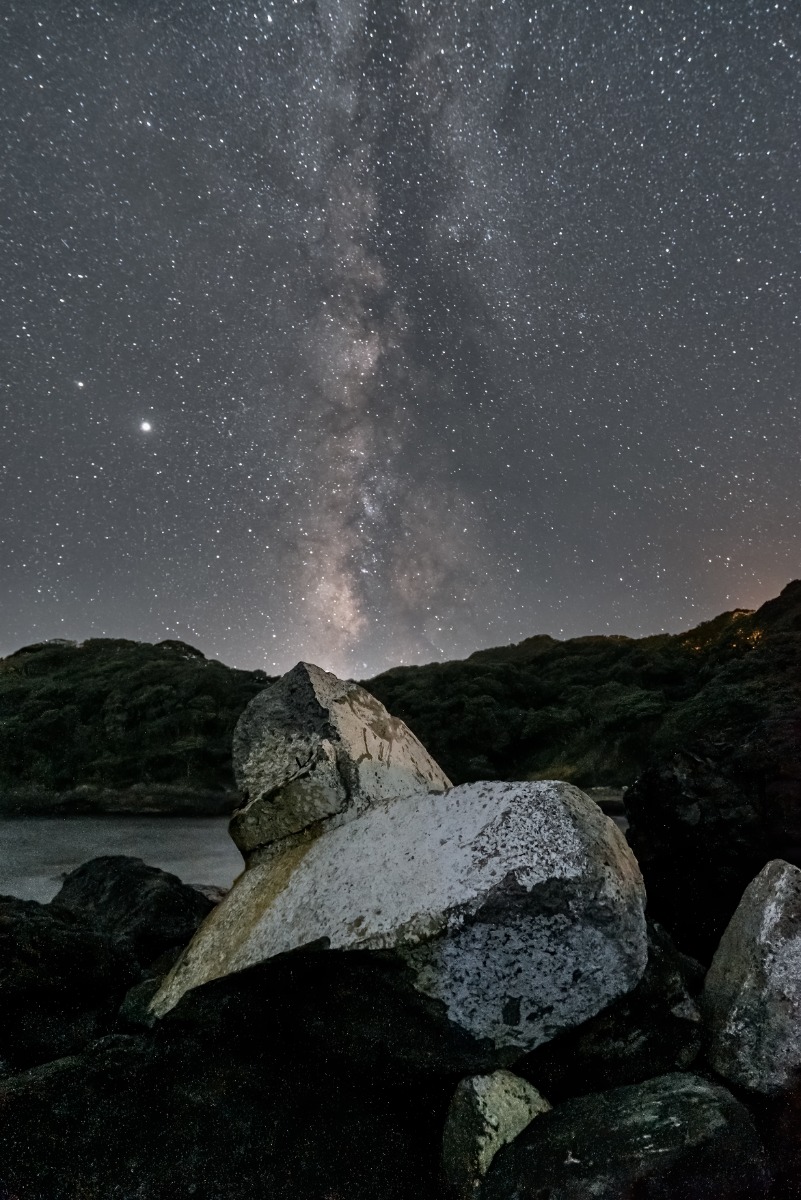
A technically perfect exposure counts for little if the composition is uninteresting. Night sky photography rewards thoughtful framing, and South Africa provides an extraordinary range of compositional elements to work with. The classic rule of thirds applies as much to night sky images as to any other genre — position the horizon in the lower third of the frame to emphasise the vastness of the sky above, or in the upper third to foreground a dramatic landscape below.
The Southern Cross, positioned in the southern sky, can serve as a natural focal point in your composition — a celestial anchor that South African viewers will immediately recognise and connect with. The arch of the Milky Way, when it rises above the Karoo horizon in summer, offers a sweeping diagonal line that draws the eye through the frame. Including a strong foreground element — a silhouetted acacia tree, a baobab against the stars, a weathered Karoo farmstead wall, or the jagged ridge of a Drakensberg escarpment — adds depth, scale, and a distinctly South African identity to your images.
Do not be afraid to experiment with your camera angle and position. Shooting low to the ground can include interesting textures in the foreground, while moving to a higher vantage point can reveal a broader sweep of sky. The same location photographed from different positions and at different times of night can yield dramatically different results.
South Africa's climate varies considerably from region to region, and this has a direct impact on how you need to care for your equipment during night shoots. On the Highveld — the elevated interior plateau that includes Johannesburg and Pretoria — winters (June to August) are dry and cold, with nighttime temperatures frequently dropping below freezing in rural areas. While the low humidity reduces condensation risk, the rapid temperature drop between late afternoon and midnight can cause a warm lens taken directly from a heated car to fog up on its outer elements.
To prevent this, allow your camera and lenses to acclimatise gradually before you start shooting. Leave them in a bag outside for 15 to 20 minutes before you begin — this allows the equipment to slowly approach the ambient temperature and minimises the risk of condensation forming on the glass. In the wetter coastal regions of KwaZulu-Natal, humidity is higher and condensation is a more persistent concern during the summer months. In the Karoo, the extreme temperature swing between a hot afternoon and a cold night can be dramatic — plan accordingly. A lens heater wrap — a battery-powered heating band that attaches around the lens barrel — is a worthwhile investment for regular night sky photographers, as it maintains a slight temperature differential that prevents dew forming on the front element.
Selecting the right lens can make an enormous difference to your night sky photography results. South Africa's varied shooting environments — from the vast open skies of the Karoo to the intimate harbourside lights of the V&A Waterfront — demand different optical qualities. Here is what to look for when choosing a lens for night sky photography.
The single most important specification for a night sky photography lens is its maximum aperture. A wider maximum aperture — expressed as a lower F-number — allows more light to reach the sensor in a given amount of time. This is critical when photographing faint stars or the Milky Way from a dark location. A lens with a maximum aperture of F2.8 or wider is strongly recommended for starry sky work. In a place as dark as Sutherland or the Tankwa Karoo, a fast F2 or F1.8 lens will reveal a breathtaking density of stars that a slower F4 or F5.6 lens simply cannot match in the same exposure time.
Wide-angle lenses with a focal length of 35 mm or shorter are the workhorses of starry sky and Milky Way photography. An ultra-wide lens of 16 mm to 24 mm allows you to capture an enormous sweep of sky in a single frame — ideal for showing the full arch of the Milky Way above the Karoo's flat horizon, or a wide view of the Southern Cross rising above a Drakensberg ridgeline. The wider the lens, the more forgiving it is of slightly long exposures before star trailing becomes visible.
For moon photography, a telephoto lens of 200 mm to 300 mm will render the moon at a satisfying size in the frame, while a super-telephoto of 400 mm or more will allow you to fill the frame with the lunar disc and capture fine surface detail. A compelling South African moon shot might feature the full moon cresting Table Mountain or rising above the red rock buttresses of the Cederberg — images that require a telephoto lens to compress the apparent distance between the foreground landscape and the moon itself.
Many of South Africa's finest night sky photography locations require a degree of physical effort to reach. The best shooting spots in the Drakensberg often involve a hike of several kilometres along mountain trails. Remote sites in the Cederberg Wilderness Area require carrying all your gear through rugged terrain. Even a long drive to a Karoo night shoot — followed by hours of standing in the cold — is physically demanding. In all of these scenarios, a lightweight, compact lens significantly reduces the burden on your body and makes the experience far more enjoyable.
A lighter lens is also easier to handle when you are tired, cold, and working in the dark. Look for lenses that deliver excellent optical performance without excessive weight — modern lens design has made it increasingly possible to get outstanding image quality in relatively small, light packages.
When you are shooting in the field at night, tactile ease of use matters more than you might expect. Adjusting focus manually in the dark — especially in the freezing conditions of a Drakensberg or Karoo winter night — is much easier with a wide, well-damped focus ring that provides smooth, precise movement with just the right amount of resistance. A ring that is too stiff or too loose makes accurate focusing difficult, particularly when you are wearing gloves.
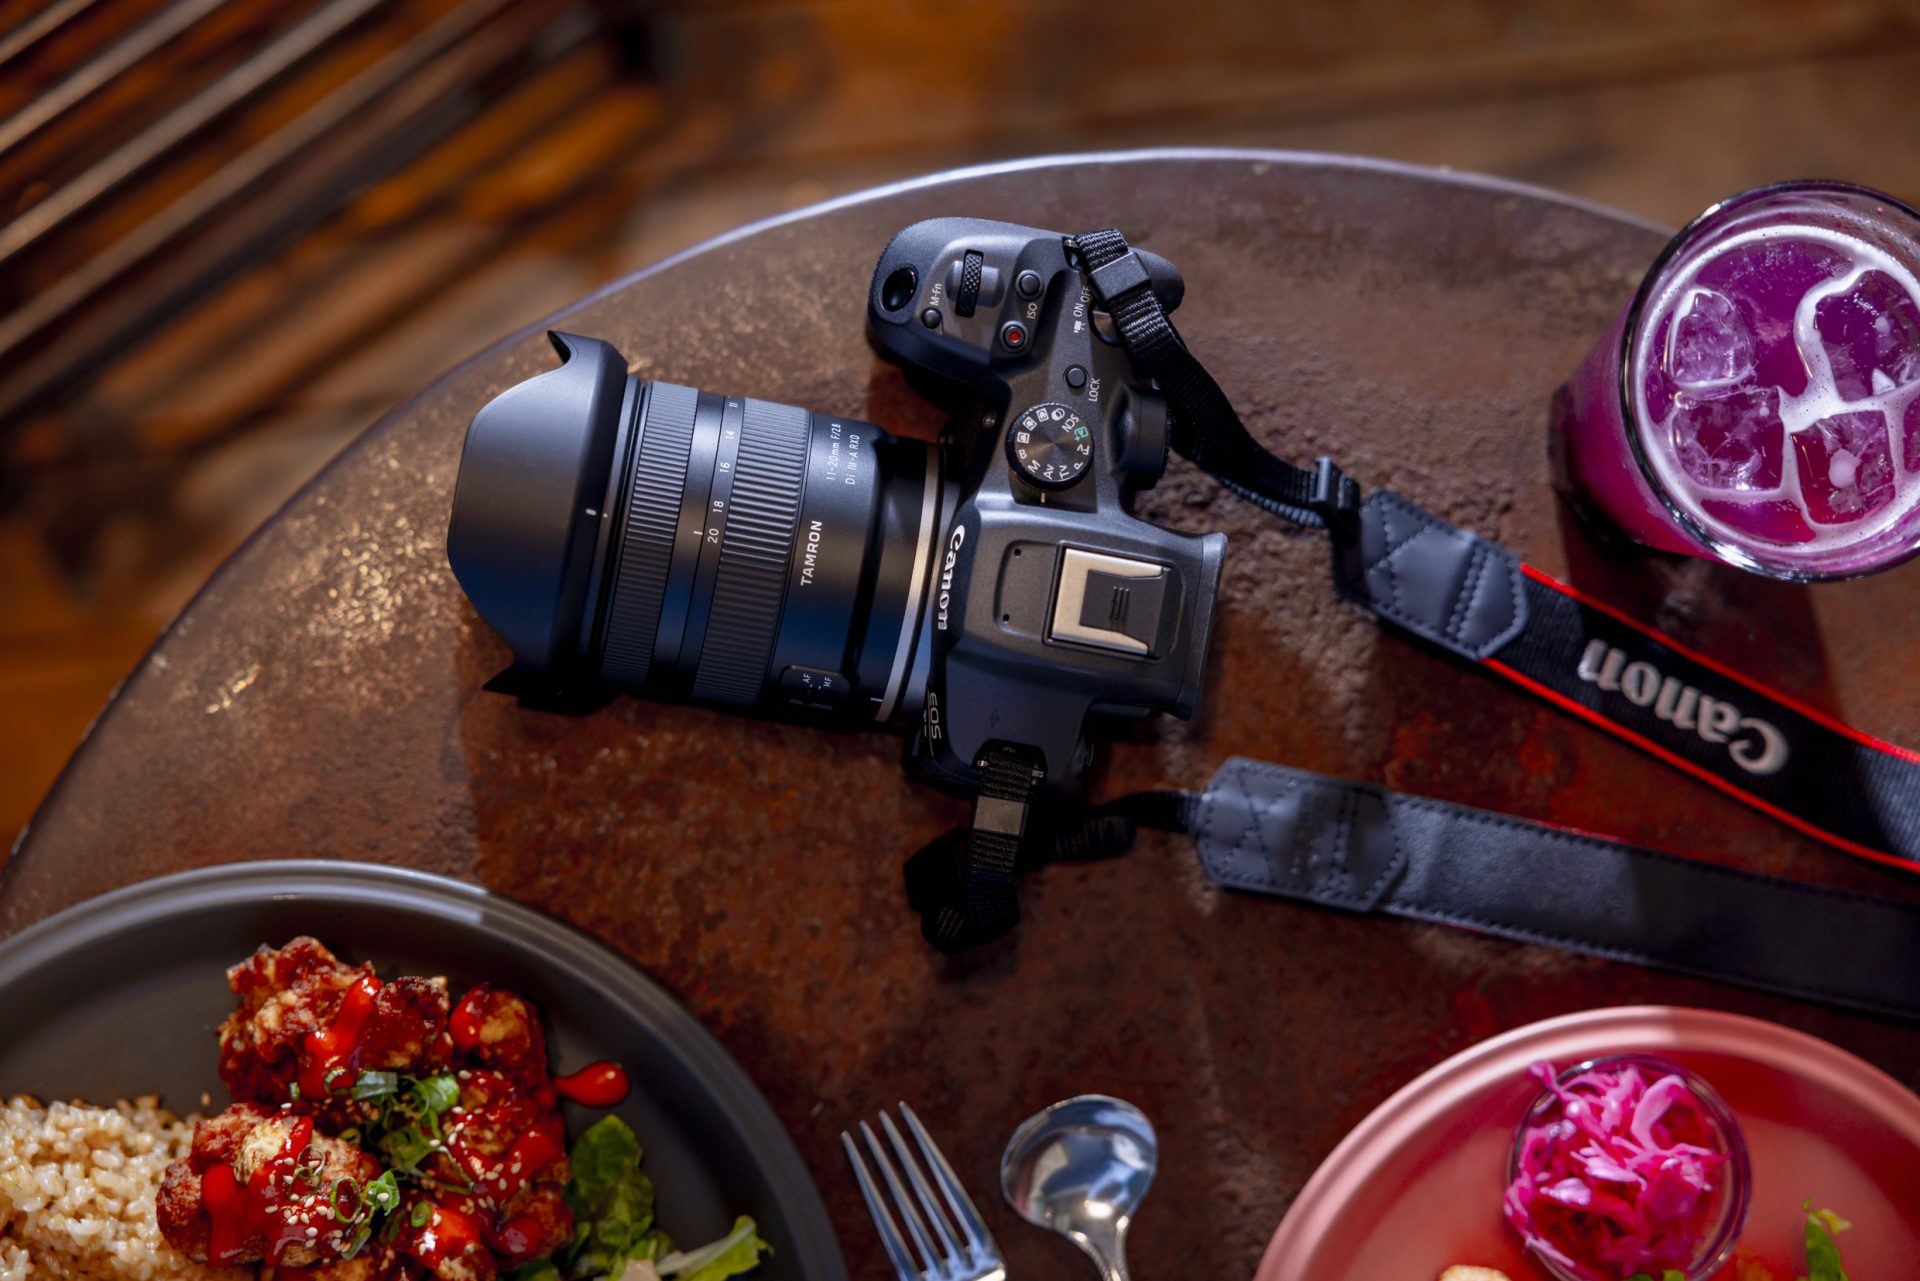
Some lenses also offer dedicated software features that simplify the focusing process. TAMRON's Astro Focus Lock function, available through TAMRON Lens Utility Mobile, allows you to lock the focus position at infinity — eliminating the need to manually refocus on stars each time you recompose your shot. For photographers who spend long hours shooting the night sky in remote South African locations, this kind of practical functionality can make a meaningful difference to both the workflow and the results.
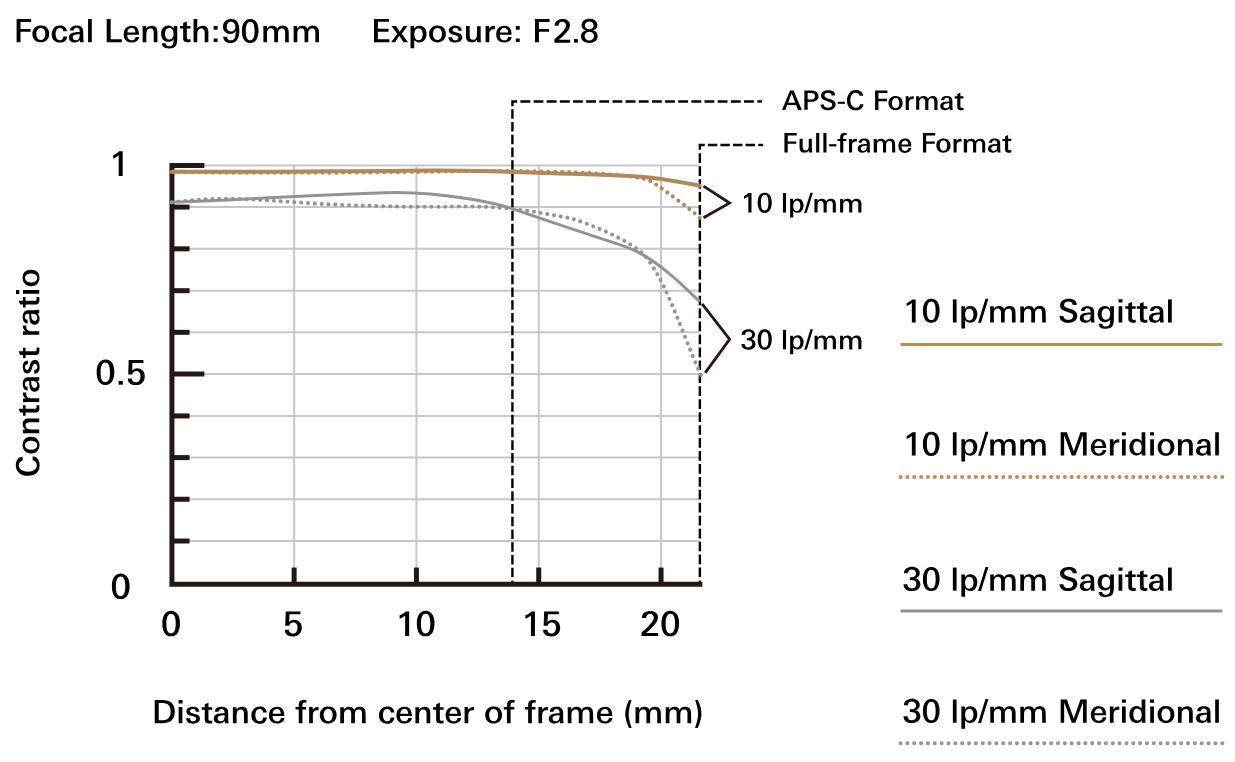
Resolution and sharpness are critical in night sky photography, particularly for starry sky images. A high-resolution lens renders stars as clean, precise points of light across the entire frame — not just in the centre, but in the corners too. In a wide-angle shot of the Milky Way over the Karoo, the corners of the image are just as rich in stars as the centre, and a lens with poor edge performance will render those corner stars as soft, distorted blobs rather than crisp dots.
When evaluating lenses for night sky photography, look specifically at corner performance at the maximum aperture — this is where differences between lenses are most apparent. A lens that maintains flat, consistent sharpness from centre to edge will reward you with images that fully capture the extraordinary density and detail of South Africa's southern night sky.
South Africa is one of the most compelling destinations on earth for night sky photography. The sheer darkness of the Karoo, the dramatic landscapes of the Drakensberg, the iconic silhouette of Table Mountain beneath a star-filled sky, the Milky Way arching over a bushveld horizon — these are images that stay with you long after the shutter has closed. The Southern Hemisphere night sky, with its vivid star fields, the Southern Cross, and the galactic core rising high above the horizon, offers photographic possibilities that photographers in the northern hemisphere can only dream about.
Whether you are planning a dedicated astro-photography trip to Sutherland, a weekend hike in the Cederberg, or simply stepping outside on a clear winter night in your own backyard, the night sky is waiting. Take the time to understand your camera settings, choose the right lens for your subject, find a dark location away from city lights, and experiment freely with composition and timing. Night sky photography is a skill that develops with every shoot — each dark sky session teaches you something new. Grab your camera, head out into the South African night, and let the stars do the rest.