| September 18, 2026
 South Africa's #1 Mobile Protection Brand
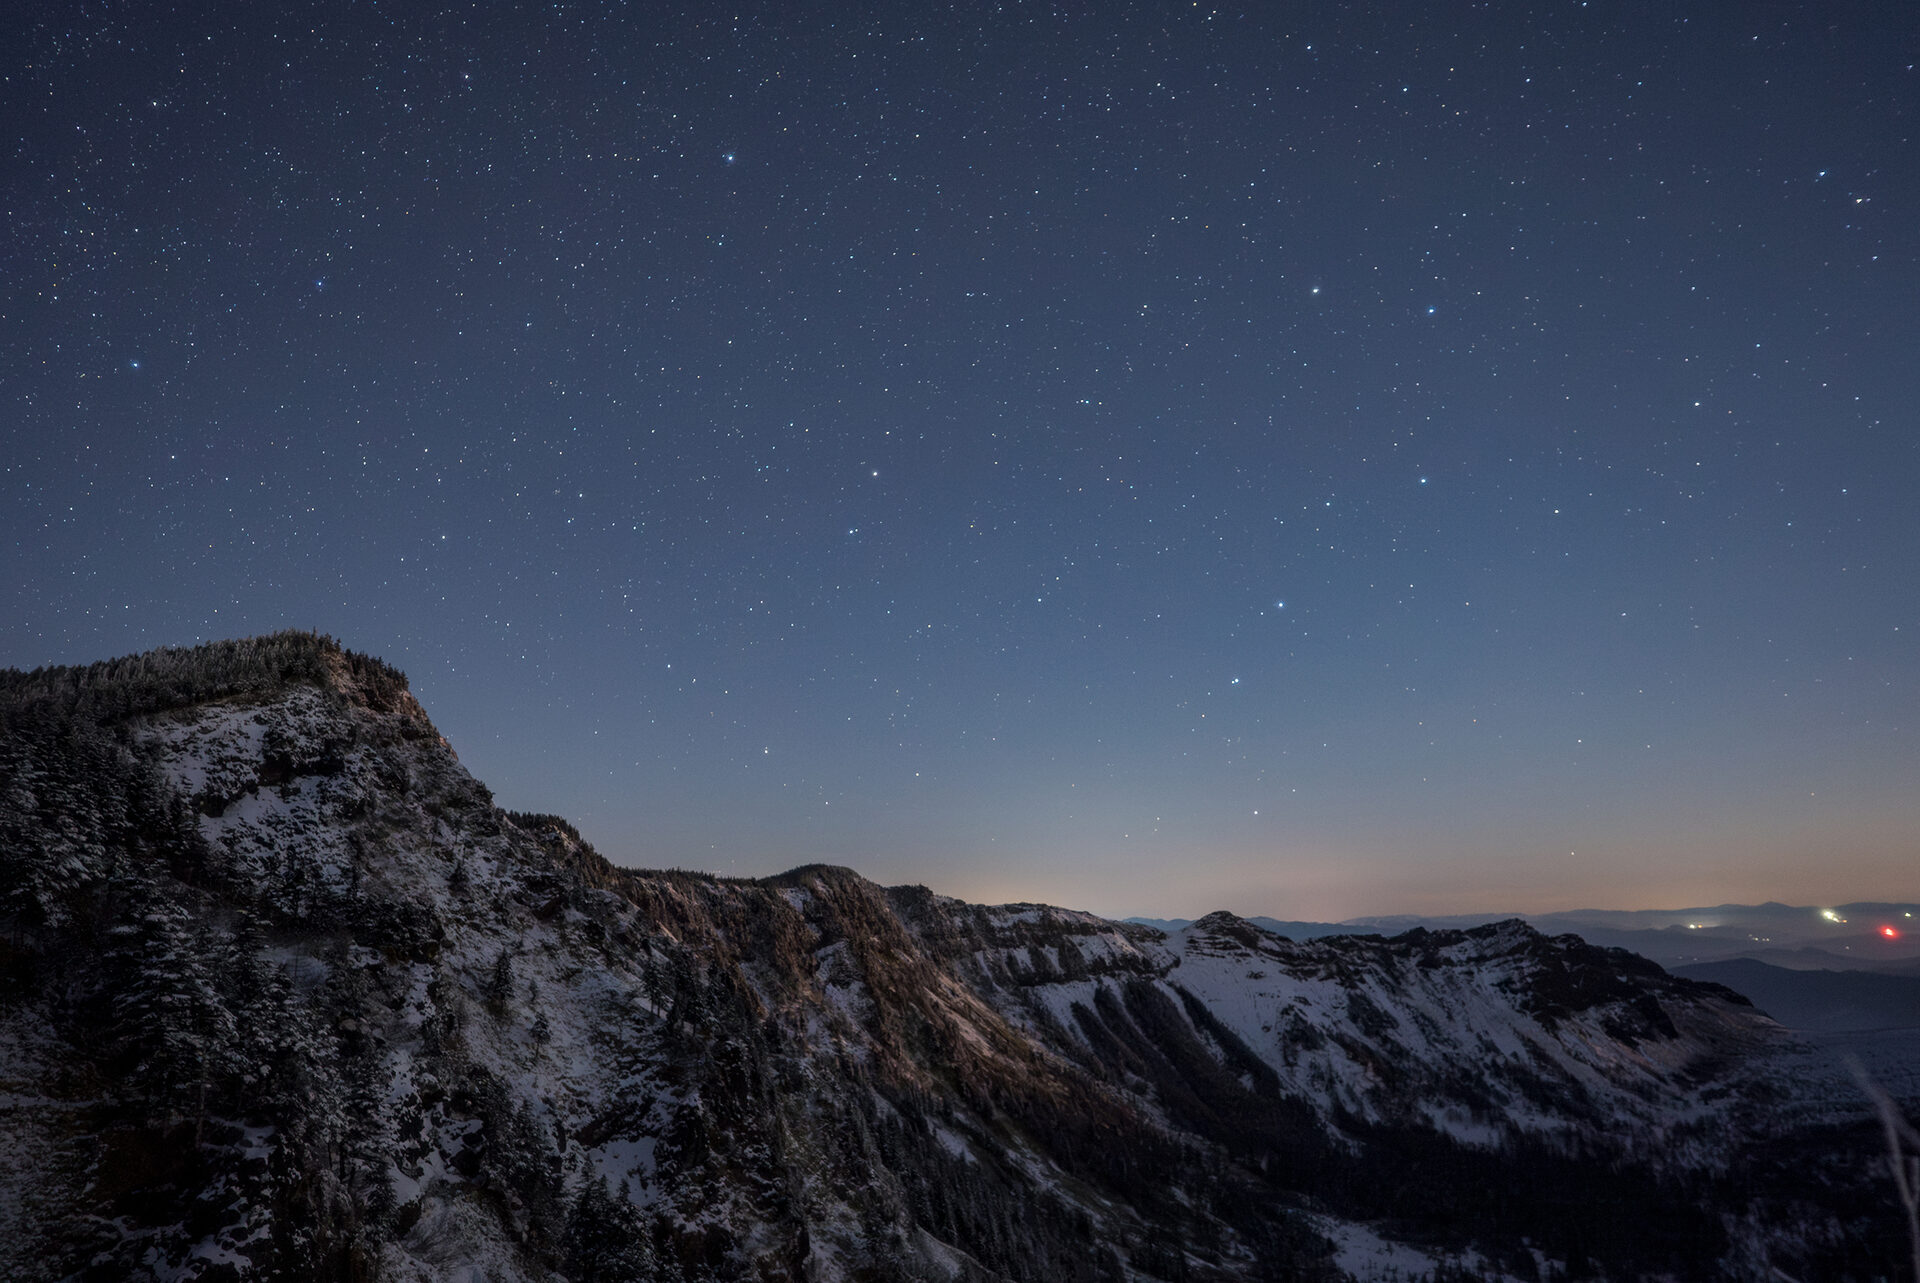
A practical guide to photographing stars, the Milky Way and night landscapes under South African skies
South Africa offers exceptional opportunities for astrophotography, from the dry, open skies of the Karoo to the dramatic ridgelines of the Drakensberg and the rugged formations of the Cederberg. Although photographing the night sky can seem technically demanding, strong results are possible once you understand the basic equipment, exposure settings and focusing techniques involved.
This guide explains how to plan an astrophotography shoot with an interchangeable-lens camera, choose a suitable lens and build compositions that feel distinctly South African. Use the recommended settings as a starting point, then adjust them to suit the moon phase, weather, level of light pollution and the scene in front of you.
Successful astrophotography begins before the shutter is pressed. A stable support system, a suitable lens and a few practical accessories make it easier to work safely and accurately in the dark. This is especially important when photographing in remote areas, on uneven mountain terrain or along windy coastal locations.
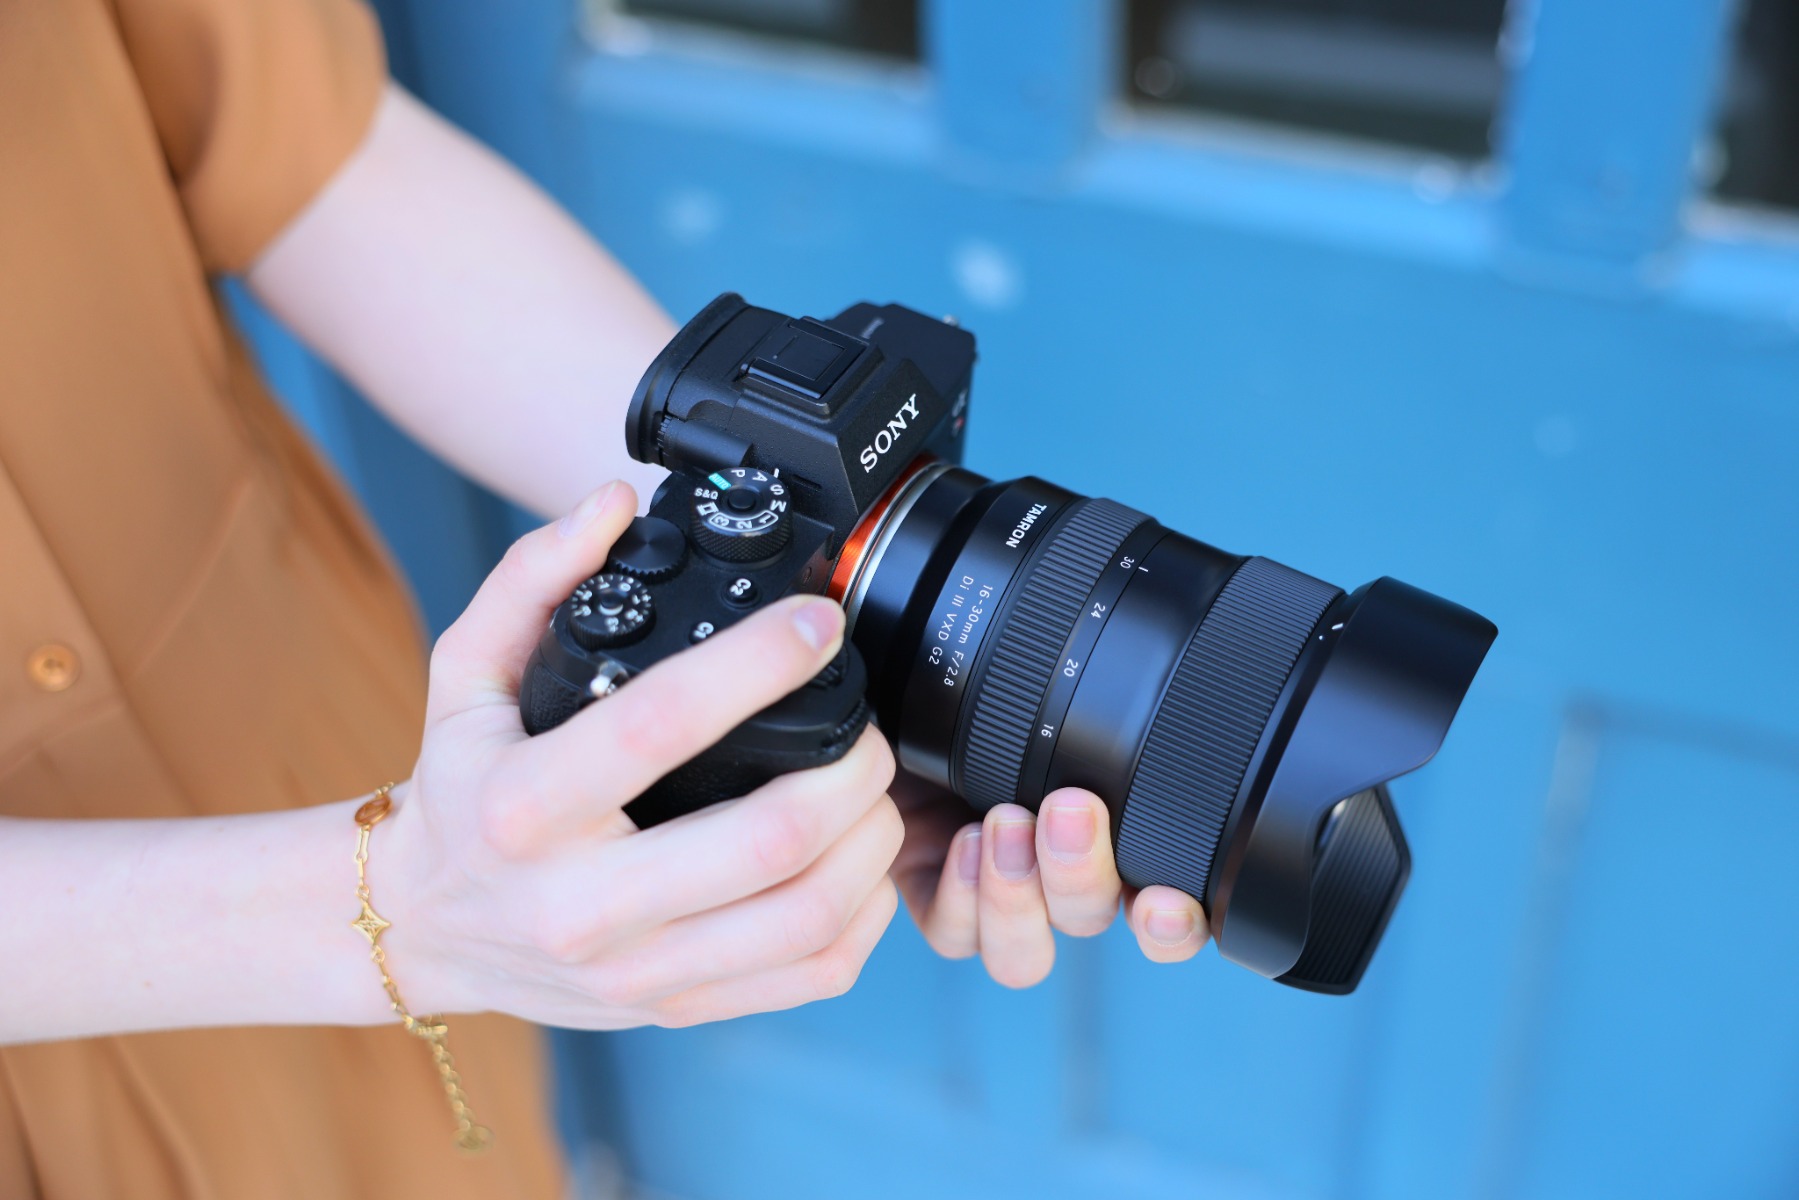
A wide-angle or ultra-wide-angle lens is ideal when you want to record a large section of the sky while still including the landscape below it. On a full-frame camera, focal lengths of 35mm or wider are generally considered wide-angle, while lenses around 20mm or wider provide a broader field of view for expansive starscapes.
The wider perspective gives you room to include foreground elements such as Cederberg rock formations, quiver trees, Karoo windmills, Drakensberg peaks, fynbos or coastal cliffs. These subjects give the image scale and create a stronger sense of place than a photograph containing only the sky.
Because stars are faint, astrophotography usually requires a shutter speed of several seconds. A sturdy tripod keeps the camera still during the exposure and helps prevent soft or blurred images. Extend the thicker leg sections first, check that each foot is secure and avoid placing the tripod on loose sand, unstable rocks or moving wooden platforms.
In exposed areas such as the Karoo or high mountain viewpoints, wind can create vibration even when the tripod appears stable. Keep the centre column low, remove loose straps from the wind and avoid touching the camera while the exposure is running.
Pressing the shutter button by hand can introduce a small amount of movement. A wired release, wireless remote or compatible camera app allows you to trigger the exposure without touching the camera. This becomes particularly useful during long exposures and star-trail sequences.
A two-second or ten-second self-timer is a practical alternative when you do not have a remote. After pressing the shutter, step away from the tripod and allow any vibration to settle before the exposure begins.
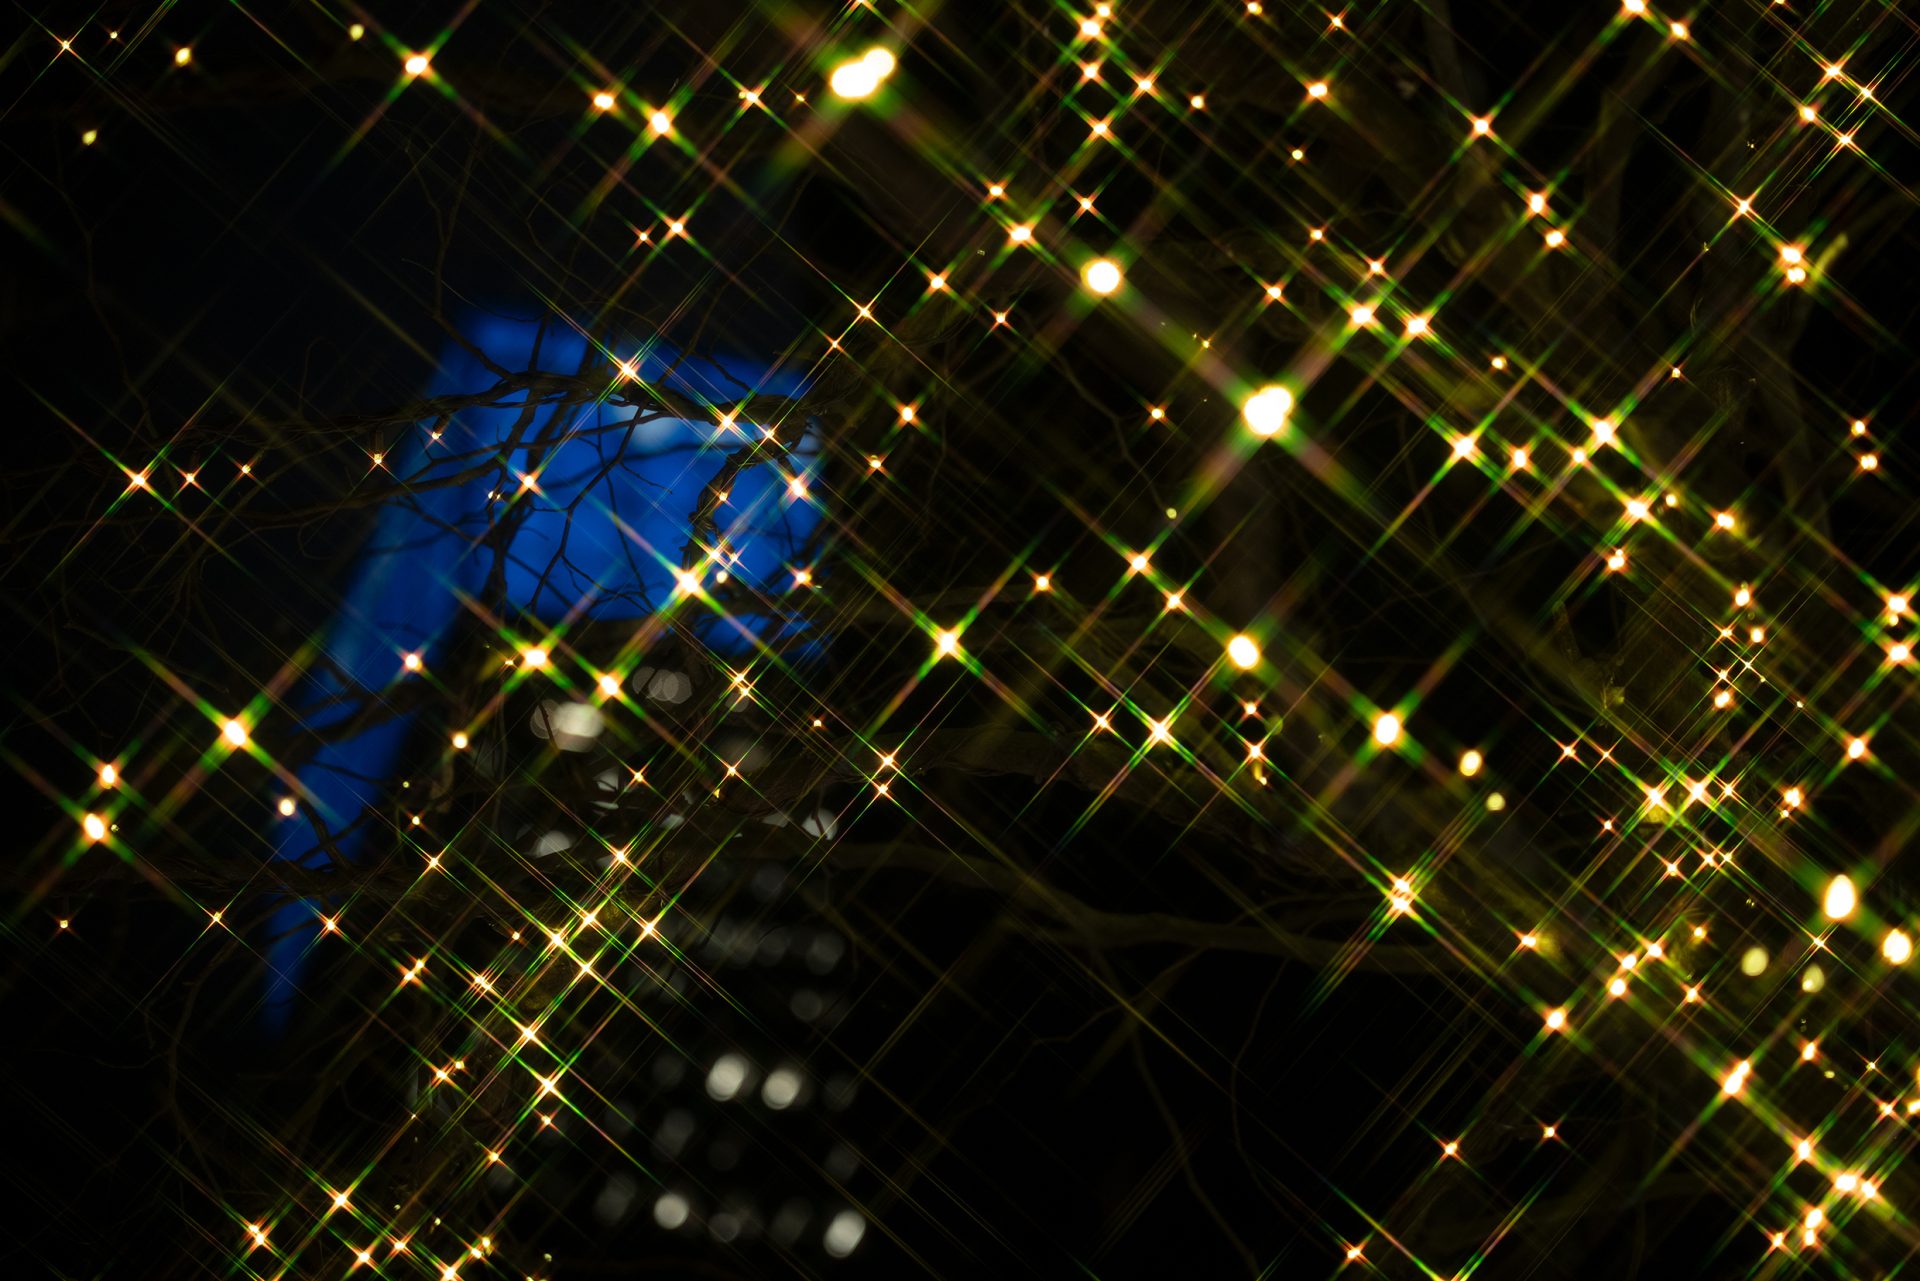
A soft filter spreads the light from bright stars, making them appear slightly larger and more prominent. This can help recognisable patterns such as the Southern Cross stand out from a crowded star field and can give the photograph a gentler, more atmospheric look.
The effect is optional and should be used with restraint. A strong filter can soften the foreground as well as the stars, so compare sample images and choose a subtle strength if you still want the landscape to remain detailed.
Temperature changes and humidity can cause moisture to form on the front element, gradually turning sharp stars into a hazy blur. This can happen during cold inland nights, near the coast or in mountain areas where conditions change quickly. A lens heater wraps around the lens barrel and supplies gentle warmth to reduce condensation.
Check the front element regularly during the shoot, especially when working near dams, lagoons or the sea. Carry a clean microfibre cloth for minor moisture, but avoid repeatedly wiping the lens if condensation continues to form.
A headlamp keeps both hands free while you set up the tripod, change settings or walk back to your vehicle. Choose a model with a low-output or red-light mode so that your eyes can remain adjusted to the dark.
Use bright light only when necessary and point it towards the ground. At popular dark-sky locations, sudden light can ruin another photographer’s long exposure and make it harder for everyone nearby to see the stars.
An equatorial mount tracks the apparent movement of the stars as the Earth rotates. This allows longer exposures while keeping stars relatively sharp and is useful when photographing faint detail in the Milky Way or more specialised deep-sky subjects.
For a landscape image, remember that a tracking mount keeps the sky still while the foreground continues to move relative to the camera. Photographers often capture the sky and foreground separately and blend them carefully during editing. Beginners can still achieve excellent starscapes with a normal tripod and shorter exposures.
There is no single exposure that works for every night scene. Camera settings will change according to focal length, lens brightness, moonlight, atmospheric conditions and the amount of nearby artificial light. The values below provide a reliable starting point for most South African astrophotography locations.
Use Manual mode so that aperture, shutter speed and ISO remain consistent from one frame to the next. Automatic exposure modes often struggle because the camera meter cannot accurately evaluate a scene dominated by darkness and small points of light.
Manual mode also makes testing easier. Once you have a workable exposure, change only one setting at a time so you can see how it affects brightness, noise and star sharpness.
Begin close to the lens’s maximum aperture, such as f/2.8. A wide aperture allows more starlight to reach the sensor and helps you avoid excessively long shutter speeds or very high ISO settings.
Some lenses become sharper towards the edges when stopped down slightly. If the stars in the corners look stretched or soft, try changing from f/2.8 to f/3.2 or f/4 and compensate with ISO or shutter speed. The best balance depends on the lens and the final use of the image.
Start with a shutter speed between about 10 and 25 seconds. Wider focal lengths usually allow longer exposures before the stars begin to look like short lines, while longer focal lengths reveal movement sooner. High-resolution cameras can also show star movement more clearly when the image is enlarged.
Take a test frame and inspect a bright star at high magnification. If it appears stretched, shorten the exposure to 5, 10 or 15 seconds. When the shorter exposure makes the image too dark, raise the ISO rather than extending the shutter speed beyond the point where stars remain sharp.
ISO 1600 to ISO 6400 is a useful starting range for starscapes. Begin at the lower end when the moon or nearby lights brighten the scene, and increase the ISO in a truly dark location or when a faster shutter speed is required.
Higher ISO settings make the image brighter but also reveal more noise and reduce highlight flexibility. Use the camera’s histogram and zoomed preview rather than relying only on how bright the image appears on the rear screen in darkness.
Once the basic exposure is in place, the quality of the final image depends on location, weather, accurate focus and composition. Planning these elements carefully often makes a greater difference than buying additional equipment.
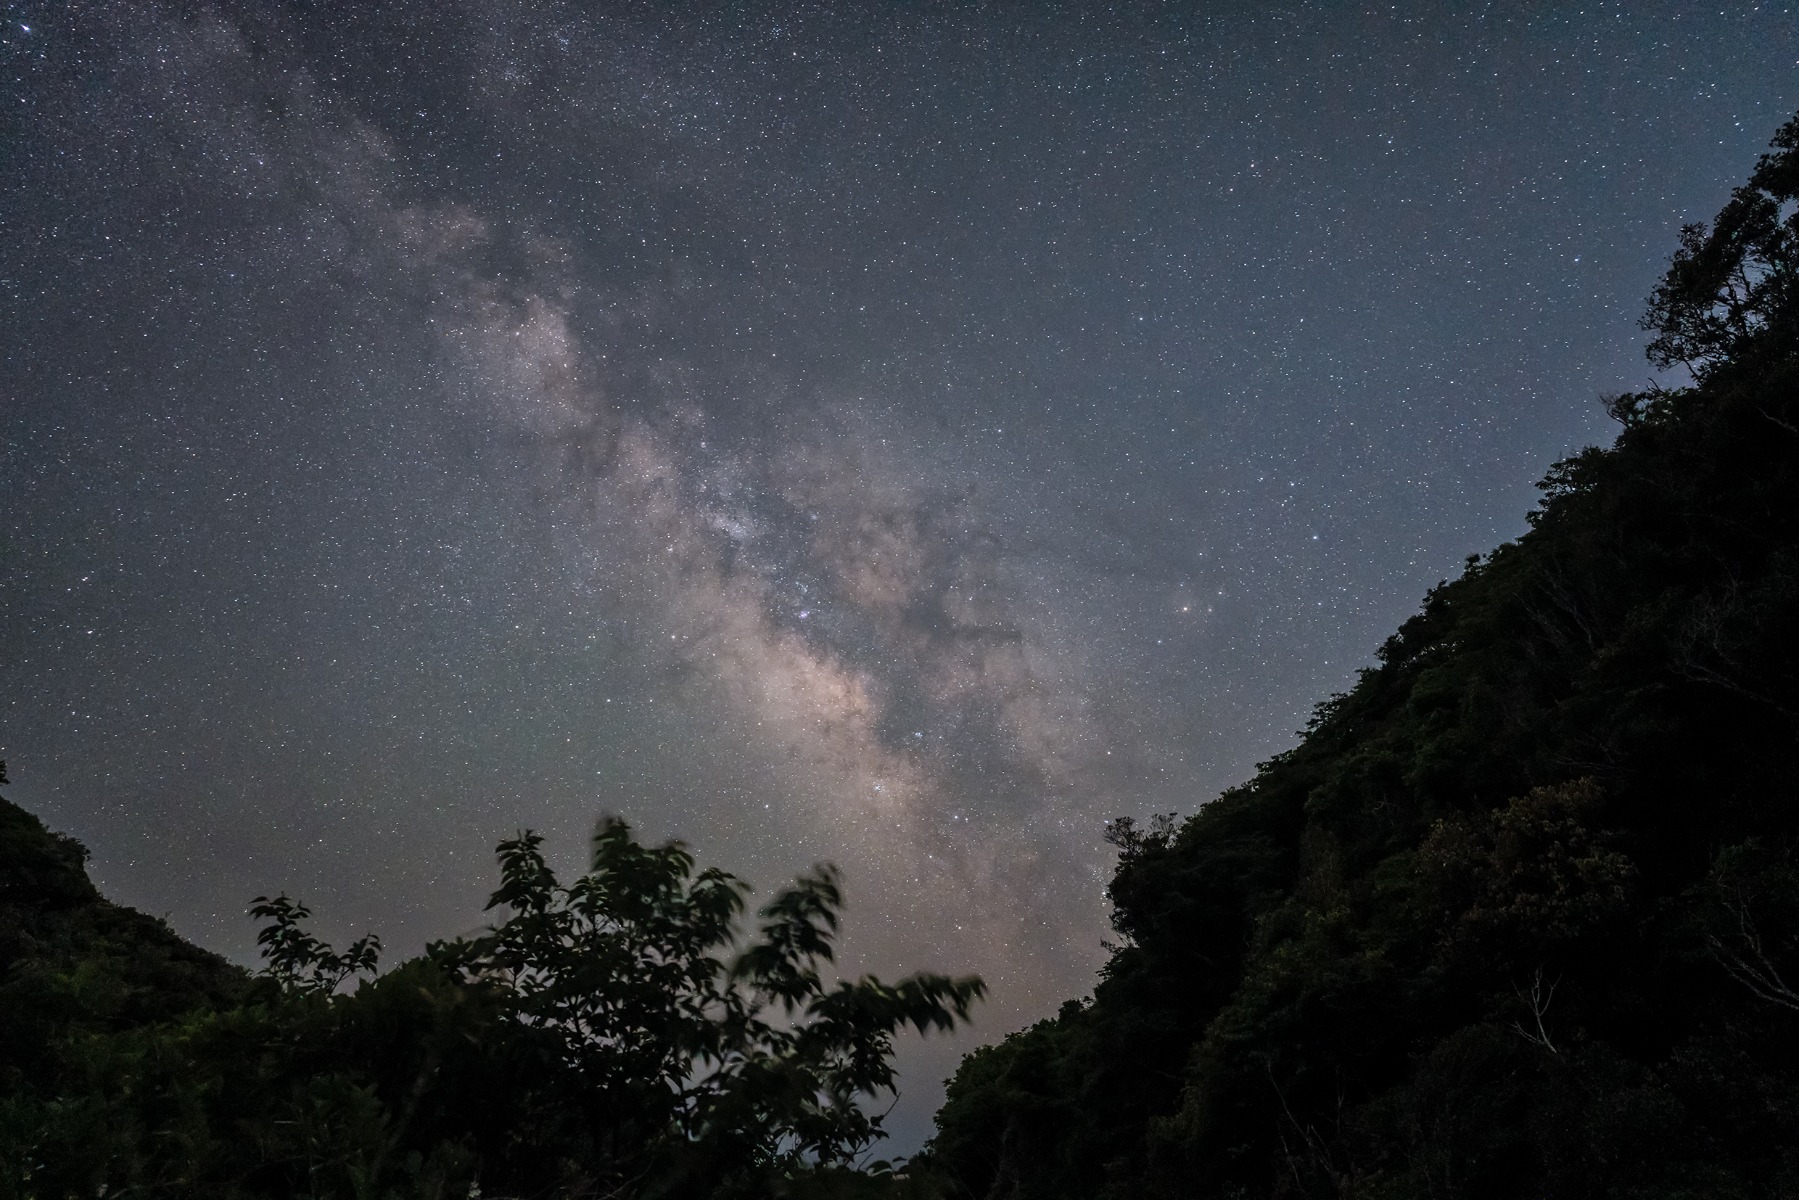
Artificial light easily overpowers faint stars, so look for a location away from streetlights, buildings and busy roads. Sutherland, Tankwa Karoo National Park, the Cederberg, Kgalagadi and remote parts of the Drakensberg are well known for dark skies, but many quieter areas outside major towns can also work well.
Check the moon phase before travelling. A bright moon can wash out faint stars and reduce contrast in the Milky Way, while the period around new moon usually produces darker skies. Moonlight can still be useful when you want natural illumination on the foreground, so choose the timing according to the image you want to create.
Always confirm access rules, opening hours and overnight restrictions. Tell someone where you are going, remain aware of wildlife and terrain, and avoid entering private property without permission.
Clear skies are essential, but cloud cover is not the only factor to consider. High humidity, haze and airborne dust can reduce contrast even when the sky appears mostly clear. Strong wind can shake the tripod, while coastal mist may arrive quickly after sunset.
Cold, dry winter nights often provide excellent visibility in inland regions, although South Africa’s conditions vary widely. Review a detailed forecast for the exact location and keep an alternative date available rather than assuming one season will be ideal everywhere.
Autofocus may struggle in very low light, so switch the lens to manual focus. Use Live View, magnify a bright star on the screen and slowly turn the focus ring until the star becomes the smallest, cleanest point possible.
Do not rely only on the infinity mark, as the precise focus position may vary with the lens and temperature. Recheck focus after moving the camera, changing focal length or attaching a filter. A small piece of removable tape can help prevent the focus ring from shifting during a long sequence.
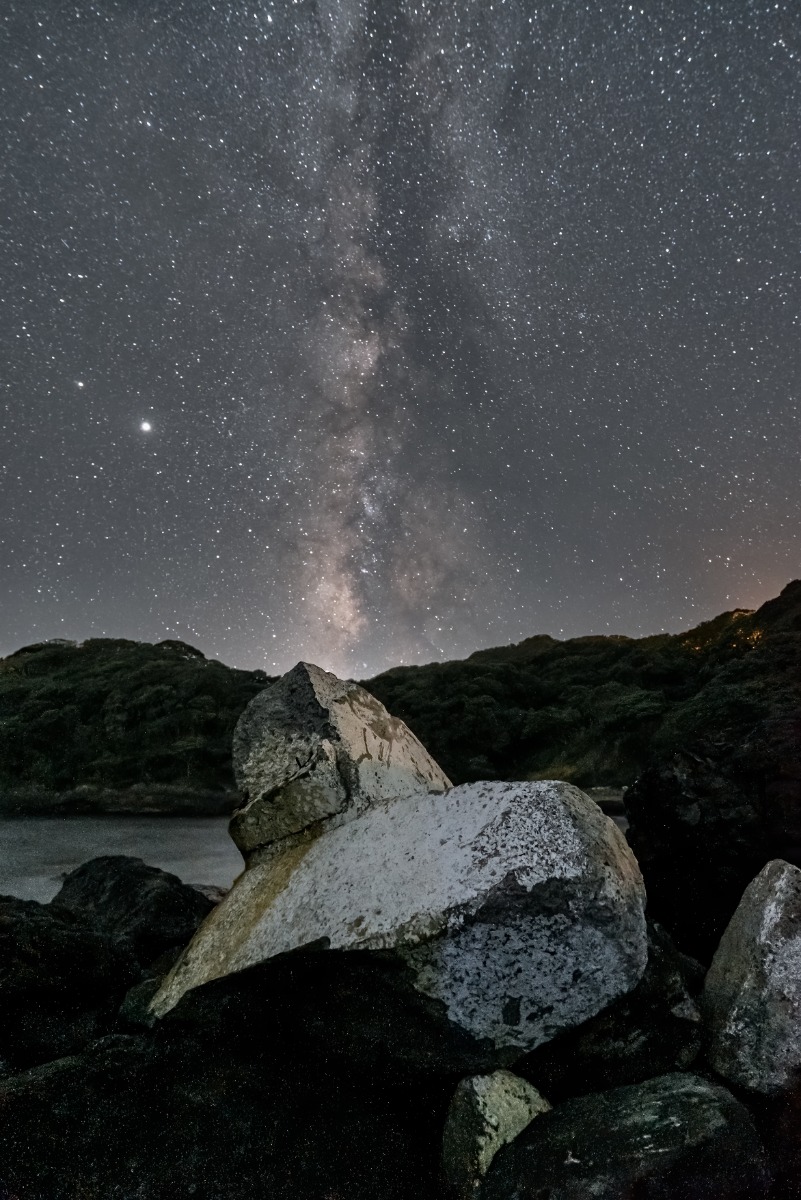
A successful starscape connects the sky to the land. Instead of pointing the camera straight upwards, include a foreground subject that gives the viewer a visual entry point and a sense of scale.
Cederberg rock formations, a lone quiver tree, a Karoo windmill, a Drakensberg ridge, fynbos, a baobab silhouette or a historic farm building can all create a distinctly South African composition. Along the coast or beside a dam, calm water may reflect bright stars and add symmetry.
Use the rule of thirds as a starting point, but allow the scene to guide you. A dramatic Milky Way may deserve most of the frame, while an interesting foreground can support a more balanced split between land and sky.
Once you are comfortable with basic starscapes, filters, colour adjustments and longer shooting sequences can help you develop a more personal style. Make creative choices deliberately and keep a natural version of the image for comparison.
A soft filter can make brighter stars glow and help constellation patterns become easier to recognise. This works particularly well when the sky contains many small stars that would otherwise compete equally for attention.
Different filters create different strengths of diffusion. Test the effect at the location and check the foreground carefully, as excessive diffusion can reduce texture in rocks, trees and buildings.
White balance changes the emotional character of a night image. A cooler setting can emphasise the blue tones of the sky, while a warmer setting can bring out earthy colours in a Karoo or mountain foreground.
Auto white balance is a useful starting point. Shooting in RAW gives you greater freedom to refine the colour later without permanently committing to the setting used in-camera. Aim for a result that supports the atmosphere without making the sky look unnaturally saturated.
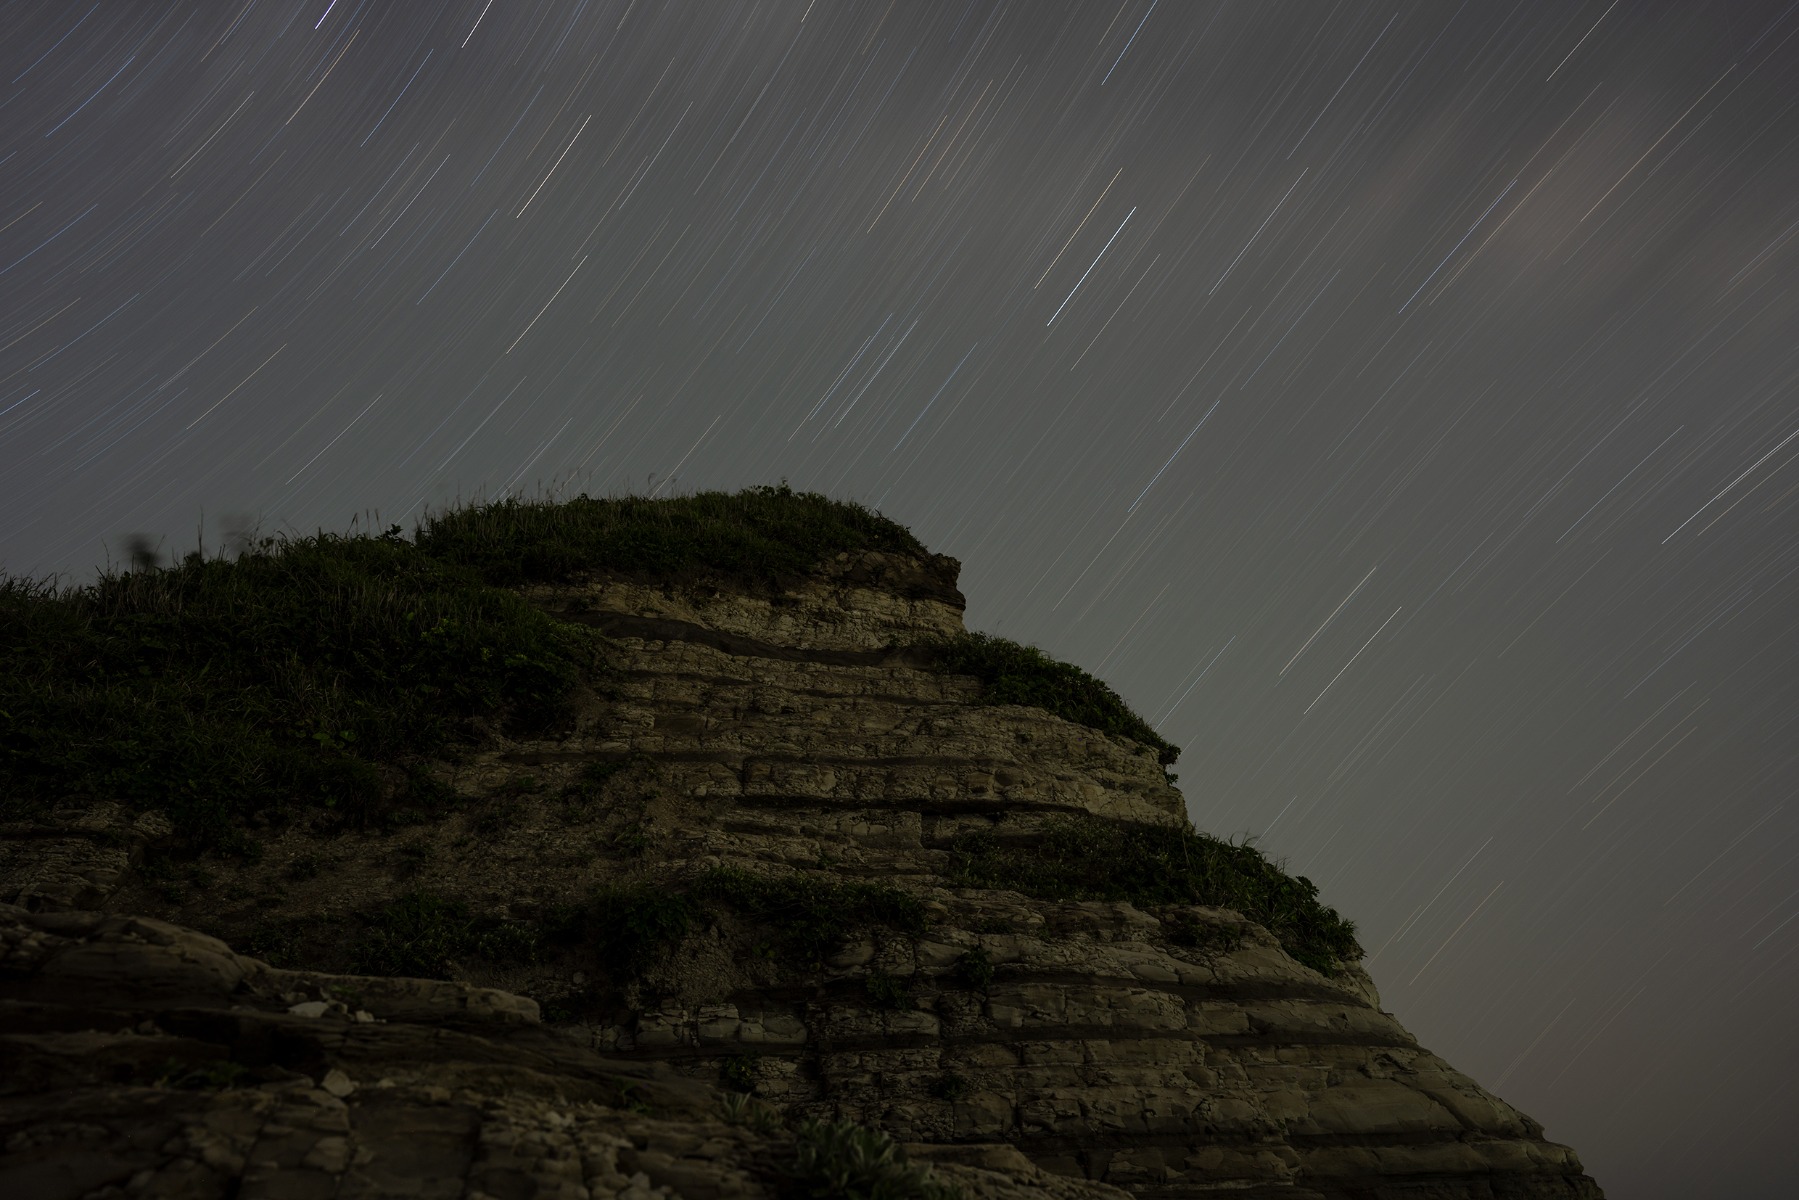
Star trails can be created with one very long exposure or by combining a sequence of shorter exposures. Stacking is often the more practical option because it reduces the risk of losing the entire image to a passing vehicle, unexpected light or battery failure.
Set the camera on a stable tripod and capture frames continuously at regular intervals. During editing, specialised software compares the images and retains the brightest star positions, forming continuous trails. Including a fixed foreground such as a windmill, mountain or tree gives the circular or diagonal trails a strong visual anchor.
A single exposure lasting 30 minutes or longer can produce smooth trails, but it may increase sensor noise and consume significant battery power. Use a fully charged battery or suitable external power source and check the camera manufacturer’s guidance for extended exposures.
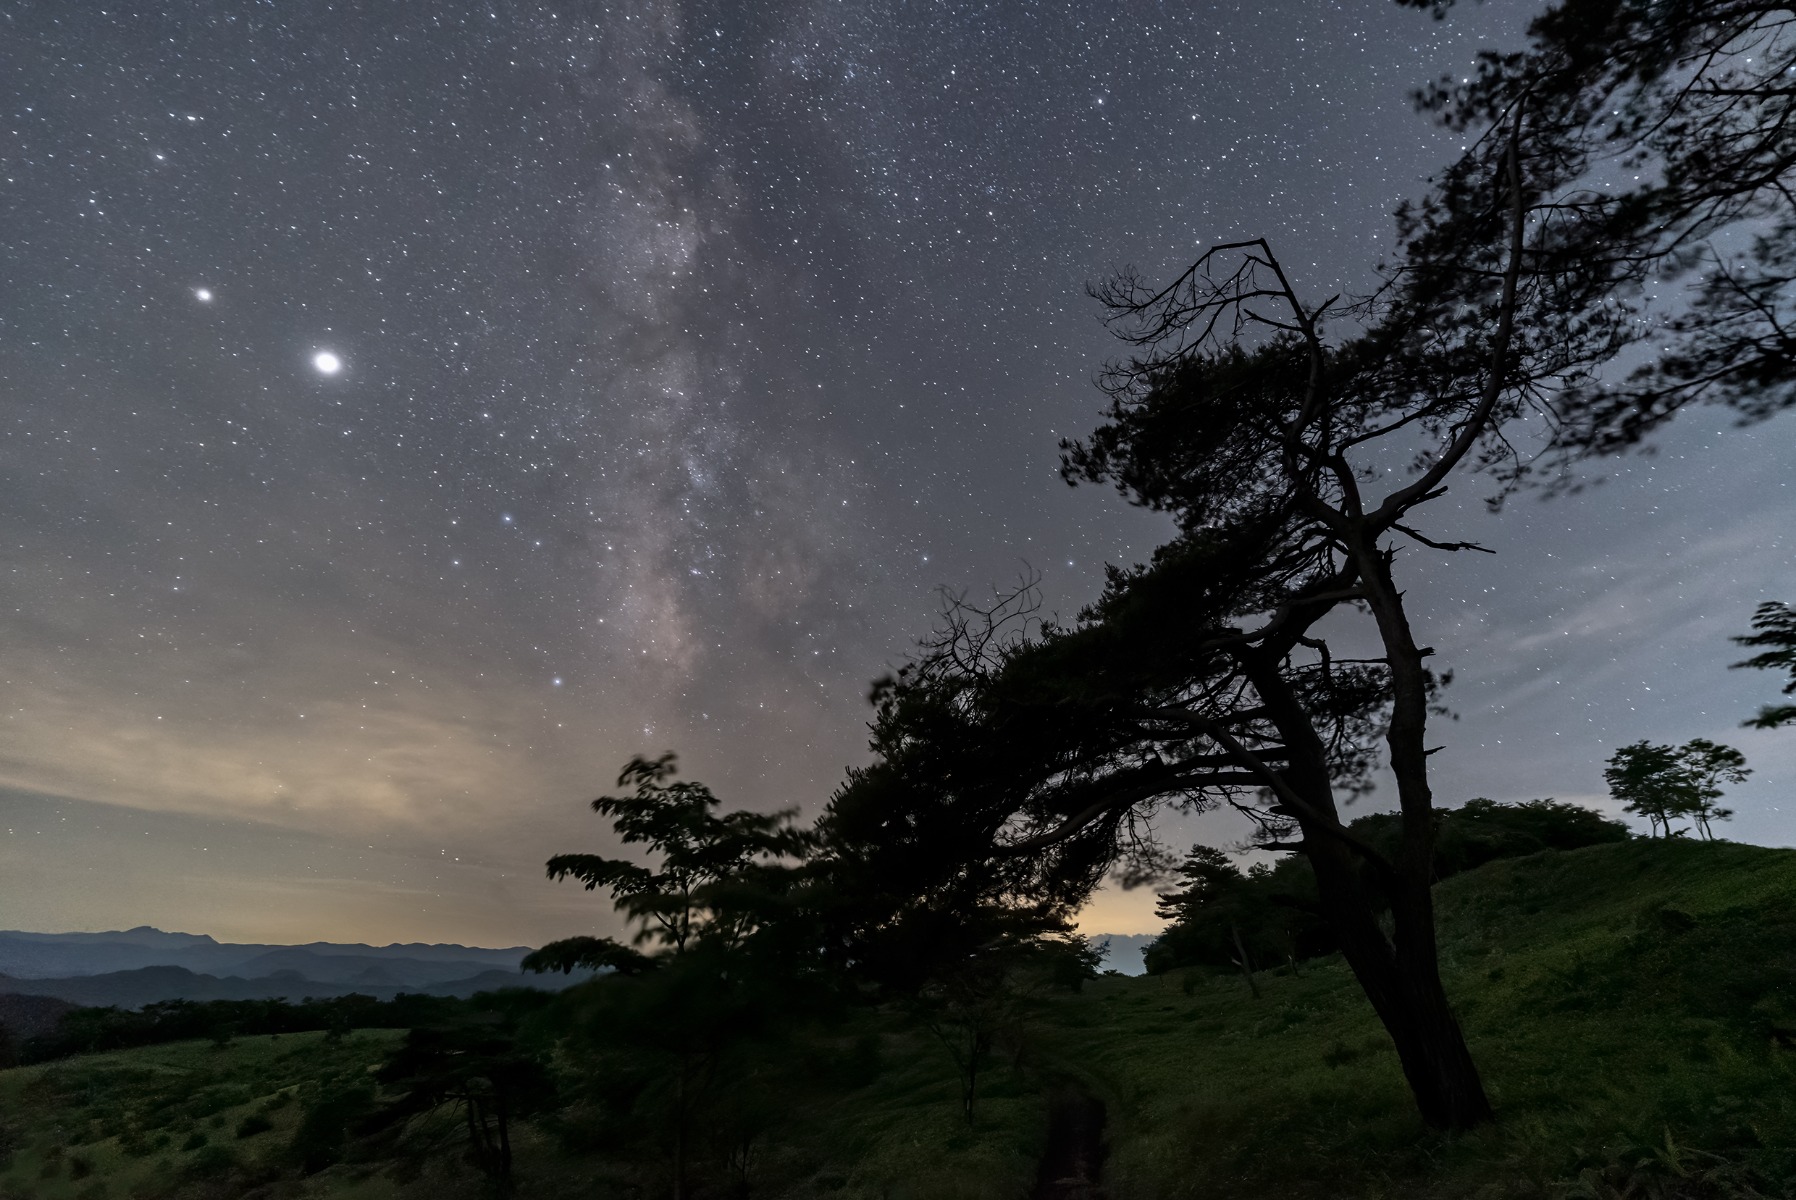
The Milky Way is easiest to photograph where it is clearly visible to the naked eye. Dark inland locations such as the Karoo, Sutherland, the Cederberg and Kgalagadi offer favourable conditions when the weather and moon phase cooperate.
Use a fast wide-angle lens, begin near f/2 to f/2.8 and test ISO settings between 3200 and 6400. Choose a shutter speed short enough to keep the stars sharp, then refine the exposure according to the brightness of the sky and foreground.
Plan the direction and timing of the Milky Way in advance with a reputable astronomy or photography-planning app. This allows you to position it above a chosen foreground instead of arriving after dark and hoping the composition will align.
The ideal astrophotography lens should gather plenty of light, cover the field of view you need and remain practical to handle in the dark. Consider the complete shooting experience rather than judging the lens by maximum aperture alone.
An ultra-wide lens of around 20mm or wider is well suited to expansive starscapes, especially when the foreground is close or the Milky Way stretches across a large part of the frame. A moderately wide focal length can create a more concentrated composition with less distortion.
Longer focal lengths are useful for isolating a constellation, a detailed section of the Milky Way or stars above a distant Drakensberg peak. They require more precise tracking or shorter shutter speeds because star movement becomes visible more quickly.
A maximum aperture of f/2.8 or wider allows the sensor to record more light during a short exposure. This can help preserve sharp stars while keeping the ISO at a manageable level.
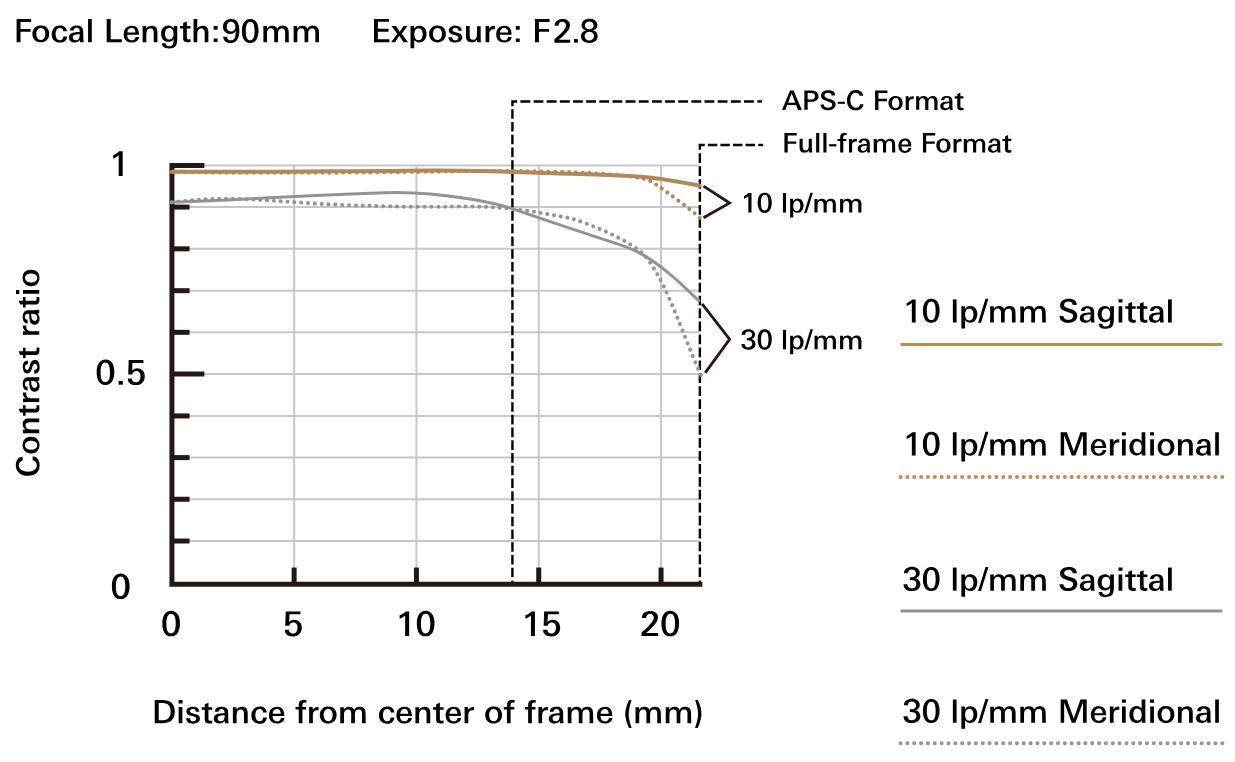
Also consider how the lens renders point light sources near the edges of the frame. Good corner sharpness and controlled coma are valuable for astrophotography, as stars should remain clean rather than becoming wing-shaped or smeared.
Because manual focus is commonly used at night, the focus ring should be easy to locate and adjust in small increments. Controls should remain accessible when a lens heater is fitted, and switches should be distinct enough to identify by touch.
Weather-resistant construction can provide additional reassurance in dusty, cold or humid conditions, but it does not replace careful handling. Keep caps and a clean cloth close at hand, and avoid changing lenses unnecessarily in wind or dust.
A compact lens is easier to carry with a tripod, camera body, water, warm clothing and lighting equipment. This matters on a Cederberg trail or a Drakensberg viewpoint, but it is equally helpful during road trips and shoots close to accommodation.
Balance portability with optical performance. A lens that is slightly heavier may still be the better choice if it offers a brighter aperture, useful focal range or improved corner quality for the type of astrophotography you plan to do.
Astrophotography becomes far more approachable when you prepare carefully and work methodically. Begin with a wide aperture, a shutter speed of several seconds and a moderate-to-high ISO, then check star sharpness and refine one setting at a time.
A wide-angle lens, stable tripod and remote release provide a reliable foundation, while careful location planning, weather checks and accurate manual focus improve the likelihood of a successful shoot. As your confidence grows, experiment with foreground lighting, soft filters, star trails and Milky Way compositions.
From Sutherland’s dark skies to the Cederberg’s rock formations and the Drakensberg’s mountain silhouettes, South Africa offers an extraordinary variety of settings for night photography. Take time to work safely, respect the location and develop a style that reflects both the sky and the landscape beneath it.